
One step forward, two steps back. That seems to be the story of these early days in re-commissioning JB’s old TLR250 trials…
PROJECT TLR
The story so far
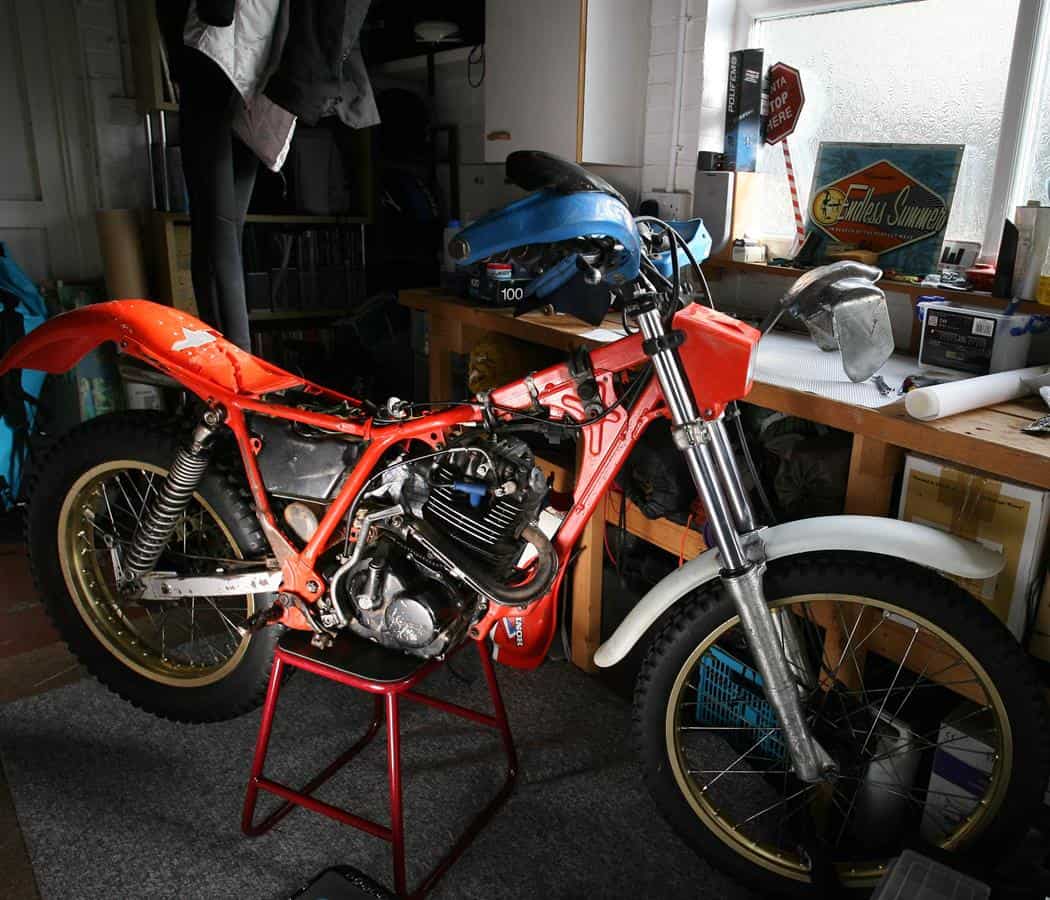
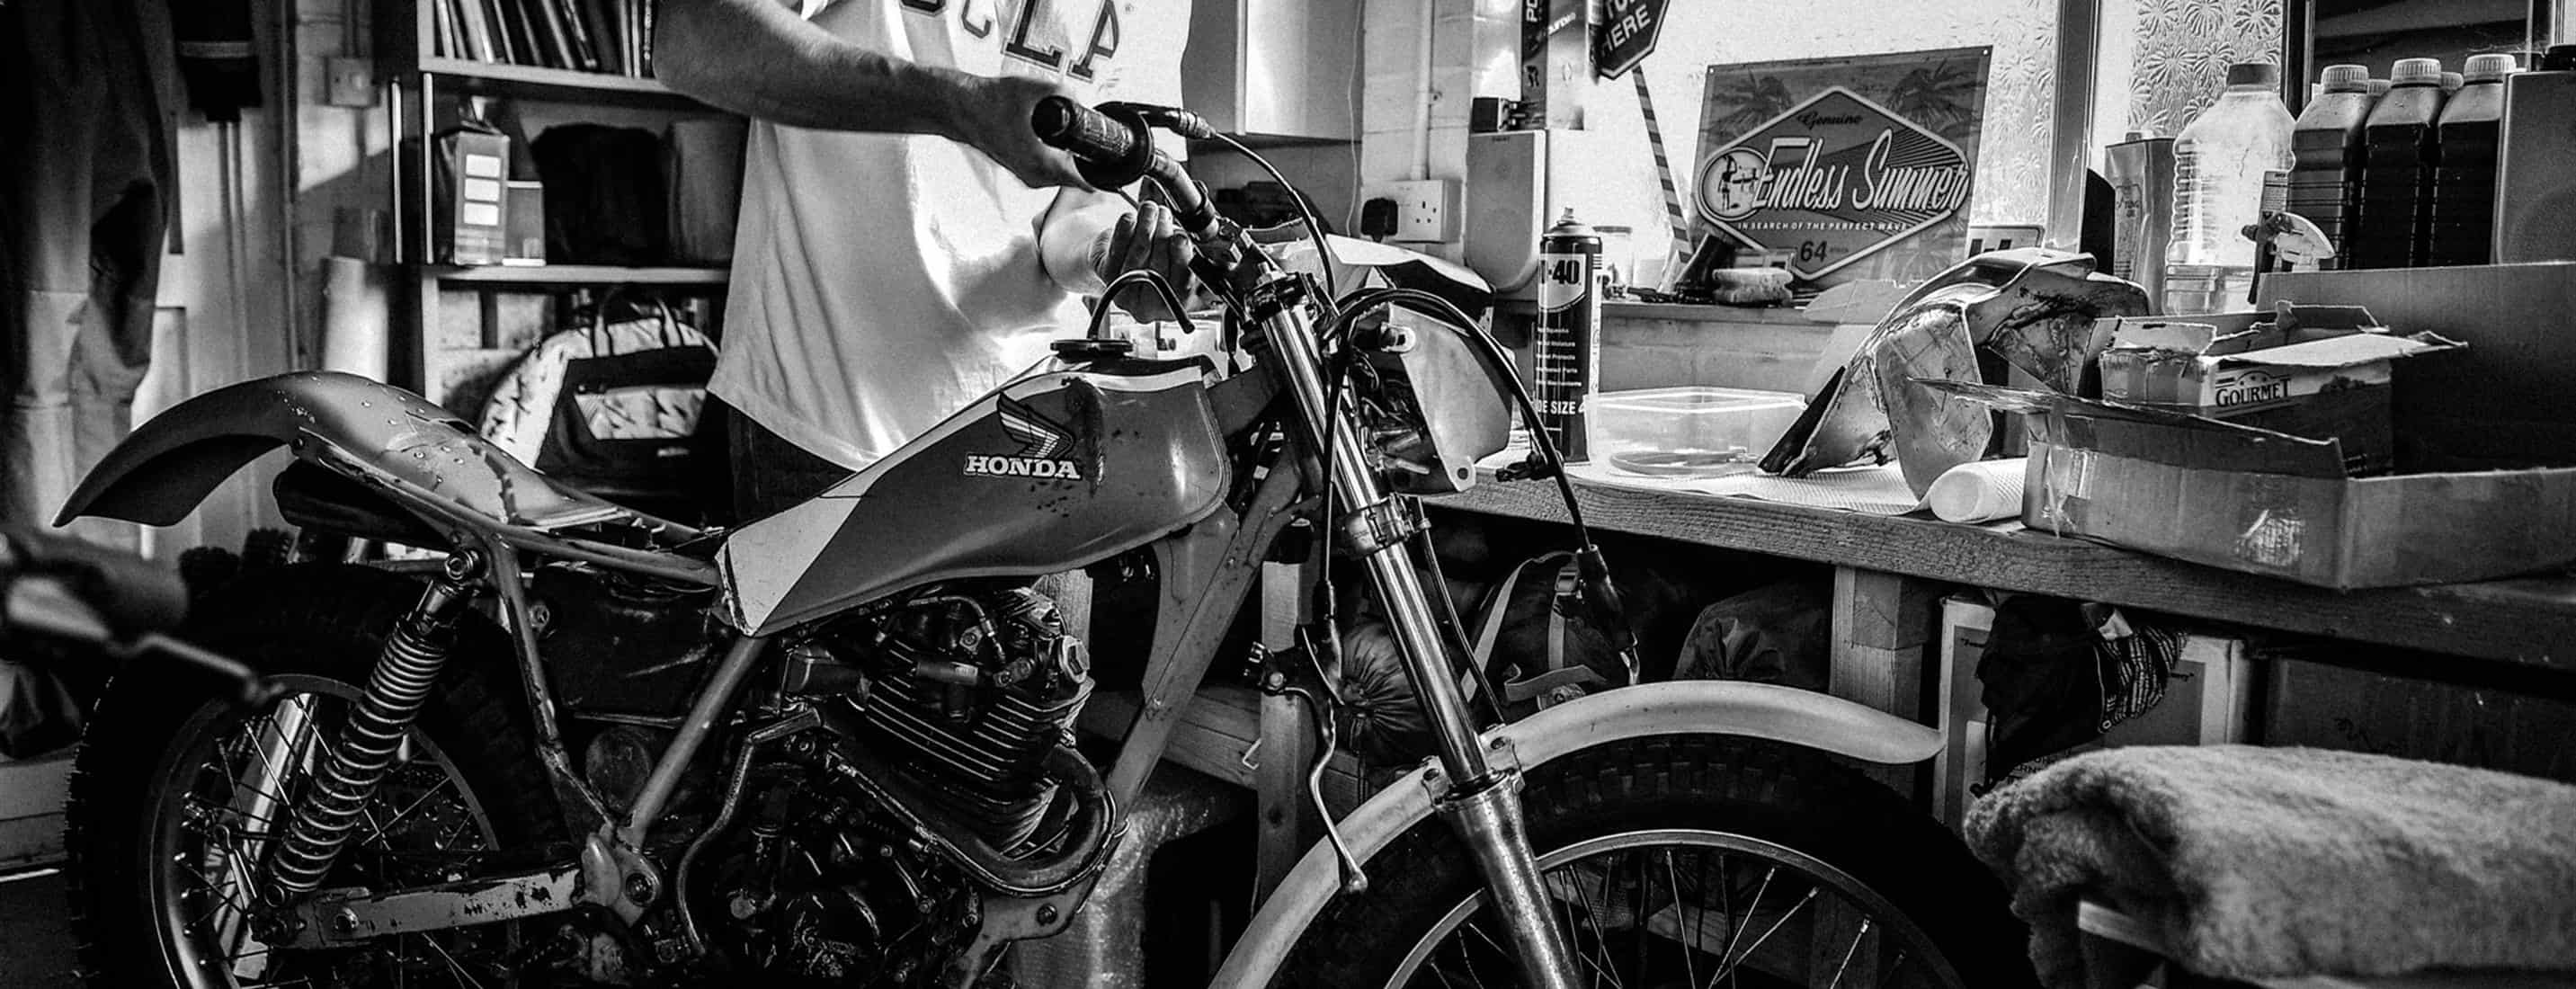
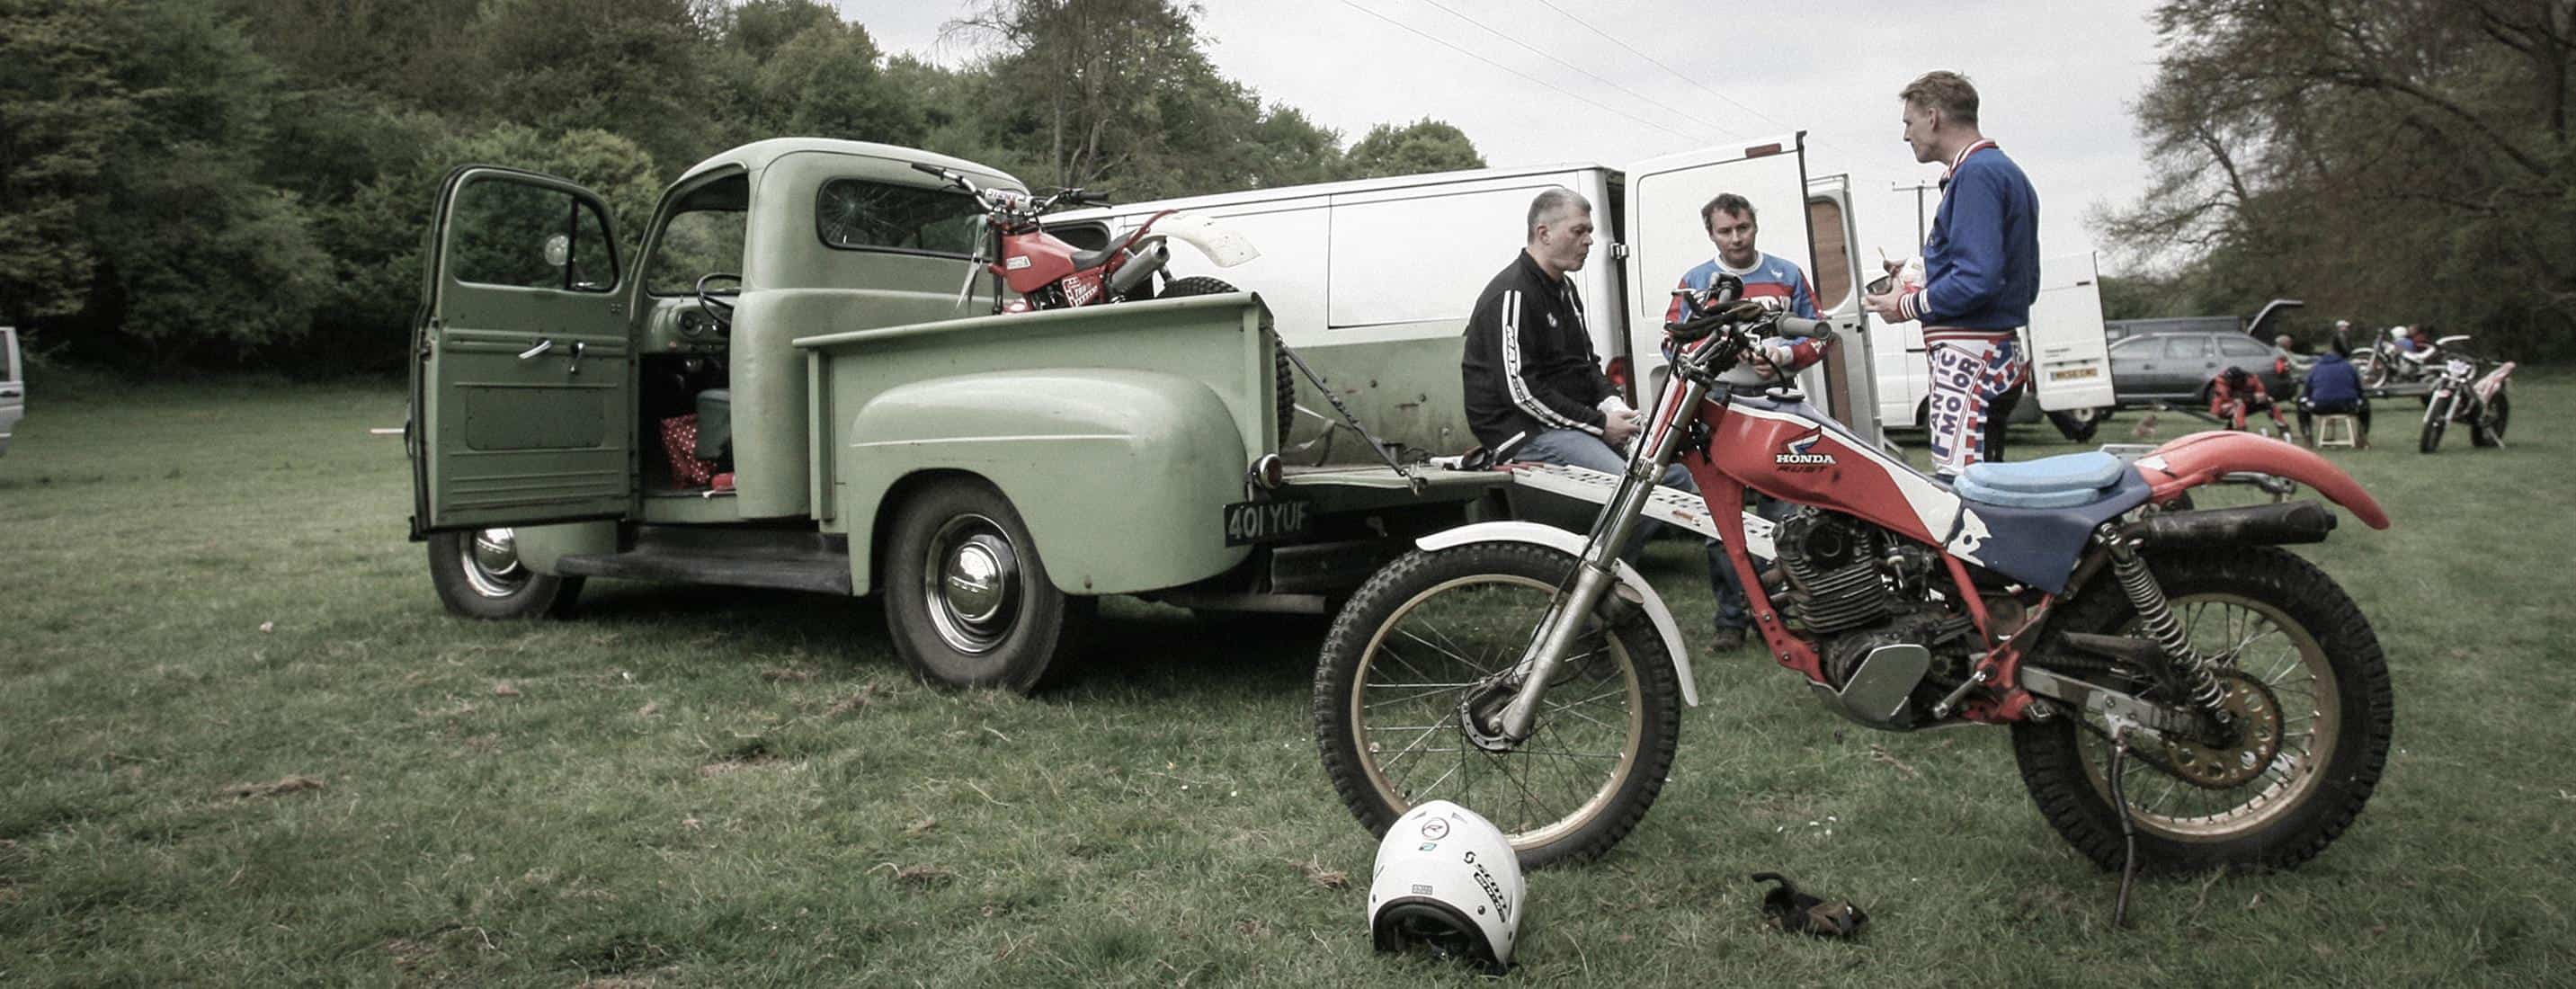
Editor JB shipped his old 1985 Honda TLR250 back to the UK after it lying dormant in a New Zealand garage for over 13 years. It hadn’t been prepped for storage, yet once released from its shipping crate and given a splash of old fuel it started fourth kick. Suitably emboldened, JB decided to recommission the TLR, and see if he can rekindle an affection (love would be too strong a word) for trials riding.
Part 2
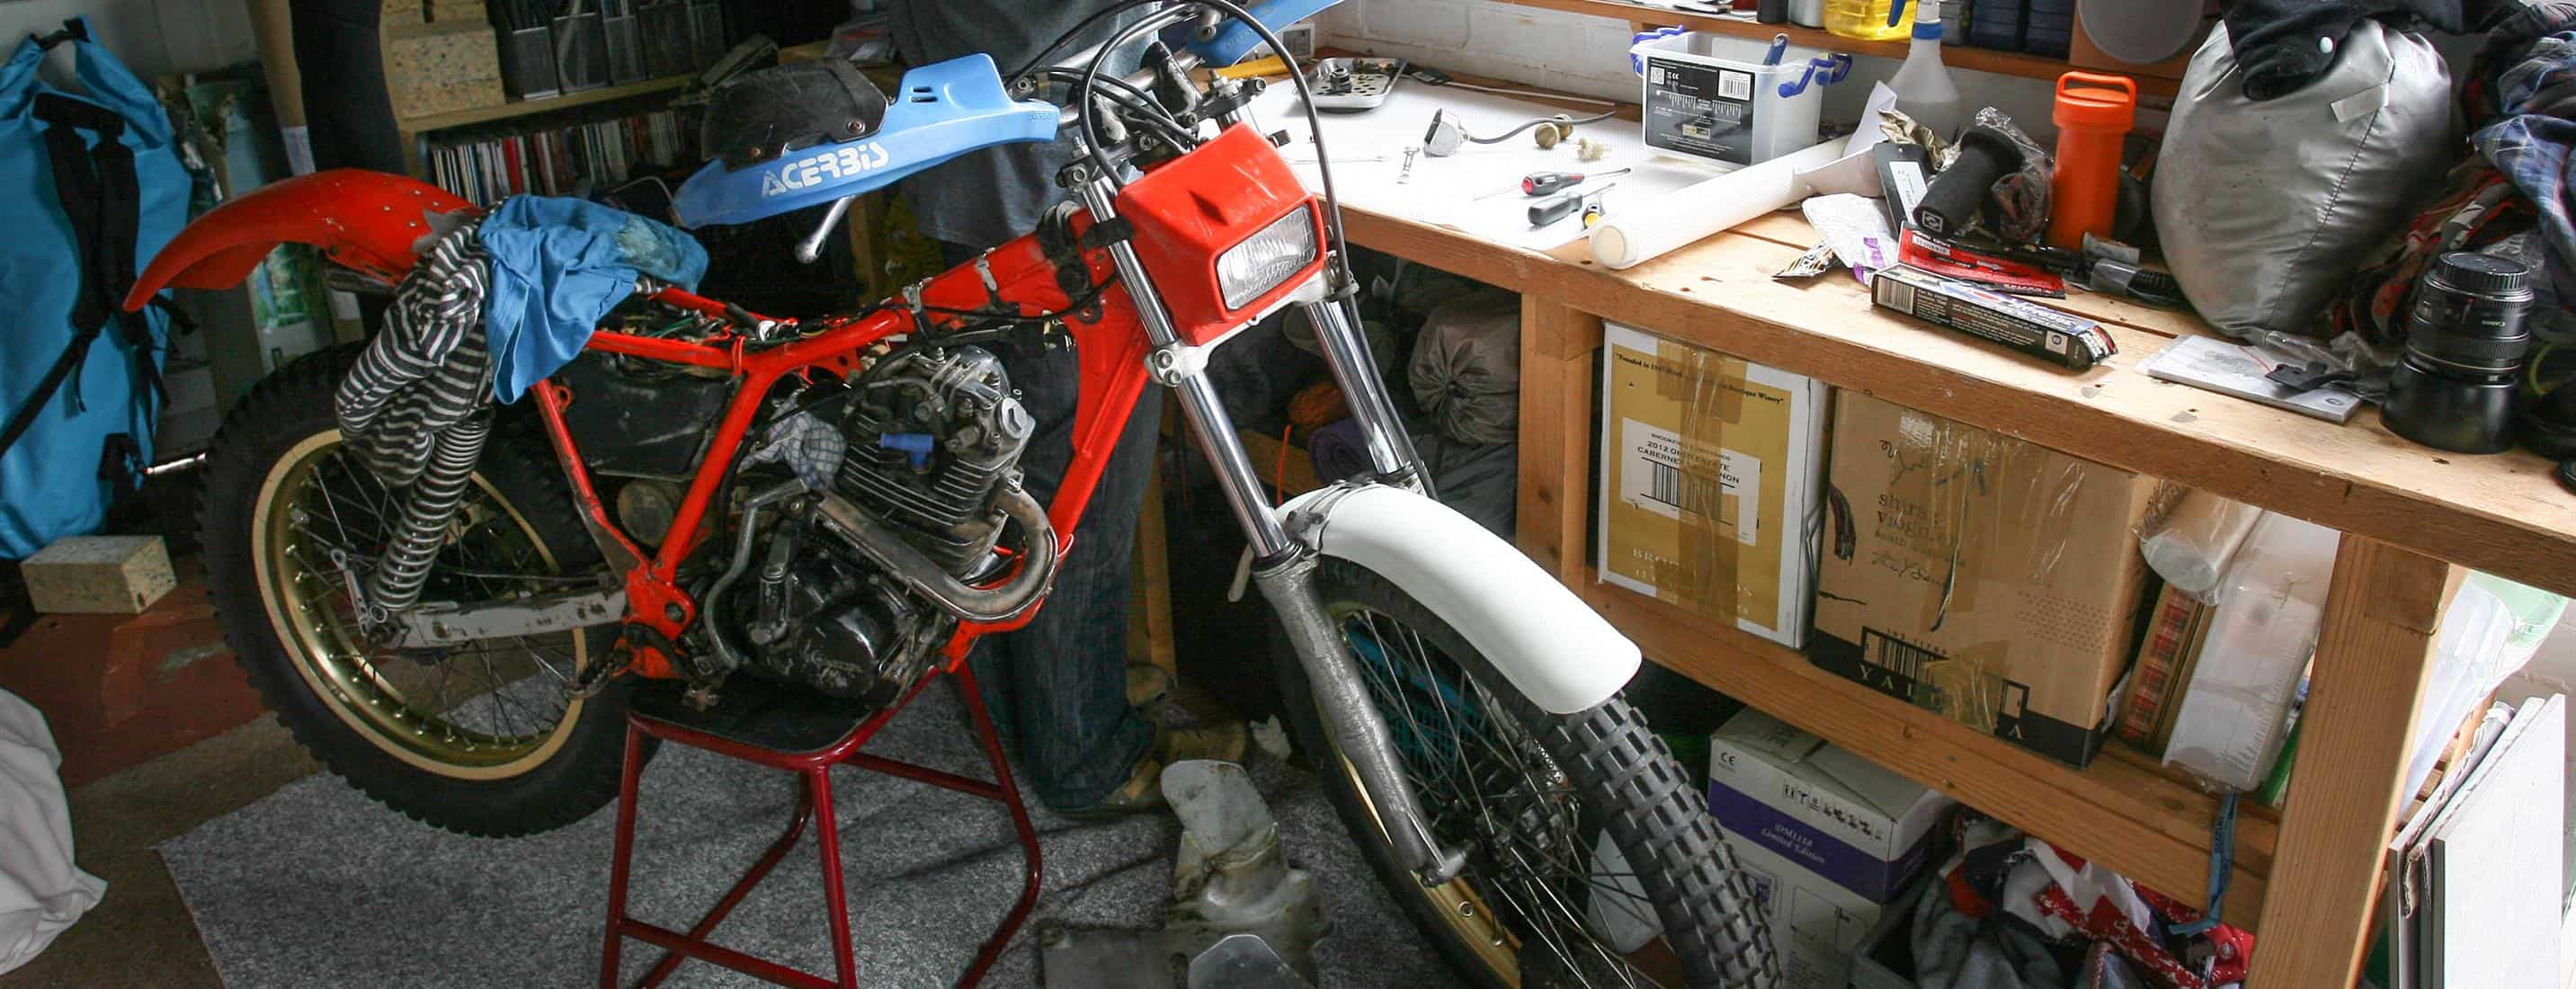
OCTOBER 2016: The process of re-commissioning the Honda TLR250 has begun. Slightly haphazardly as I’ve been going from here to there in identifying work to be done and as (I dare say) my limited attention span has drifted like flotsam on the waves of enthusiasm. I need to make a list, to strike some order, but at the moment I’m simply too absorbed in spending time in the garage with the bike to worry about stuff like that.
It’s a treat, spending time in the garage; working on the bike there’s a real sense of therapy about it. In my mind I will make this bike better, although for now all that seems to be happening is its deconstruction into smaller assemblies, each one a mini-project involving restoration or replacement. Then there are the irritatingly regular moments of exasperation as a fastener or a component reveals its true degree of decrepitude. Rusted, seized or worn out, the list of these items is gaining in number. When it gets too much I walk away and take a breather before I risk breaking (another) something. Later I go back and using rationality I look for a solution, it’s usually there.
And all the while I ponder the cost. What will I replace, what can be cleaned up or repaired, what can remain intact? In the big scheme of things it’s all pocket money, but way more than a month or two’s pocket money, so I’m having to plan it out.
Anyway, here’s a run-through of progress (much of it backwards) in the month since I decided to get started on the TLR.
1
IT RUNS!
As mentioned in part one (see RUST 13), I first established the engine ran – and well. After 13-odd years in storage it took only a splash of months-old petrol and four kicks for the engine to jump back into life. Not just a splutter but a good healthy rev and tickover, and importantly no serious rumbles or clatters. So I warmed the engine up gently as I could then dropped the bash plate off and removed the sump plug to let the old oil out. It looked surprisingly clean, certainly showing no signs of water-in-the-oil contamination – a big relief there. I refilled with some common-or-garden 10W-40 oil and warmed it up again. The plan will be to drop the oil once more (like doing a flush) and then fit a new oil filter and fill again with some fresh 10W-40. I’m not planning on using anything flash, these engines were designed to run on old tech oil.
2
IT LEAKS
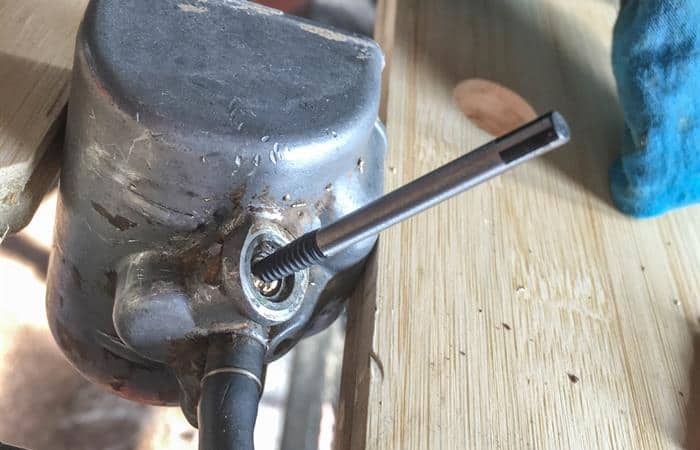
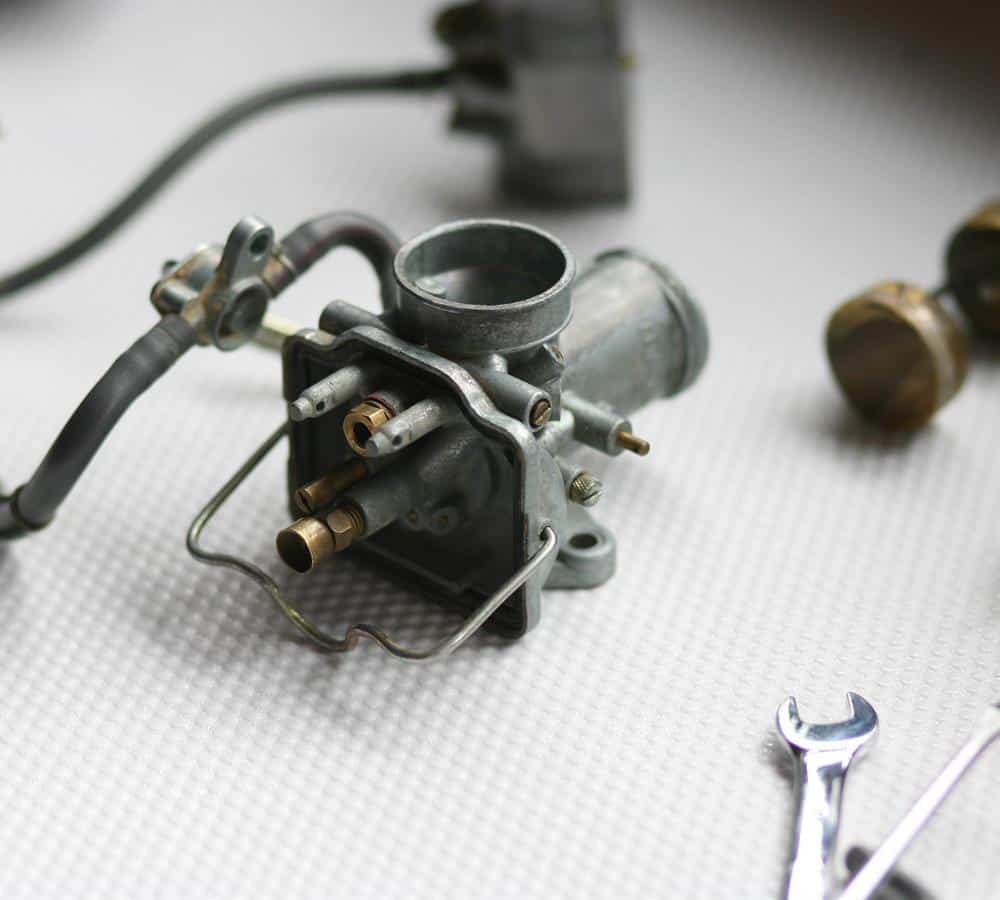
Darn, it leaks petrol, from the carb. Nothing major, it looks for all the world simply to be a matter of a perished gasket. An investigation was in order, so the tank came off (just one bolt, after I’d removed the seat unit) and then it was a case of loosening the two nuts on the inlet manifold and the one jubilee-type clip on the airbox boot. It’s a tight fit though, so the airbox had to be loosened too, to allow the wiggle room to remove the carb. One skinned knuckle later the job was done. While doing this I’d taken the cap off the top of the carb and removed the slide and needle to find both in great condition with very little sign of wear or scoring.
The carb is a Keihin PWK22 and is a masterpiece of simplicity. One slide, one needle, one spring-clip to hold the float bowl, then simply a float and two jets, one for idle, one main jet. Oh, and one brass float bowl drain screw. This seemed to be the source of the leaking, there looking to be a fibre washer acting as the seal (or not). Of course it refused to undo. In my misplaced enthusiasm I applied bigger and bigger screwdrivers until eventually I figured a set of mole grips would be best. These snugged on nicely but then on turning simply twisted the head off the screw leaving the thread in place… A stupid act of impetuousness, I was immediately filled with remorse. It just needed some heat, or at least soaking in releasing agent and that screw would have budged easily. Dummkof! Now I’ll still need to do that, but will need a screw extractor to finish the job, hopefully without murdering the thread in the float bowl. A lesson to be learned there.
In the meantime a little online researched revealed a great trials parts specialist called Trail & Trials UK (www.tytrials.co.uk) where John Cane keeps an excellent stock of new old stock (NOS) and pattern parts for trail and trials bikes of the 70s, 80s – well, through to today. One pleasant phone call later I had a complete carb gasket kit, plus a bundle of other parts, all for little more than beer money (so very ‘trials’). John was also a good source of knowledge, among other matters warning me to be ready for when the valve stem seals give up – they perish given long periods of inactivity. You can tell they’ve gone, he said, by the plumes of smoke from the exhaust that come as a consequence. Maybe not immediately, but soon enough.
3
IT SHINES?
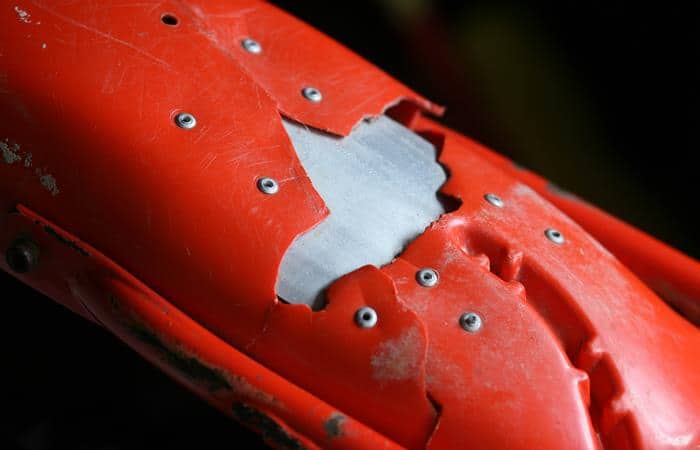
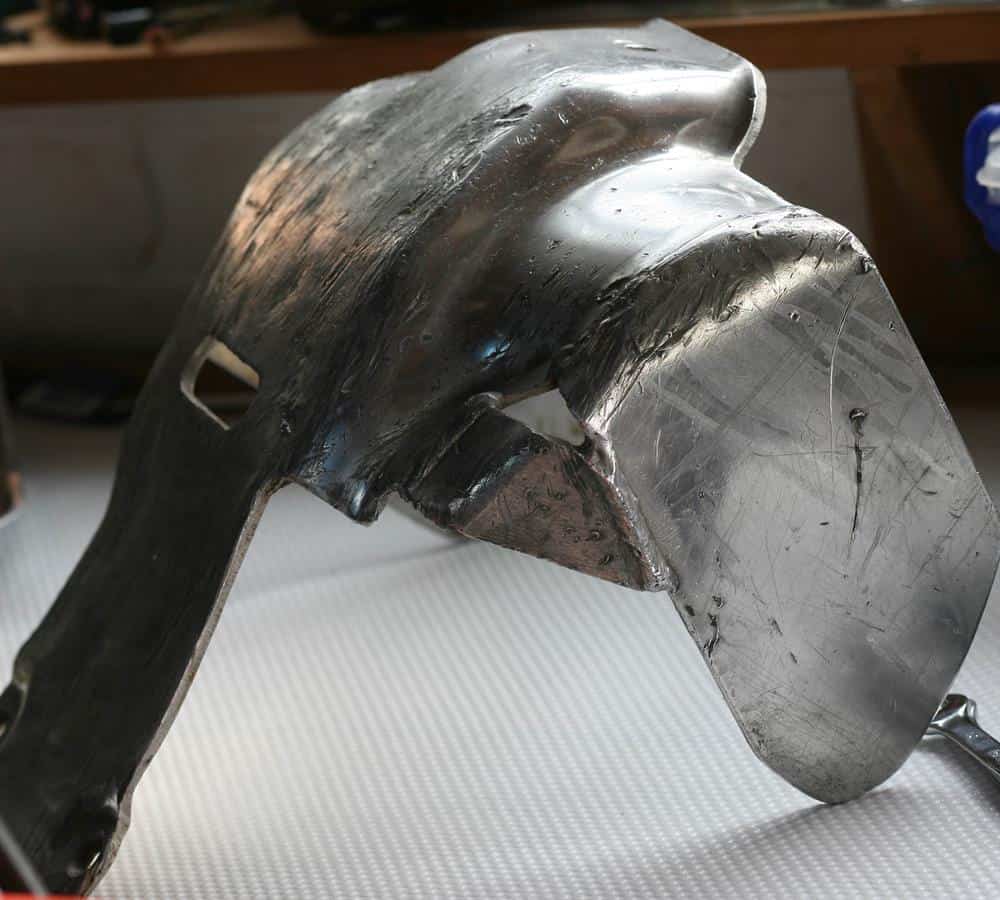
The sump plate on my TLR I really like, as with other small modifications around the bike, it speaks of its New Zealand heritage. It’s nothing flash, just the standard plate with added ‘wings’ welded on to further protect the engine cases. My old mate Hump (who owned this bike before me) would take this bike on extreme bush riding raids in the Coromandel Peninsula back in NZ, places where it could be a long-long walkout if your bike broke, so mods like the extended bash plate plus the hand guards were there to make the TLR as crash proof as possible.
Anyway, the bash plate has obviously seen some action and then plenty of inaction, both leaving it looking pretty sorry. A cheapo polishing wheel (from Lidl) attached to an electric drill has taken care of that. It’s not back to unblemished, concours (not even close) just to a clean presentable standard. That’ll do, that’ll do.
4
IT CRUMBLES
With the carb off I took a look around the airbox. It’s all intact but there was much 15-year-old mud caked inside and out – so it needed a thorough clean – and the old filter looked quite manky.
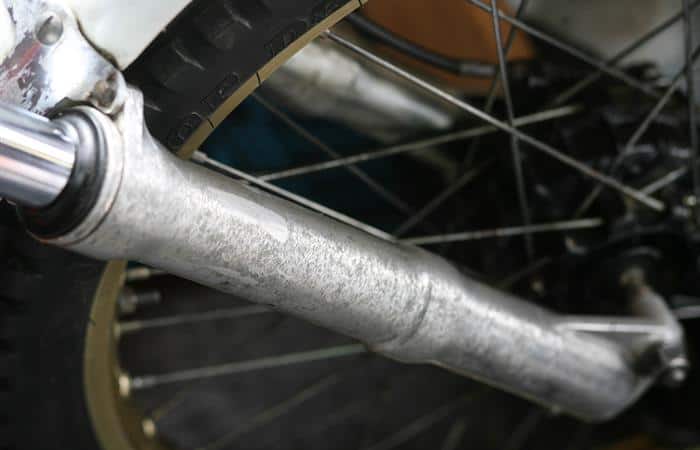
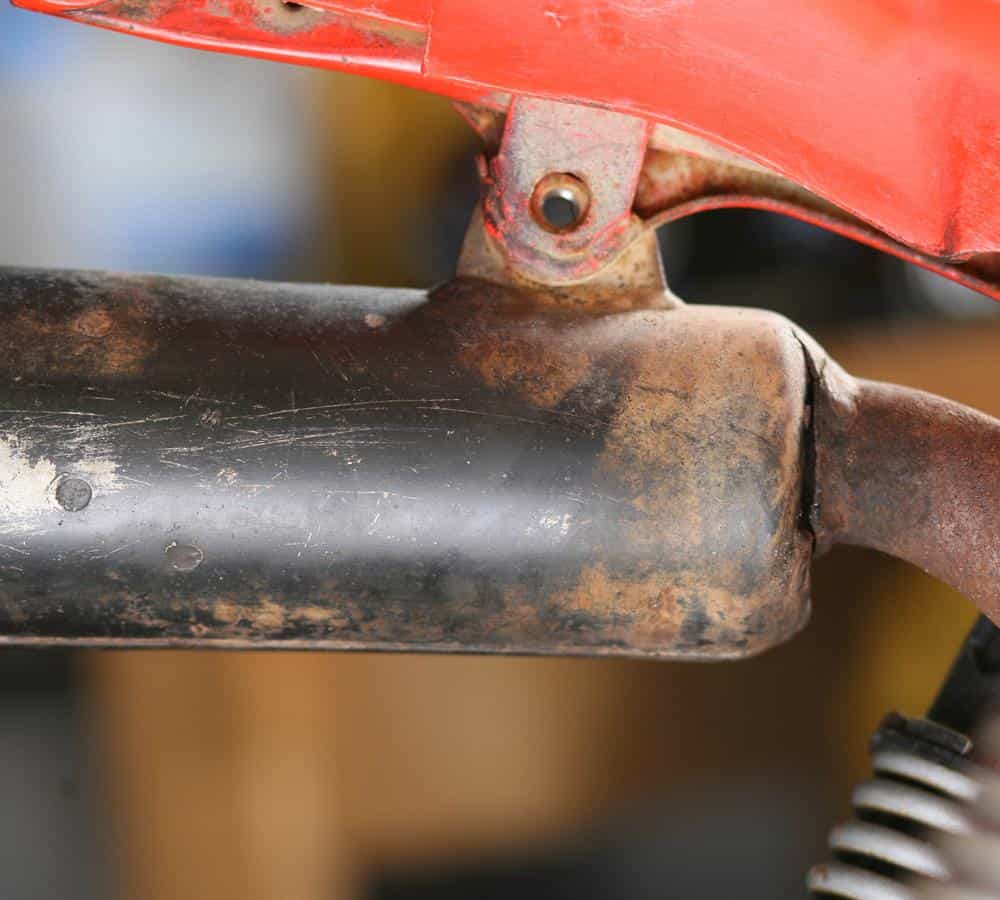
Trying to clean it wasn’t so easy as the exhaust snakes around it. Easy answer – remove the exhaust. By now I knew not to attack anything square-on, but instead gave the fasteners repeated soaks with some WD-40 before gently snugging a socket onto the bolts. The bolts released a treat. Only the header pipe to muffler joint refused to budge. More WD-40 there, then the odd gentle persuasion with mallet and drift. No dice. Then a gentle tug on the muffler. Then something gave. Only it wasn’t the joint, instead the muffler fractured its weld to the pipe – damn!
So the airbox is being cleaned in-situ. I’m still pondering whether there’s enough metal to make a weld repair on the muffler, or whether I bodge some liquid metal over it or be real brave and buy a new exhaust (another two-months budget)…
Meanwhile a new foam filter is just a few bob, so I ordered one of those up.

5
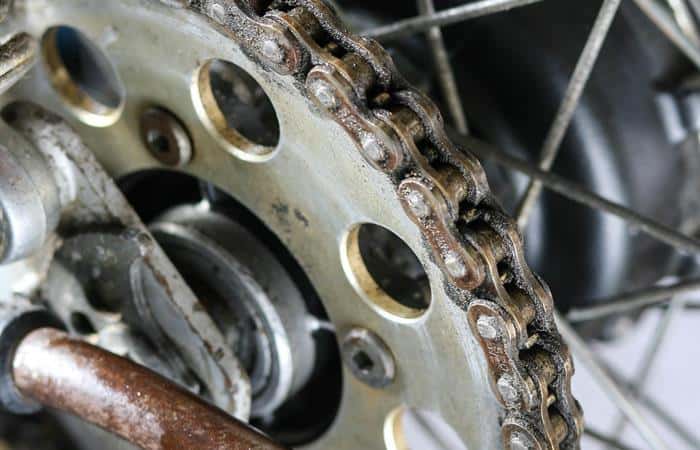
IT GRINDS
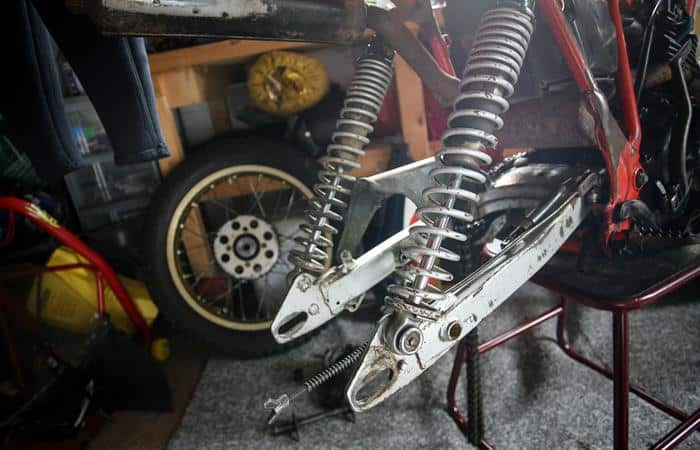
Attempting to remove the exhaust required the removal of the rear wheel. No big job and I was pleased to find the axle was still well-greased, so everything came apart nicely. Only the bearings feels a mite gritty. There’s no play – at the moment – but I suspect they’re a bit dry and being sealed I think we’re talking replacement. That is after I’ve found a way past the locking arrangement on the sprocket side of the hub – looks like a special tool needed there. Haven’t yet found anyone who knows how that comes apart.
6
IT RESISTS
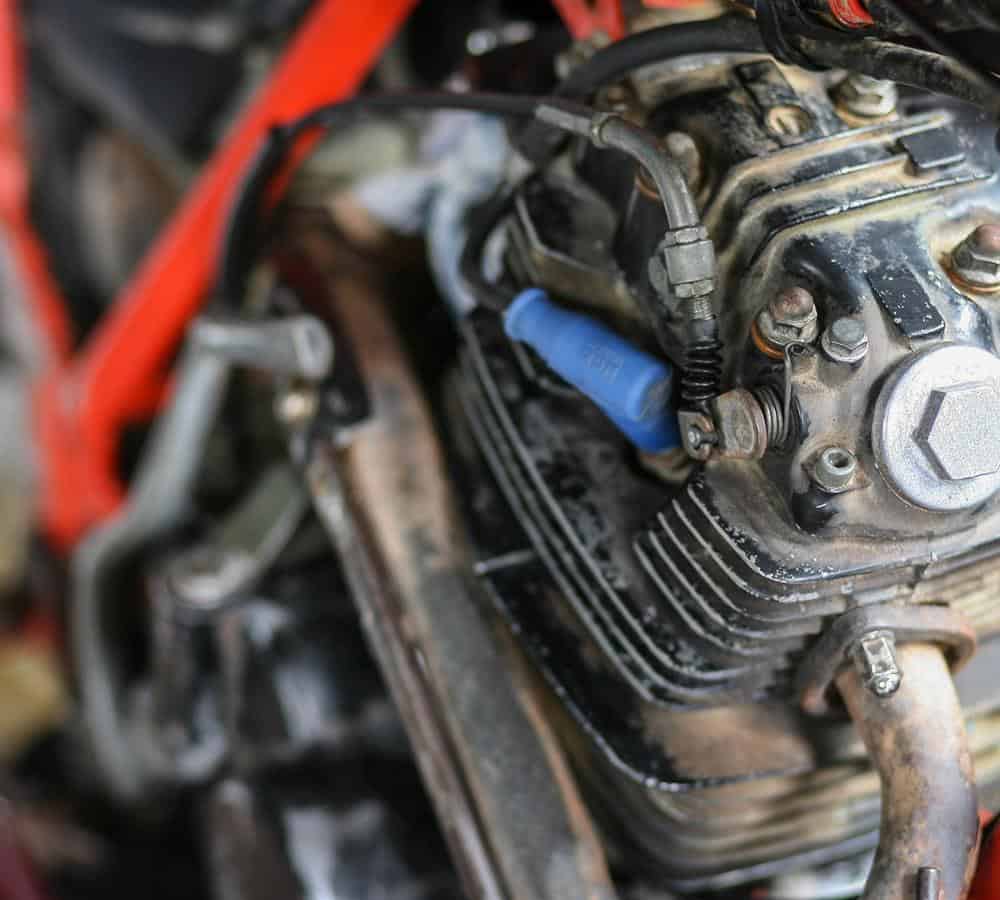
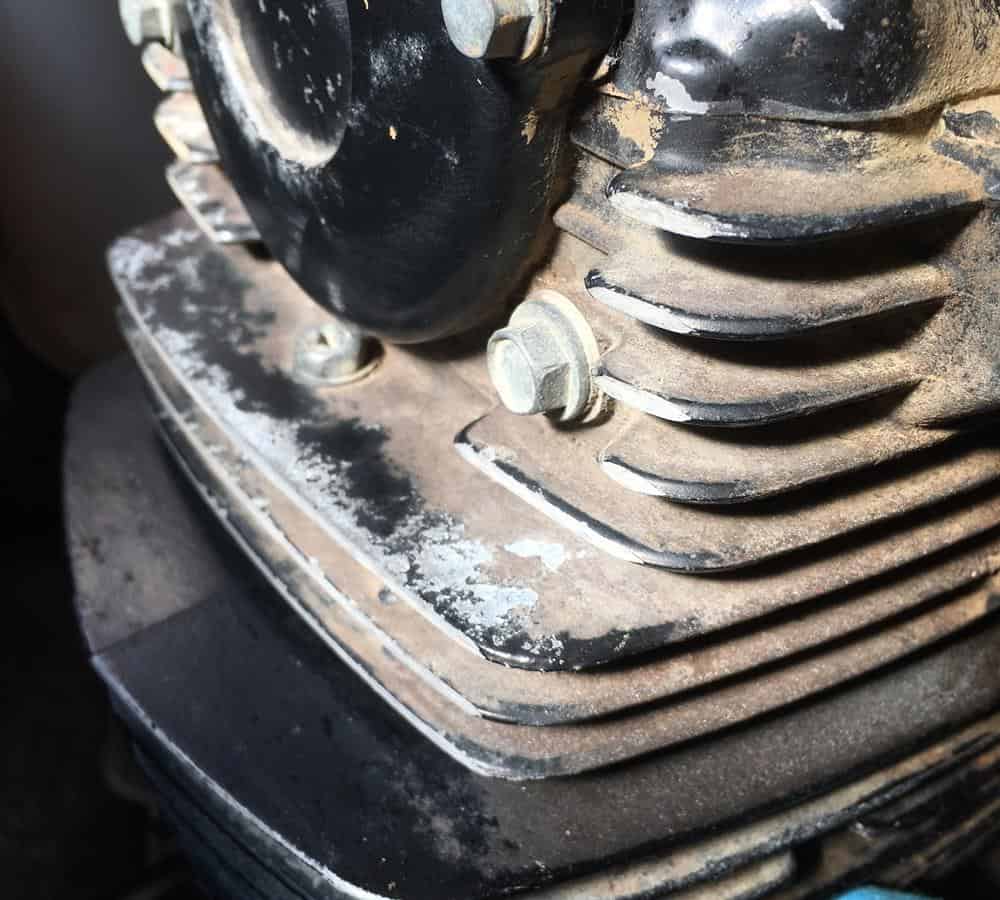
So far attempts to clean the engine have come up short. Neither petrol nor degreaser have shifted the years of baked-on dirt that sticks so resolutely to every fin and in every crevice. Using plenty of elbow grease and a stiff-ish brush it’s getting a wee bit cleaner, but I need a magic potion to dissolve this crud otherwise I’ll be here until eternity.
7
IT’S NOT ALL BAD
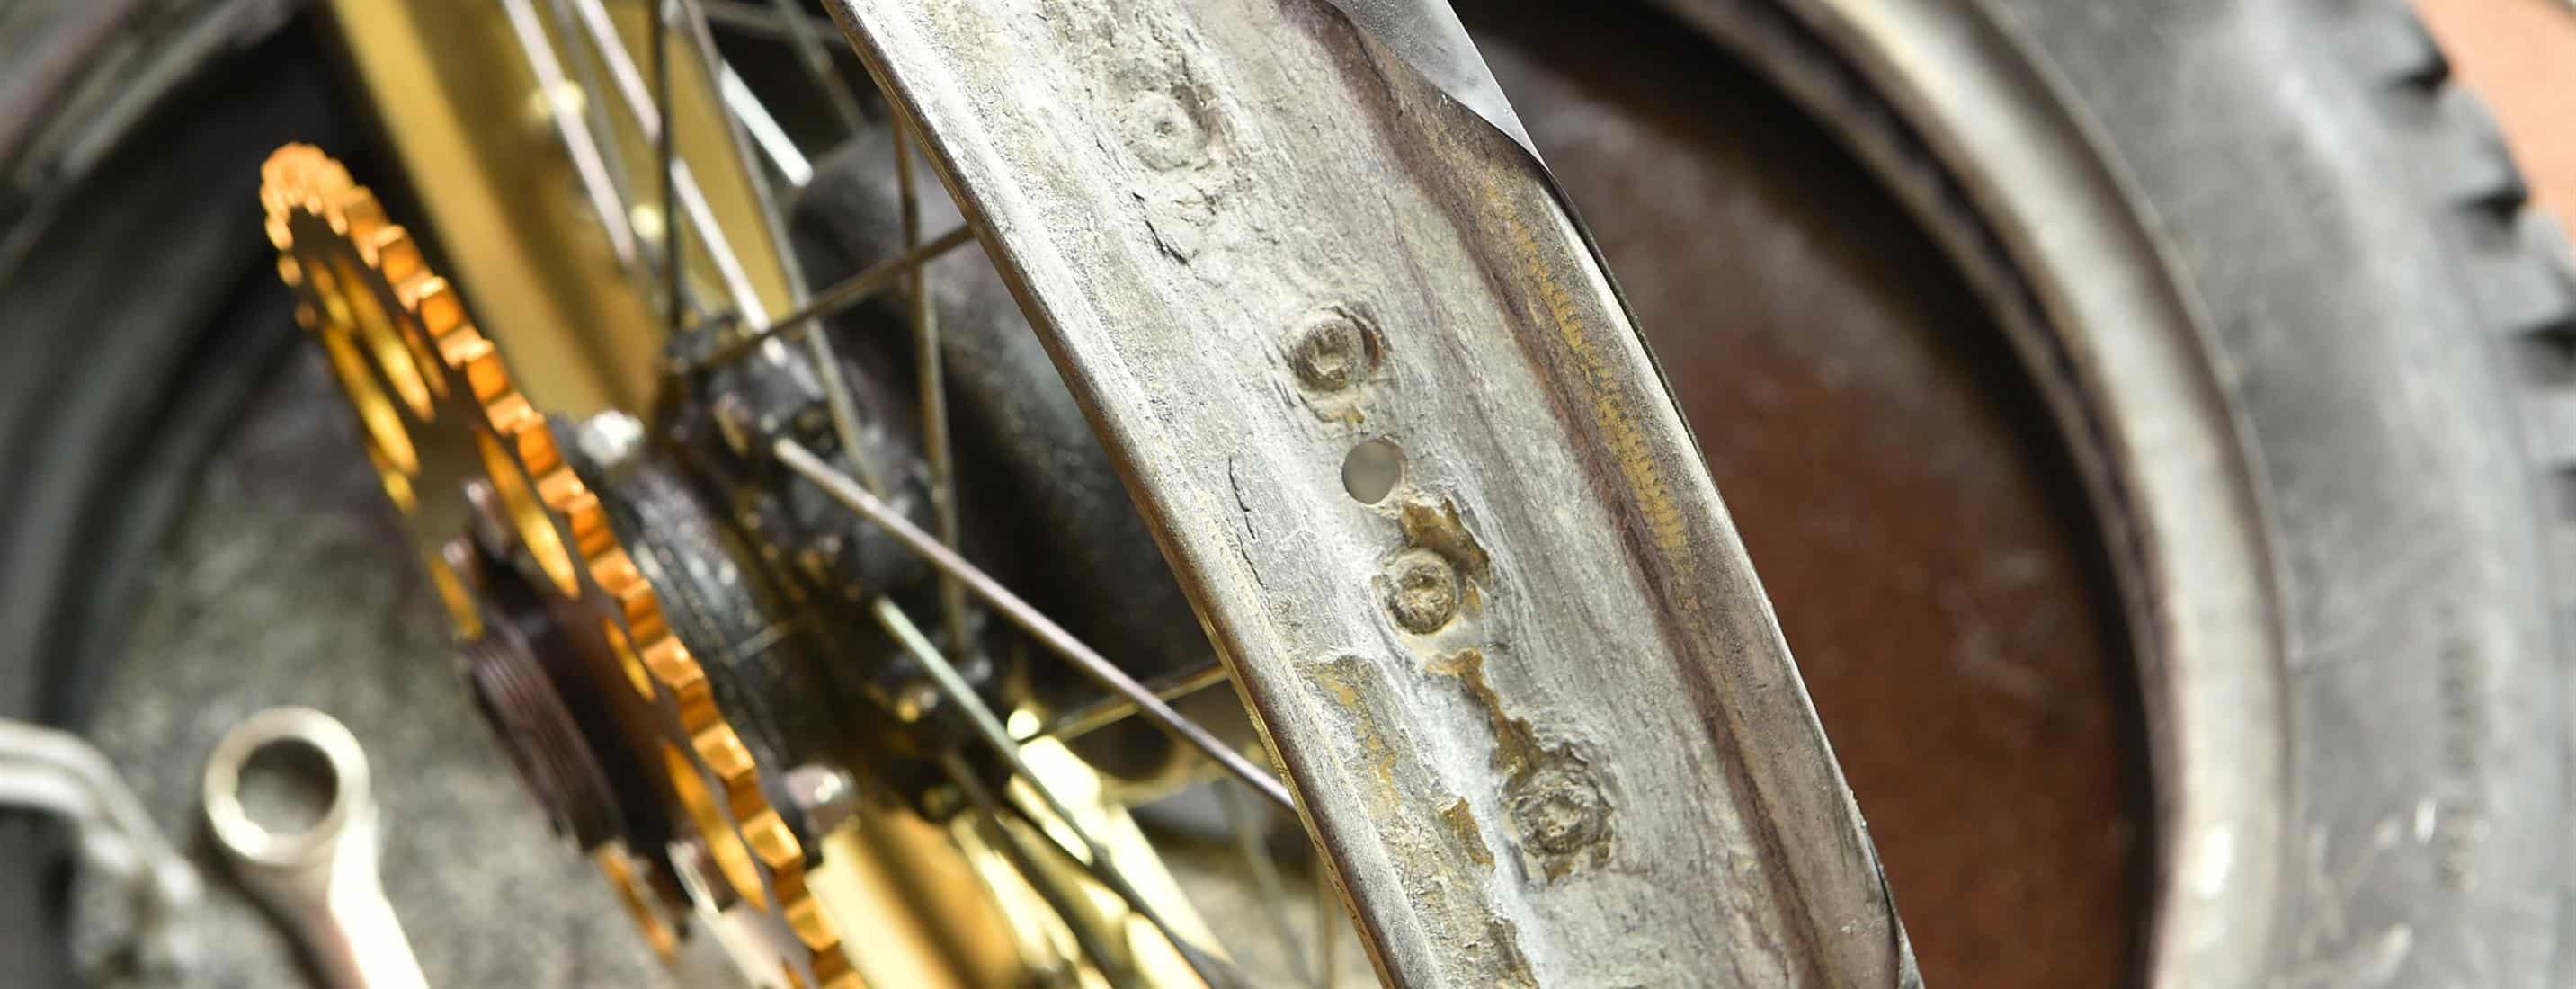
The wheels are looking pretty good, all things considered. Metal polish rubbed on with old T-shirts is bringing the spokes and rims back to life. The spokes don’t exactly sparkle but in places they’re shining again and there’s no rust – I’ll take that as a win. The rims look sound as well and while they have a few scratches actually they’ll be just fine (I’ve seen so much worse). Even the hubs look pretty good, a simple rub with WD-40 has brought the rear hub up quite nicely.
The brakes are okay, they kind of work in that not-at-all hub-brake way, but I have two sets of new OEM shoes (that came with the bike) that could be pushed into service if needs be.
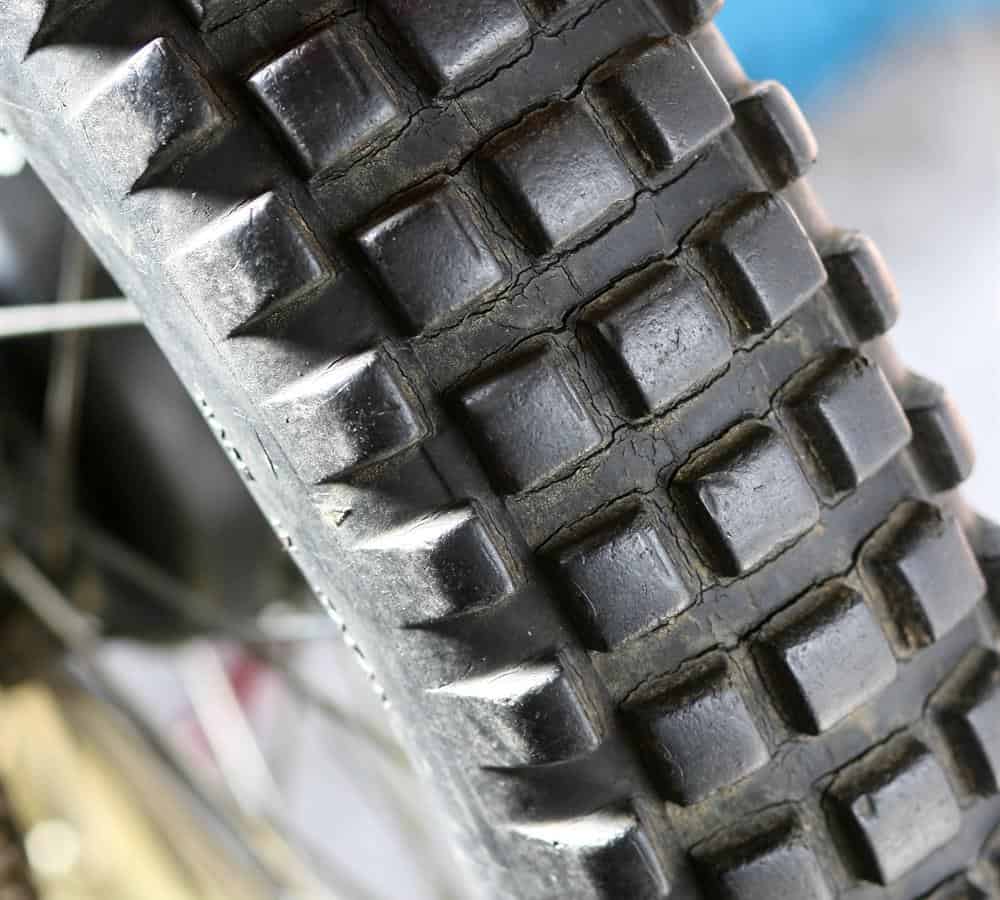
The tyres will have to be pensioned off, they’re cracked and weirdly shiny (about the only things that did shine on this bike). Not sure what I’ll replace them with as yet, something with a bit of grip would be nice.
A ROGUES GALLERY