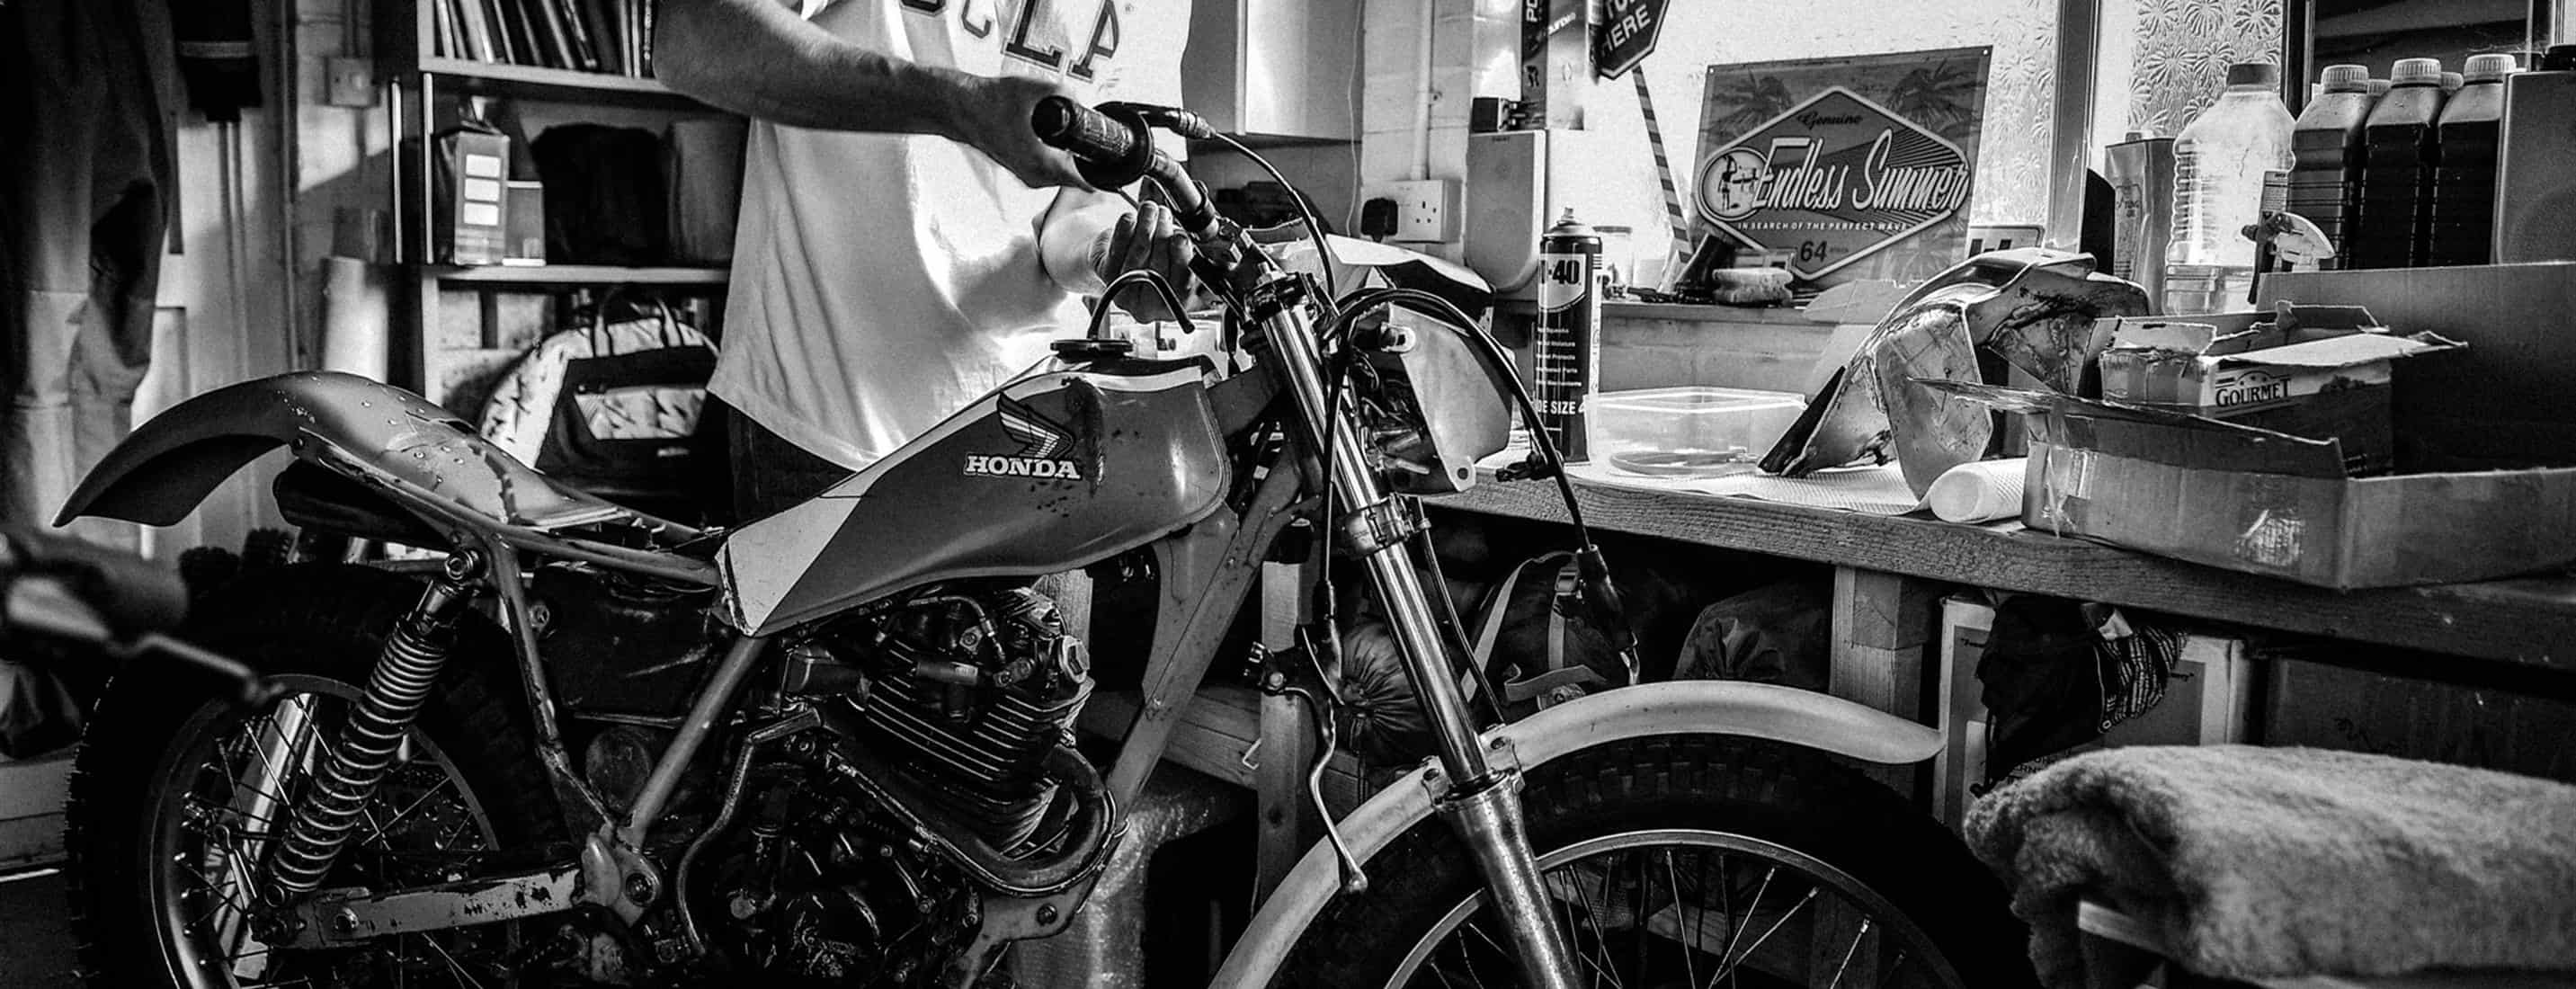

Sometimes you just have to be realistic, left 13 years in a garage unused – some things are going to suffer…
At the beginning of this project I wrote down a worse case scenario. I listed all the things that I thought might just have succumbed to over a decade of non-use – and next to them I wrote the current price of replacement. I figured if I couldn’t stomach that outlay then I shouldn’t even consider starting this job. Of course in the forefront of my mind was that eternal hope, that everything would turn out better than that. That the bike would come back to roaring life with little more than a wipe of an oily rag.
Well, sometimes reality is just what it is, to fool yourself otherwise is indeed to be a fool. Yes, despite my optimism the poor wee TLR250 really is going to need some serious TLC – and parts replacement – if it’s to come back to life. There can be no shortcuts. Hey ho…
Anyway, here’s progress since our last update:
1: OUT WITH THE CREDIT CARD
Some people hate to spend money. I seem to have something of my mother’s genes, shopping – and bike parts shopping particularly – is something I can embrace.
Helping me to spend were two excellent parts suppliers. Trail & Trials UK (www.tytrials.co.uk) and In Motion Twinshock Trials (www.inmotiontrials.com), both have excellent web-shops which list a fair few parts for my TLR with photos and descriptions to make parts identification real easy. John Cane at Trail & Trials is a good bloke and very much an enthusiast and very good on advice as clearly he’s dealing with guys restoring these old trials bikes on a daily basis. I like In Motion as its owned by Dave Renham who rode in the same trials events I rode as a kid (he was an expert, me a no-hope), he was a good kid then and I don’t doubt he’s a good bloke today – and I like that Dave’s still here, still involved all these years later.
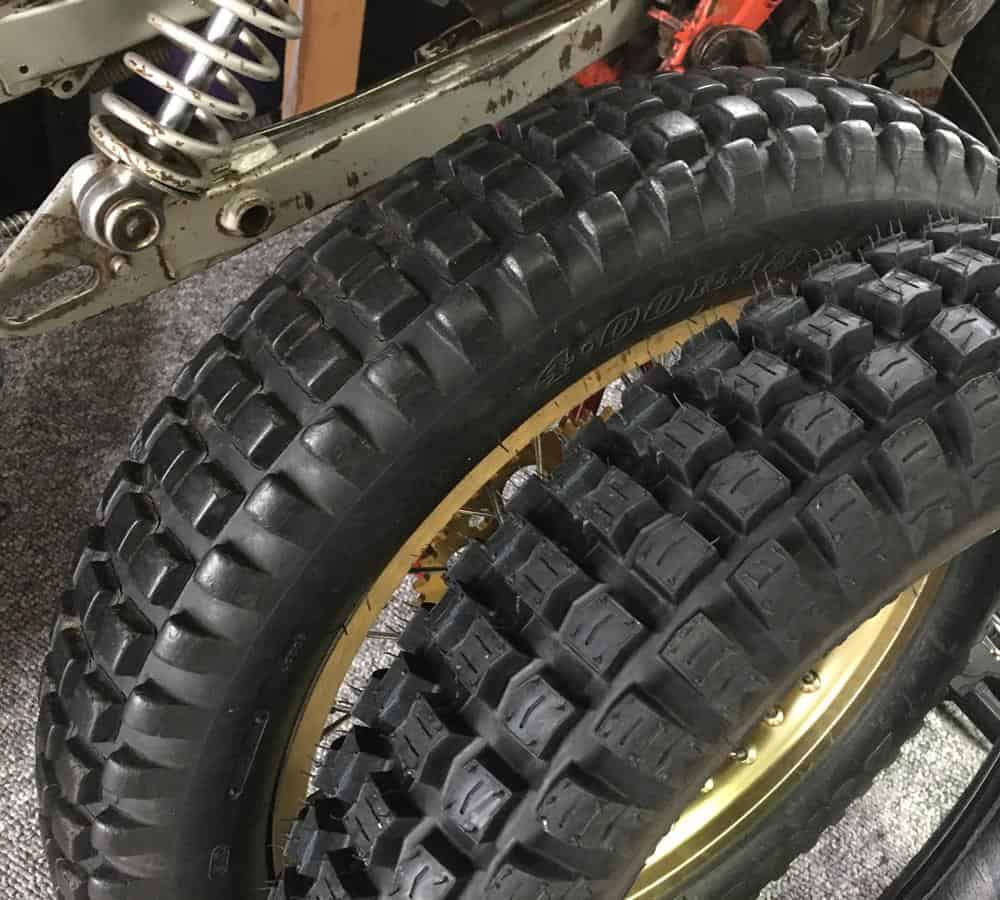
So first spend has been on consumables – an obvious immediate need. These things are in a constant need of replacement on a modern bike in use, so are long needing replacement on the TLR. New chain and sprockets, new tyres and new brake shoes were all a no-quibble purchase. Add to that a new gasket set for the (leaking) carb and a new air filter – again these were must haves.
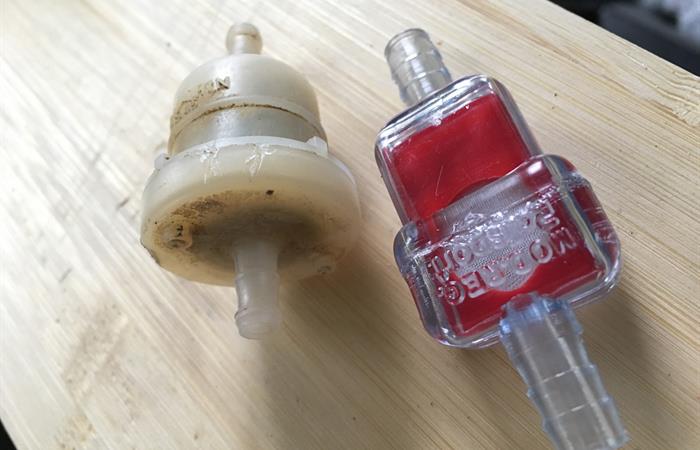
Then you add the small things that you might overlook, like a new fuel filter and hoses, new air filter and new spring clips. No big deal, but its always a mild surprise as to how they add to the final bill.
All in all, though, good fun in making up a list and exciting parcels to receive (yes, maybe I do need to get out more).
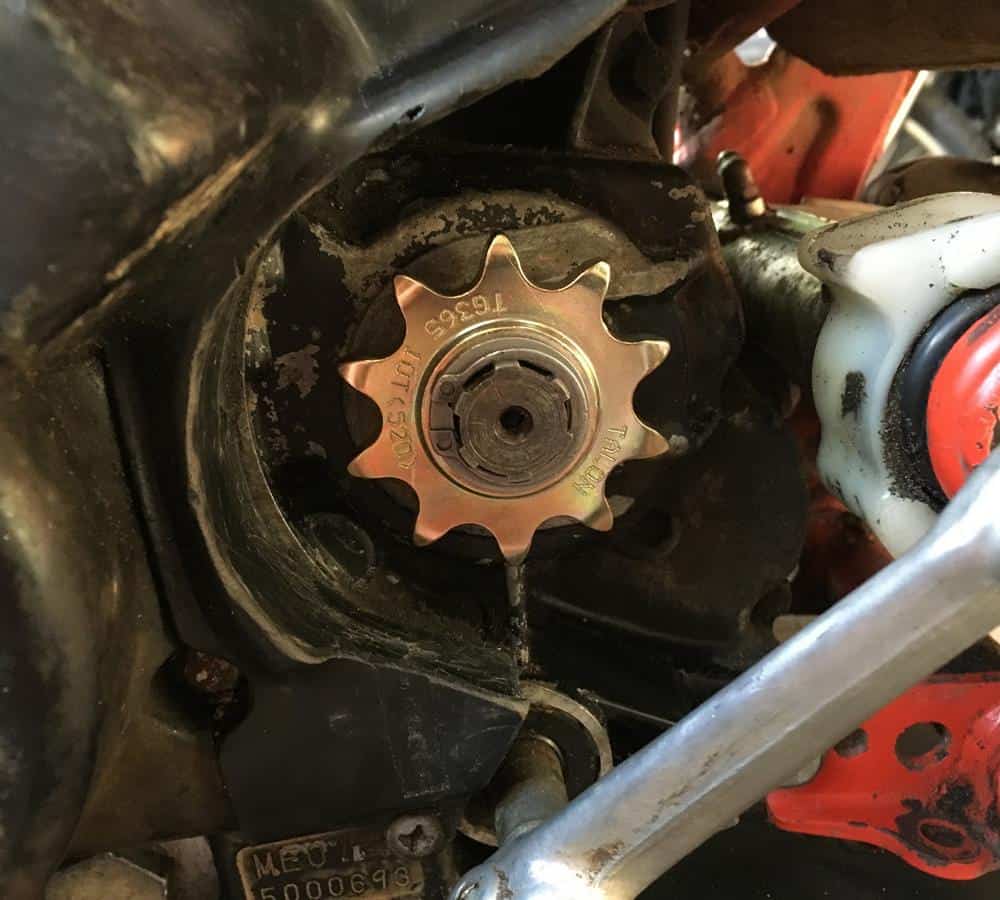
2: CHAIN & SPROCKETS
No big deal here. I liked that the countershaft sprocket is retained by a circlip not some nut tightened to some megadeath torque settings – makes for easy removal and fitting a new circlip to go with the new sprocket makes for peace of mind. I’d noticed the bolts and self-locking nuts on the rear sprocket looked worn and rounded and was relieved that with some penetrating oil they came off easy. With new bolts costing under £10 I figured a set of these, with new self-locking nuts was another no-brainer.
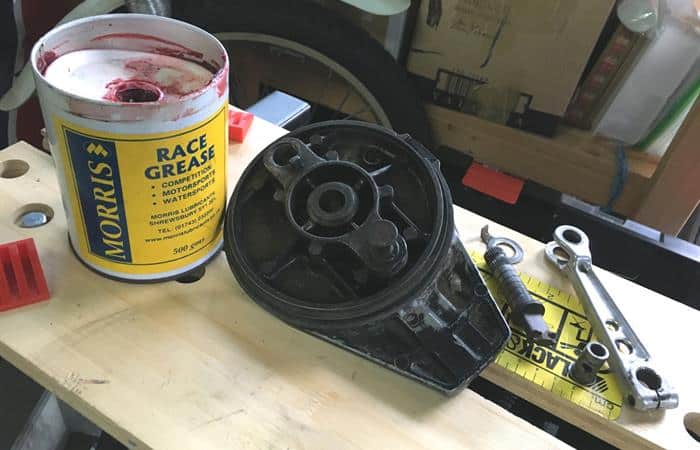
3: SORTING THE BRAKES
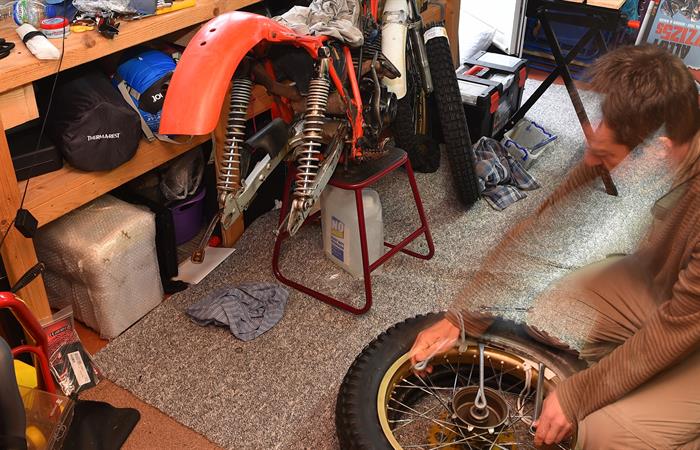
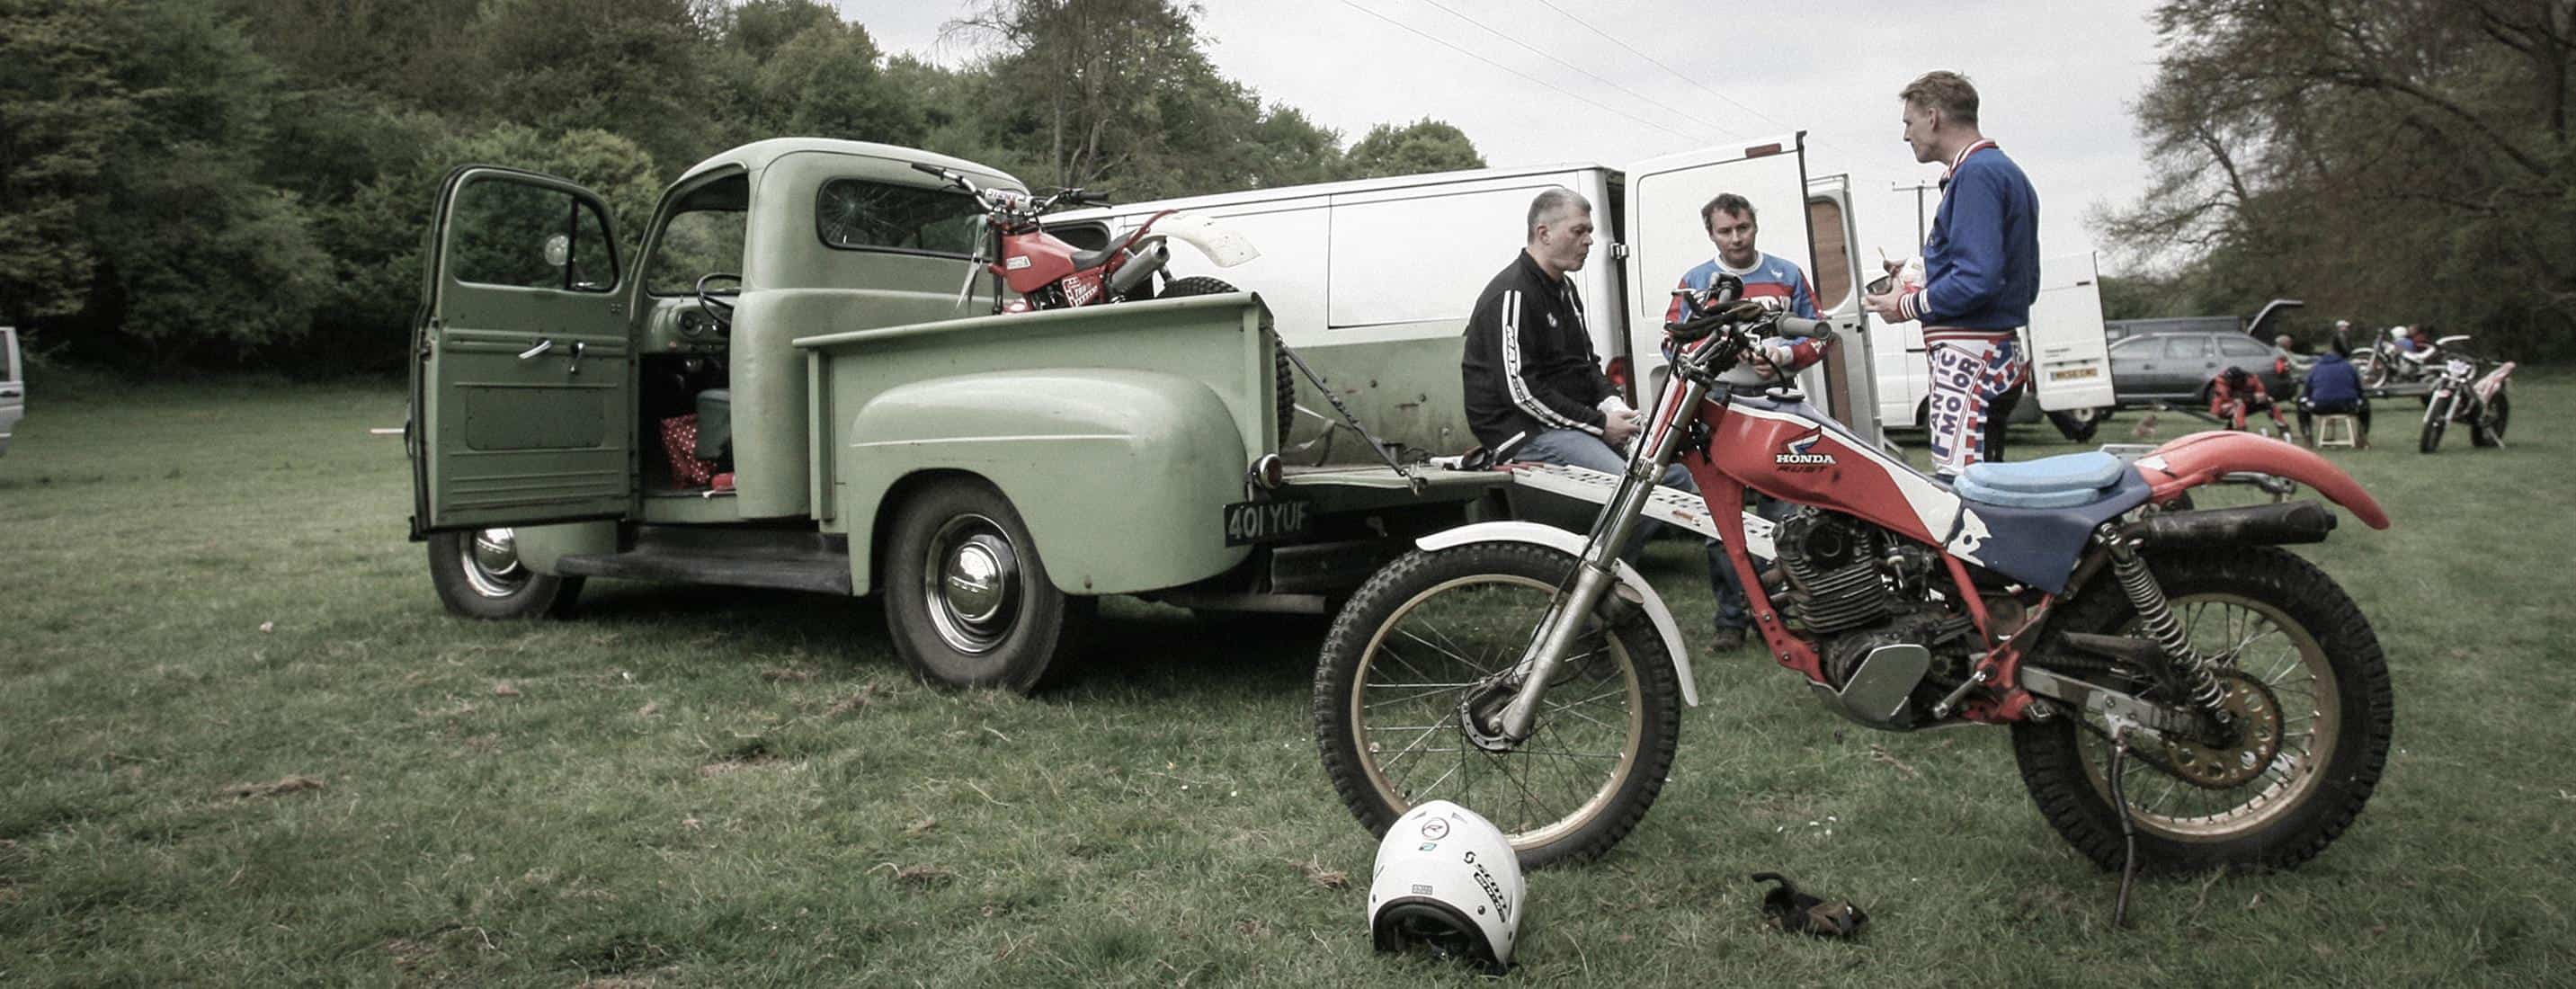
Finding time to do the work is never the easiest. I’ve had too many overseas trips this year and after family and other commitments it’s a matter of stealing a few hours here and there to get some jobs started. So working on a sub-assembly like the brakes is another nice first job.
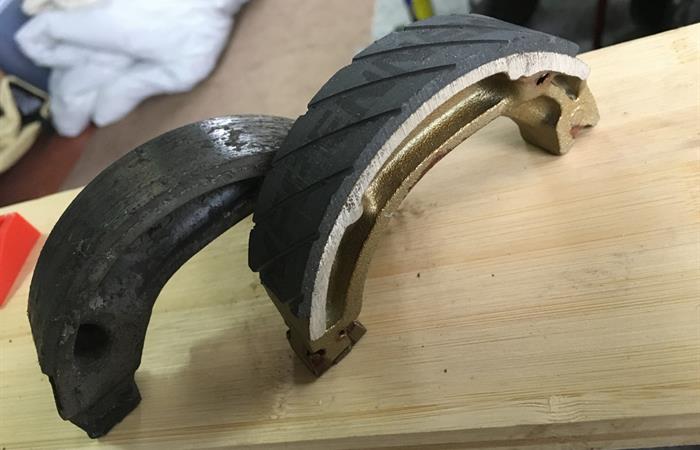
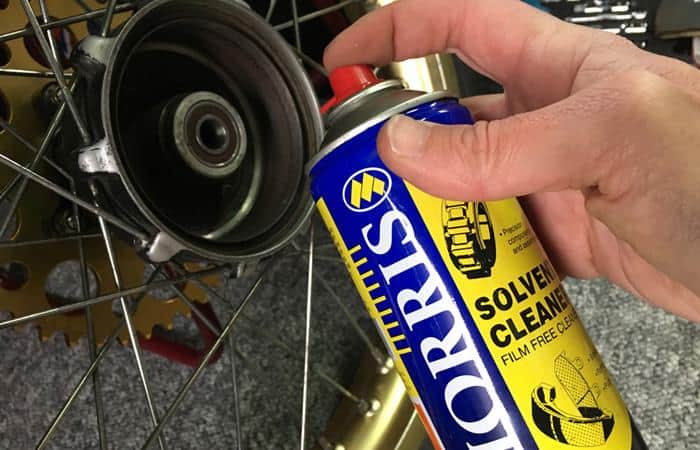
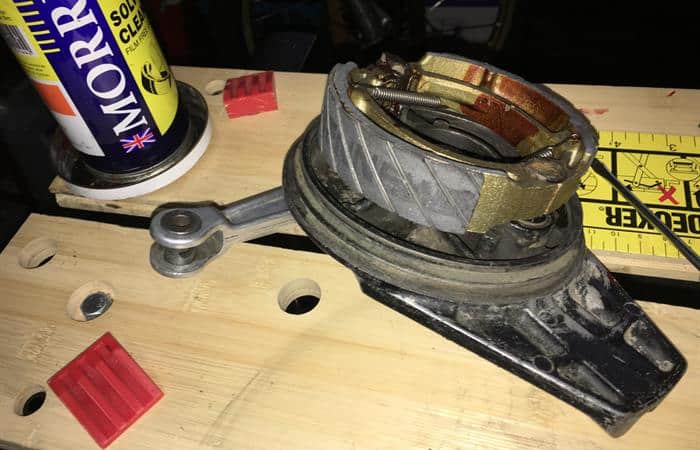
The hubs look in reasonable nick. I rubbed the drums with wet and dry to remove any muck build-up and have thrown away the old shoes which are both glazed and rock hard. Dismantling the brake assembly is ABC-simple. Cleaning up the pivots and re-greasing is super-satisfying while refitting new shoes (grooved – the hot ticket for trials brakes back in the mid-80s) was only a little tricky. Re-assembled and now smooth and almost friction free in action, this was a nice job.
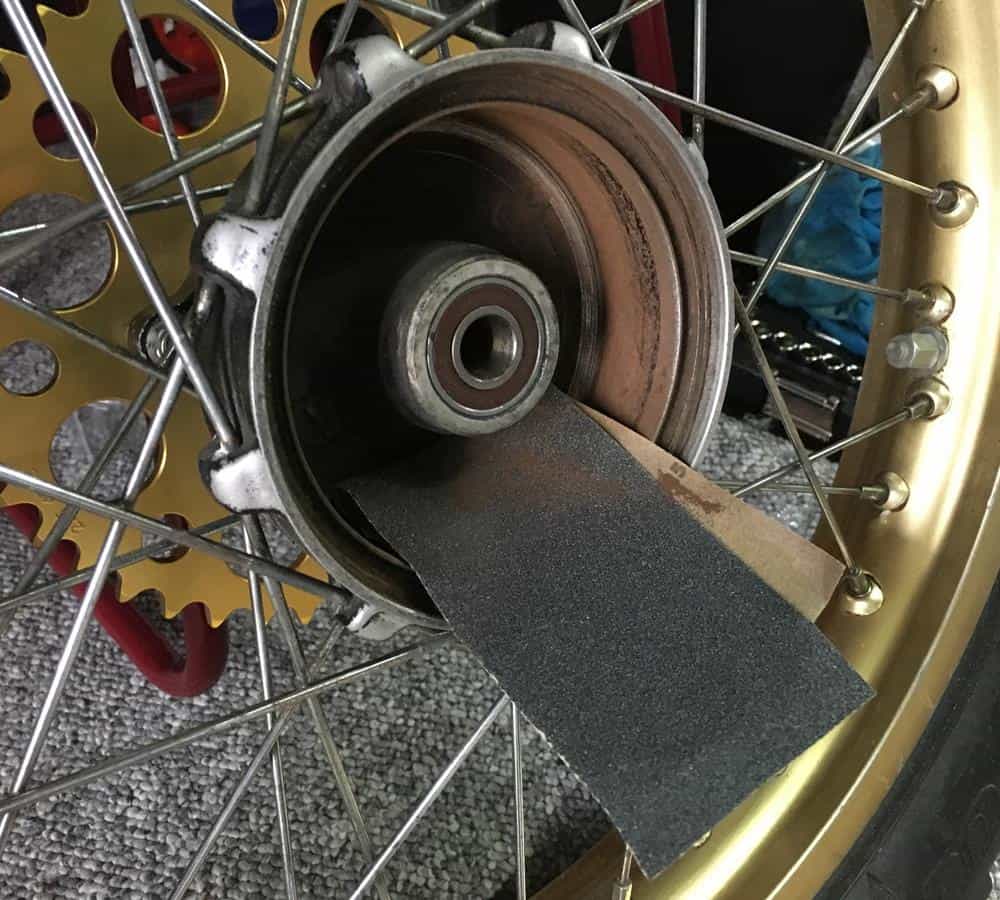
4: THE BEARINGS THOUGH…
In sorting the brakes I took another feel of the wheel bearings. Not good, I think these will have to come out. Fortunately they’re pretty cheap to replace. I’ve just got to hope they drift out nice and easy…
5: HOLY CRAP…
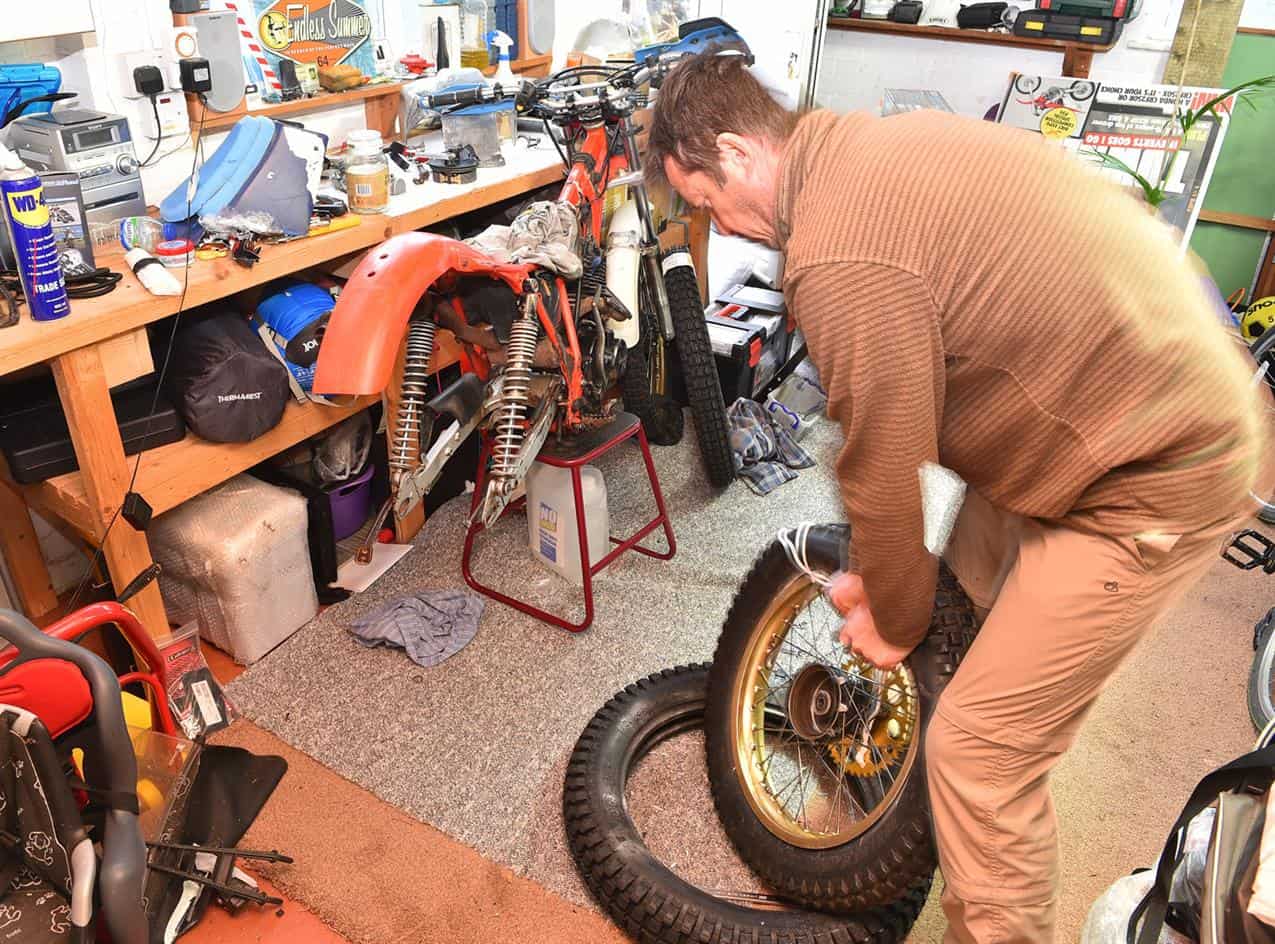
While contemplating the wheel bearings I thought I’d get on with the job of tyre changing – something I look forward to as I have a real nifty set of Motion Pro levers that make this job all joy.
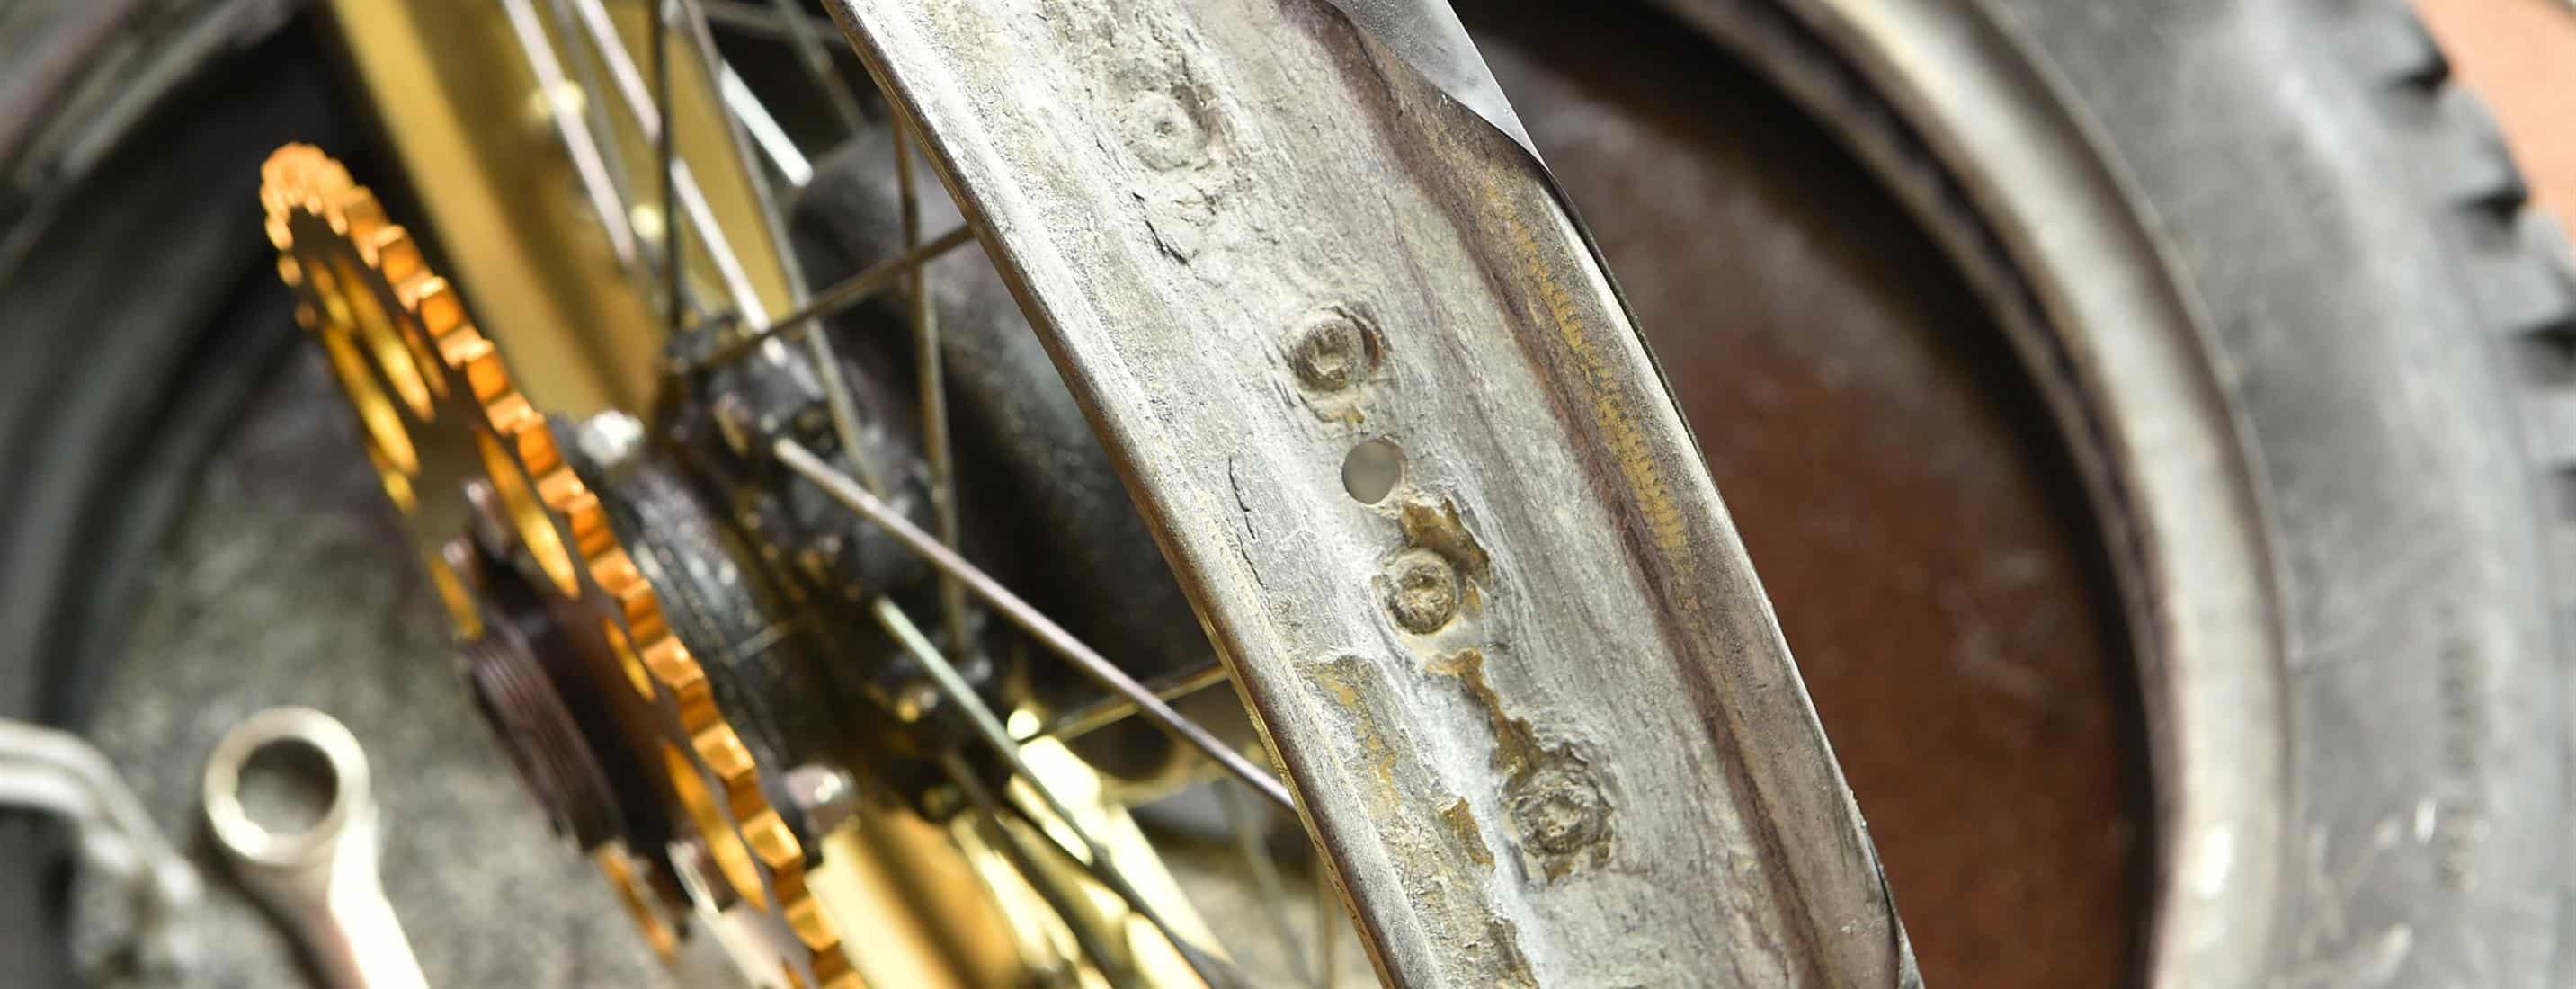
All joy on a new bike with new tyres, that is. The old Dunlops are of course stiff as the proverbial old boots, so I was taking it real easy, using rim savers even, when levering them off. Only when they came off there was plenty of dust flying around (not a good sign) and when the dust settled I could see what the dust was about – disintegrating rims.
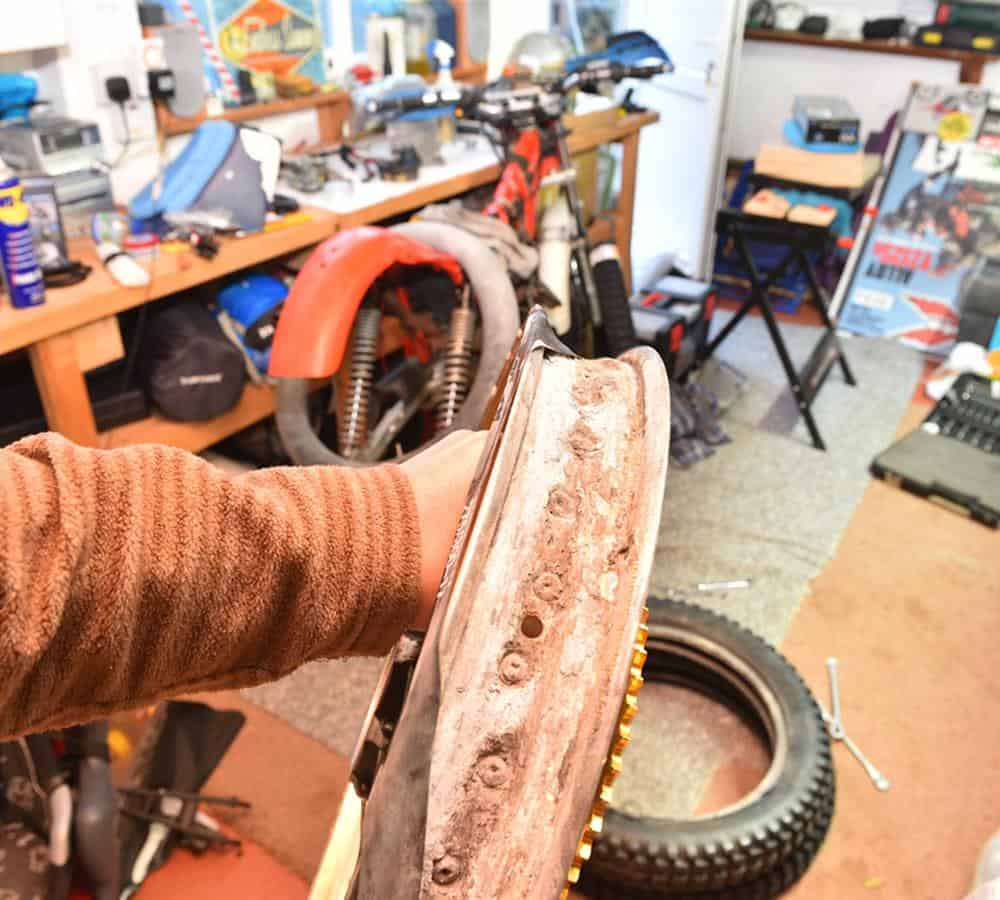
The original rims look healthy enough externally – and up ‘till now I’ve thought they just might survive – but inside those tyres, under the rim tape the inner surface has clearly been degrading fast over these past 13 years. I took a wire brush to them with a slim hope it would be just a surface thing, but no, with each stroke of the brush more rim turned to powder – the chances of these rims dealing with the shocks of trials riding are extremely slim.
So it’s looking like a new set of rims for the TLR. That’s at least £200 before I start to consider the rebuild and hey, new spokes – why not, no point doing half a job.
6: AND SO…
The rims reminded me that the exhaust is in a similar condition. To look at, quickly, it’s whole and ready to go, but it withers under a hard stare. Somehow I just know it’s going to need replacing too. Darn. And of course when you start replacing such key parts with new stuff it makes the other old stuff, like the mudguards, the frame, the tank and seat, look even worse. This is, of course, how complete nut-and-bolt rebuilds begin.
A full resto – am I ready for that?
SO WHAT’S NEXT?
So far I’ve spent just over £250 on bits and pieces. That was just a warm-up, evidently. Now things could get very serious. Say £300 on wheels, £200+ on an exhaust. Having done that do I then strip the whole thing and get the frame powder coated? Do I get the dents removed from the tank and get it resprayed? Of course that’ll make the engine look tatty…
No, I’ll not panic yet. I’ll get the wheels done, get some weld splattered over the rust of the exhaust and get riding, yeah, that’s the idea…
PART 4
https://rustsports.com/metal/heritage/project-honda-tlr250-pt4_3227.html