Proper bike set-up will transform your ride. You don’t need any fancy parts and very little technical knowledge. Just apply a little time and patience and work through a simple schedule of adjustments and you can create the most amazing improvements. Honestly, the difference can be mind-blowing... Here's Part 1.
If you’ve never done this before, then you absolutely must try this, it can transform your riding experience. In just one day, no money down (or maybe just a little), you can change your bike into what will probably be 75% of what a full-factory bike is. It’s so simple it’s ridiculous, and once you’ve done it you’ll kick yourself that you’ve never done it before.
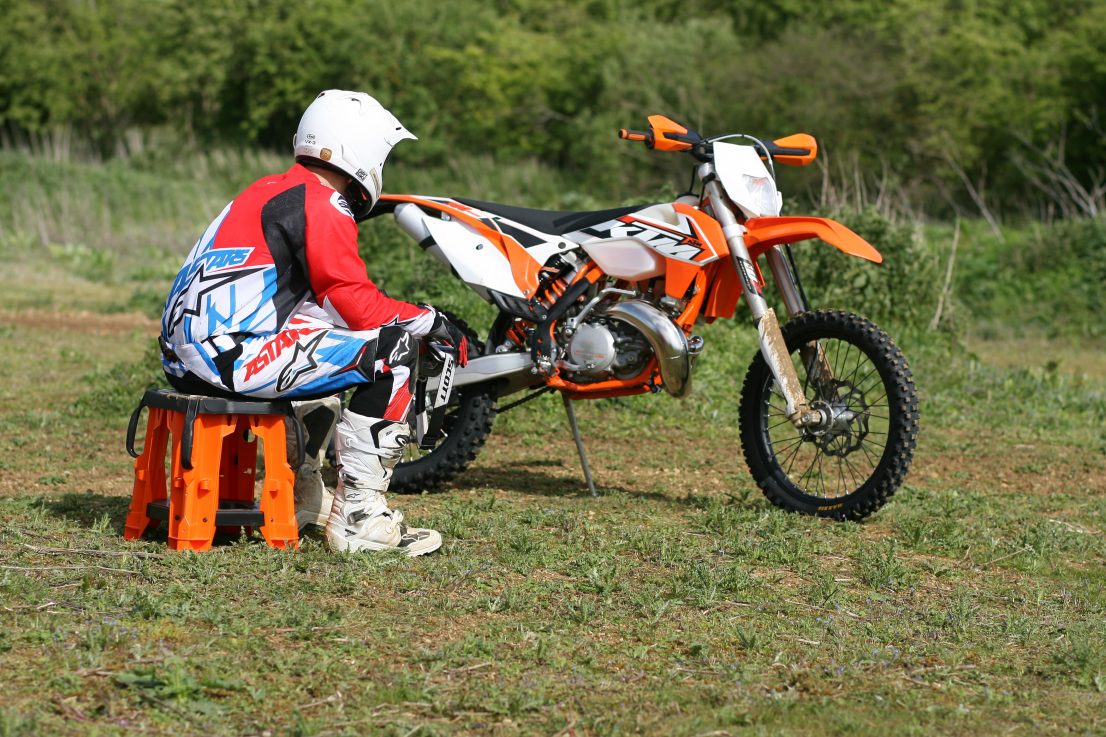
To show you how simple this process is, we’ve done it ourselves. We took a bog standard 2015 KTM 250EXC and a very docile Vet rider (JB: 6’0”/1.82m, 14st/89kg) to a standard issue enduro test track and within five hours we had the bike completely dialed, with a set-up (and options) that would last the season – in fact for as long as the rider hypothetically kept the bike.
So here’s our step-by-step guide to factory-standard bike set-up (for dummies). In this instalment we’ll be focussing on fitting the bike to you. In the next, we’ll be looking at how to optimise your suspension using the adjusters/clickers.
STAGE ONE:
FIT THE BIKE TO YOU
First mission, very simply, is to adjust the bike to fit your physique. Think about it, if you go into a bicycle shop, what do you see? Bikes of all sizes, to suit riders of all heights and weights. The logic is basic: taller people buy bikes with bigger frames. Serious shops even physically measure a rider up for an exact match. You go into a dirt bike shop and sure there are all different engine capacities of dirt bike, but the frame size is virtually identical on all. So what we’re doing here is properly adjusting the bike to best match you.
Of course you could just look at your bike – handsome as it is, looking is not going to change anything
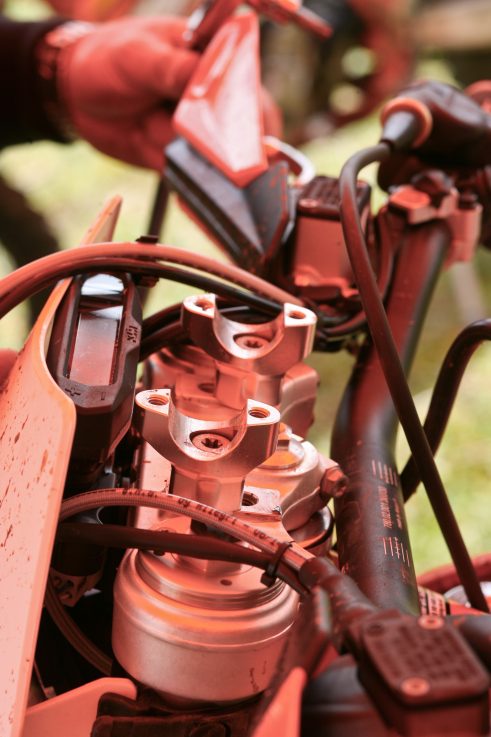
Yep, it's one trick bit of kit, but in stock set-up its unlikely to be helping you. You need to make it fit you, think of bike and rider as a team
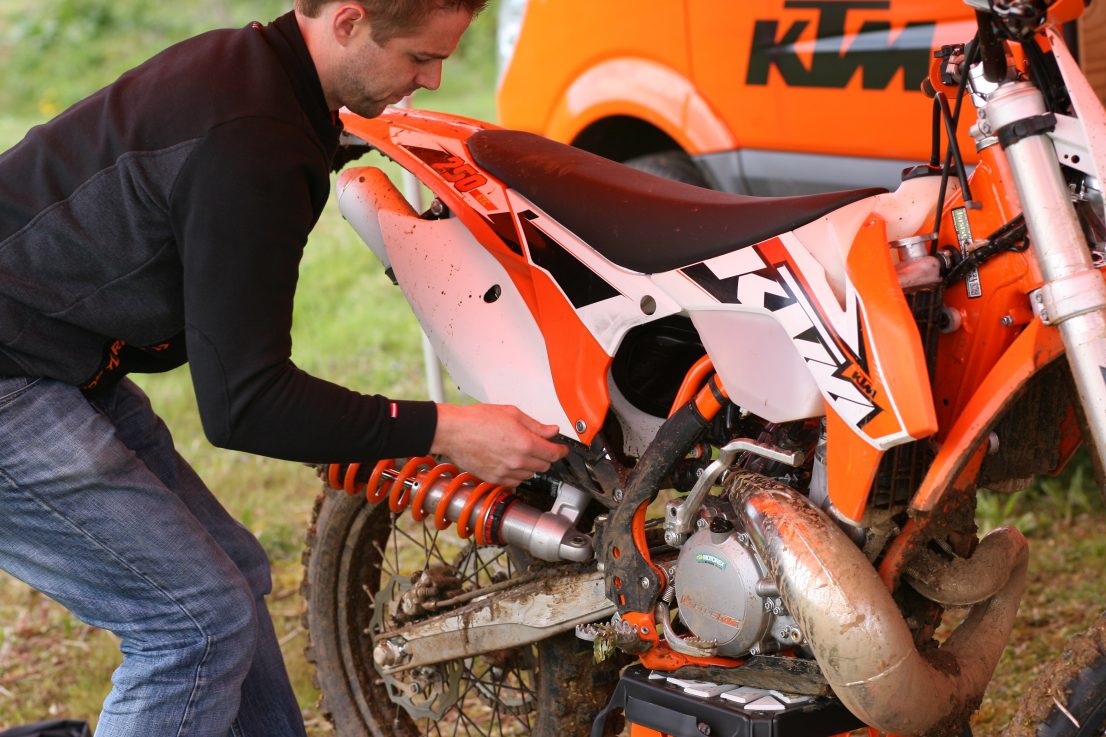
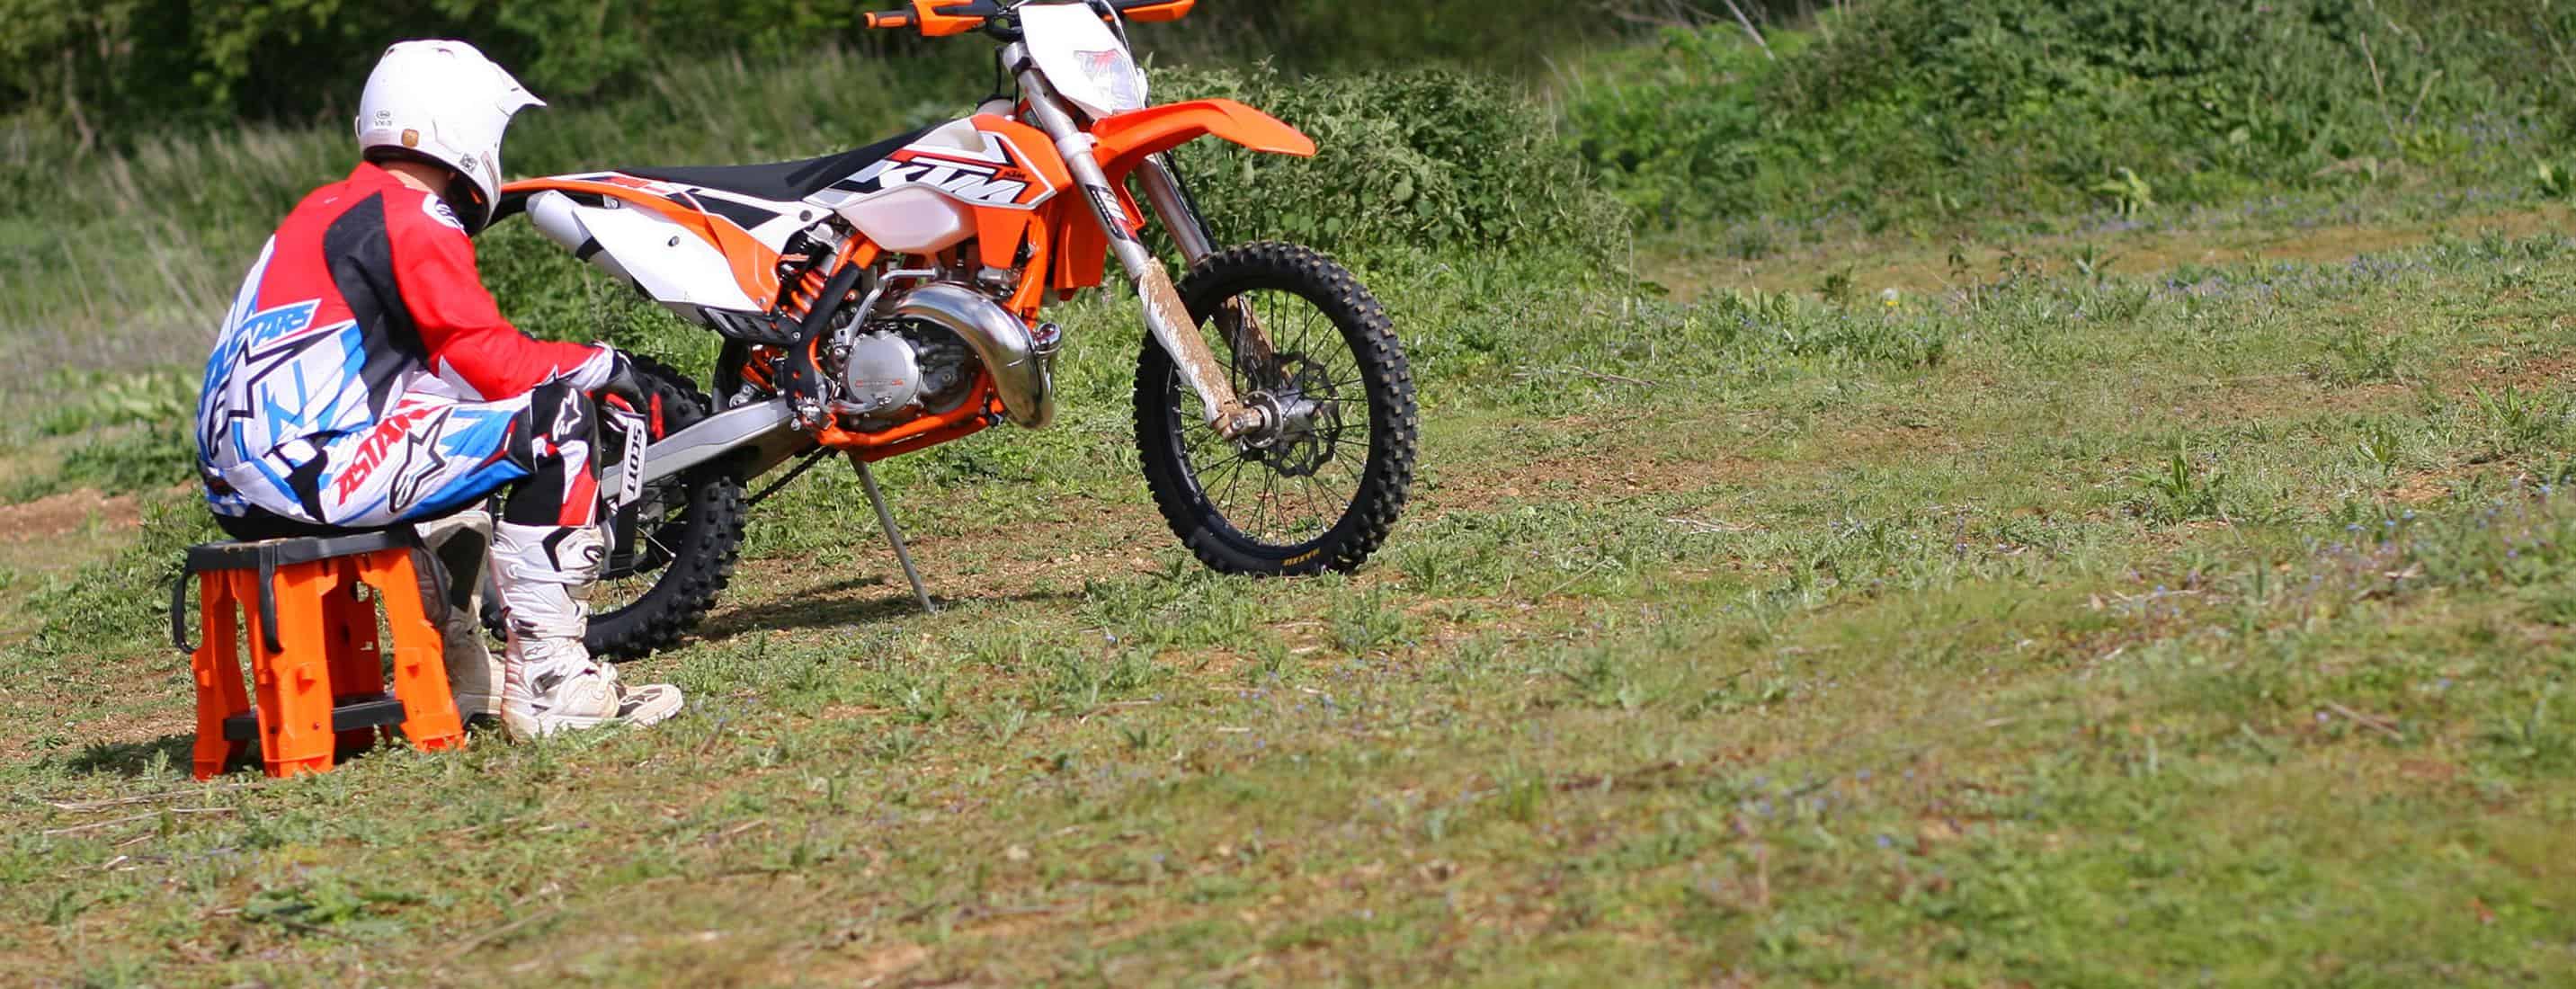
1 SET THE SAG
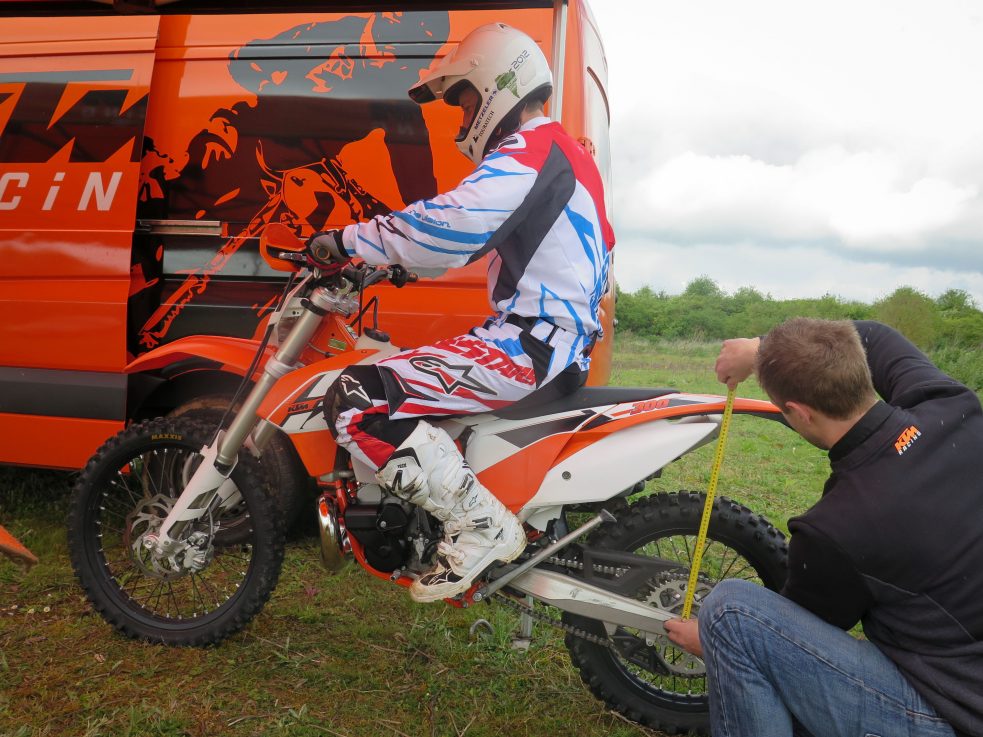
We need to start with setting the sag on the shock, which seems a curious place to start, but you’ll soon see why. And this you should do before you go out to ride – do it in the workshop.
Now know this – when an owner’s manual tells you to check the sag with the rider in full kit you MUST do this. Our test monkey (ape!) here is 89kg in his day clothes, in full enduro kit (that’s helmet, goggles and gloves included) he’s a whopping 97kg – that’s 8kg more, a gain of 10%. So wear your kit or your suspension set-up will not be accurate.
Also, don’t take it for granted that if you set the sag last month that it’s still correct today. This bike had just come back from a professional bike test, yet when we checked the settings it had a static sag of 41mm (KTM’s recommendation is 33-35mm). Put 97-kilos of rider in the saddle and rider sag measured 126mm, when target is 105-115mm. That’s way out.
For data collection purposes we test rode the bike in that state and have to say it felt just fine. Without any comparison to work from the rider was reveling in the liveliness and sweet sure-footedness of the 250cc two-stroke. It’s a joy to ride. He could have carried on all day quite blissfully unaware he could have a ride experience that would be so much better, still!
Knowing the sag was wrong we upped the preload on the shock to put the sag back within the right parameters. Winding on the preload is a doddle and inside of 30-seconds we’d re-established 34mm of static sag. However with our test dummy back in the saddle we had a rider sag figure of 119mm. That’s outside of the recommendation by just 4mm – worth worrying about? Honestly, what’s 4mm? So we test rode the bike again and frankly could barely tell the difference – and the rider was still more than happy.
Measuring static sag
And now loaded sag
2 CHANGE THE SHOCK SPRING
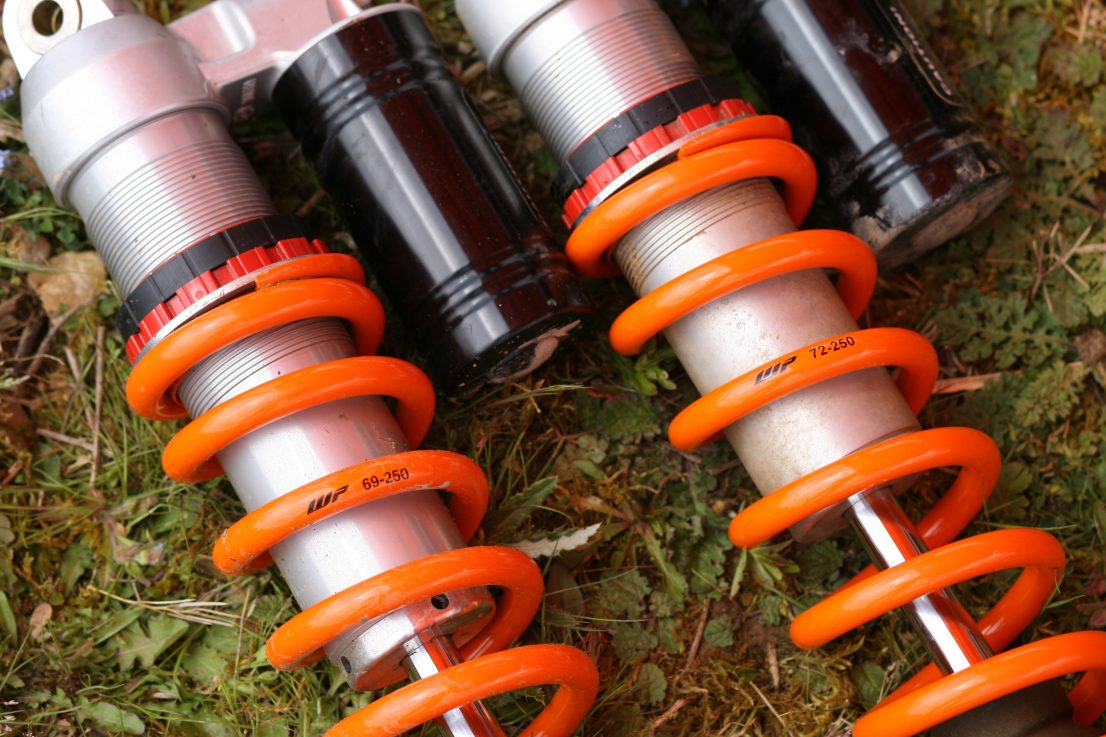
So, we have established that with a heavier-than-standard rider – despite having the correct static sag – we can’t get within the correct range for rider sag. What we need to do is fit a ‘heavier’ spring. Fortunately KTM have this situation covered. Check out the owner’s manual and you’ll find a table of riders’ weights and the correct shock spring to match.
The standard spring in the 250EXC is 69N/mm, but this is for a 75-85kg rider. For our 97kg rider we need a recommended 72N/mm spring. Cost from KTM is modest, about £80. If you’ve got the tools you can fit this at home but if not any bike shop should be able to do this in no more than 15 minutes. With the shock still located in the frame it takes barely 5-minutes more – so simple is PDS. With the correct spring weight now fitted we measured again and with a static sag of 34mm we got a rider sag of 110mm – bang centre in the range.
Test riding this, the difference was a night-and-day improvement. The rear of the bike felt to ride two-inches higher. And with the rear now riding higher there was less distance for the rider to transition from standing to seated. The bike turned better and landing off jumps it didn’t crash through its stroke so much. Accelerating there was less squat. With the correct spring rate the shock was operating in the correct part of the stroke for all occasions and this dramatically improved the performance. We’d spent £80, but it felt like we’d fitted a £1000 unit!
The spring rating is printed on the spring, left is the stock 69N/mm, right the 72N/mm for the heavier rider
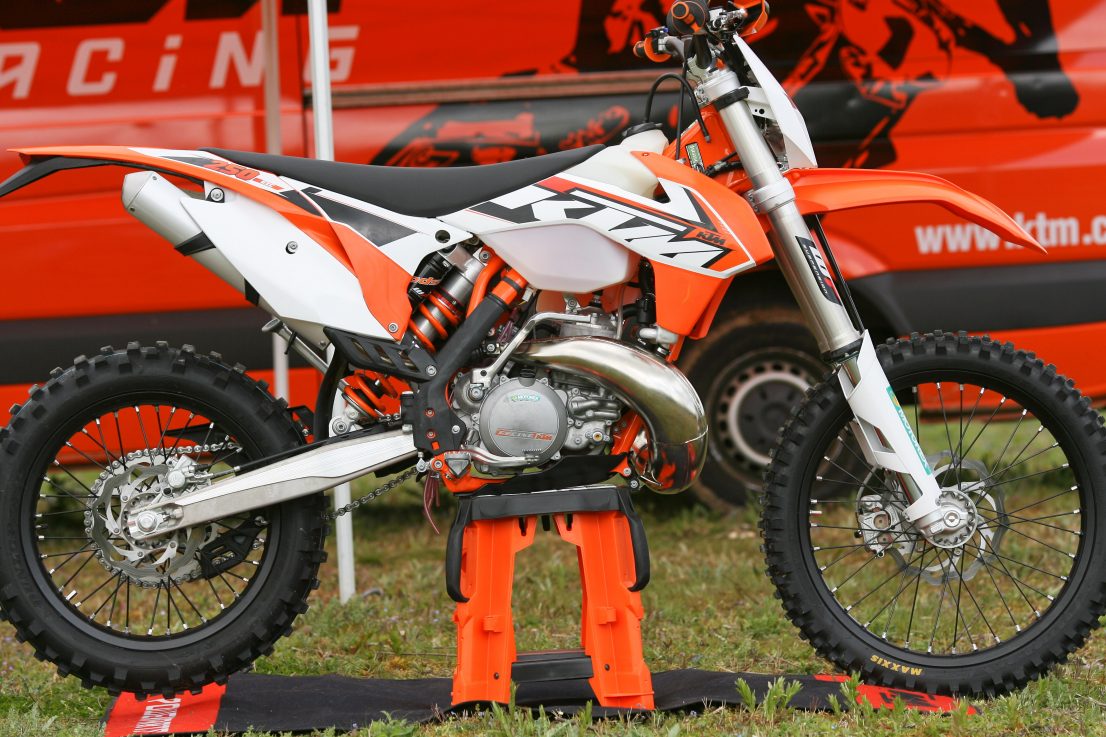
PDS makes shock removal and replacement easy – just two bolts
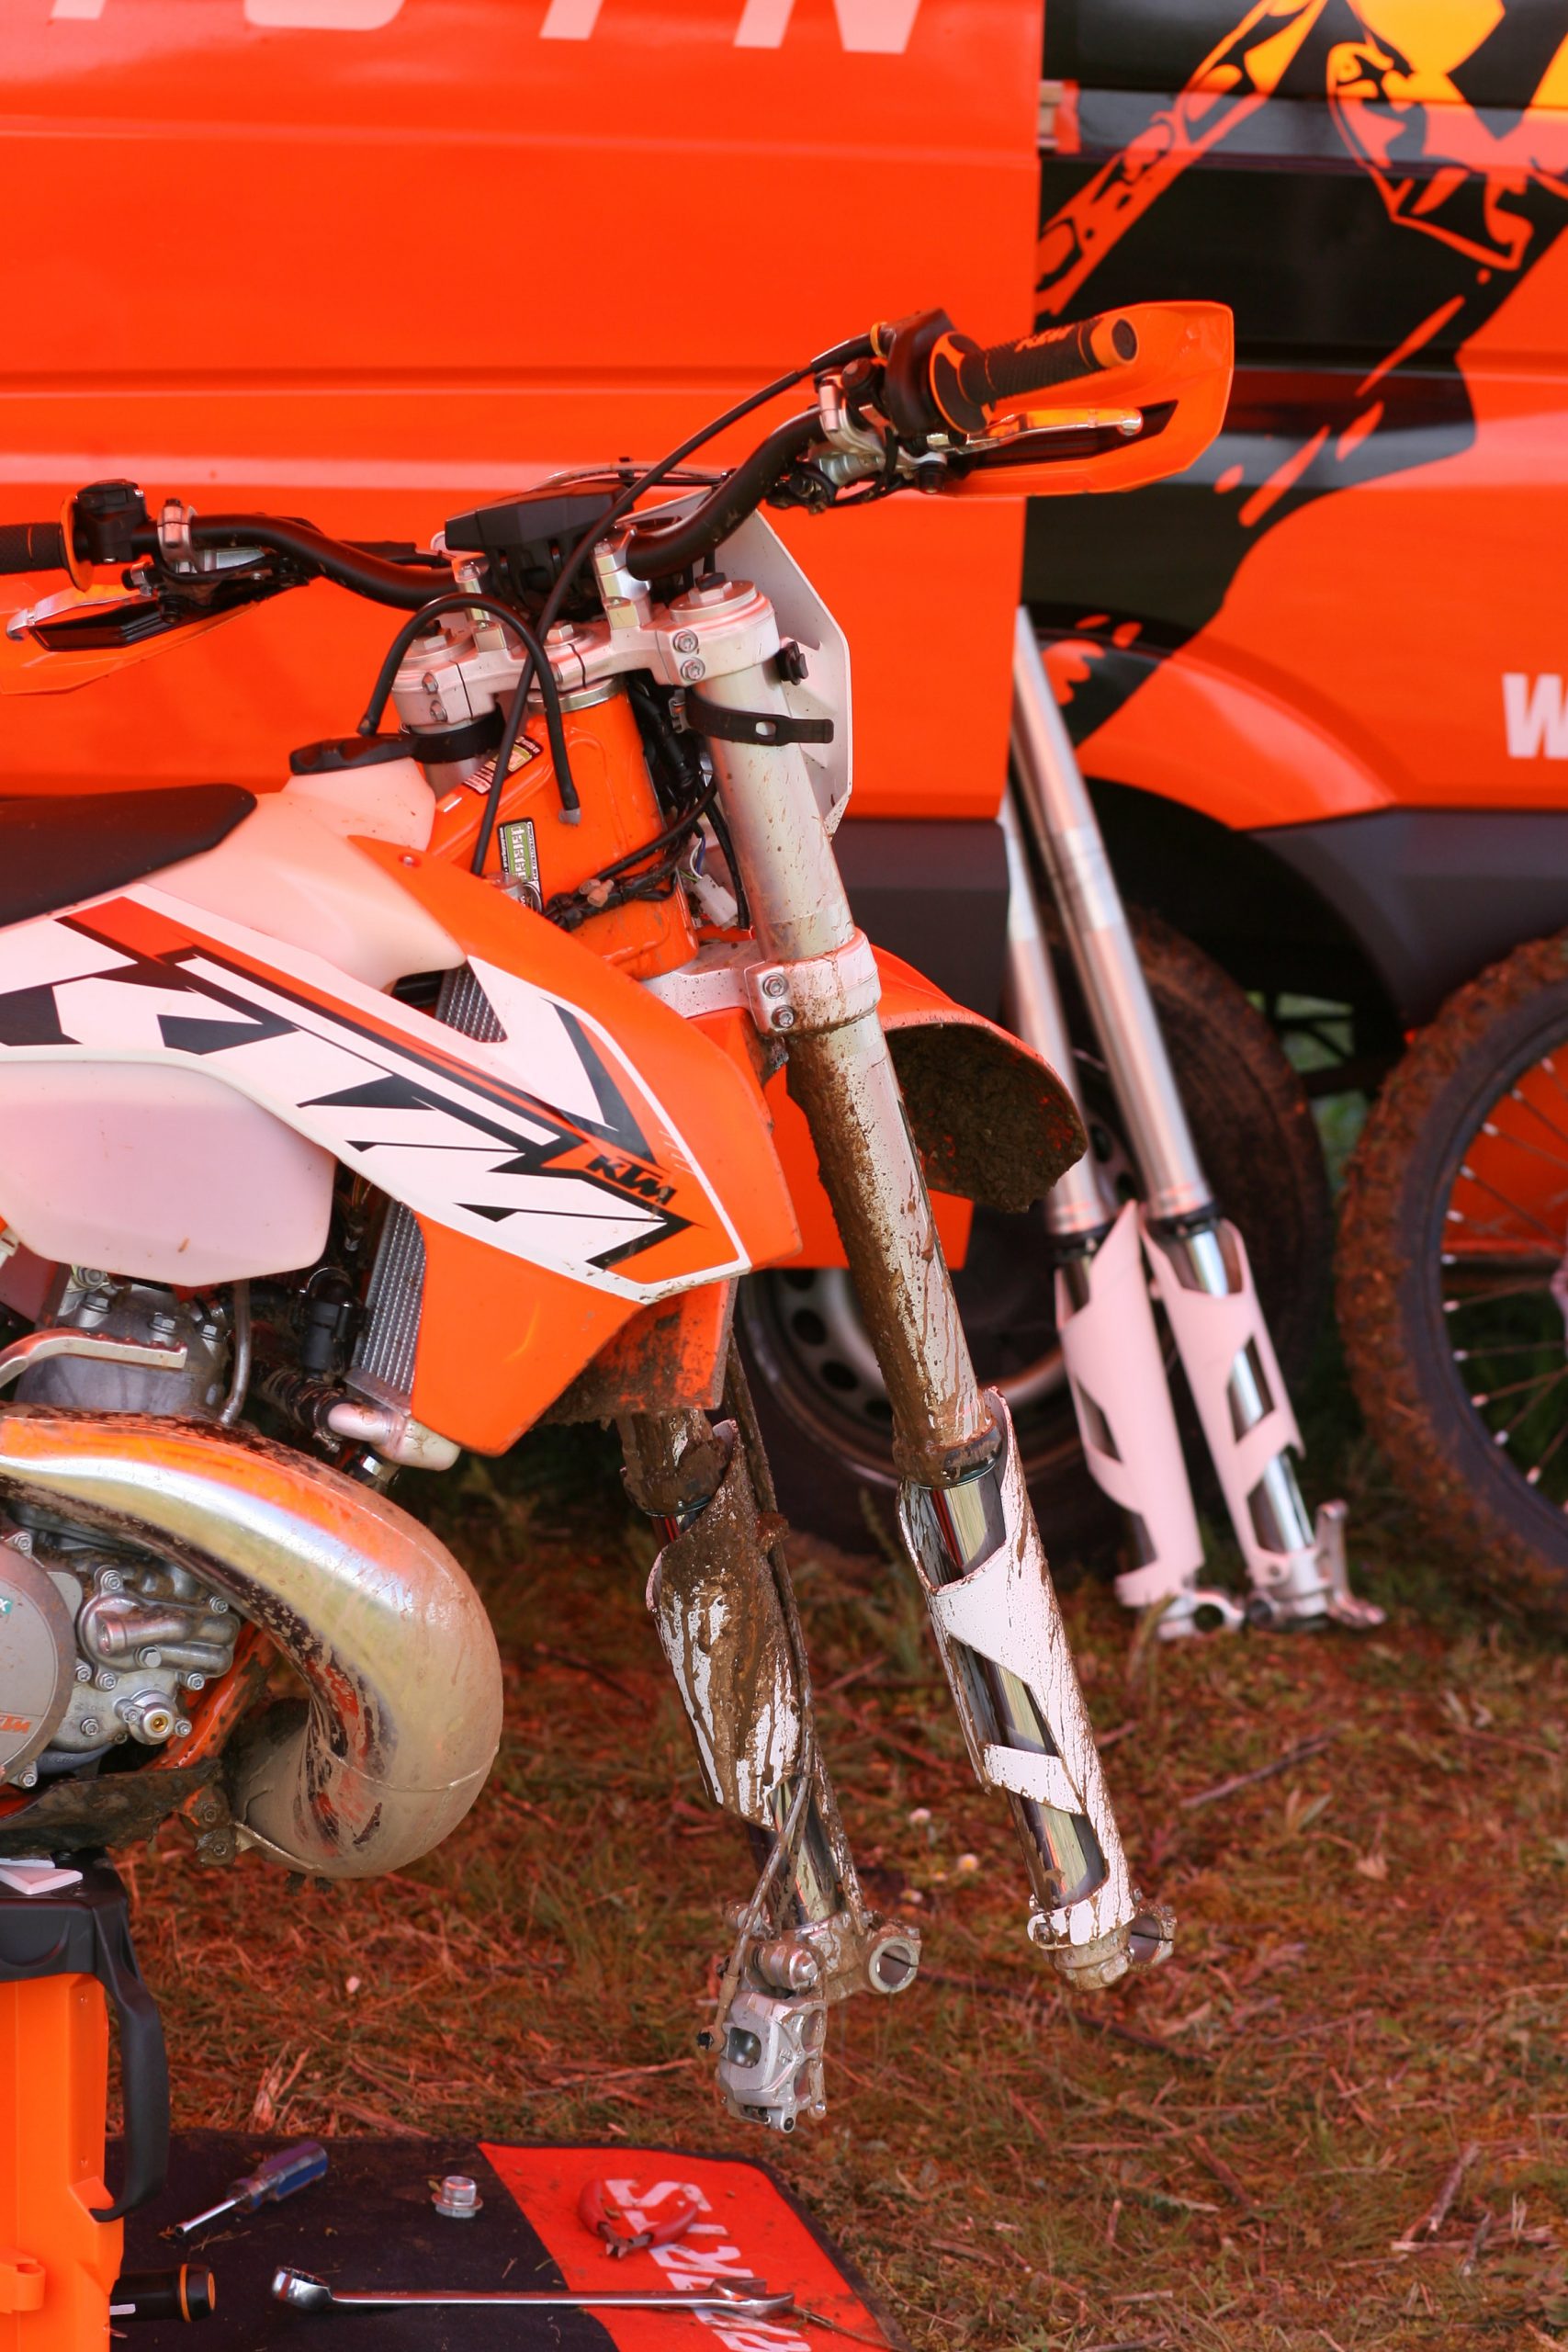
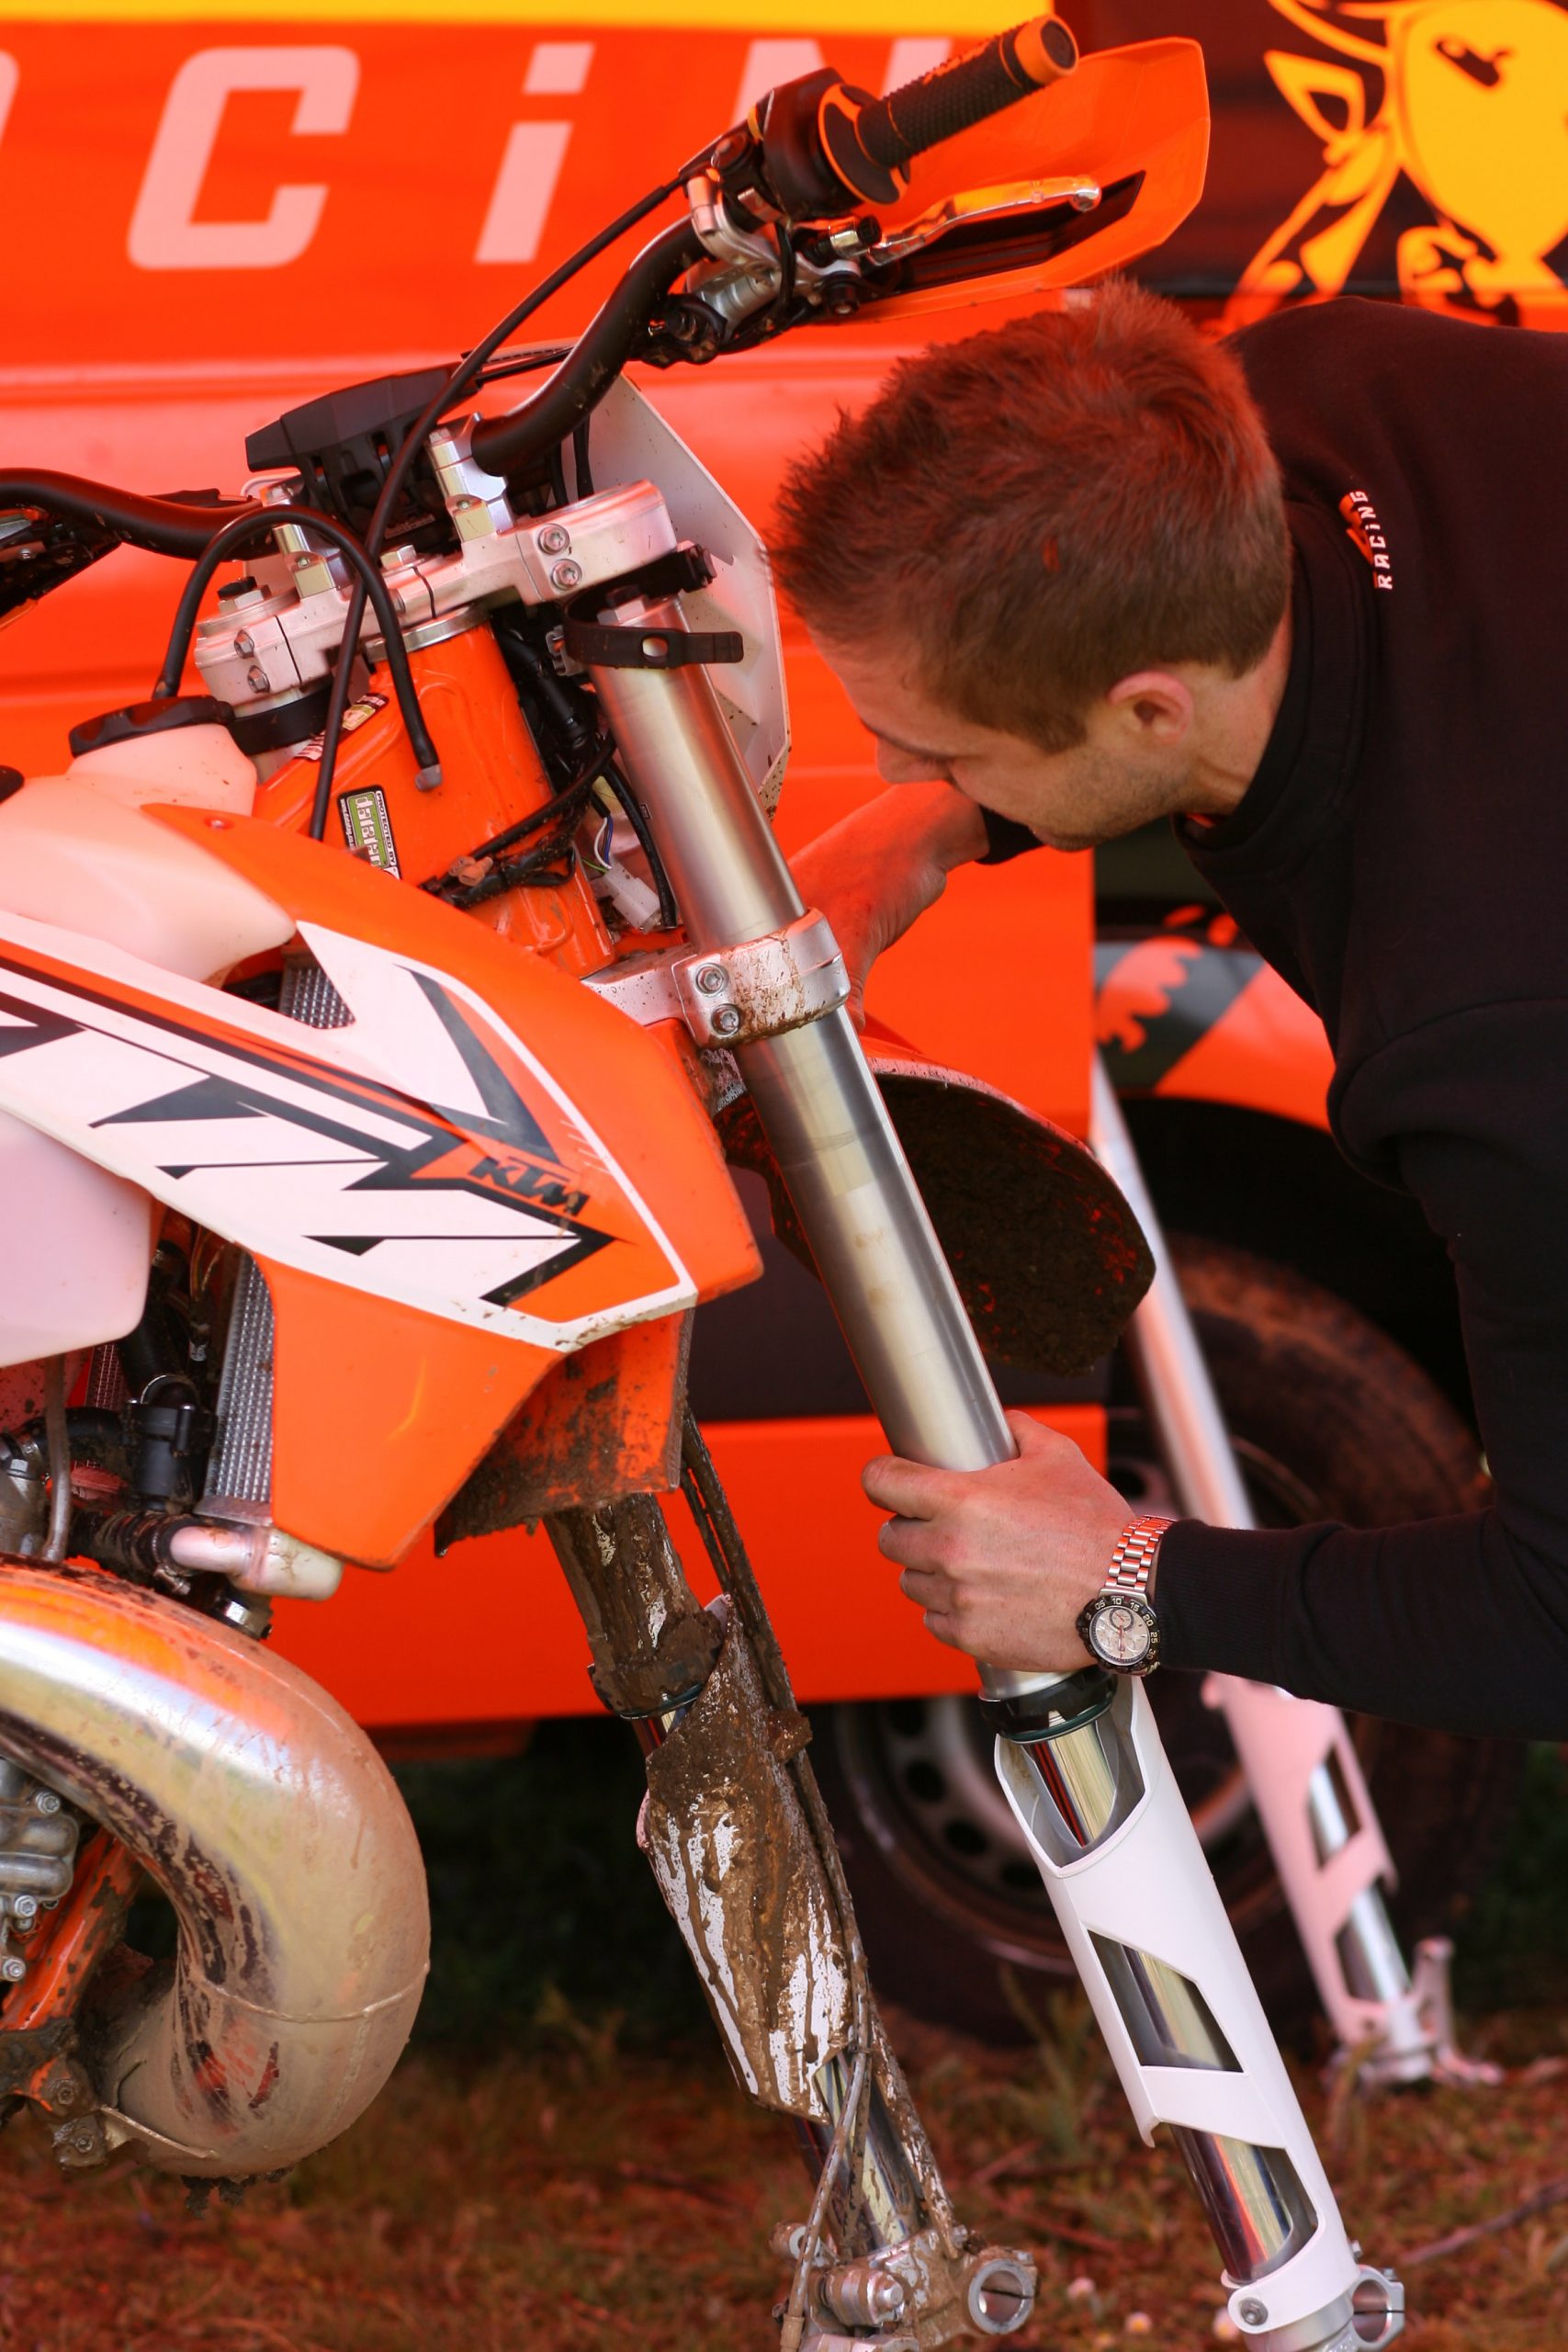
3 CHANGE THE FORK SPRINGS
Now we don’t take sag measurements on the forks, even though its possible. But fortunately the KTM manual gives us recommendations and again for a heavier rider you do need to fit heavier springs, this time we were upsizing from 4.2N/mm to 4.4Nm/mm springs. And for a pair of springs we’re again talking modest money, around £80 – plus fitting.
Testing this it was immediately apparent that we’d rebalanced the bike. The shock spring alone had made a vast improvement and while our rider liked the way the bike turned so sharply as a result (the back riding higher, the front lower), on balance having a matched set-up in the forks meant the bike was now better balanced in all aspects, maybe not turning quite so sharply, but with the upside of doing everything else better. The bike felt taller and bouncing over jumps and tracking through acceleration and braking bumps everything felt so much more composed – it was massively confidence inspiring.
We rode with the stock springs first, so we would experience the difference
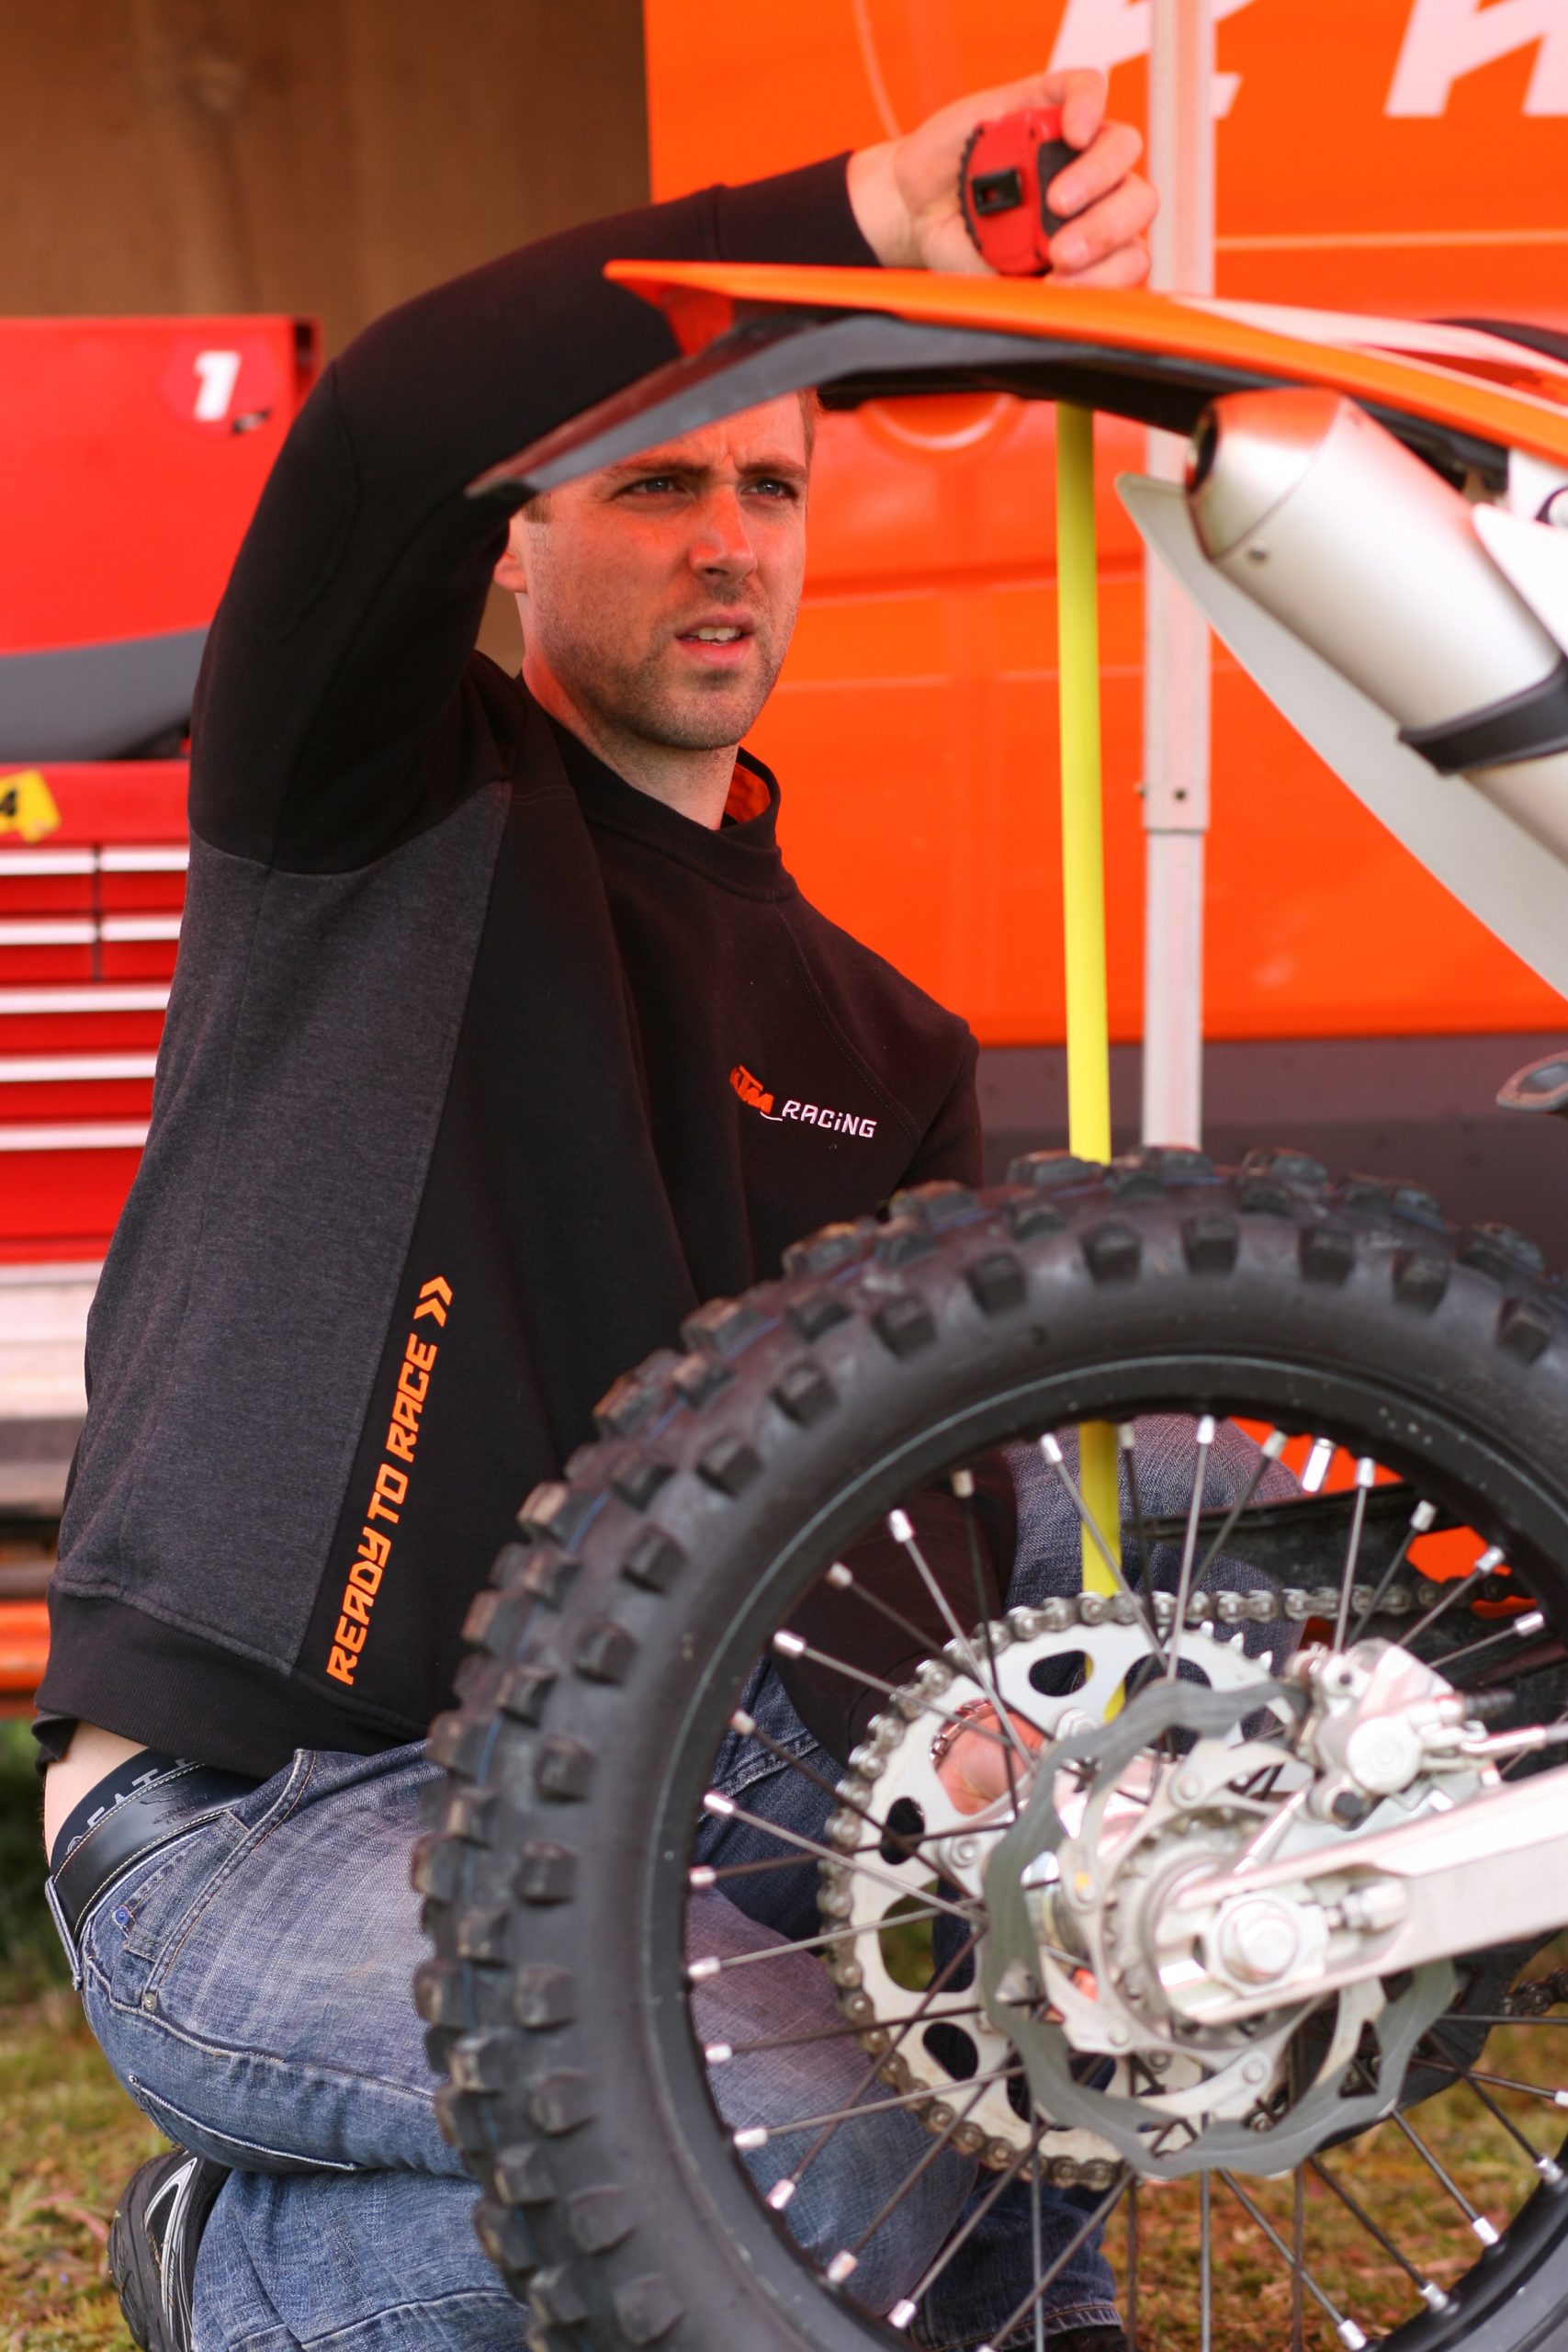
To make life easier our man Gareth had a second set of forks ready with the 4.4N/mm springs installed
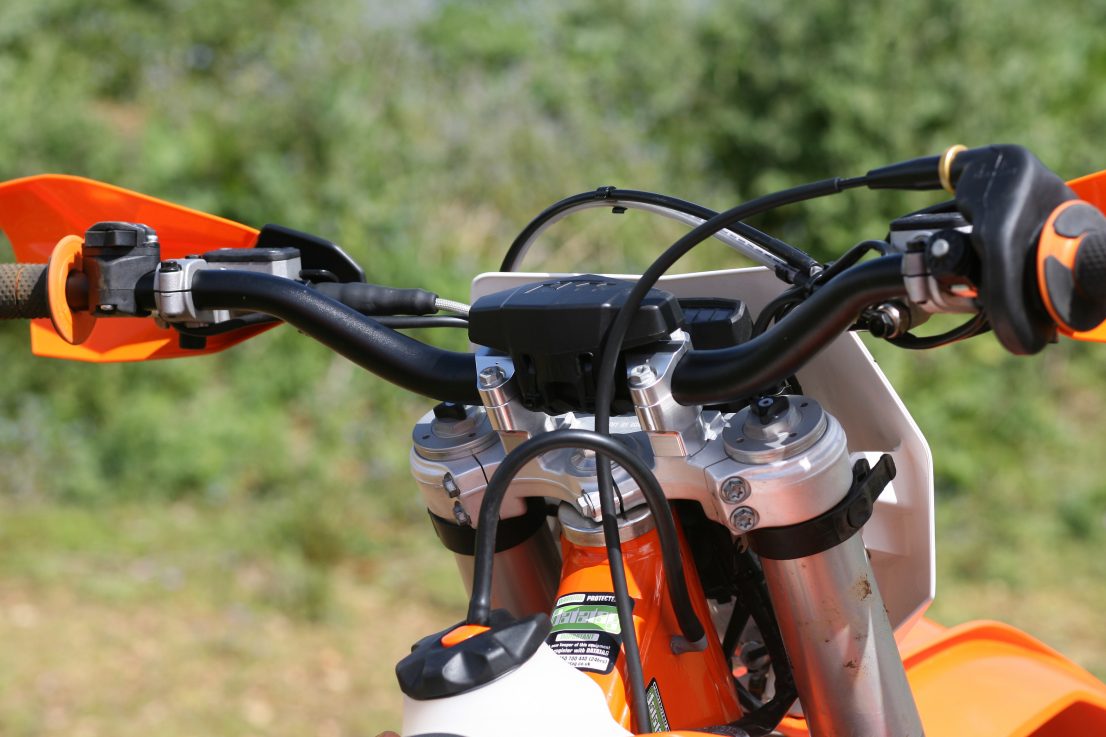
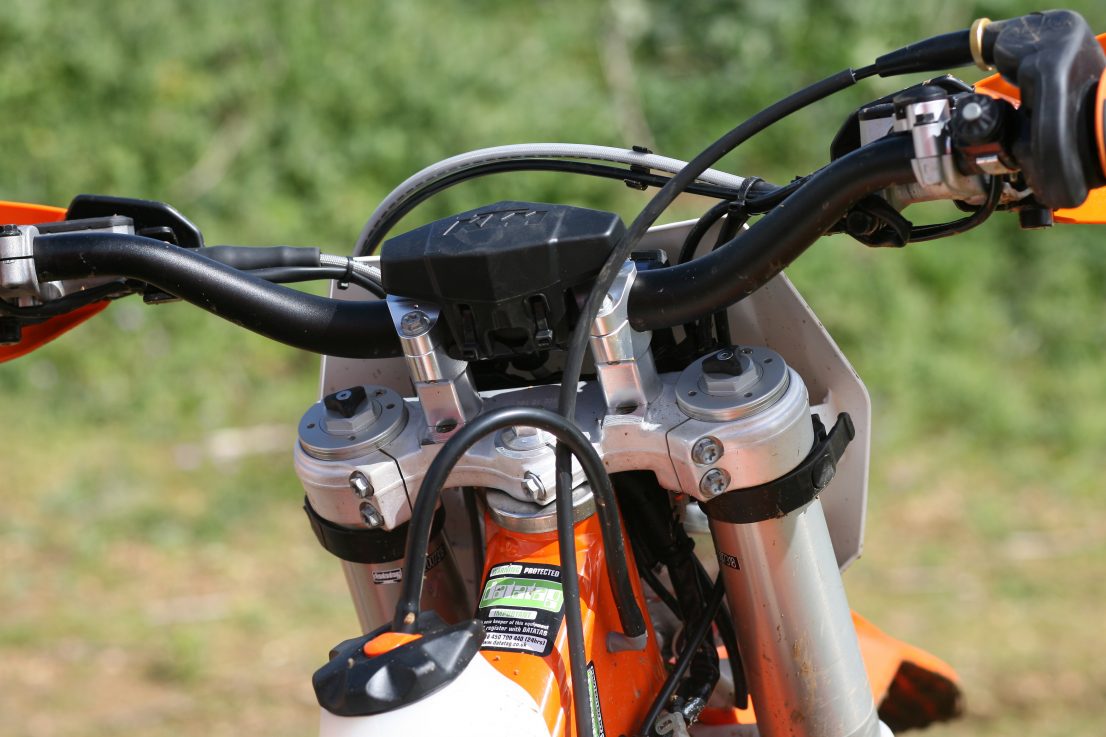
4 SET THE HANDLEBARS
The 250EXC has two mounting positions for the handlebar clamps, and the clamps can be rotated too to offer four possible positions with in-all 22mm of front-to-back adjustment. Here, to match our 6’0” rider we went for the forward bolting position, with the clamps rotated to give max-forward too. And what an improvement that was. For barely an inch gain there was so much more feeling of space with an added bonus our rider could now get further forward when cornering, improving the grip of the front tyre. There’ll be knock-on benefits too, like less likelihood of arm pump or back strain as the rider can adopt a more natural stance.
And we went one step further, adding KTM’s higher clamps, adding about 10-15mm to the bar height. Now if we were riding rally, or say the Welsh Two Day we’d definitely adopt this set-up, but for short-course enduro – probably not. For short course racing the improved connection with the front end with the lower bar mount outweighs any advantage you’d gain from a more comfortable standing attack position with the higher clamps.
See the difference – front and back settings
Before: standard riser and rear position
After: taller riser and forward position
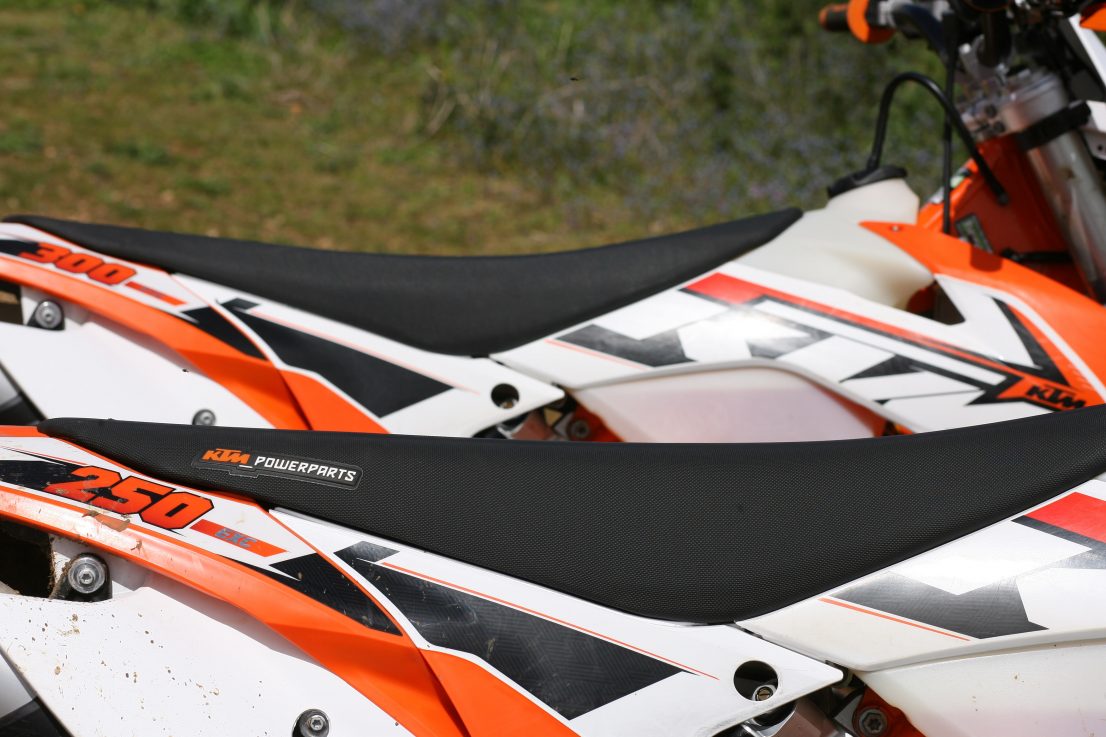
5 NEW SEAT?
We’ve long been fans of the adjustable seats found on adventure bikes like BMW’s R1200GSs as they can really make a difference for taller riders. Unfortunately motocross and enduro bike seats aren’t adjustable, so its been a case of making do.
Now, to be fair, having set the correct suspension spring weights for our rider the feedback was the seat already felt higher – because the rear wasn’t sagging under his weight so much. But having KTM’s next highest seat option ready to try – and if you look at the images you’ll see it doesn’t look much higher, if anything just flatter – we weren’t going to skip on the opportunity.
And what a difference! Our test dummy was bowled over. The transition from seated to standing was now so much less. This is a massive gain for it means the rider is spending much less energy on raising and lowering his torso for each corner. And being a flatter seat its actually helping him put his weight in the right place. Being tall and heavy, when riding with the standard seat and standard suspension the back of the bike was riding low and the curve of the seat meant his bum was also inching backwards, making keeping his weight over the front a real chore – and creating a real stress for the forearms (so inducing arm pump). The higher seat is instead ‘right there’ and its naturally keeping the rider in the right place: close to the front of the bike. Our rider needed to recalibrate the distance his leg had to extend to reach the ground in slow or bermed corners – a few times it just seemed to be dangling – but that’s easy to do.
Tall seat in the foreground
Taller seat means less transition from seated to standing
6 THAT’S IT
And so our rider is now properly fitted to the bike. With the correct springs in the suspension it now operates exactly as the designers intended, it’s not running low with the suspension continually in the wrong part of its stroke. The rider also now has a comfortable cockpit to stand and sit in and with that space and the correct relativities between his hands, feet and bum he’s not going to tire anywhere near as quickly as he had when neither the positions of the handlebars or seated fitted him. Dynamically he is now able to operate the bike exactly as intended, no compromises.
OUR GUIDE
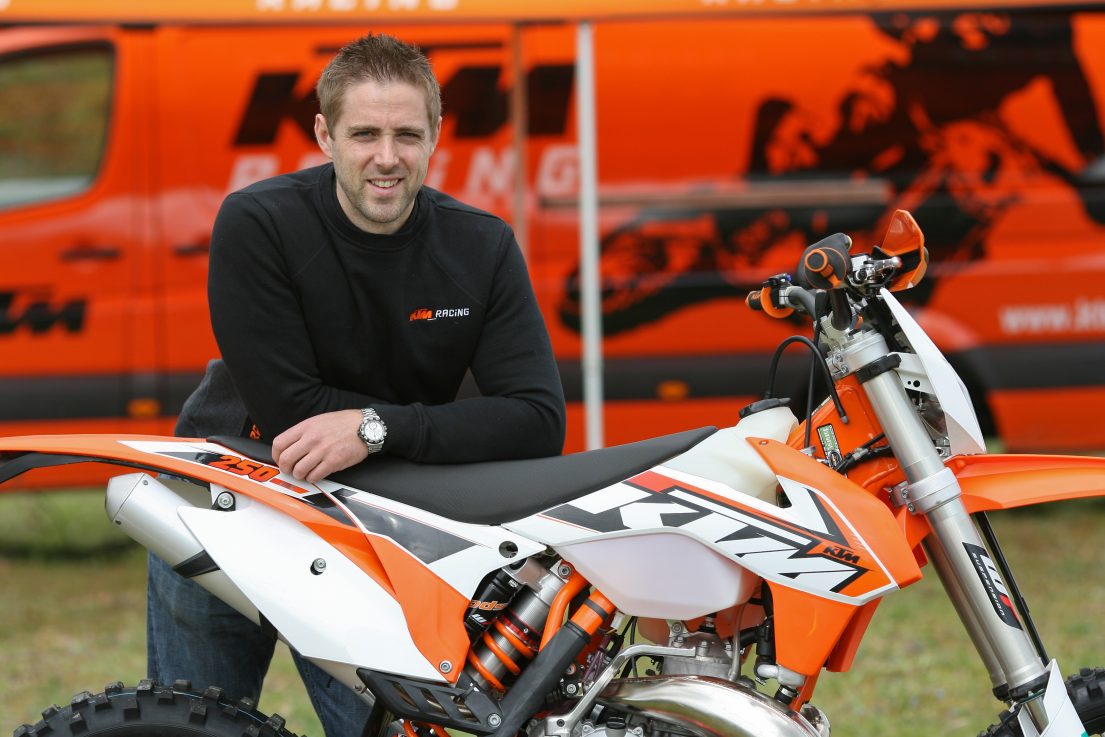
Gareth Edmunds, KTM UK
Gareth is a top technician. He’s spent years working on bikes at world championships, first with motocrosser Tommy Searle and then with enduro racer David Knight (winning a world championship together). After that he spent years prepping top race cars in the world of GT, rally and endurance racing. These days, with a young family, he’s working with KTM and WP based in the UK.
“Riders really shouldn’t be afraid of making adjustments to their bikes, and they should understand that they make a real difference. One size does not fit all!”
NEXT TIME
Check out stage two of the set-up guide where we use the adjusters to optimise the bike to the terrain:
Keep up to date with the latest articles, receive our free magazine via email and get notified of special offers and discounts. Be part of the RUST community today…