I think I got a little long winded in the first three-four blogs so rather than do that again – here is an abridged version of the FE350 build!
I’ve made quite a few ‘how to’ videos on the project build, everything from how to grease your bearings properly to installing the Hinson clutch, servicing your forks for first timers, tackling a four-stroke engine refresh for beginners, etc etc. I also included some useful workshop tips on tools and hacks so check out our YouTube channel as I plan on posting these shortly in a sort of entire season box set rather than drip feeding them – this is of course if I can get them edited well enough and fast enough to publish. I’m pretty crap at editing but I promise I’ll make a decent effort to make them as watchable as possible. I might have to rope JB in to help here.
So, enough drawling. Here’s the low-down on the balance of the FE350 build…
PARTS…
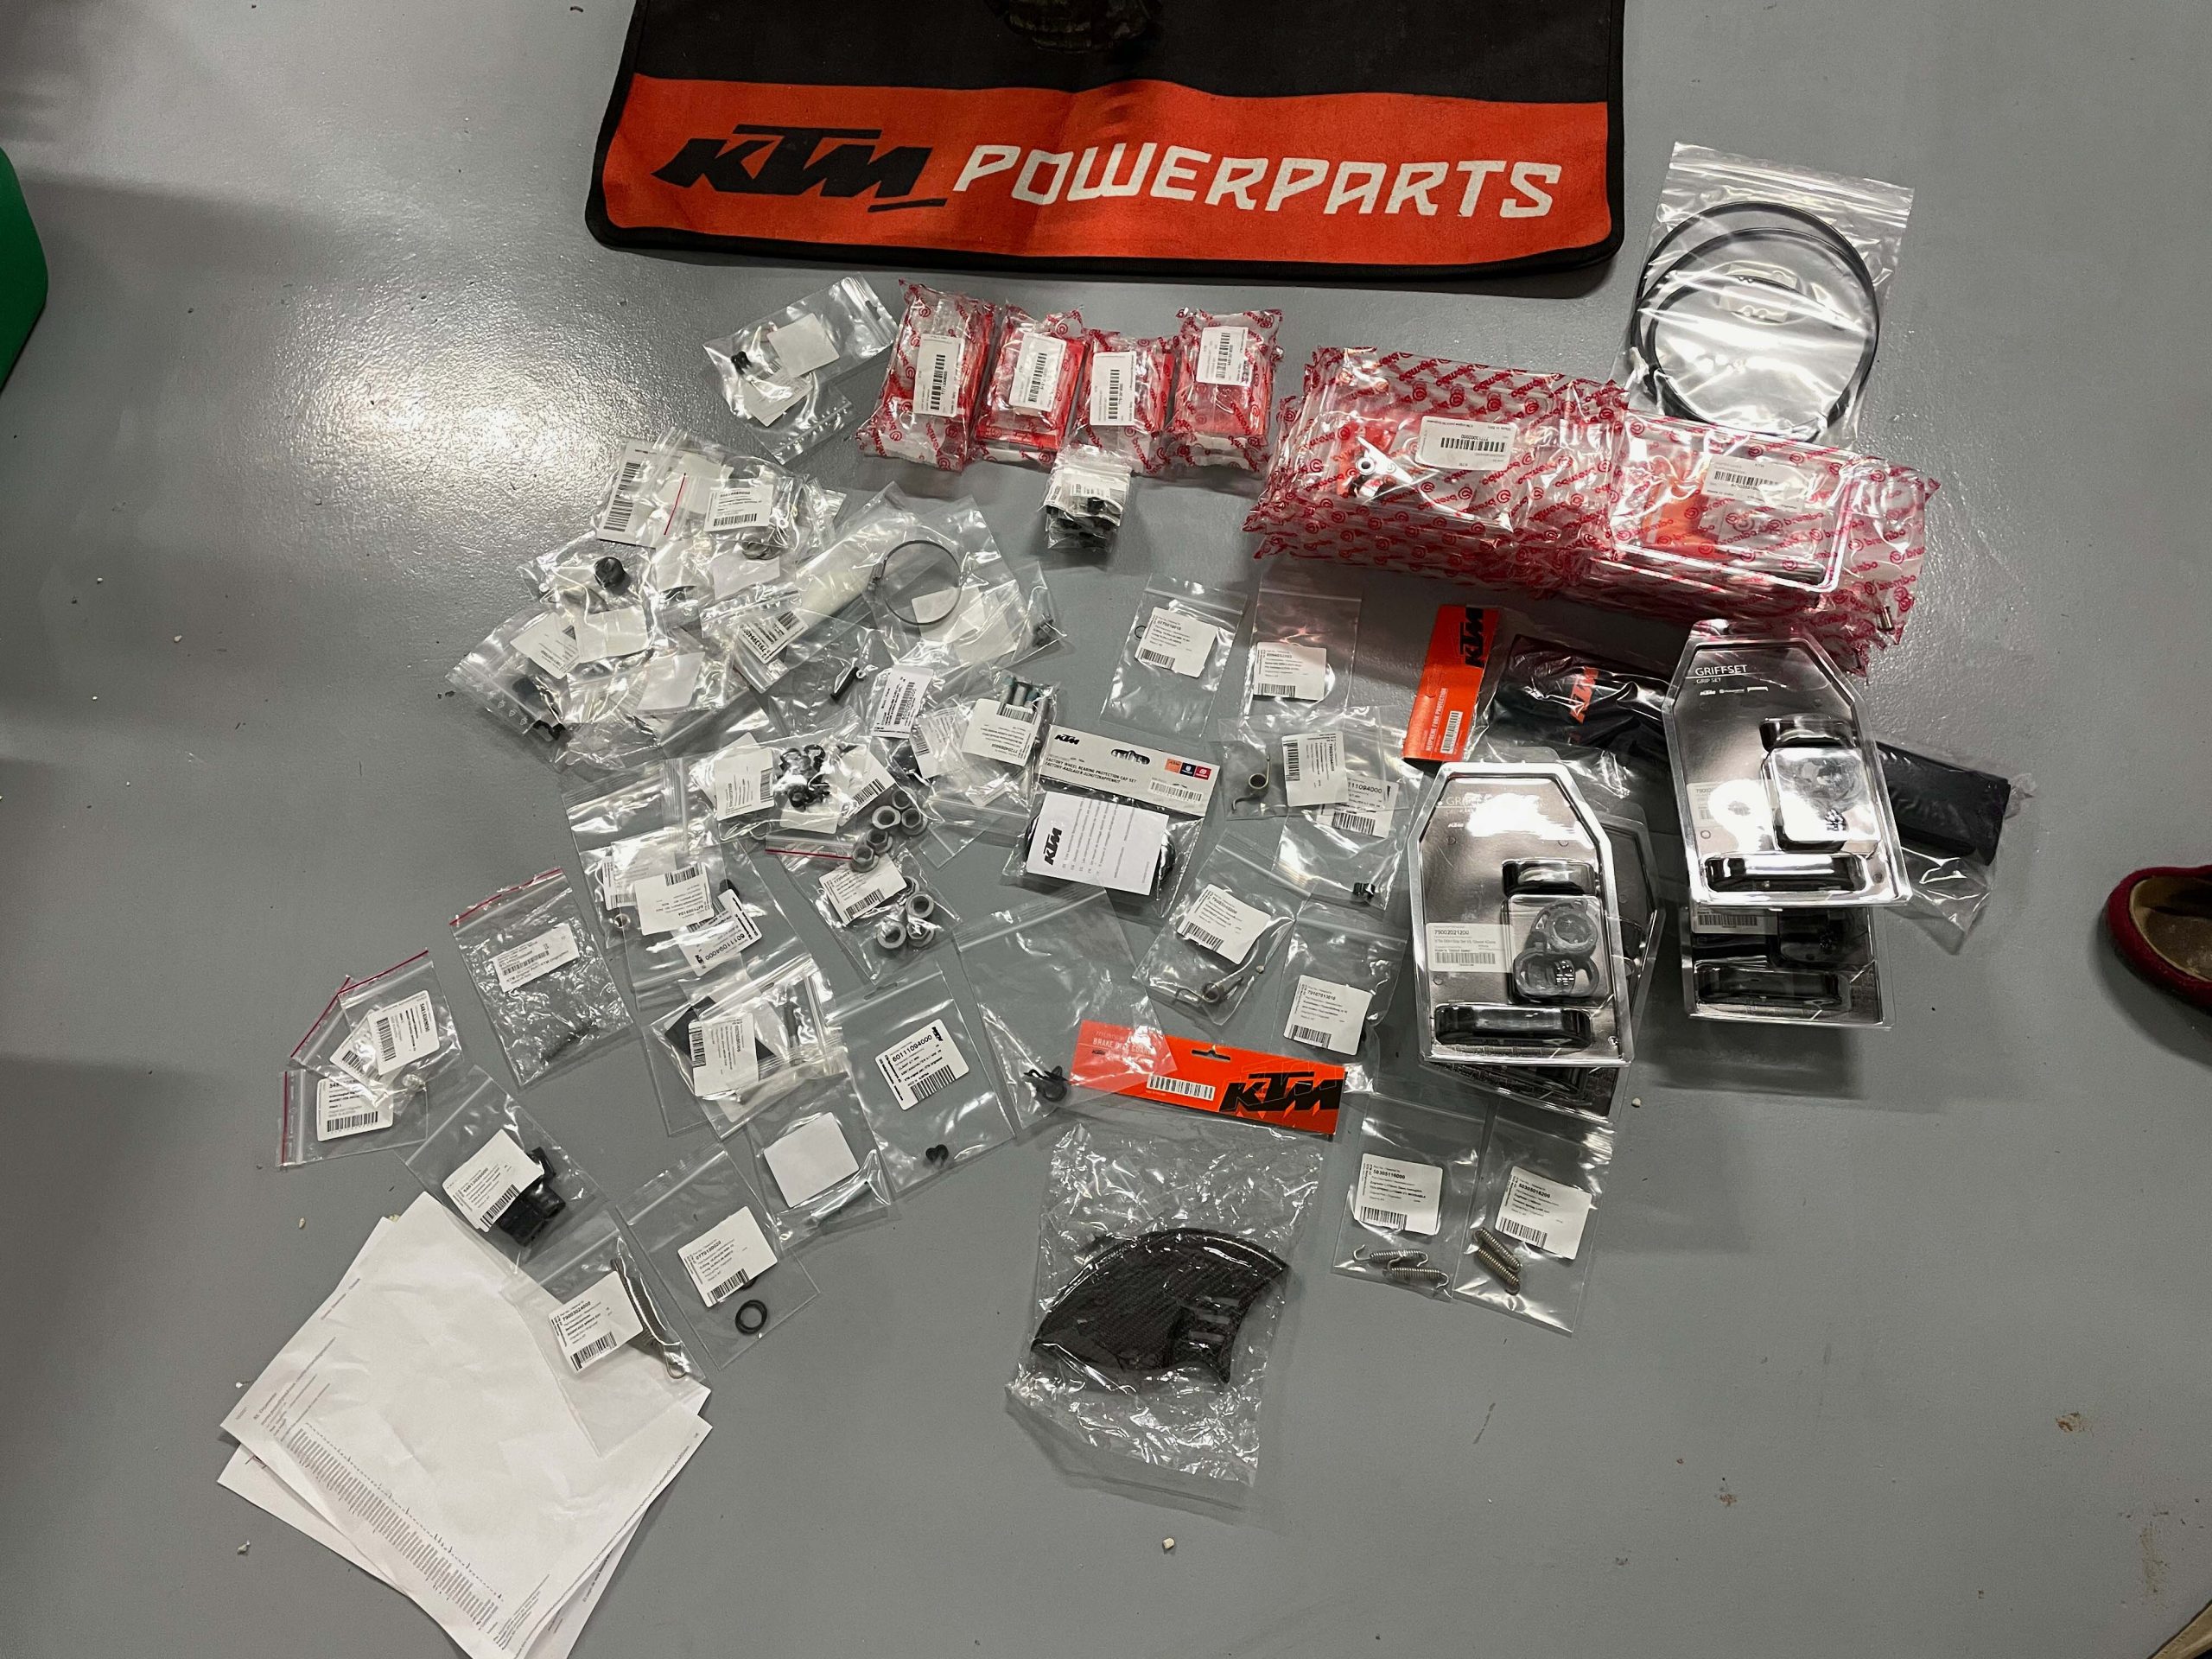
Refreshing a semi-old bike normally has its perks with regards parts availability but I might as well have been restoring a vintage bike given the supply chain issues in 2020-22. It seems that literally no dealers carry parts anymore and over the past two years it seems the factory has just as few parts as the dealers have. What should have taken me a month or two to accomplish took over a year. Between March 2020 and March 2021 it took over four months for a valve rocker to arrive, three months for a clutch pack and a month or two for some other parts. The lesson? Make sure you make a comprehensive parts list and order the entire list (if you can) at the outset. It’ll save you a real ball ache; losing momentum on a project bike is not good and keeping track of parts and where you’ve stored them is worse, especially if you’re less than stellar in labelling them.
MANUAL, SPECIALIST TOOLS…
The second tip is to buy your bike’s workshop / service manual before you start. I bought mine for a fiver on eBay, delivered electronically. Flip through the manual making a list of the specialist tools you’ll need and stock your workshop with them before you start. The chassis really doesn’t need much in the way of specialist tools. The suspension and engine are where they come in very handy. So, if you flip through the manual, you’ll quickly discover what you may need depending on the work you plan on doing and buy the tools accordingly.
Tools like this bearing puller from Motion Pro make the job so much easier
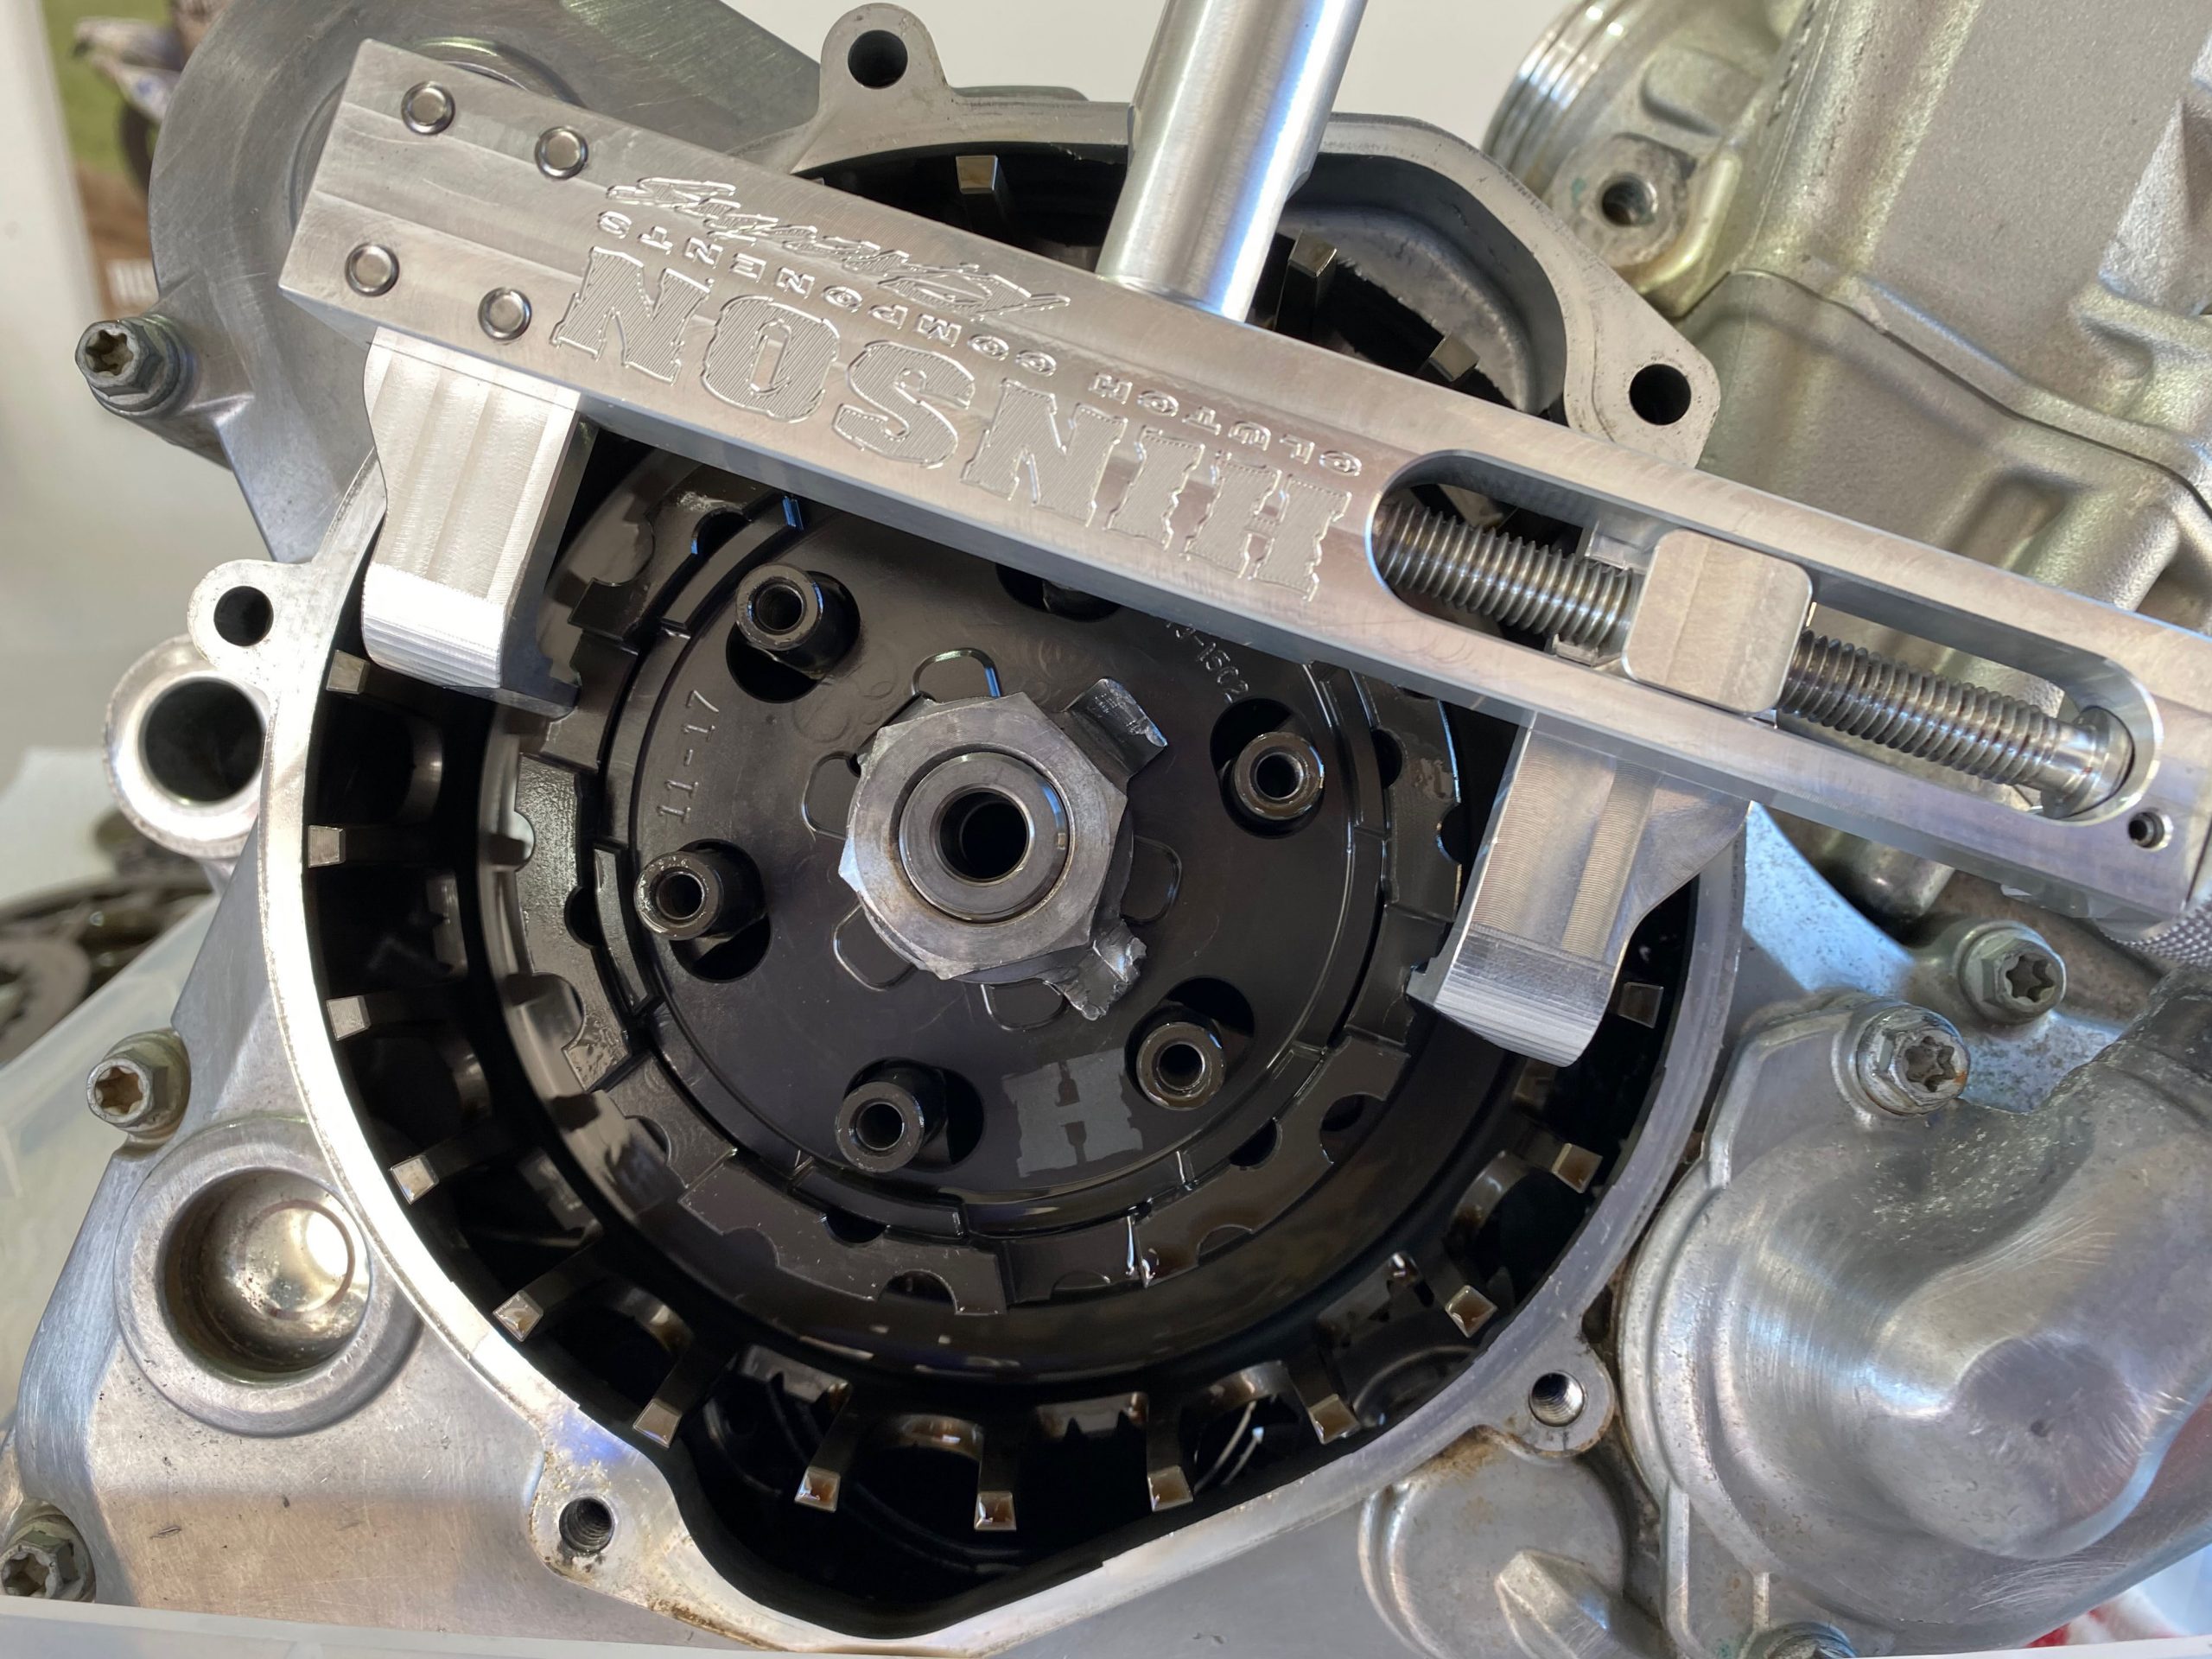
Likewise a precision tool like Hinson's own clutch holder means less likelihood of damage while working
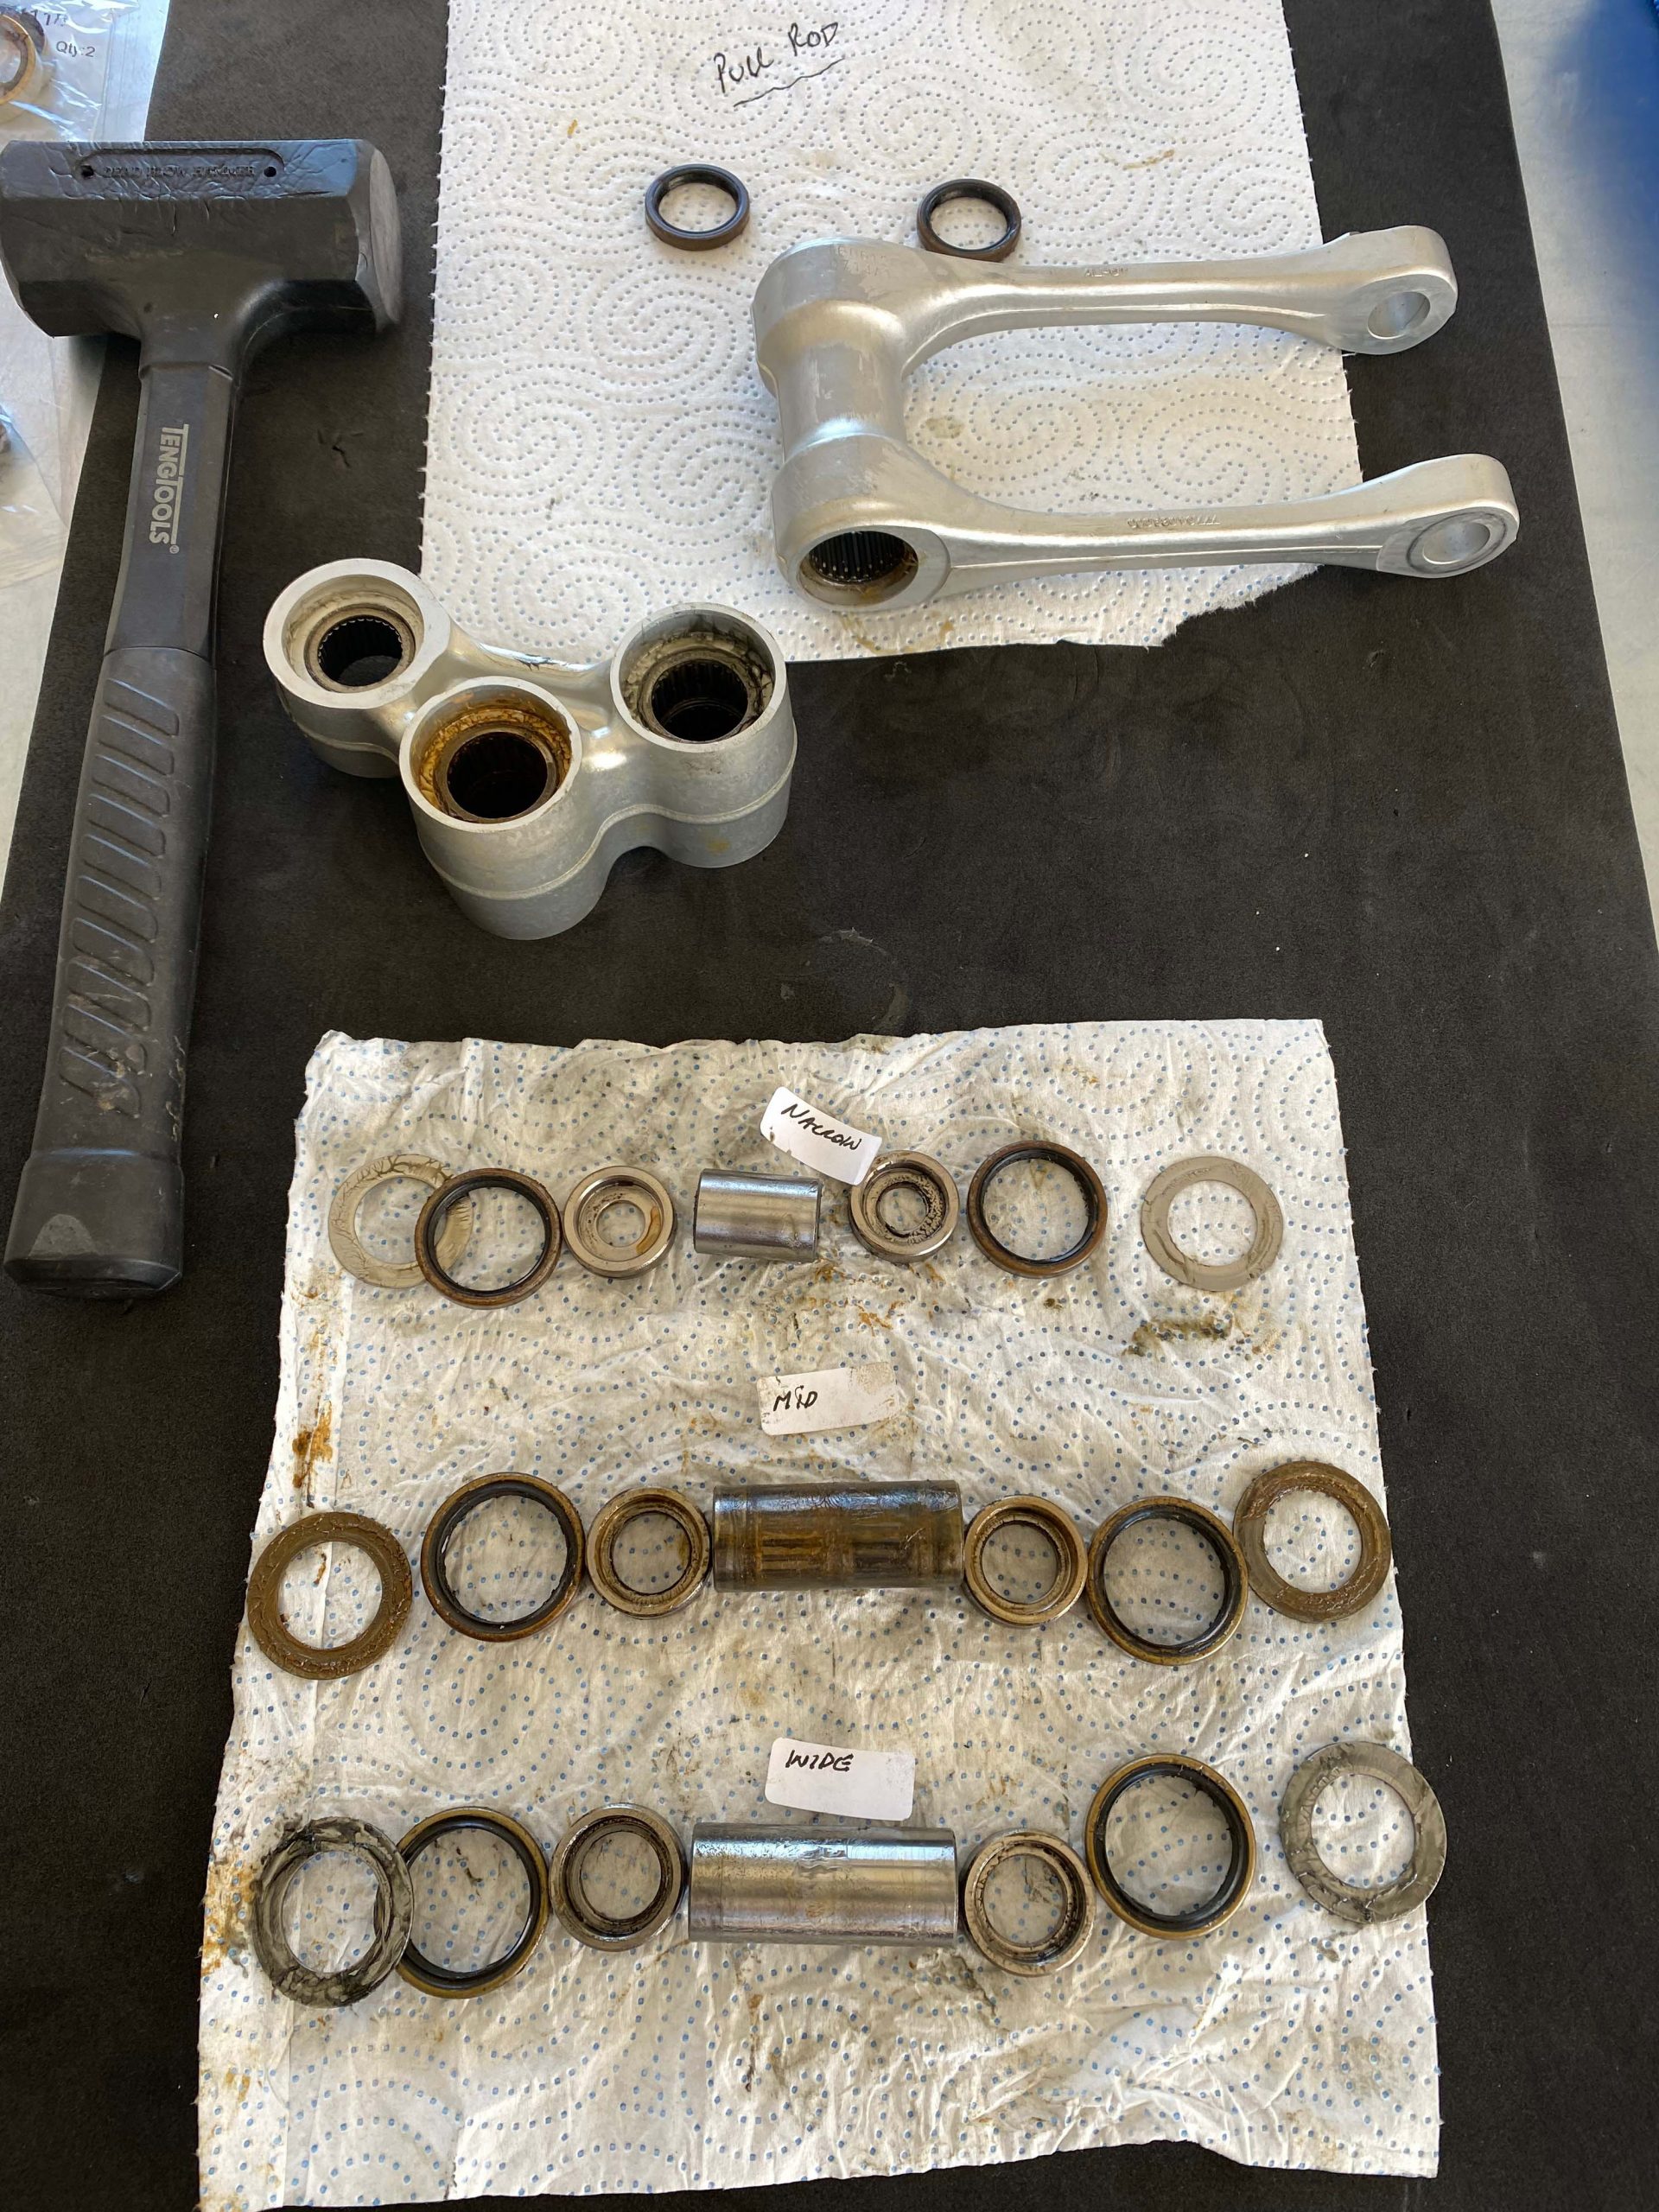
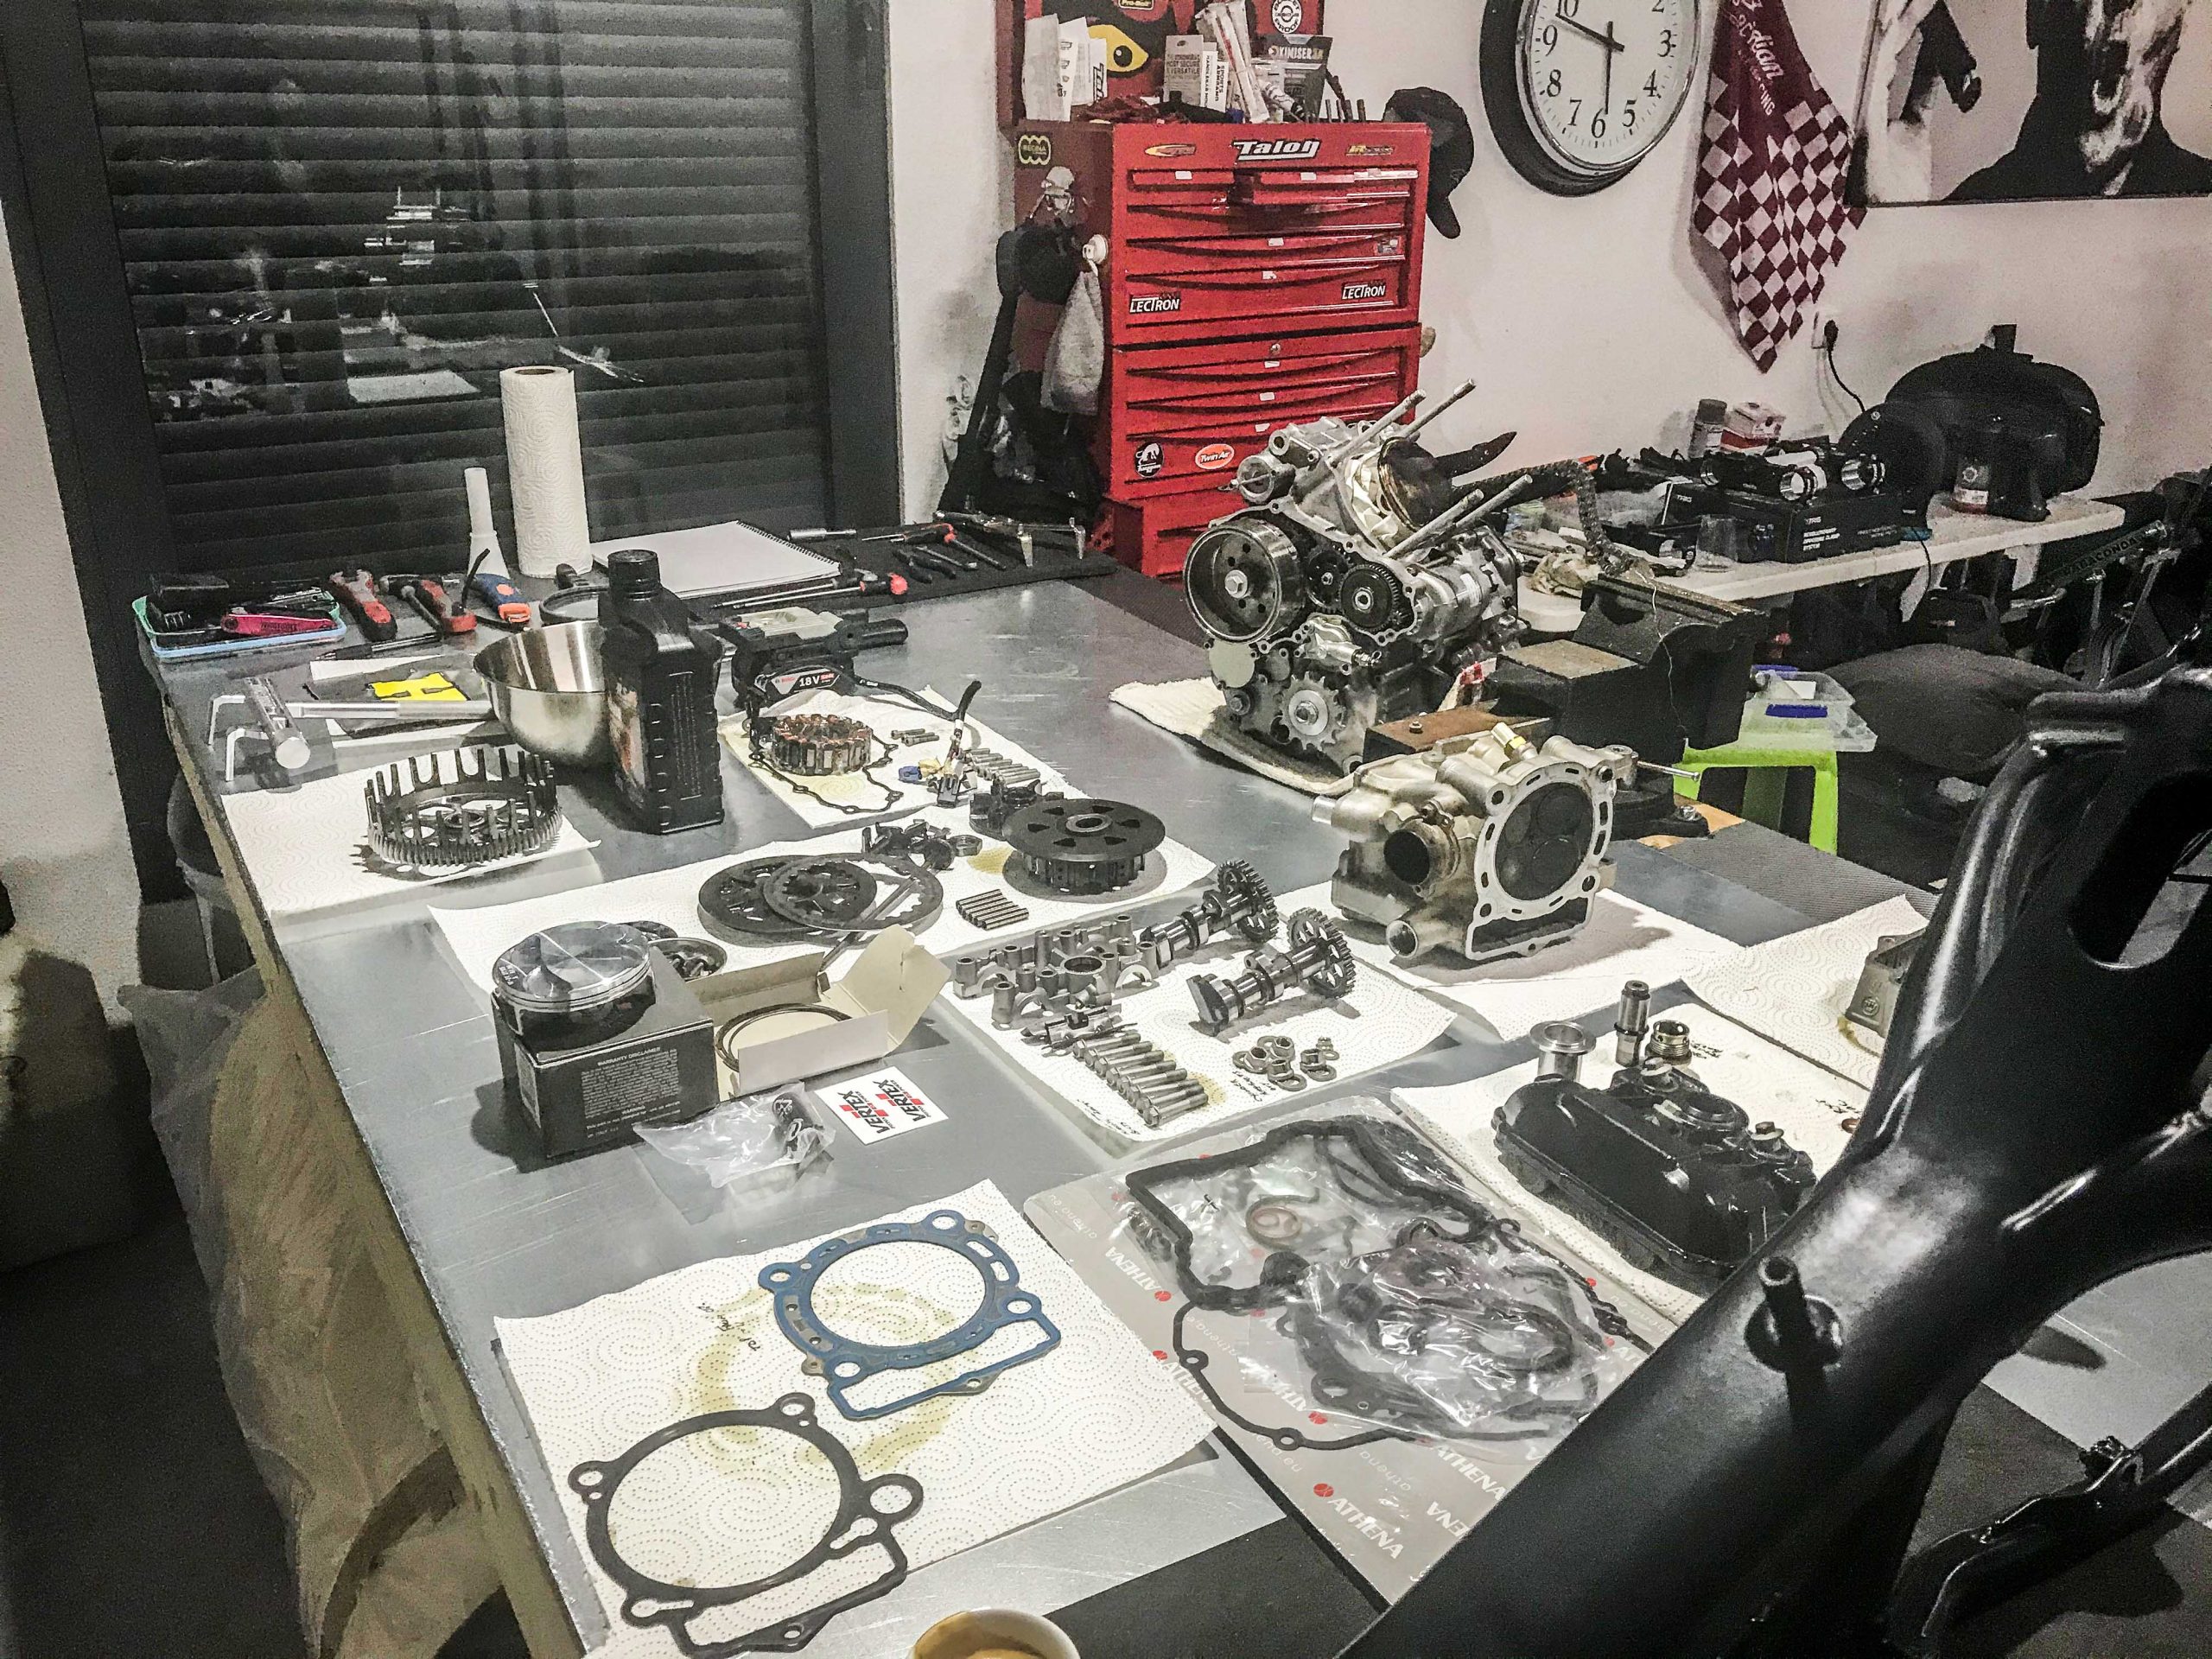
It pays to have all the parts you need before you start...
Having space to keep assemblies in a logical order helps (if not takes photos like this then store carefully)
CHASSIS
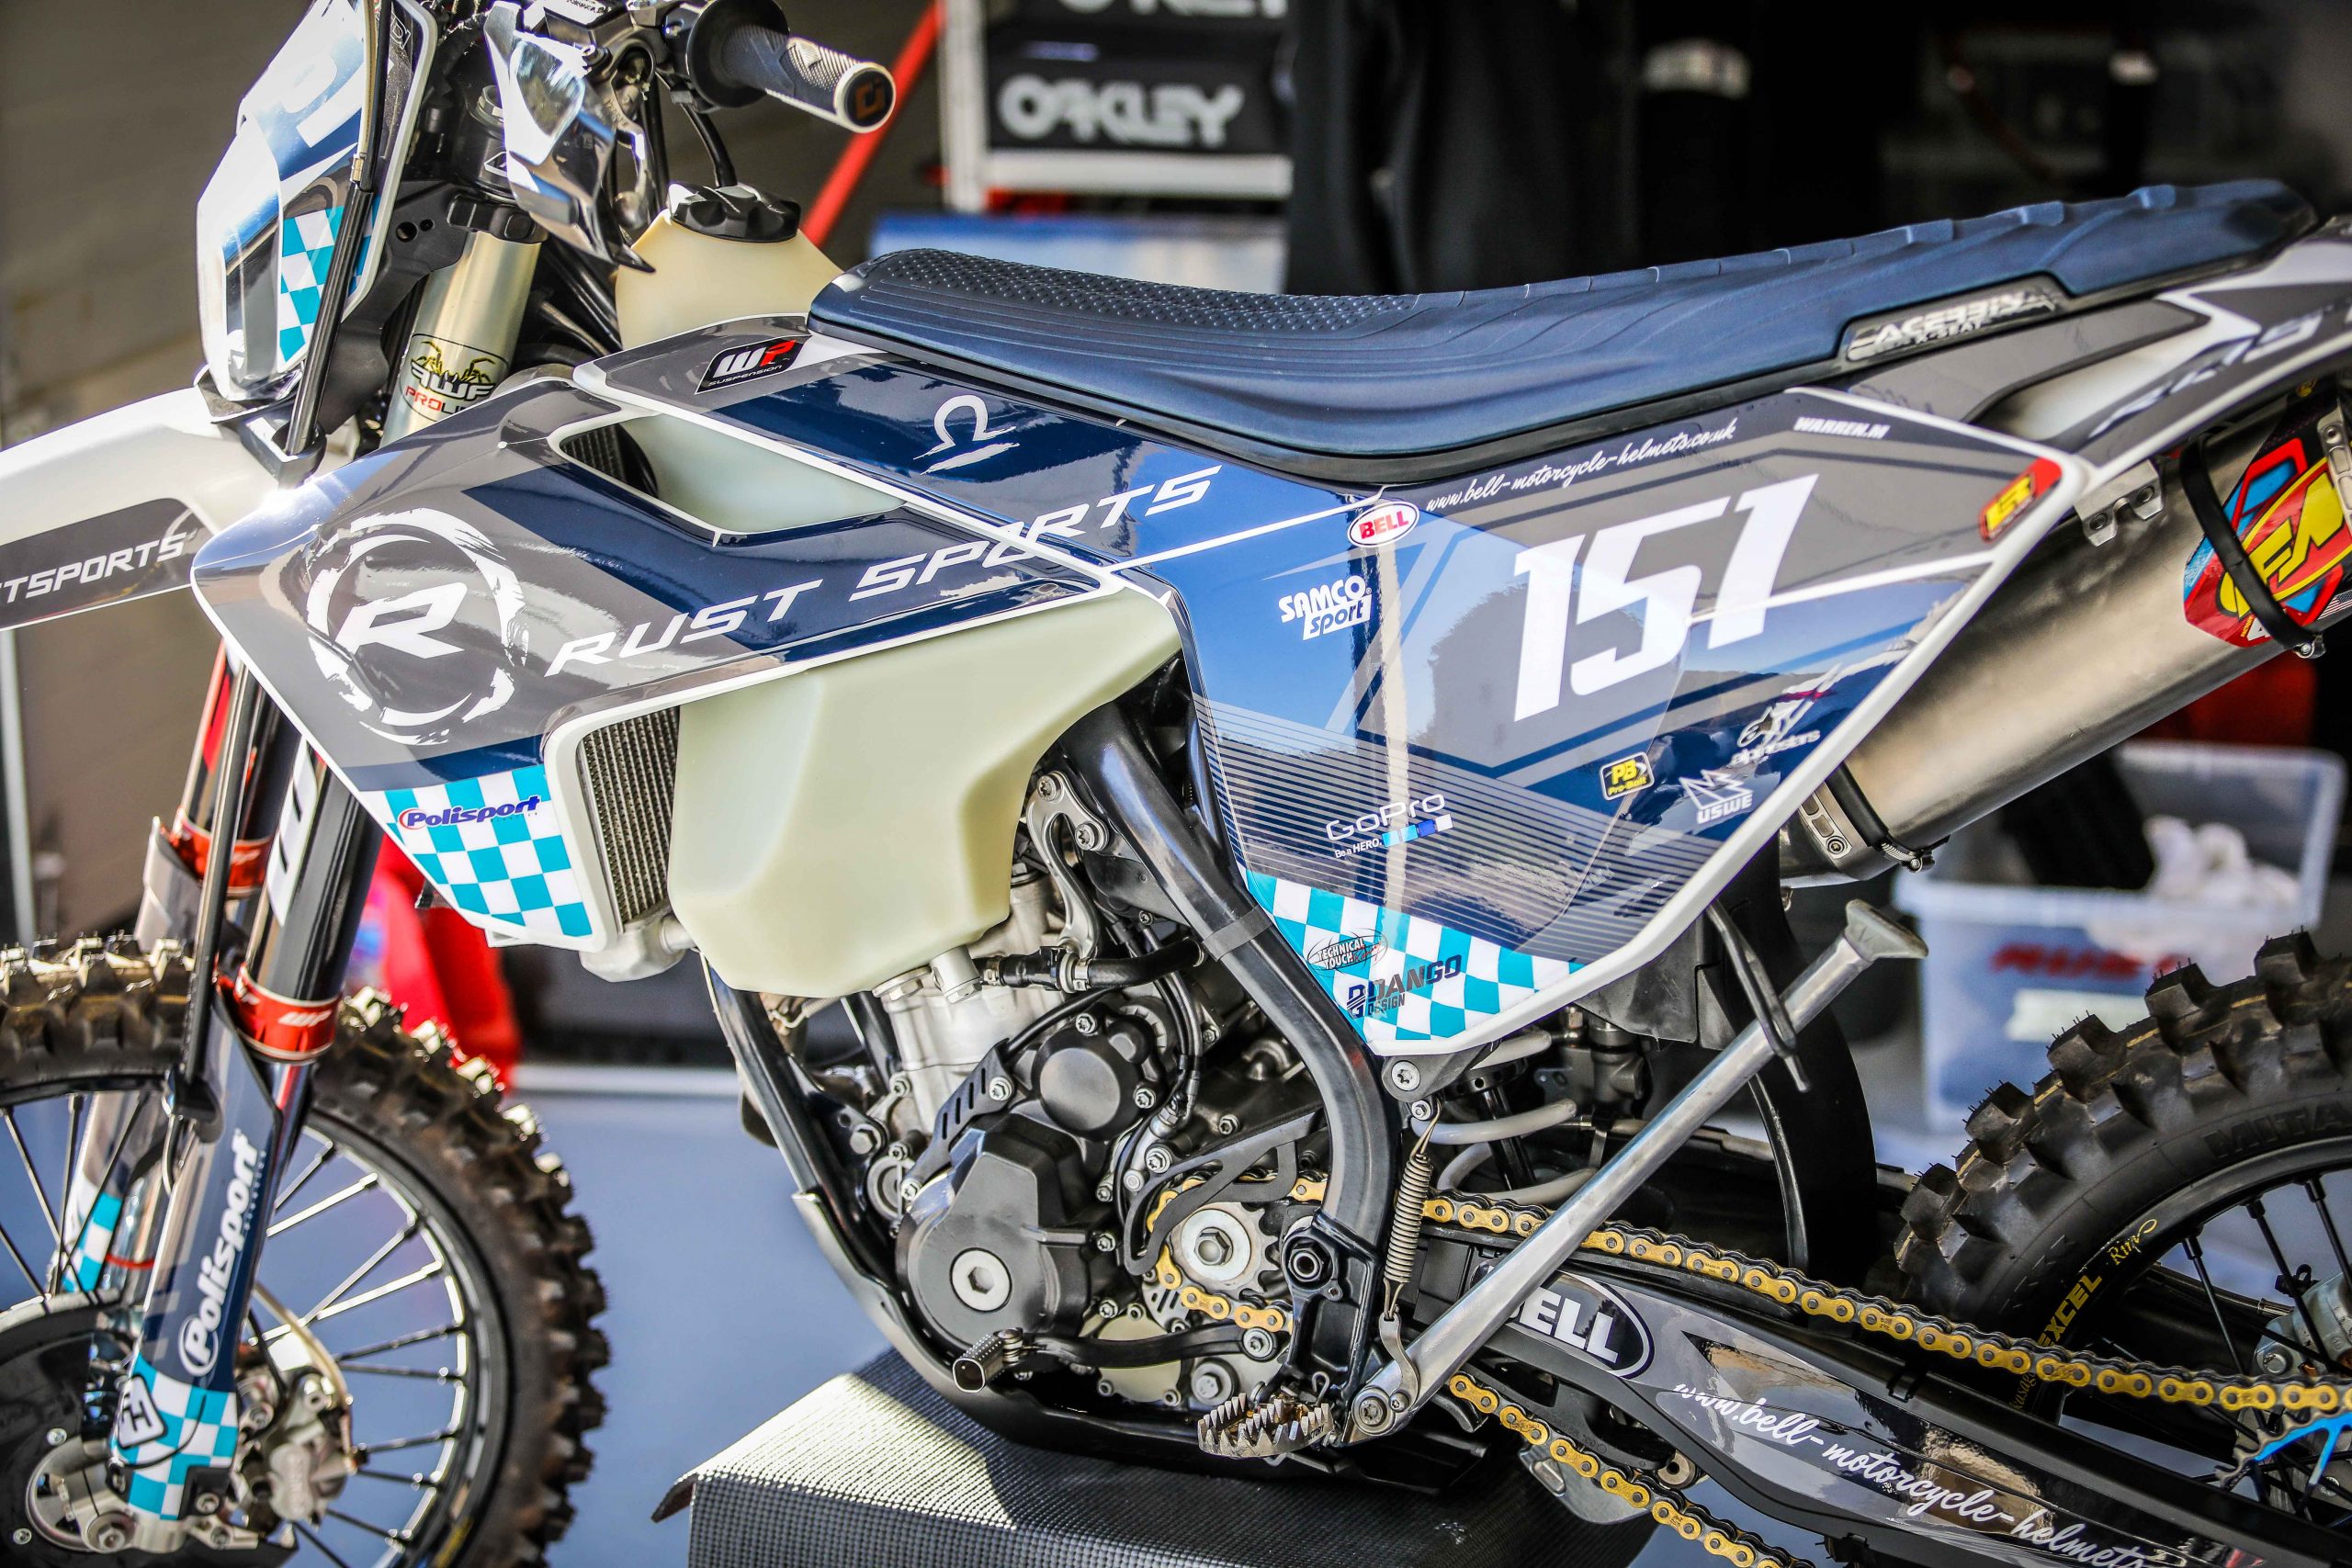
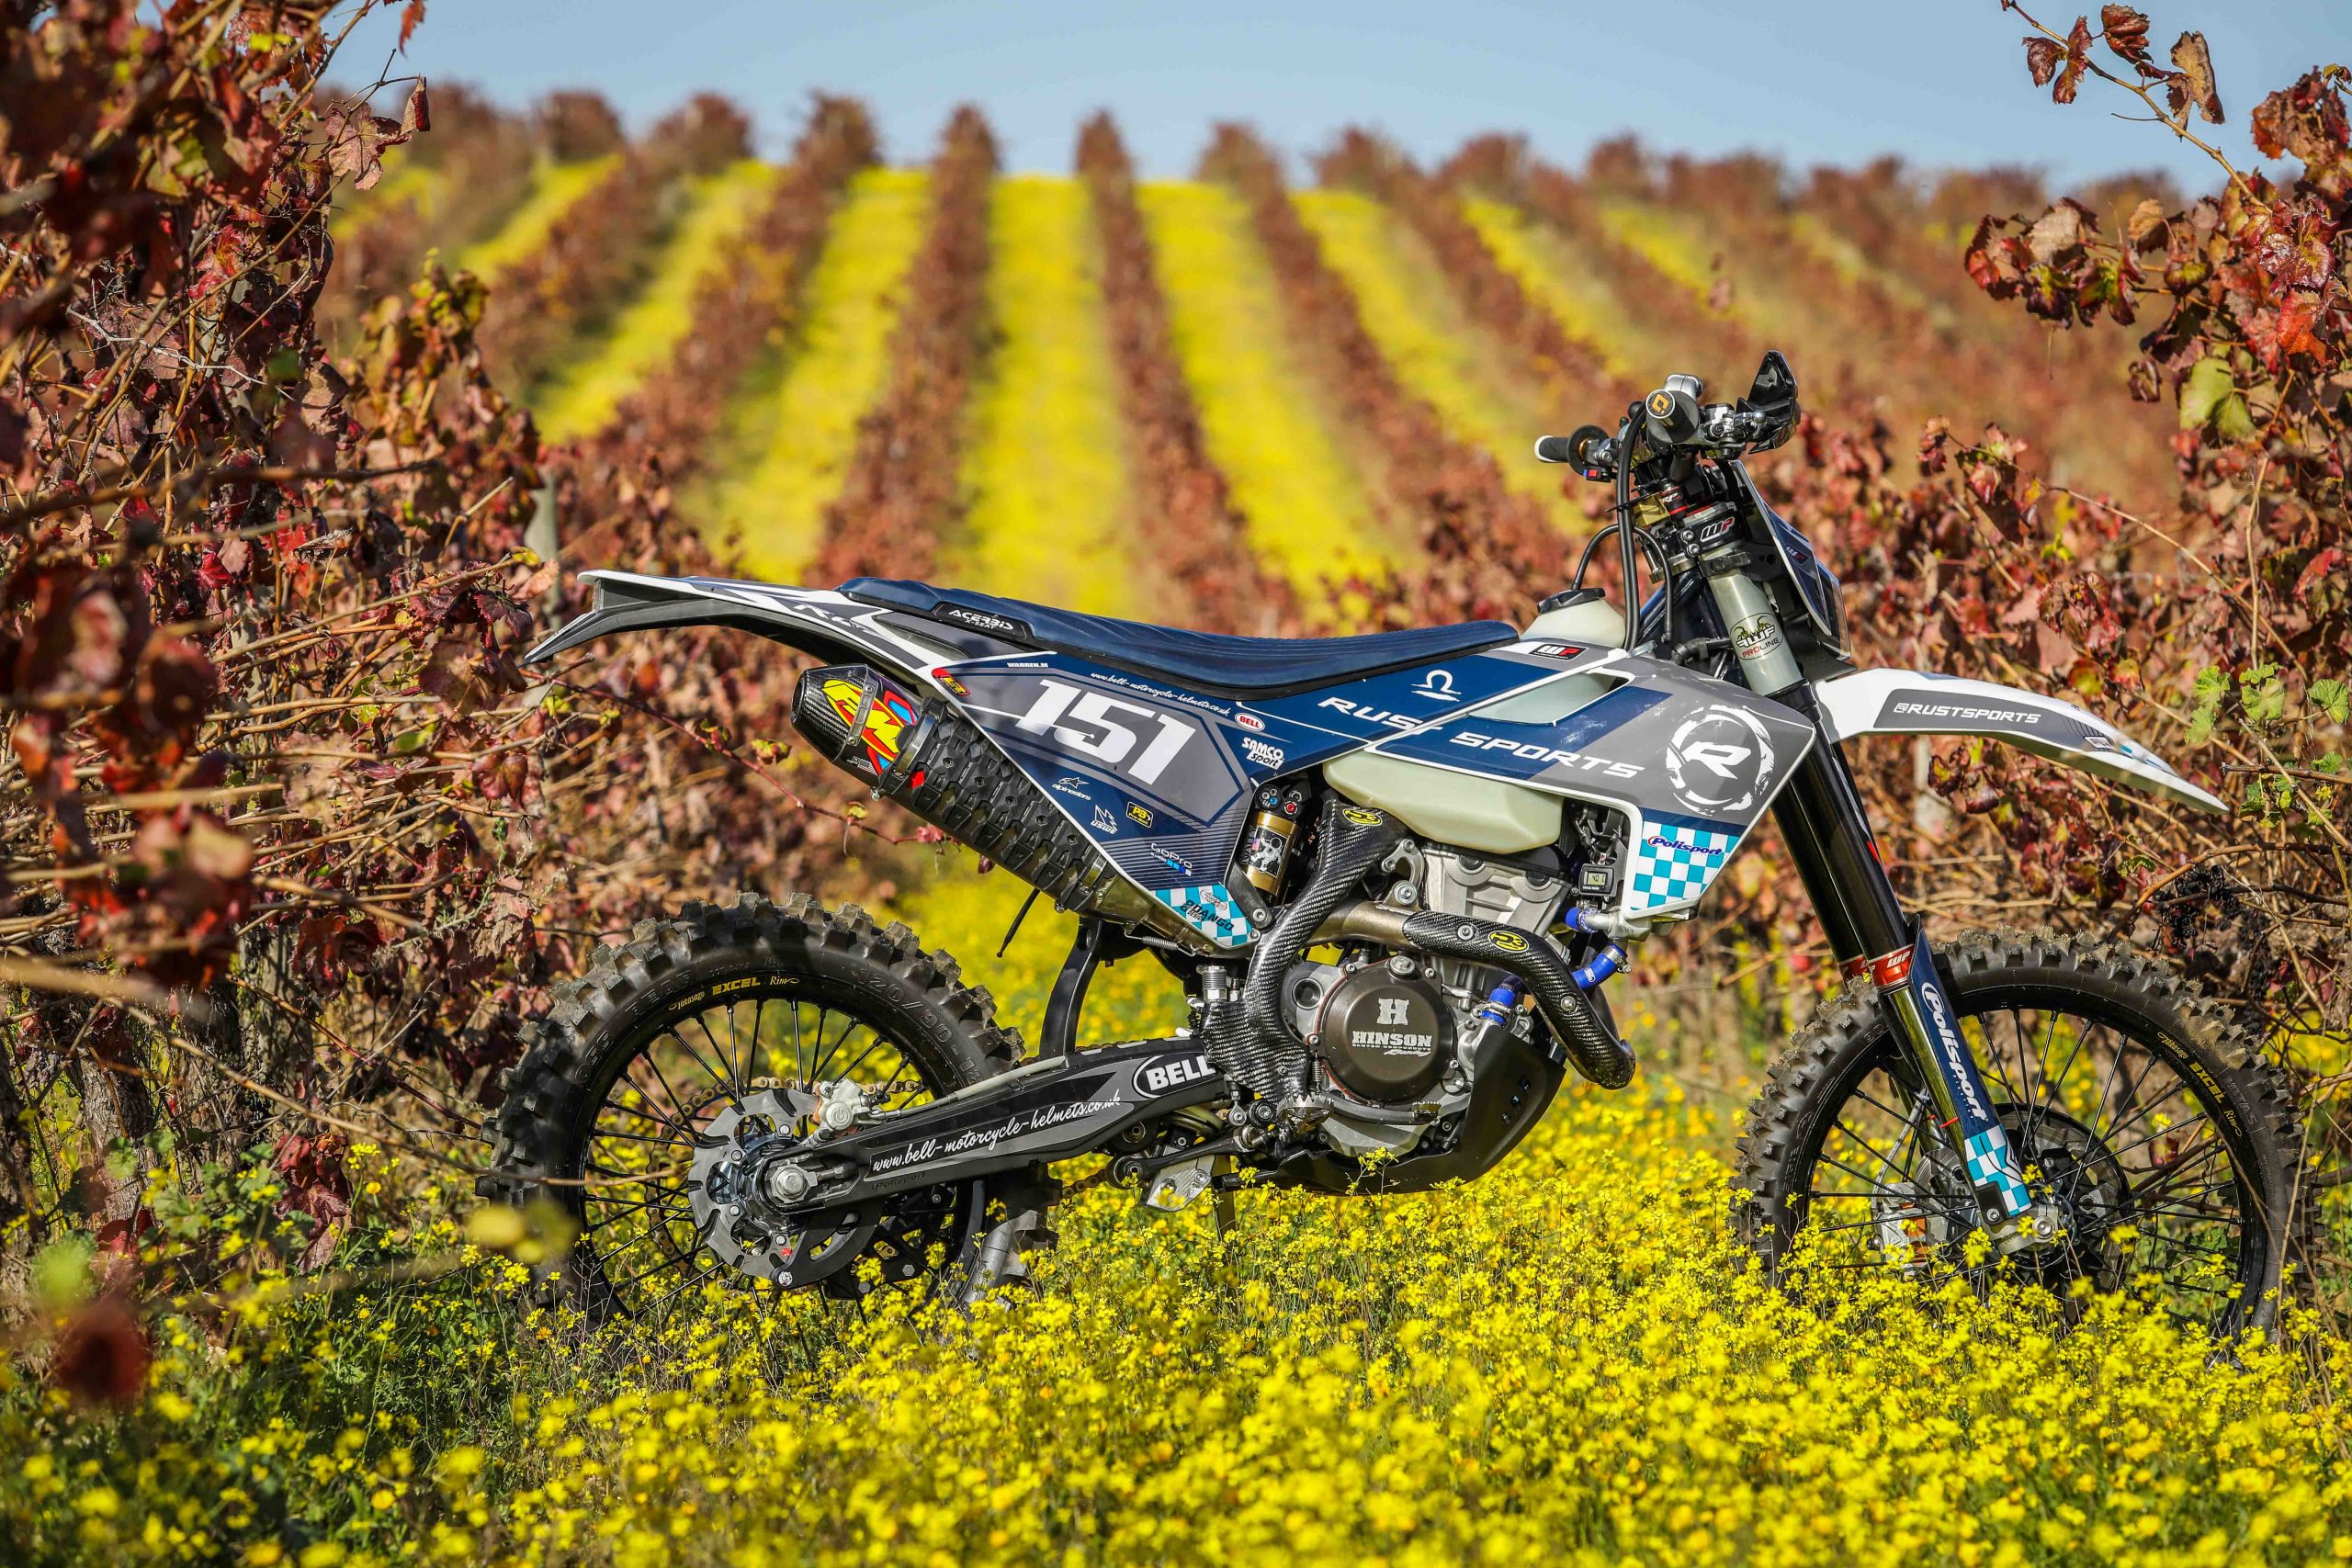
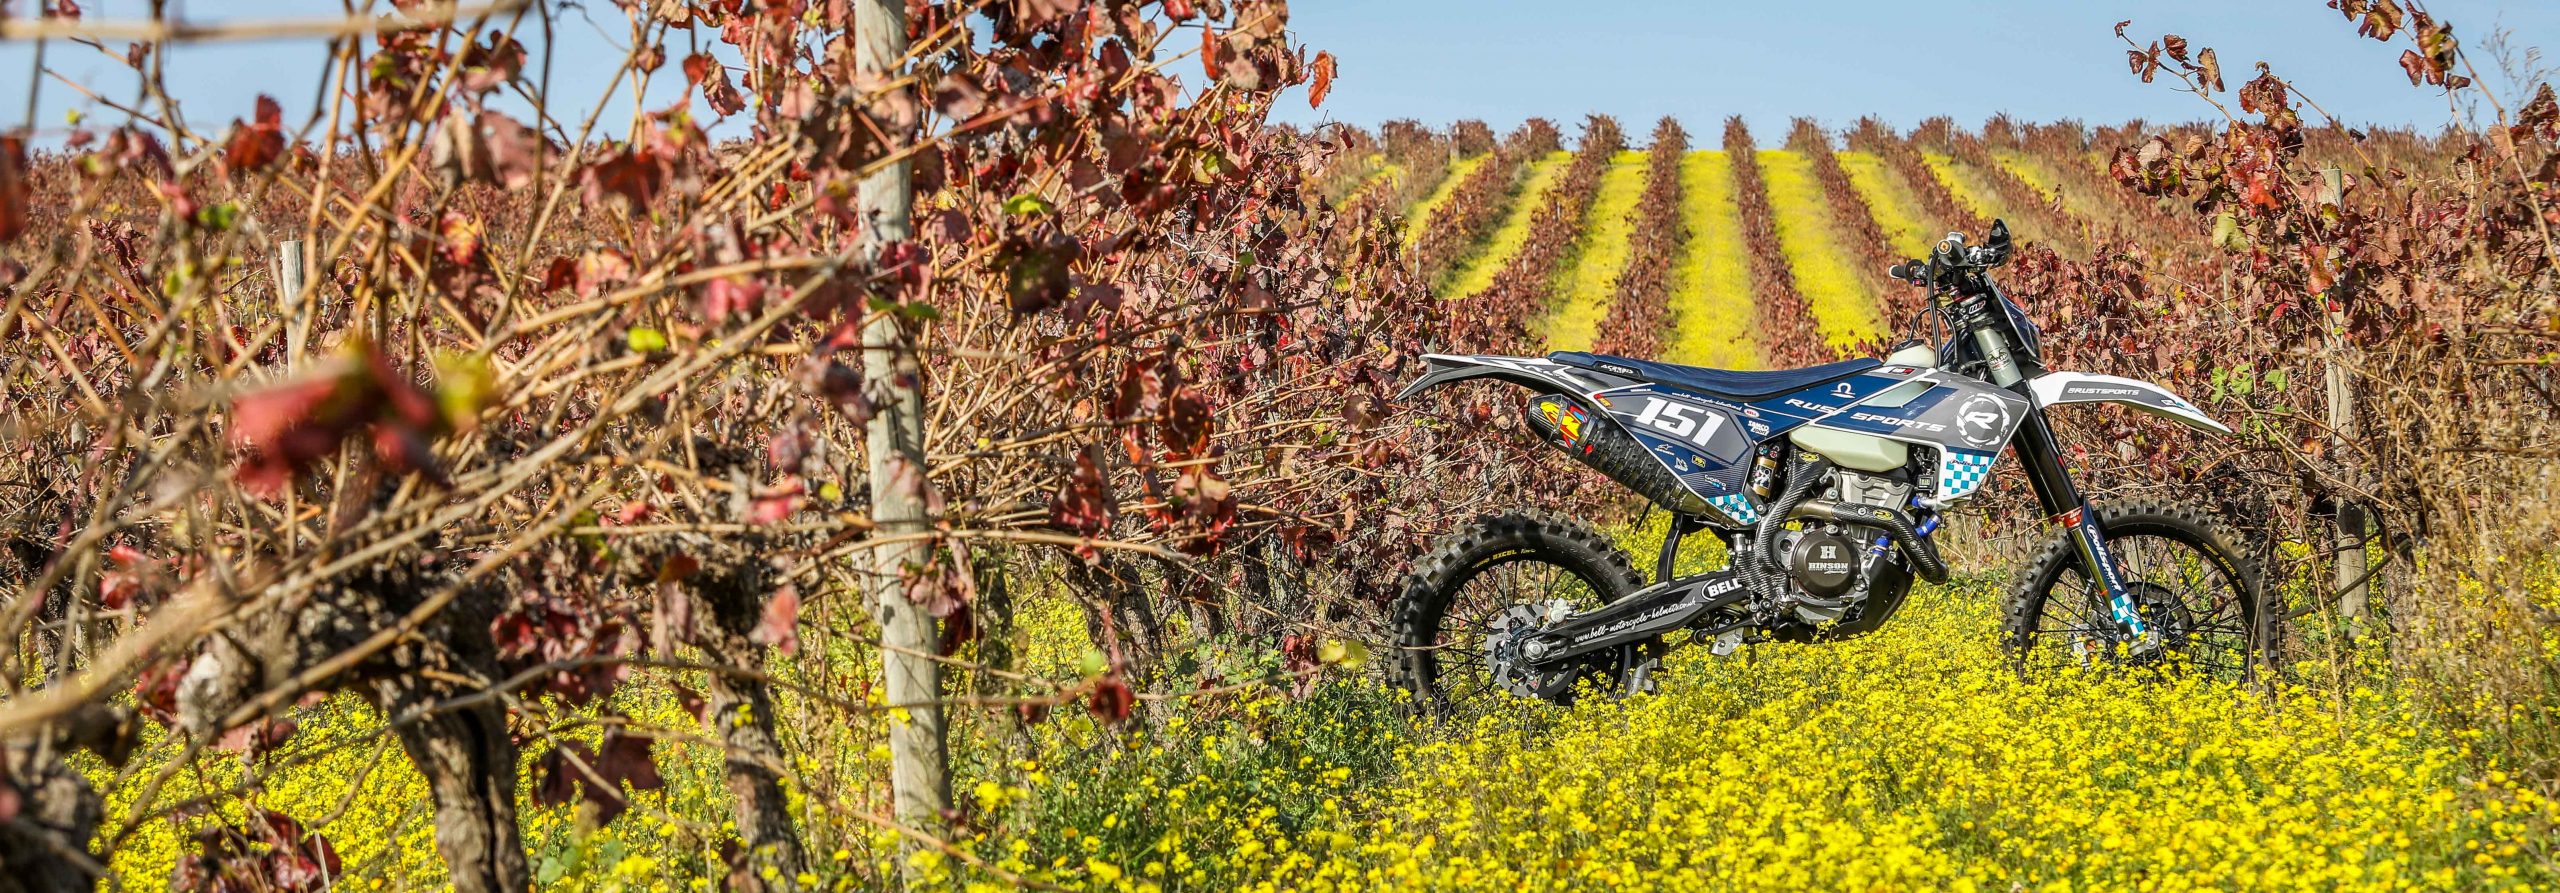
Work on the chassis refresh was a powder coat on the frame To my special deep-blue/black colour, as explained previously), in-house paint with Steel-it for swinging arm and other ancillary parts. New bushings and bearings throughout. And replacement of all the plastics – here my default is Polisport performance plastics.
Polisport have multiple colours of replacement plastics kits and I like to mix and match to get the look I want. They’re well priced and the quality is unquestionable. Besides the plastics from Polisport they make some unique protection accessories too. I ordered their graphics savers, Armadillo muffler guards, Fortress skid plates (see review) and some engine protection parts too.
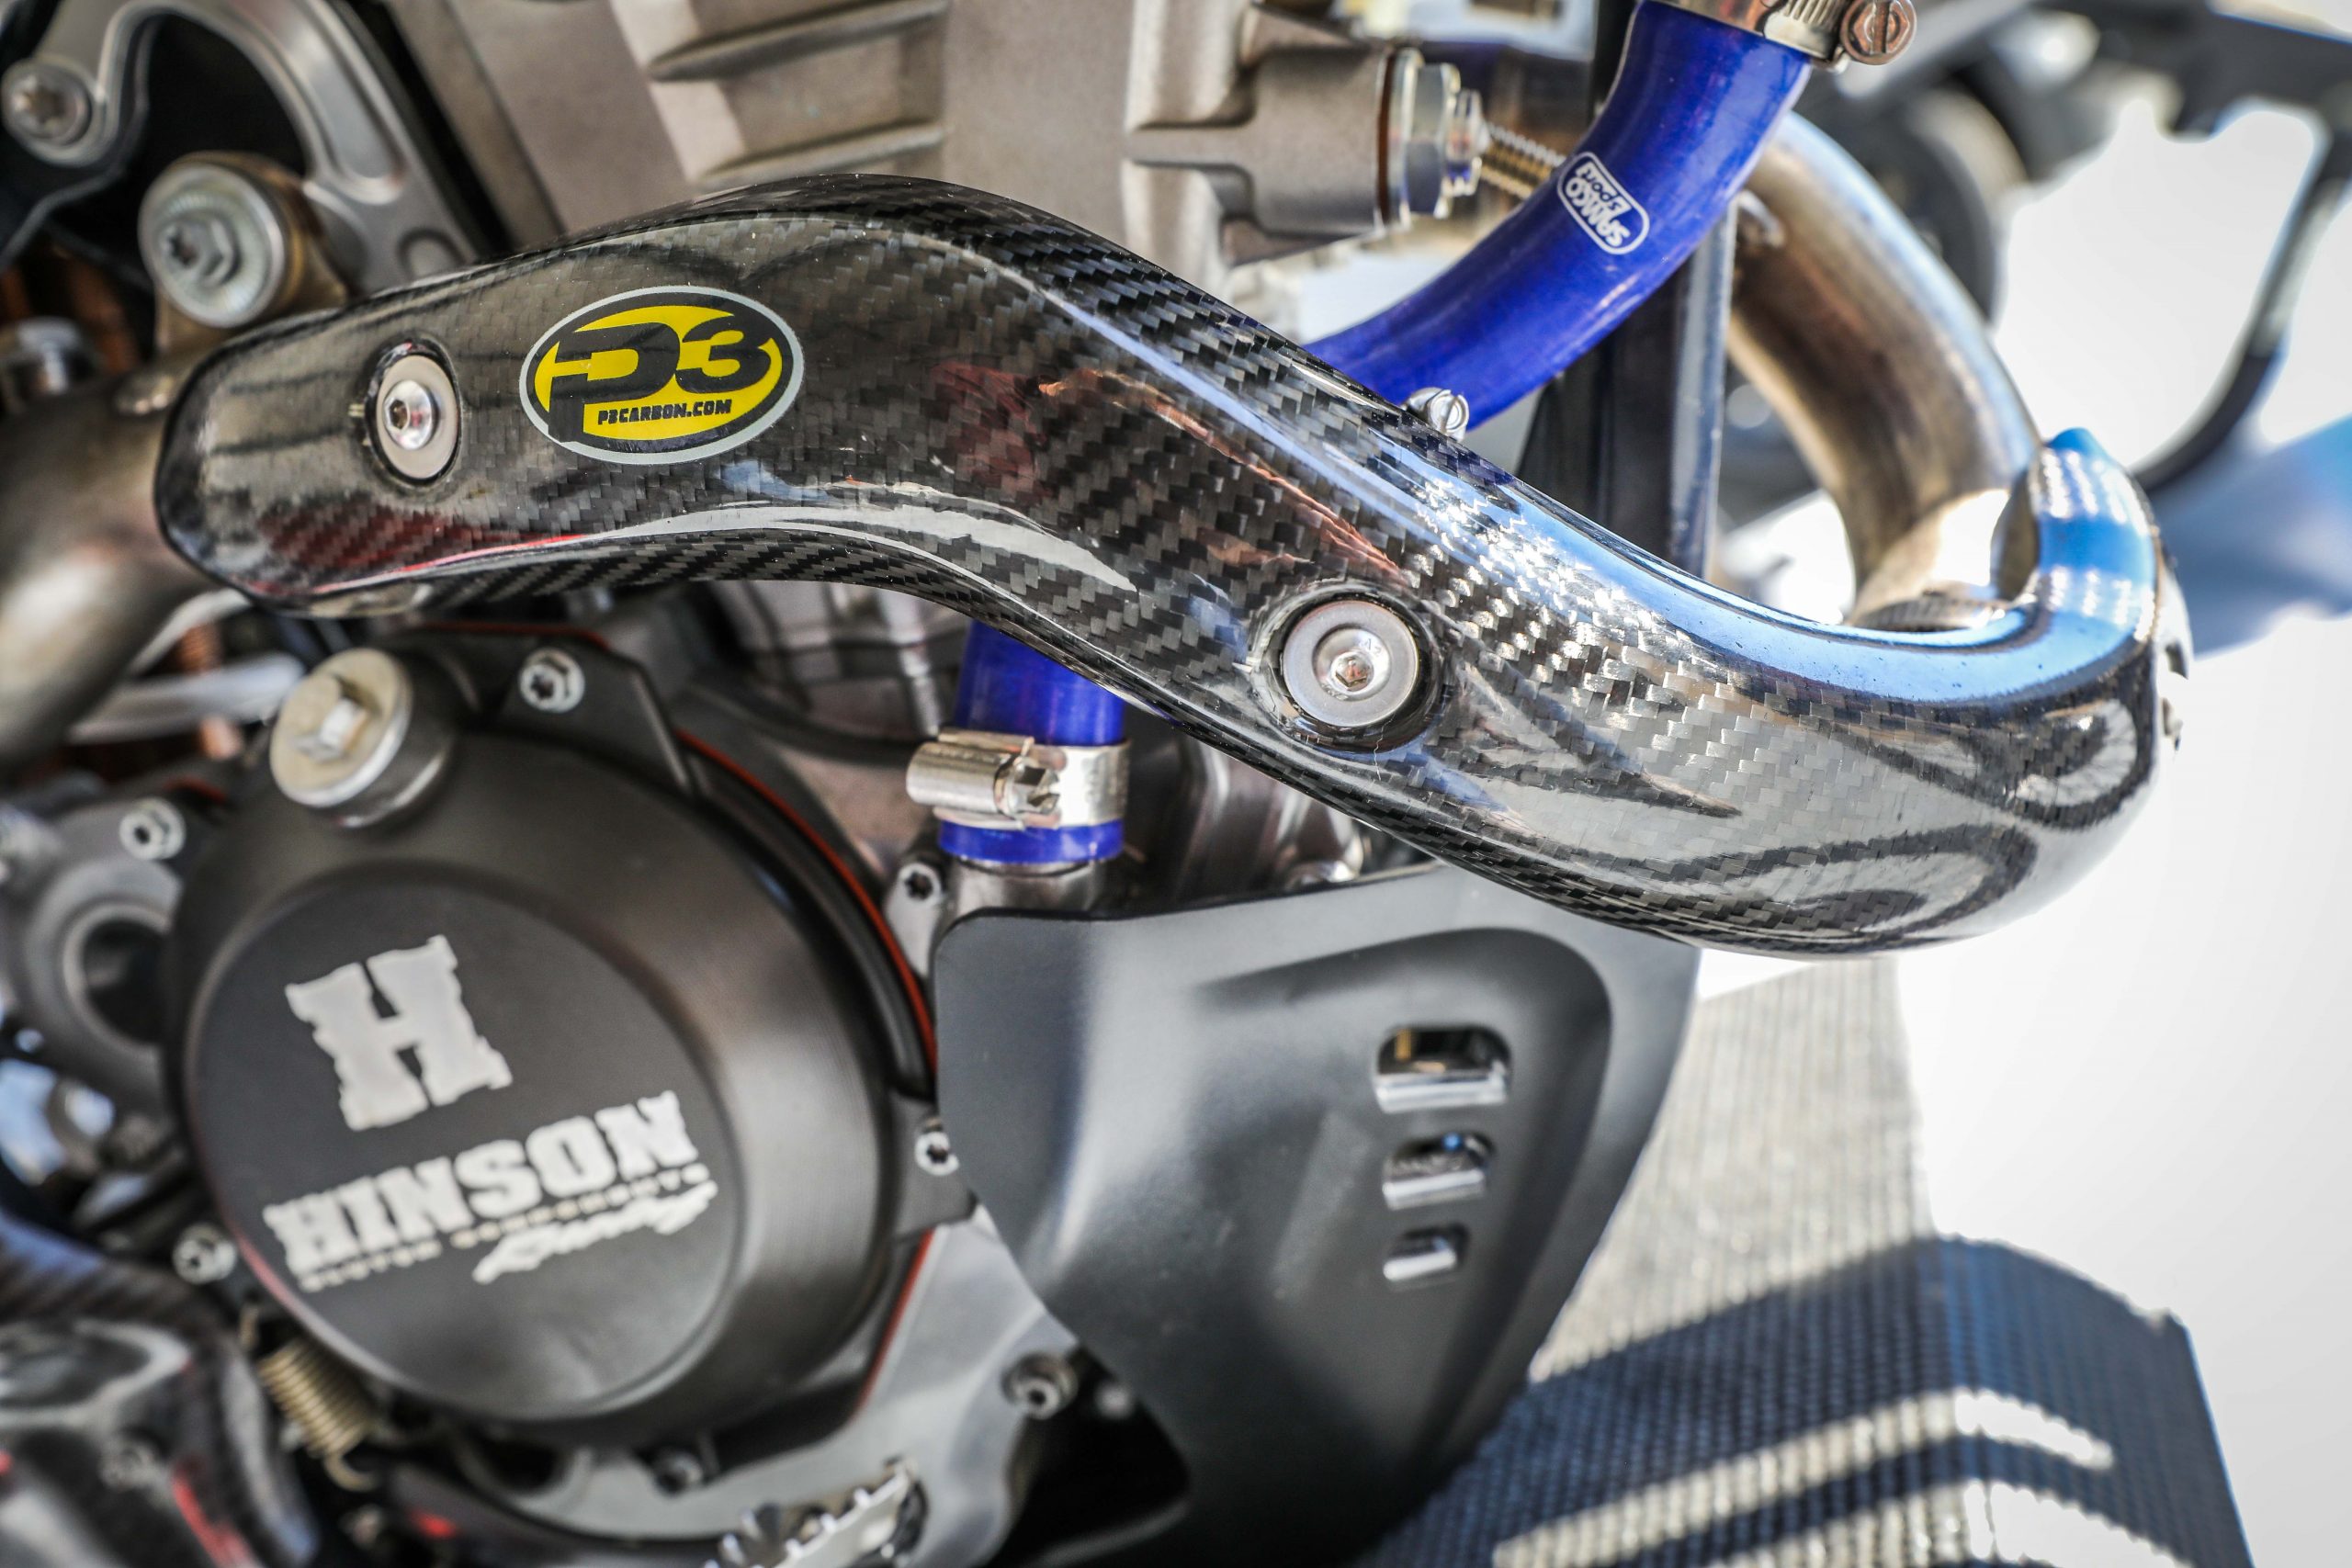
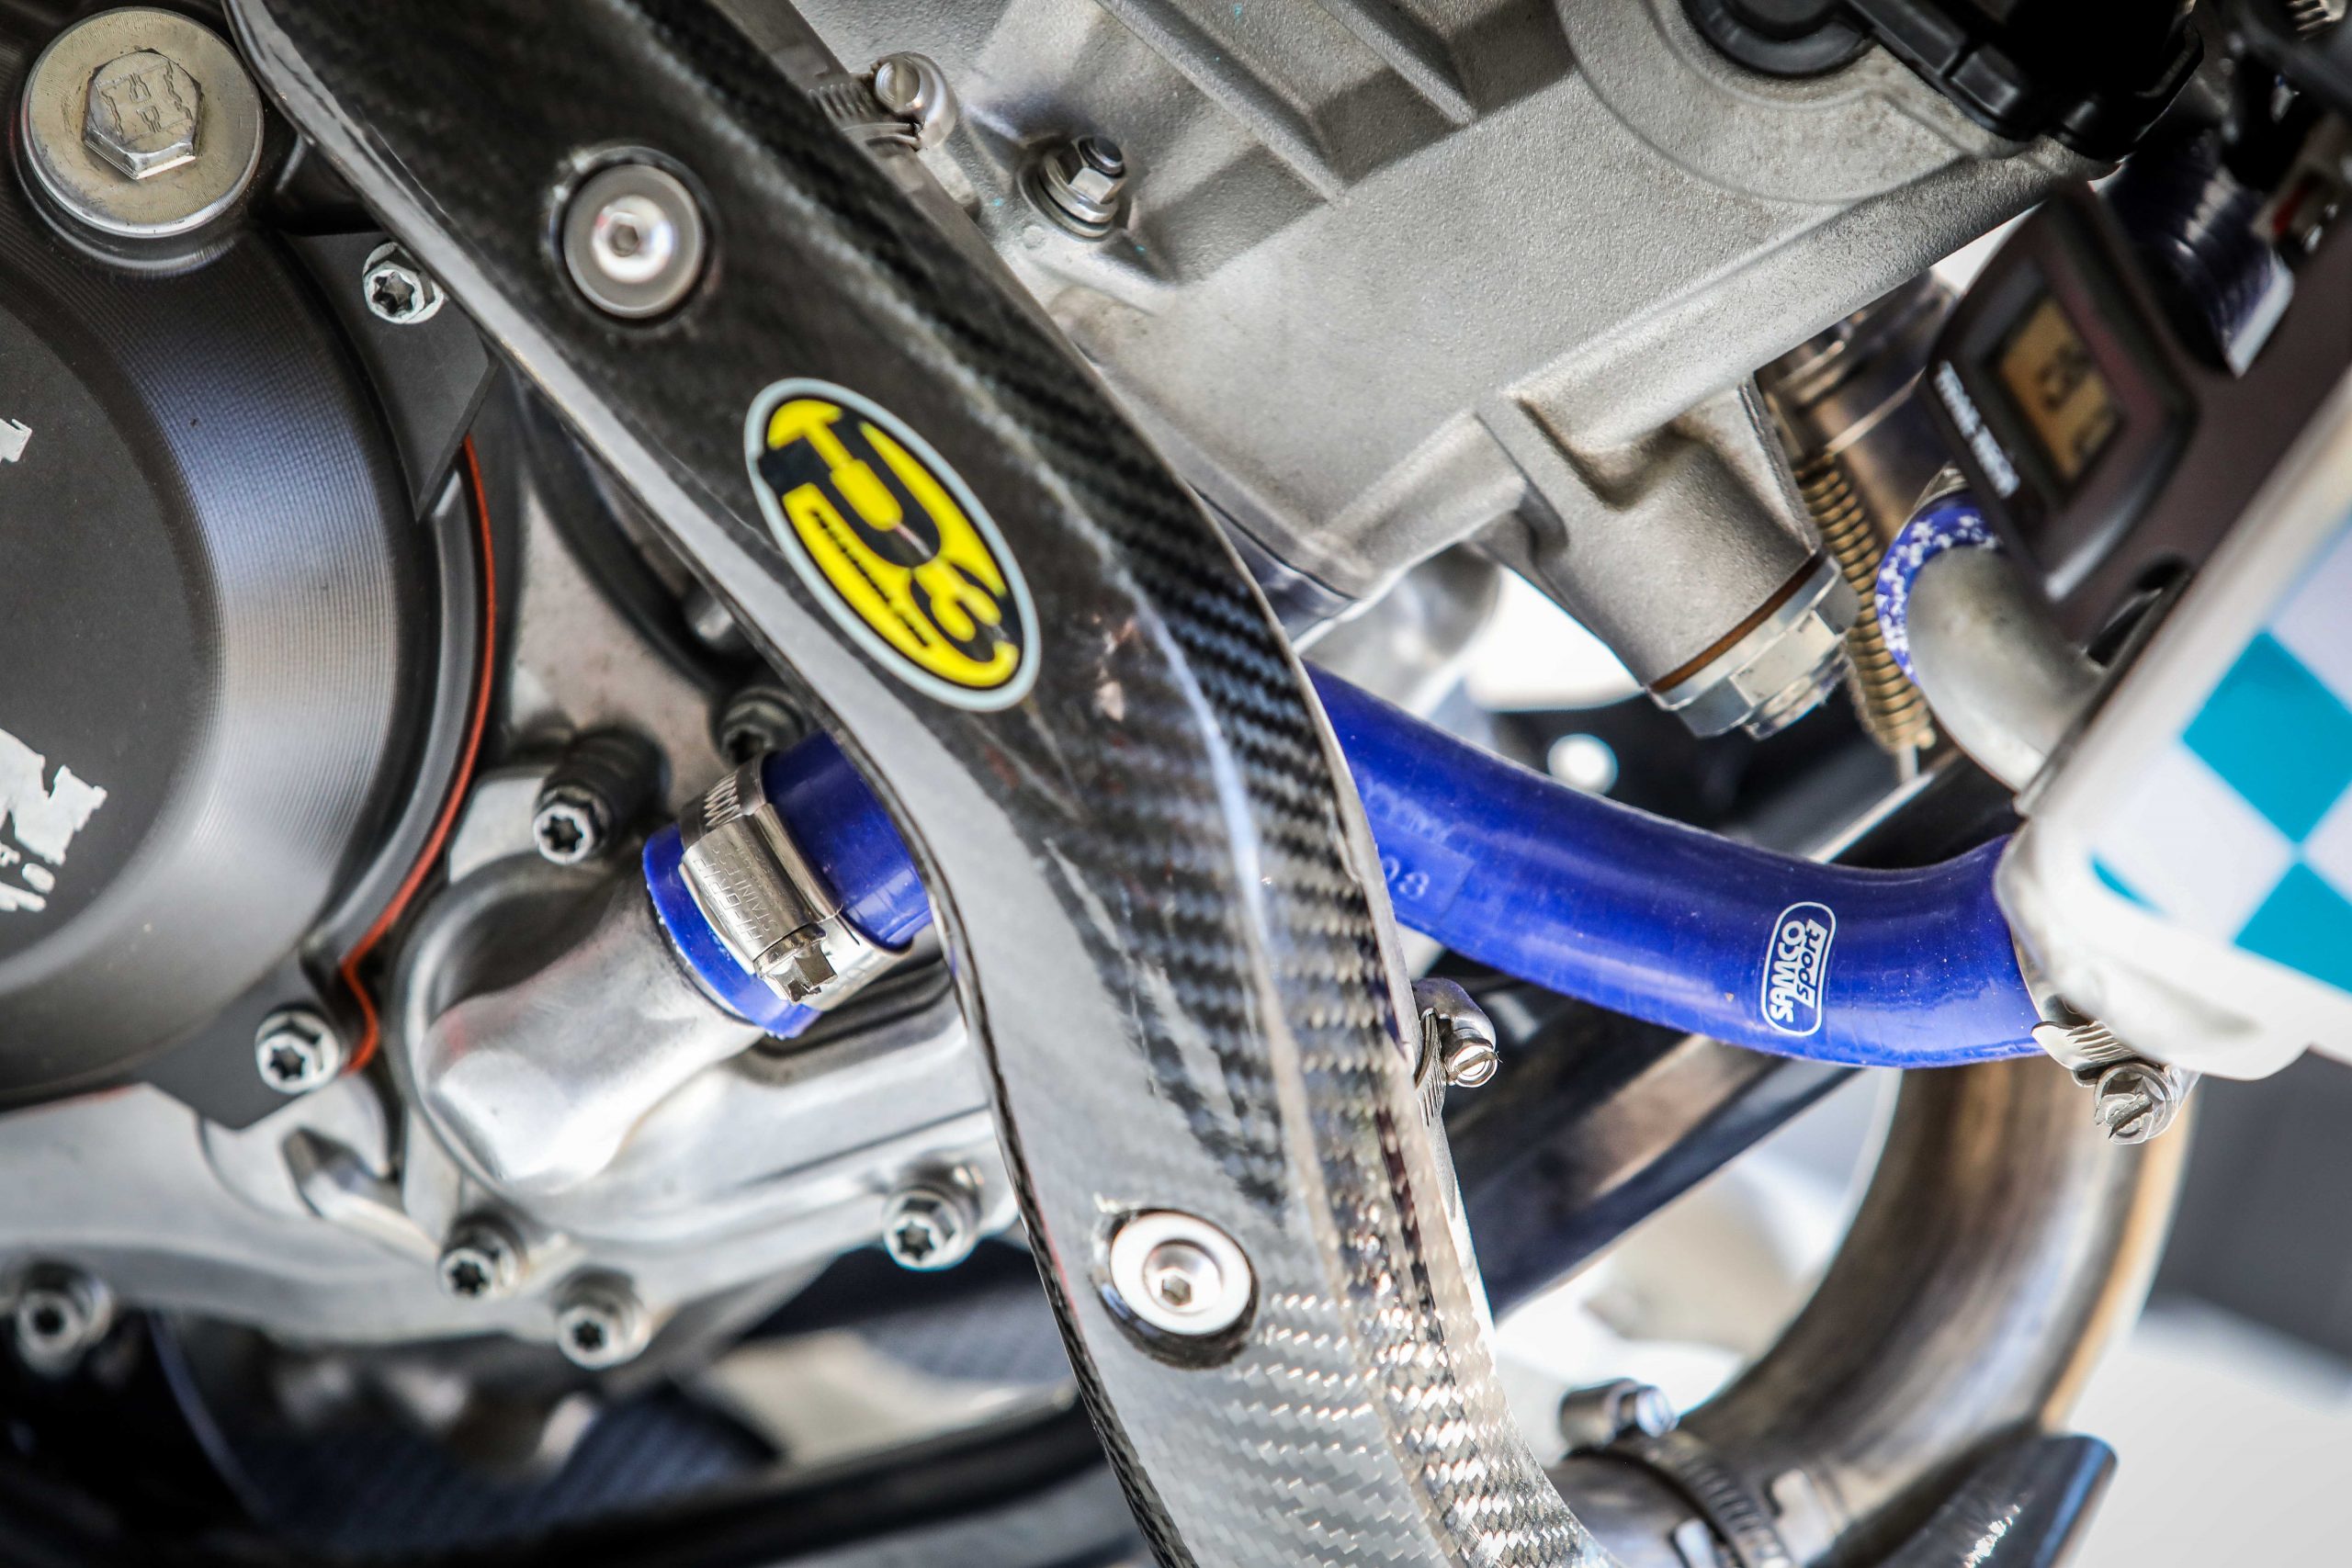
As for the carbon protection parts such as the header pipe guard and frame guards, my go to is P3 Carbon. I have been a long-term fan of P3’s products and besides being exceptionally well-made and easy to install (especially the header pipe guard) they look good, too.
My personalisation of my bikes always includes adding some strategically placed skateboard grip tape to the frame protectors and other locations on the side panels –here I go for a full roll of medium coarse grip tape from MOB.
My seat is from Acerbis – an X-seat (soft). It’s waterproof which is a weight saver in the winter, keeps you butt dryer than the usual soaking seat and its super comfy on the backside. Headlight is an LED replacement from Husky performance parts.
Polisport Fortress skidplate was a great upgrade
Carbon proetction from P3 is top notch
The Acerbis X-seat is a revelation
Husky Performance Parts LED light is super-trick
SUSPENSION
If you’re new to RUST, then you should know that suspension is my thing. I have a real interest in learning as much as I can about suspension. To me it’s the biggest single influence on a dirt bike’s performance. Whether it’s from an enjoyment, performance, or a safety perspective, suspension to me is the key focus point to get right on the bike. It’s also the single biggest component that can help you save a bad situation and I like that, especially now that I’m older I like crashing less. It’s also a major contributor to enjoyment and endurance. If your suspension works well you’re able to ride longer and faster and safer.
I am always testing suspension setups and combinations and over the years have had the pleasure of running a load of A-kit suspension on my bikes. Currently I am testing a new combination on this build and there’s no doubt that I’ll be swapping out the forks on this bike in due course as part of the testing progression.
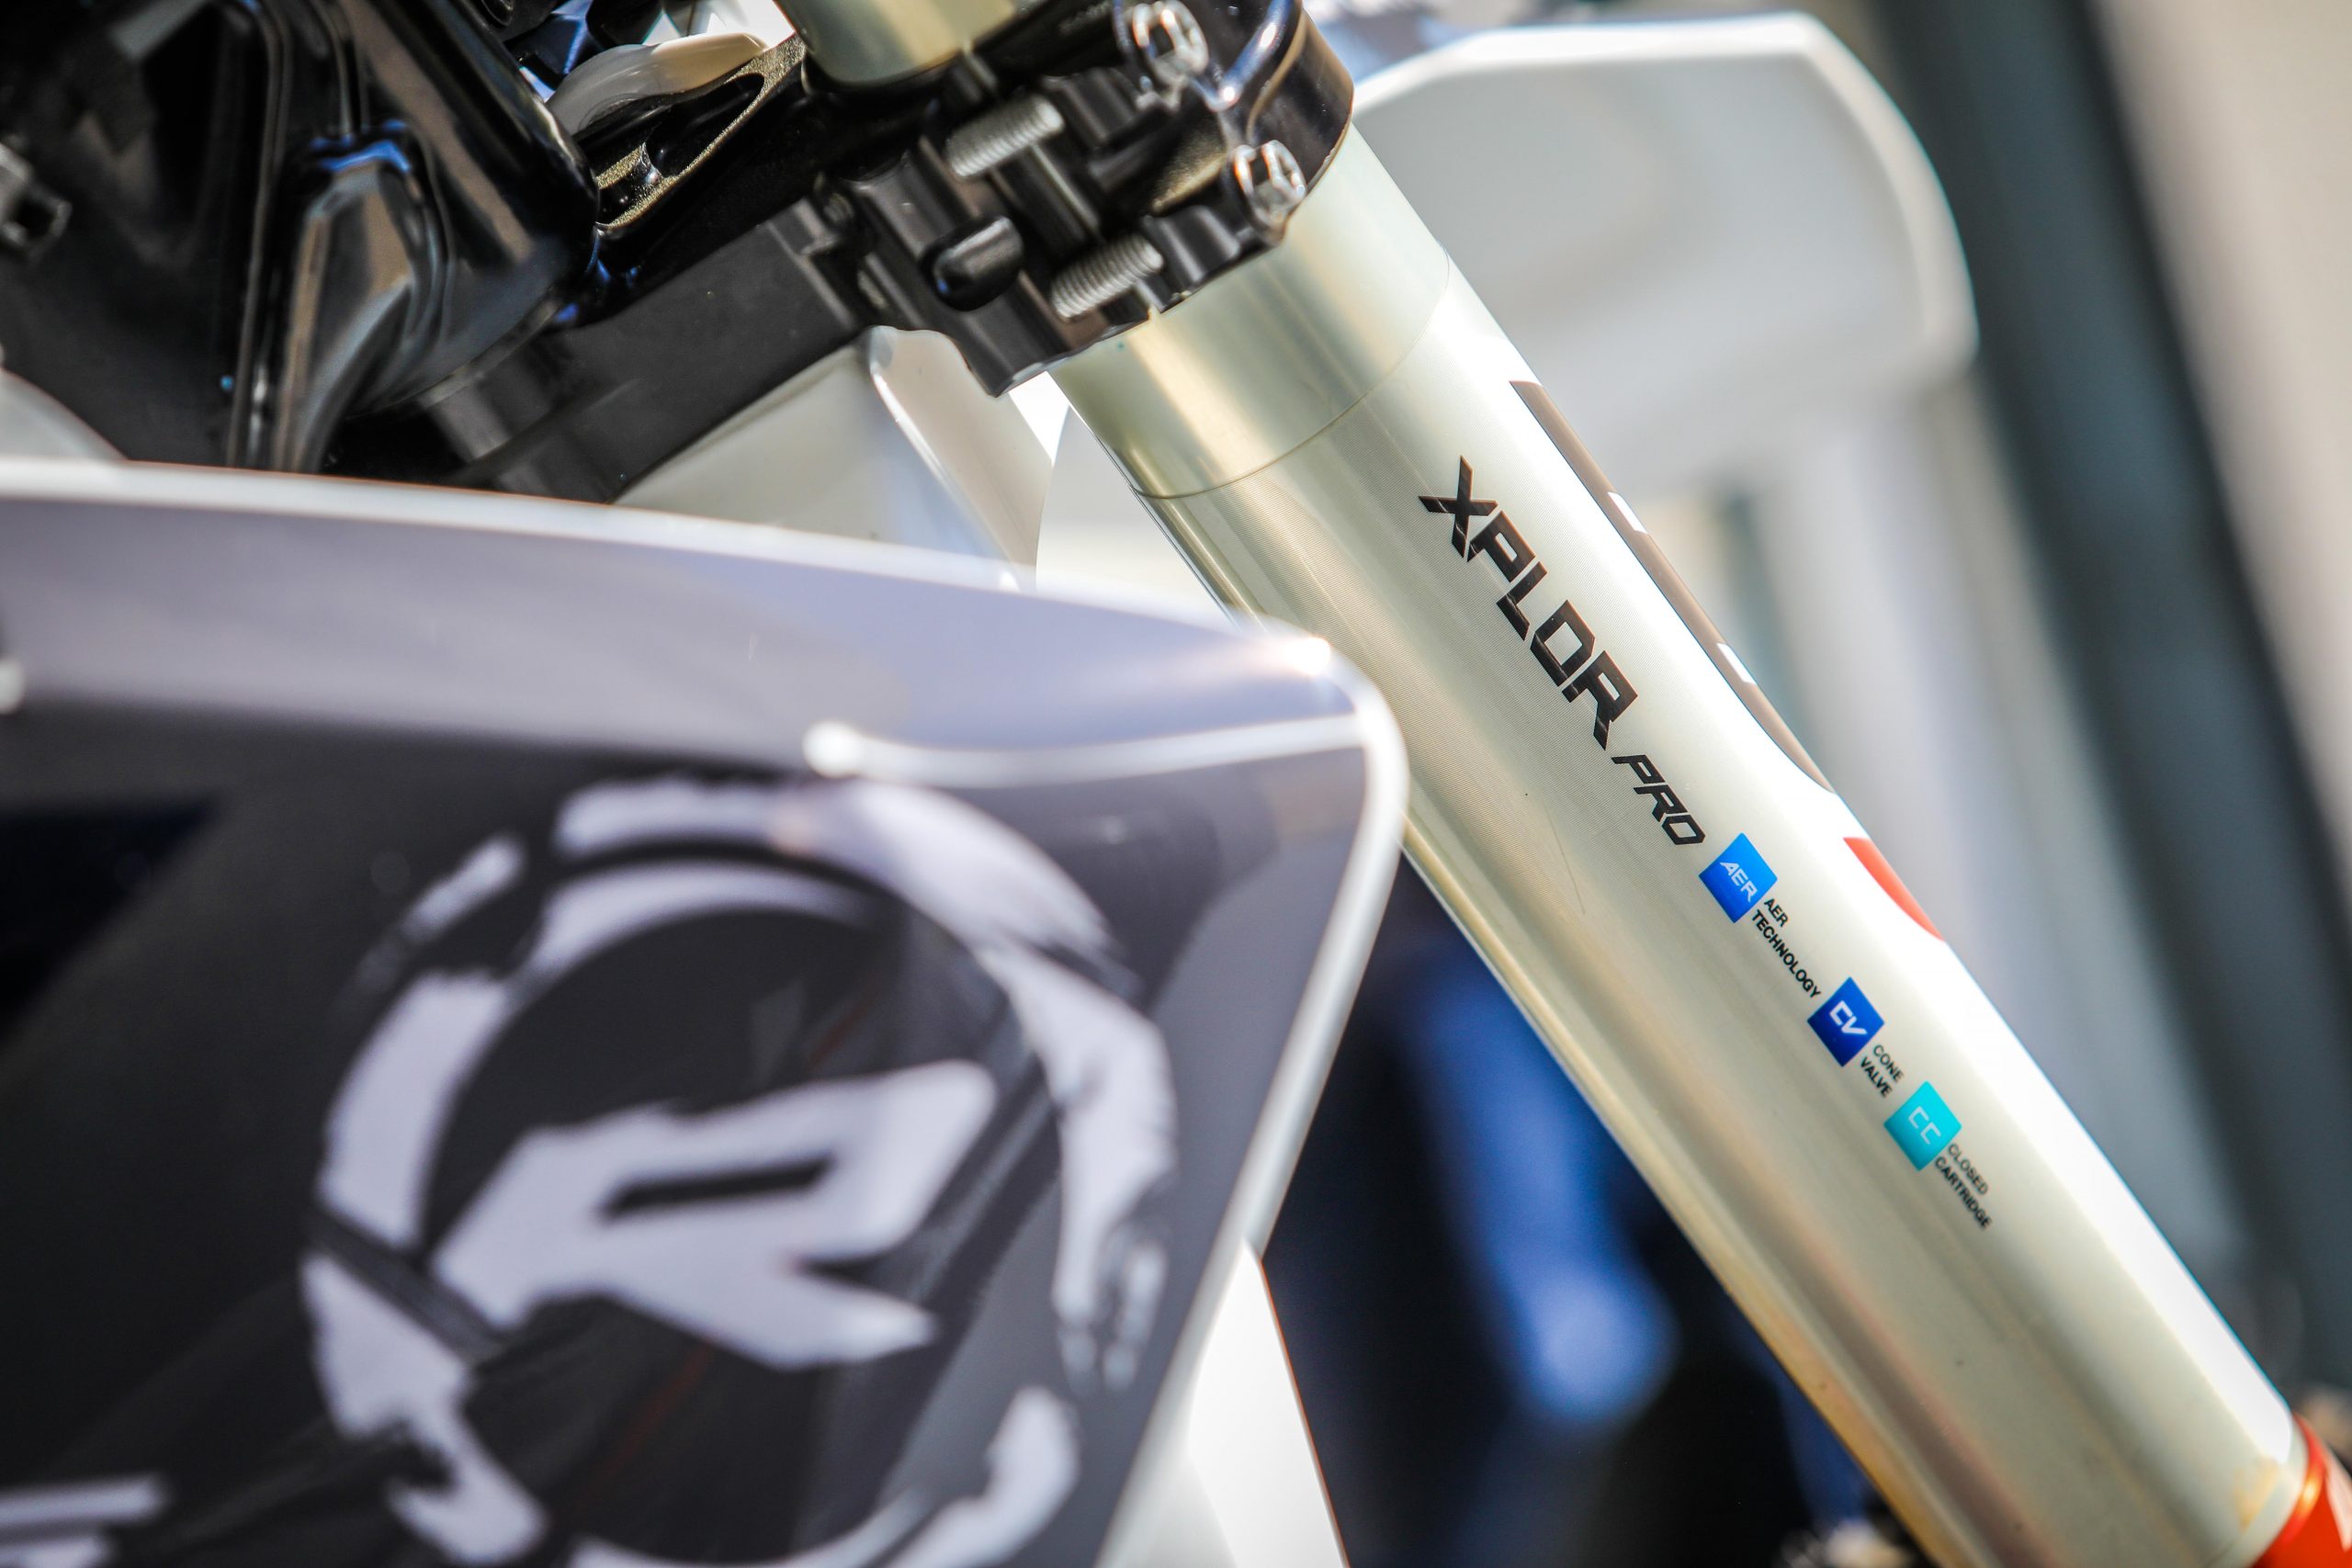
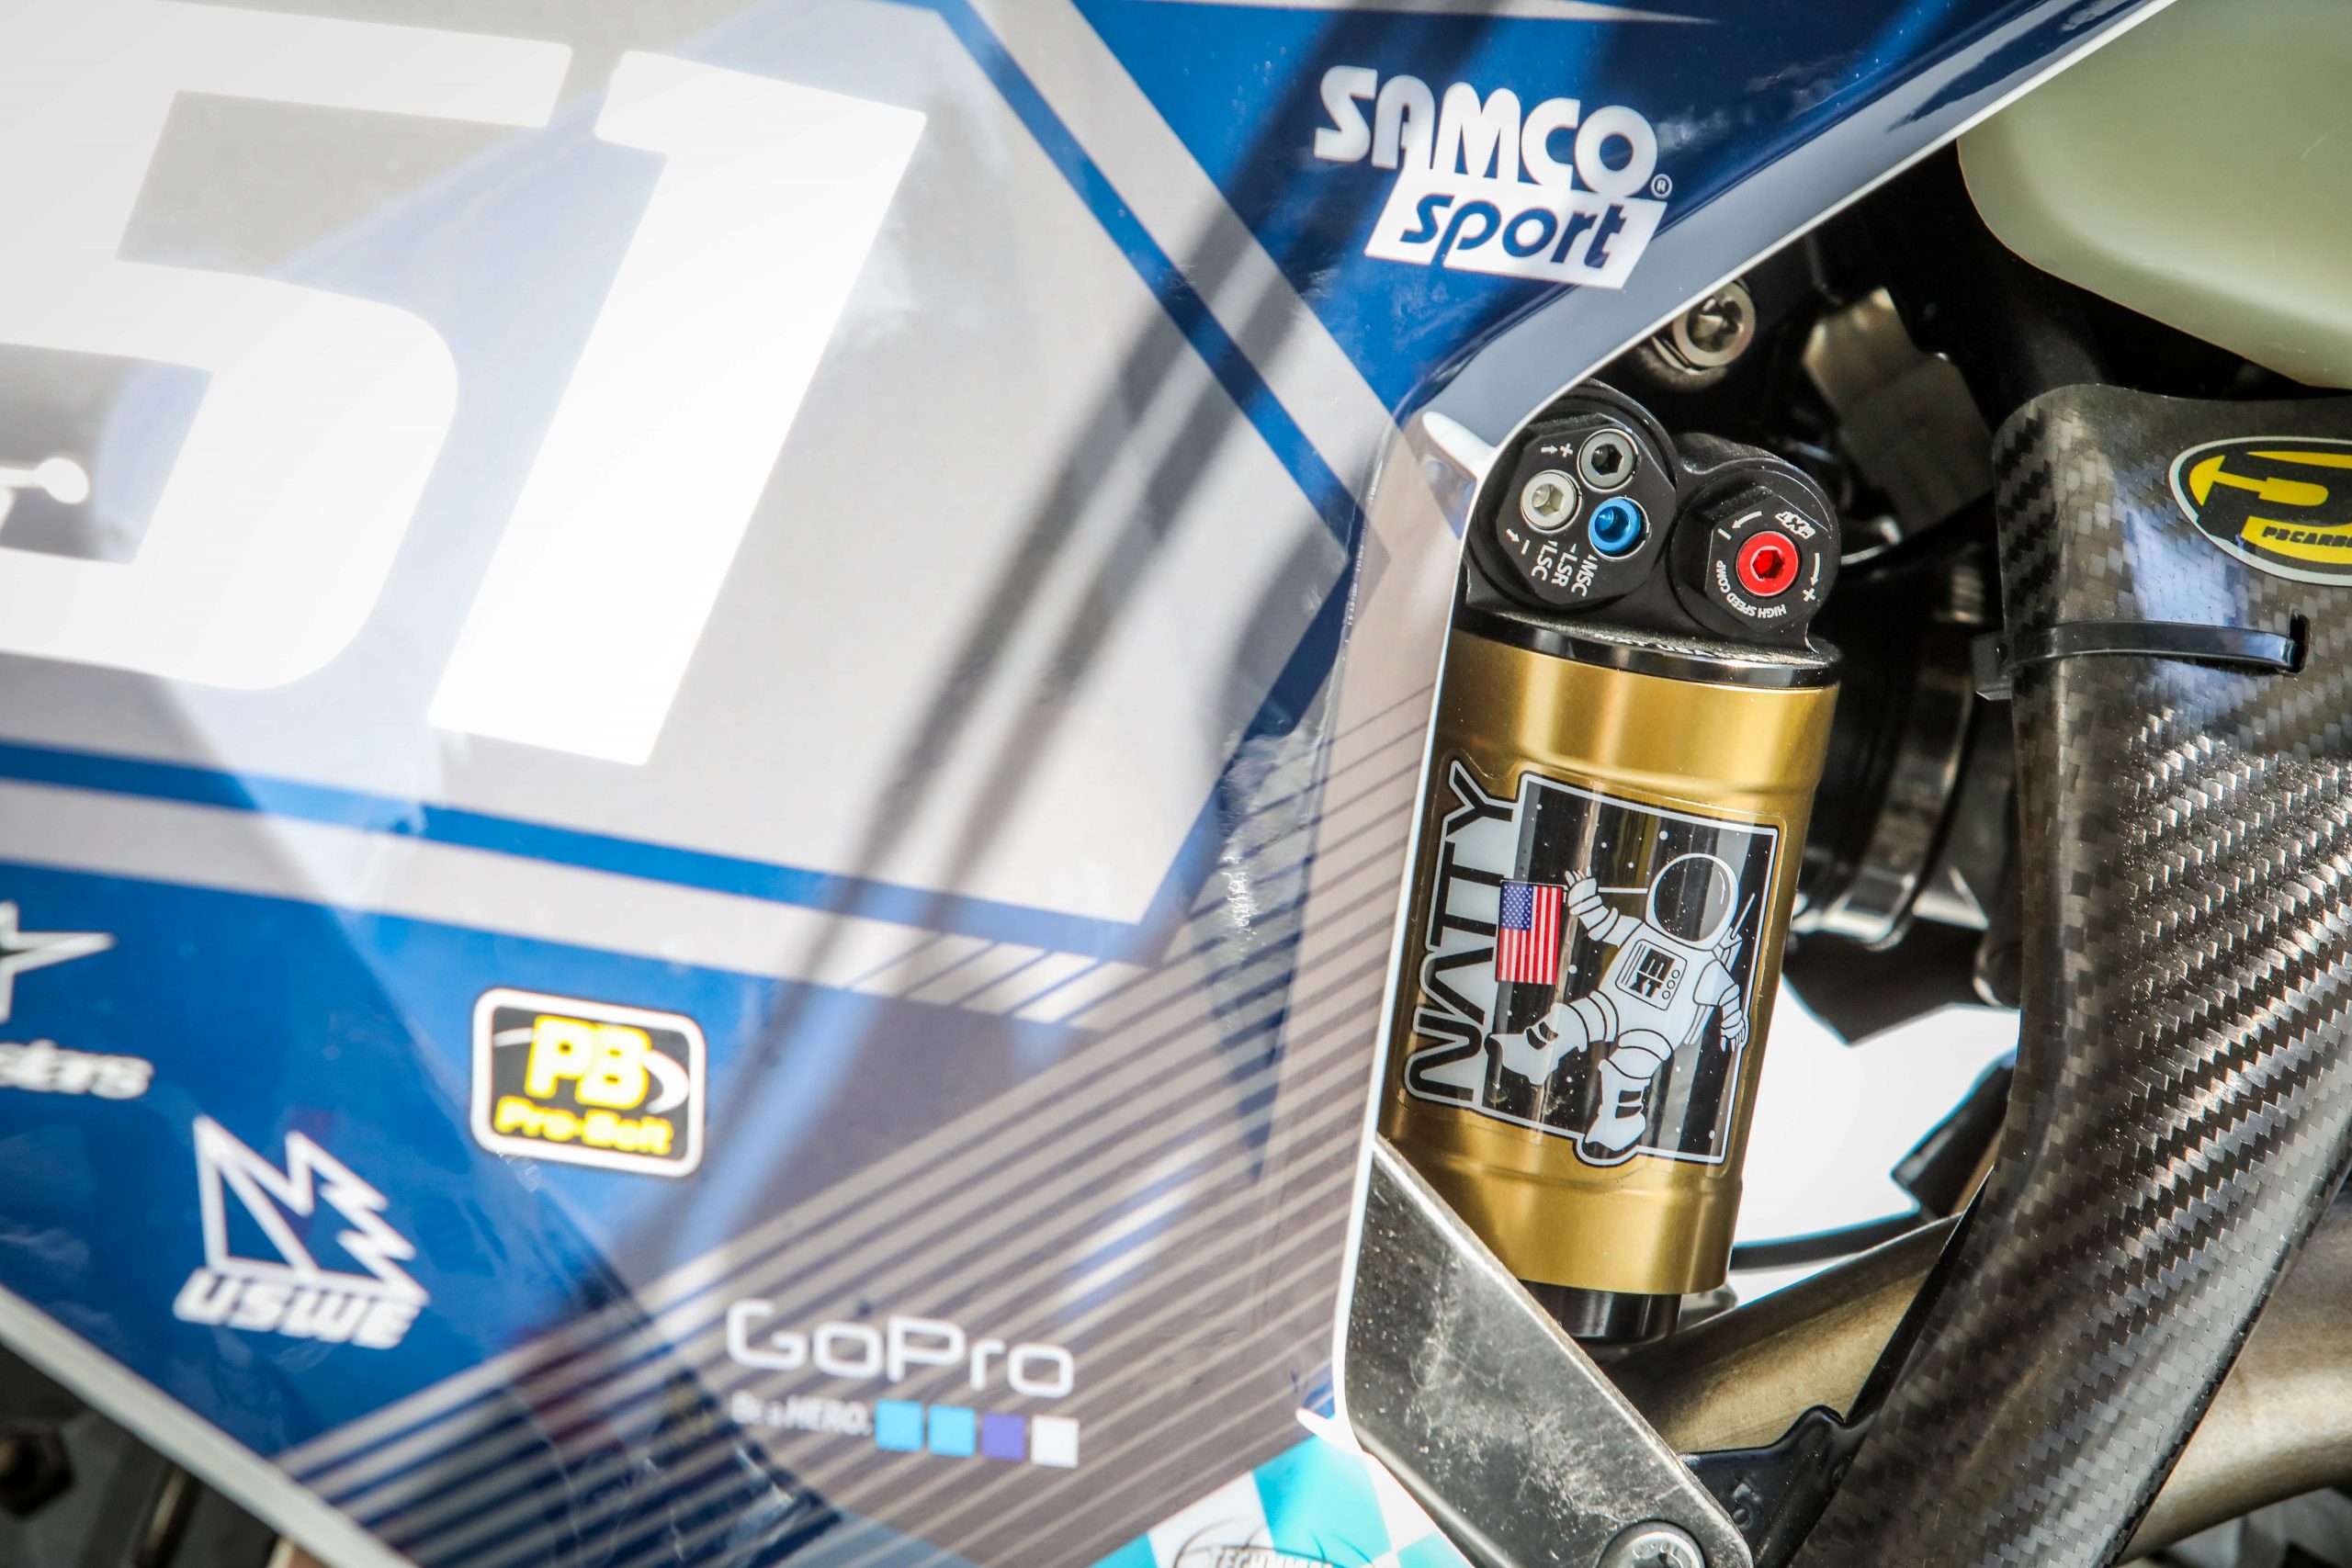
The suspension setup on the FE is currently a combination MXTech’s National shock paired with a set of XPLOR Pro split system air/ cone valve forks from WP. I have a set of MXTech’s Lucky Carbon forks to go on the bike next. I am already running the complete MXTech setup on my 2020 KTM 350 EXC-F after having run the MXTech National shock and WP XPLOR Pro combo first before progressing to the full MXTech setup. I wanted to do the same on the FE so I could evaluate the nuances and comparisons not only on the Husky but PDS versus linkage. Rather than going into any commentary on the suspension performance here I’ve saved that for a suspension set-up blog and video series where we’ll focus on everything suspension.
WP's XPLOR Pro (air) fork is transformative
If you've got great forks you need to match it with a top shock – MXTech's National shock does not disappoint. Note multi-adjustability
BRAKES
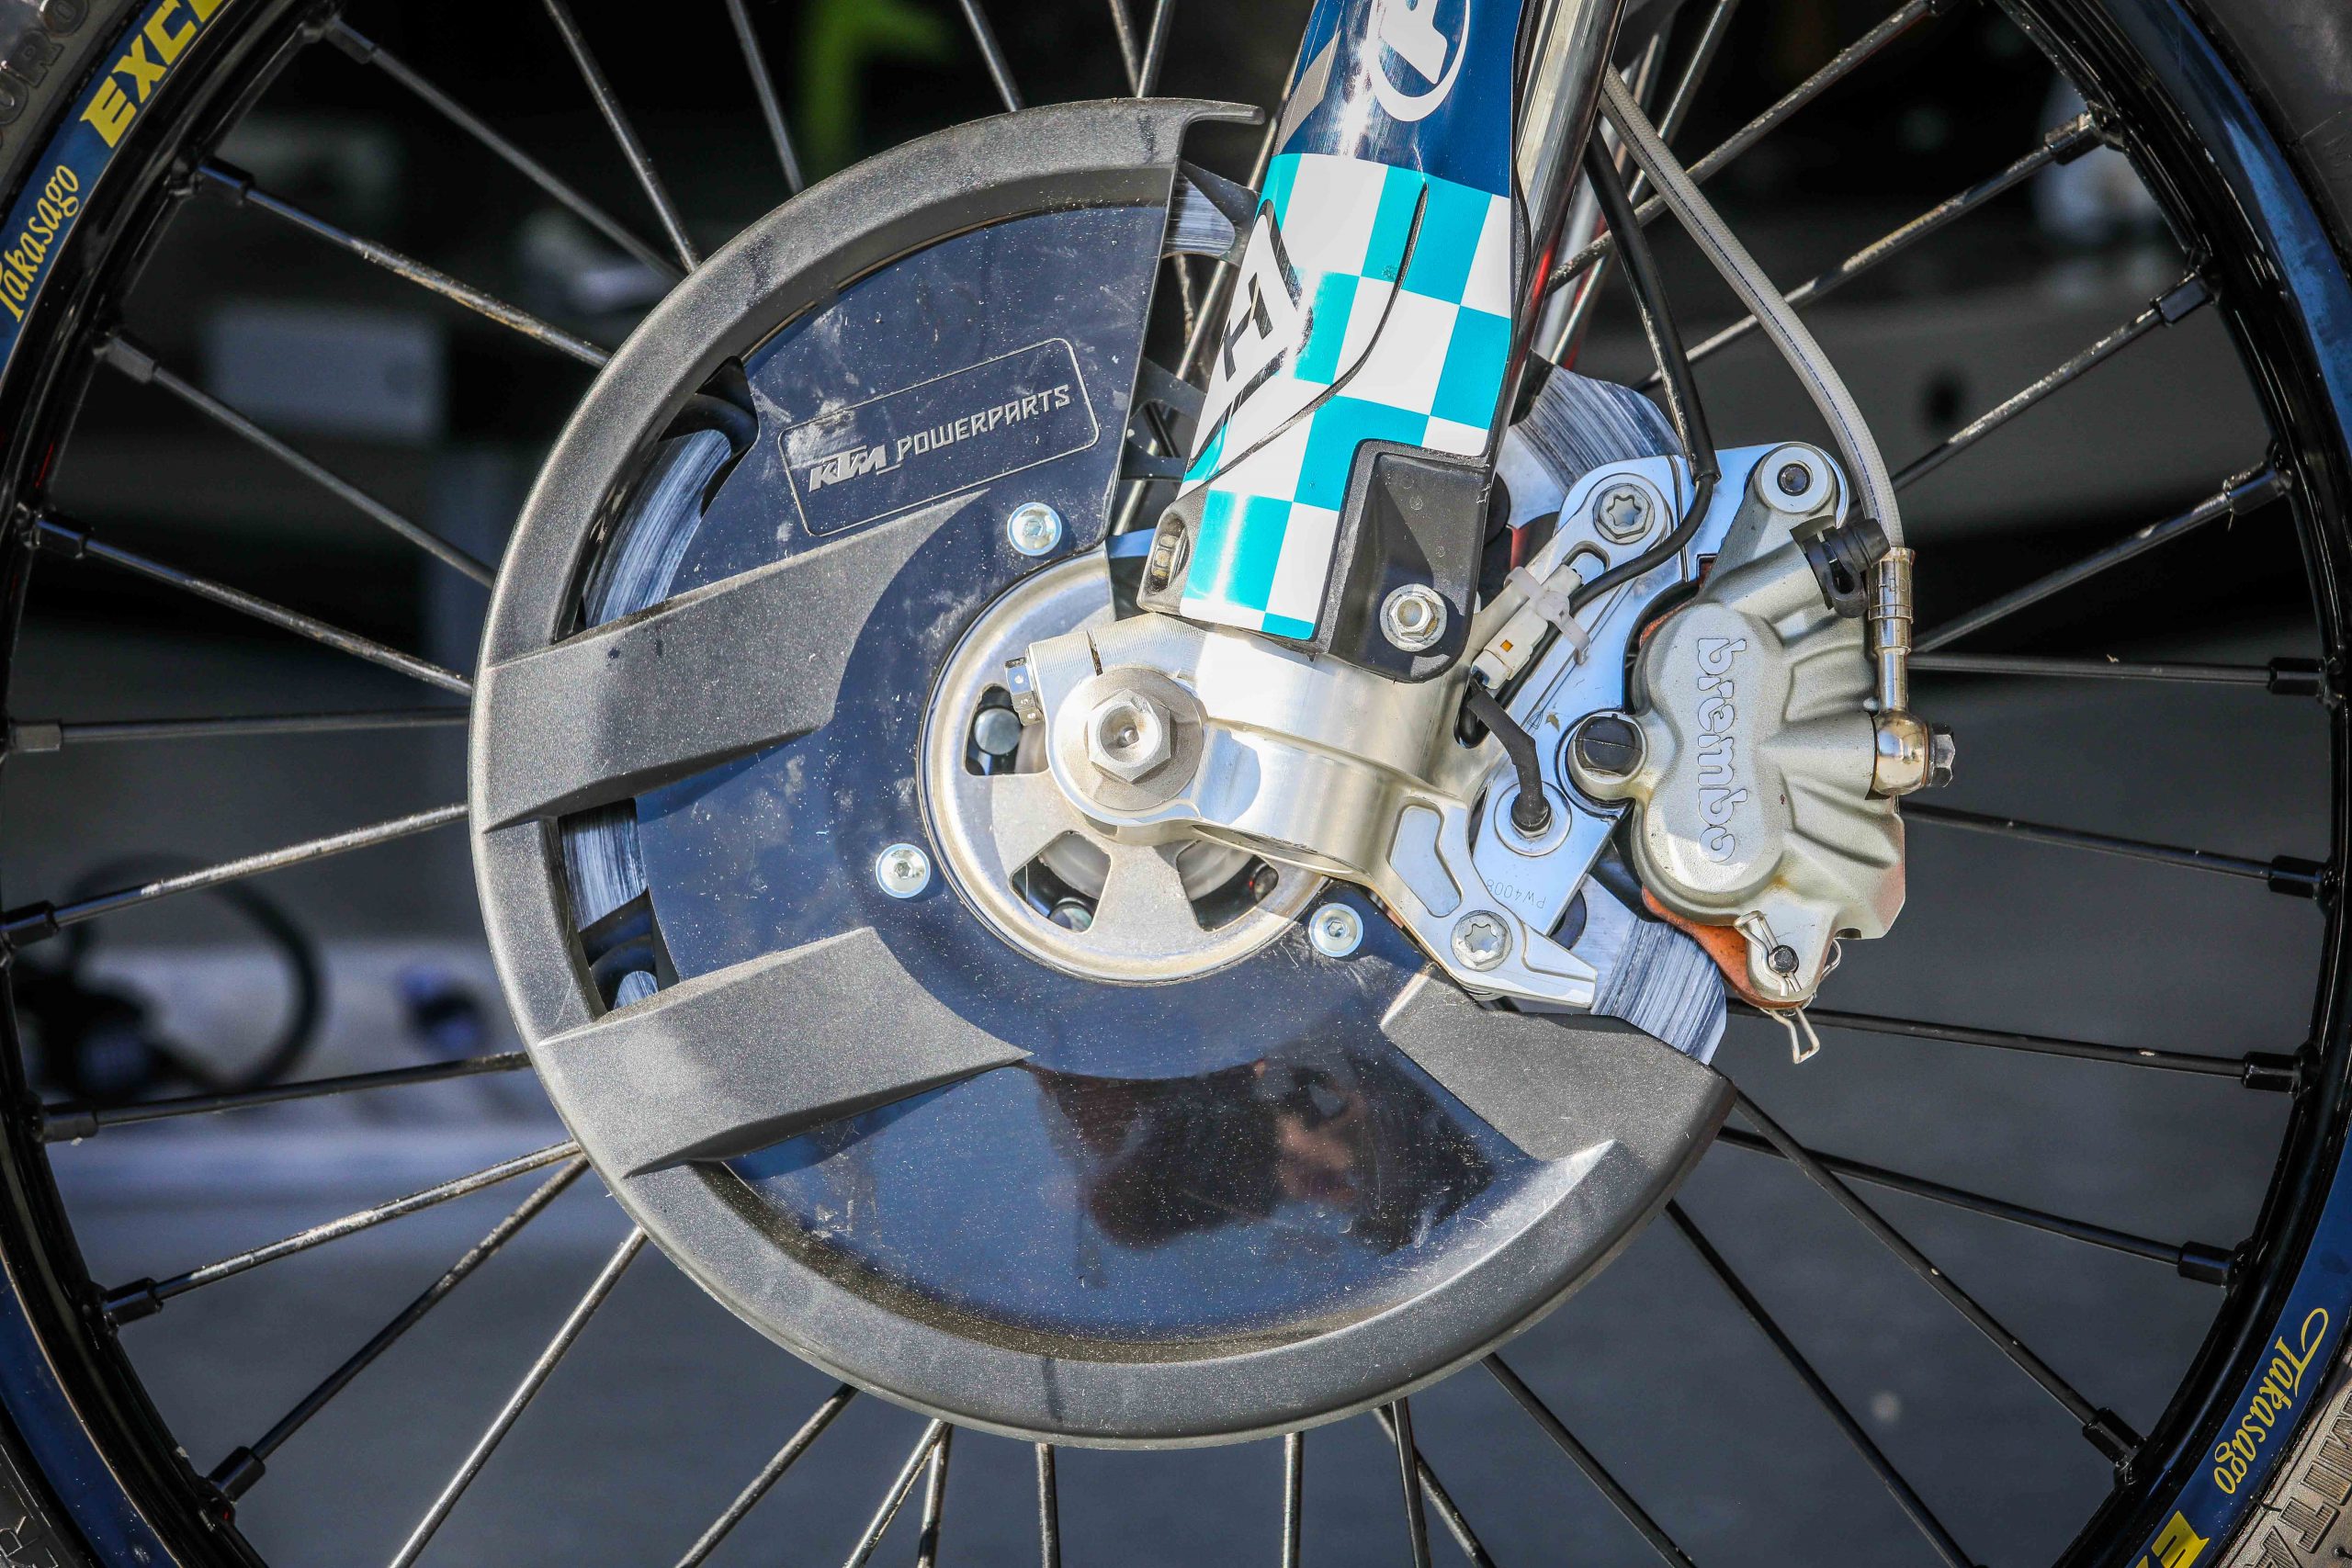
Brake discs and pads are from Sunstar/Braking – they’re expensive but they last, and I’ve come to rely on them over the years and run them on all my bikes. The FE350 runs a 270mm floating EPNA ‘Batfly’ front disc with adapter and a ‘Batfly’ 220mm solid rear disc. I’ve added a rear brake reservoir extender from Husky performance parts.
The Batfly disc is hidden and protected by a KTM Powerparts disc cover
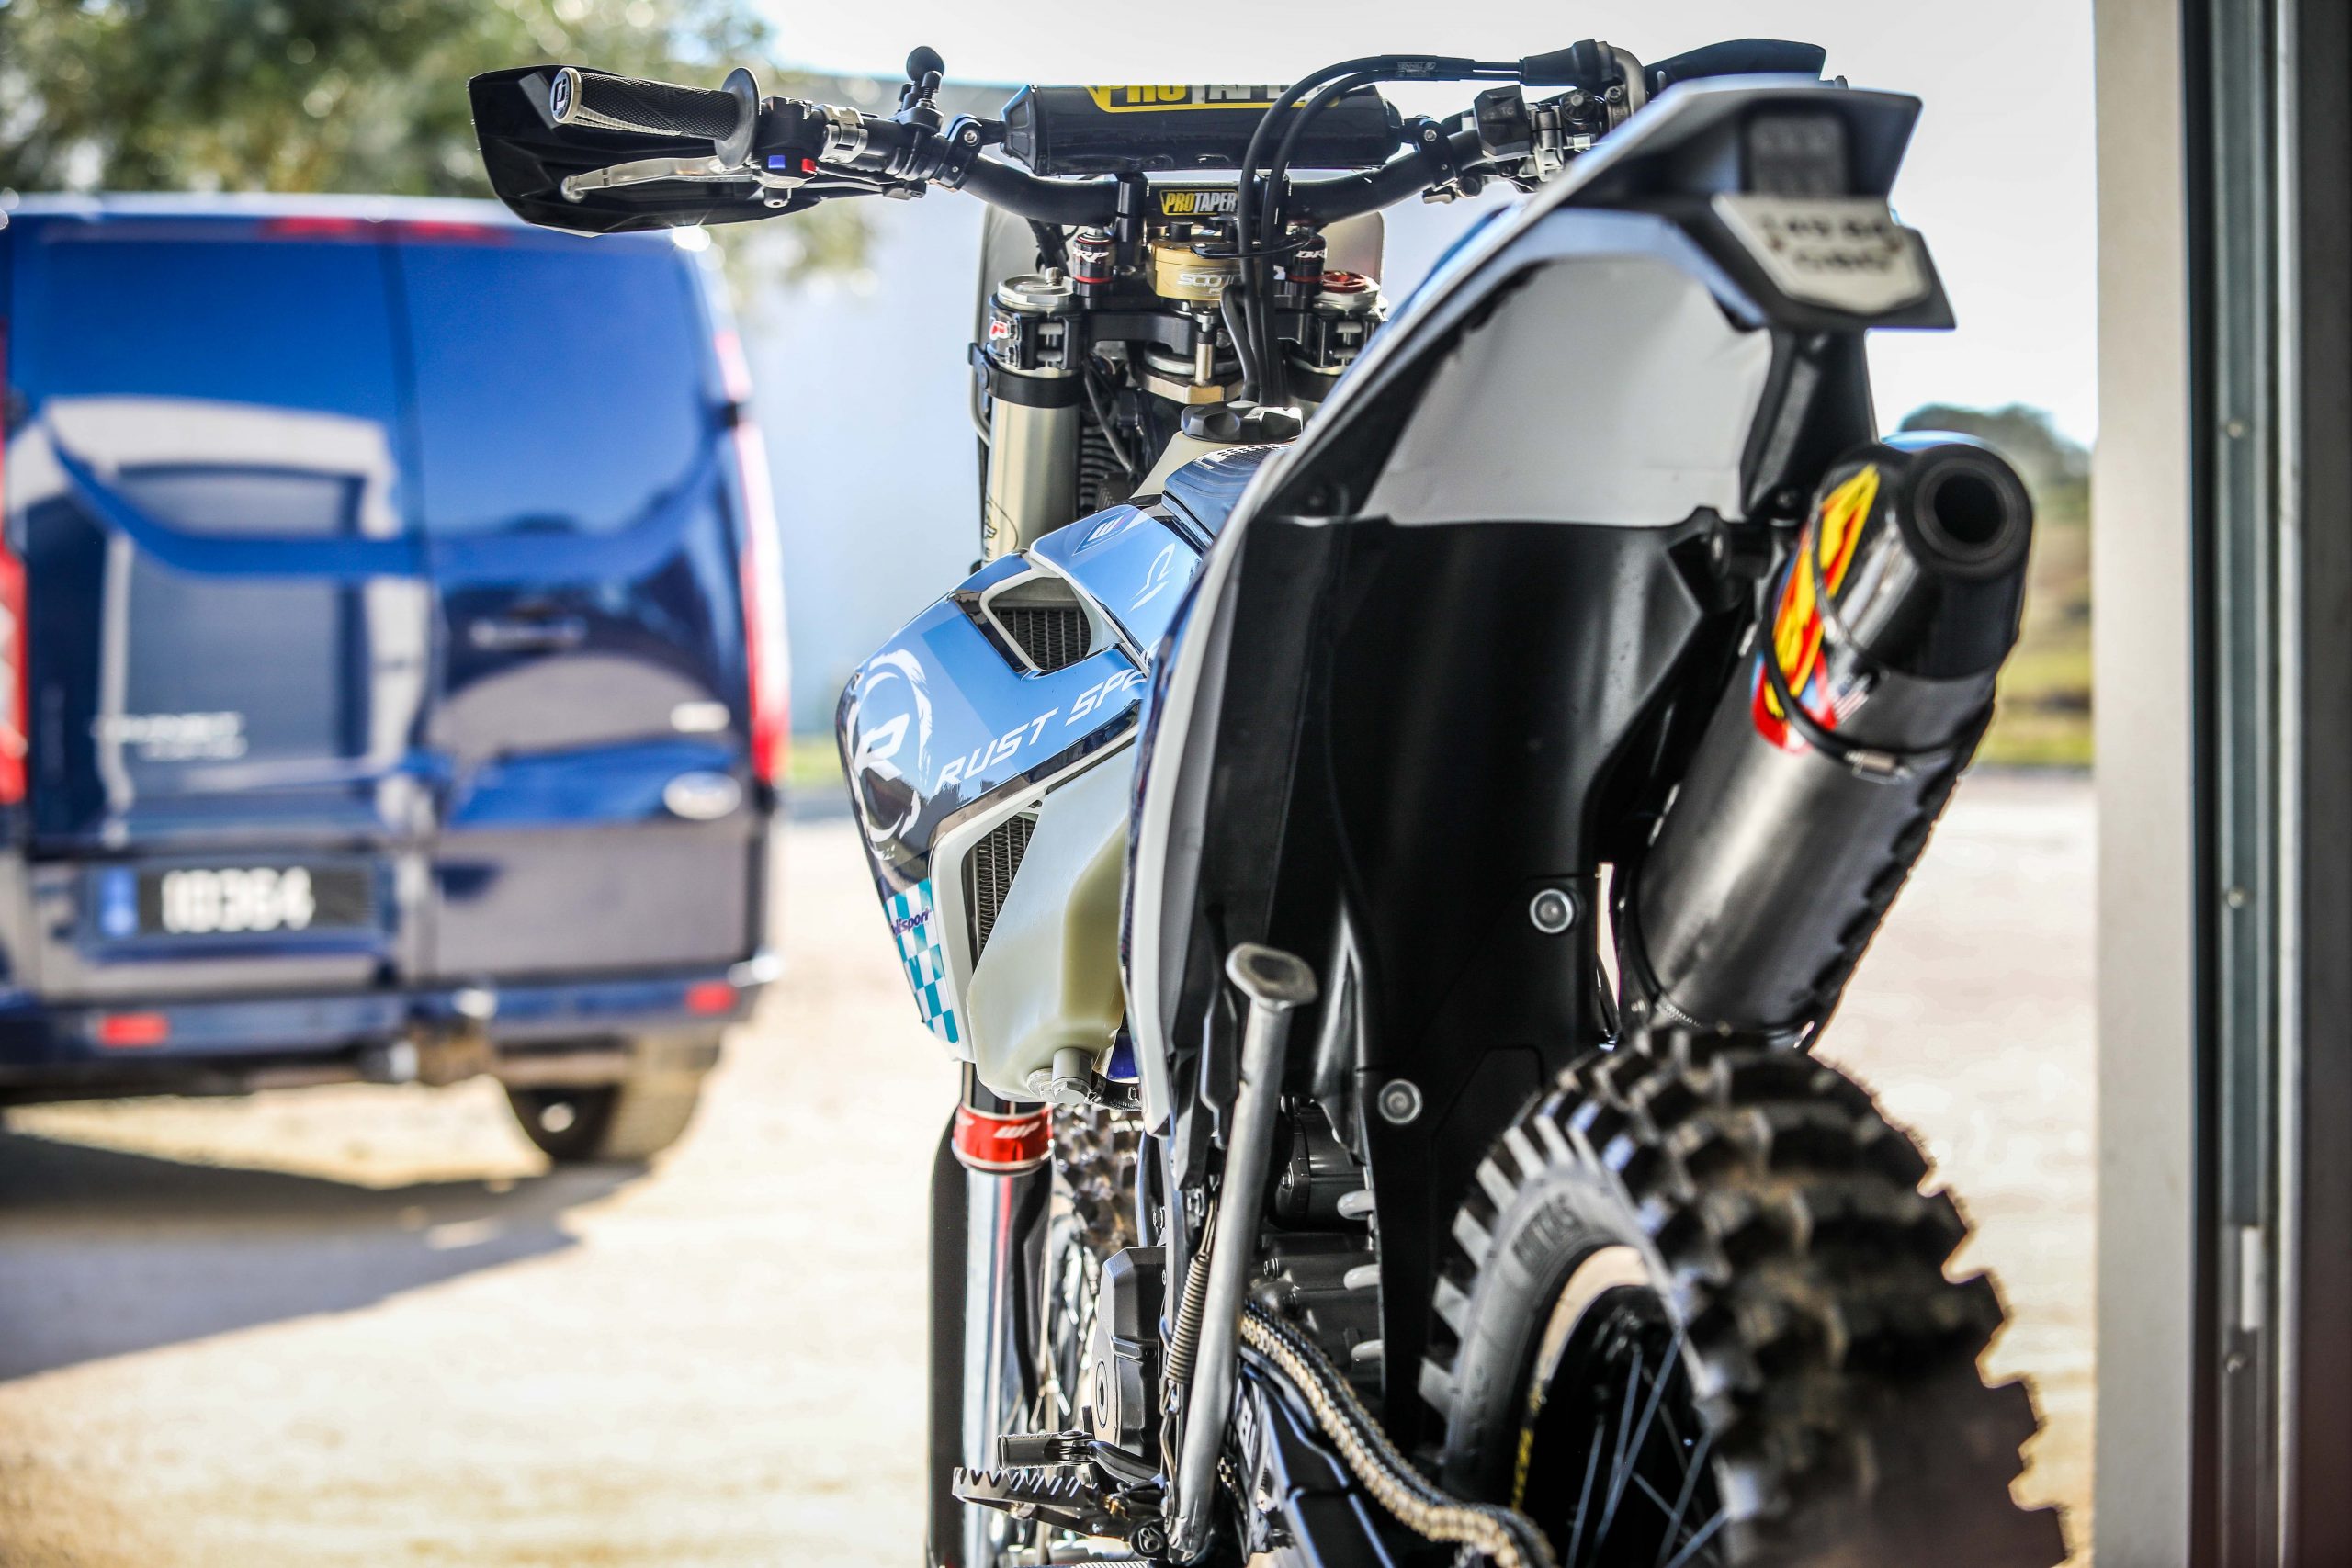
Pro Taper's Fuzion Carmichael bars are a low bend, but damn comfortable
BARS
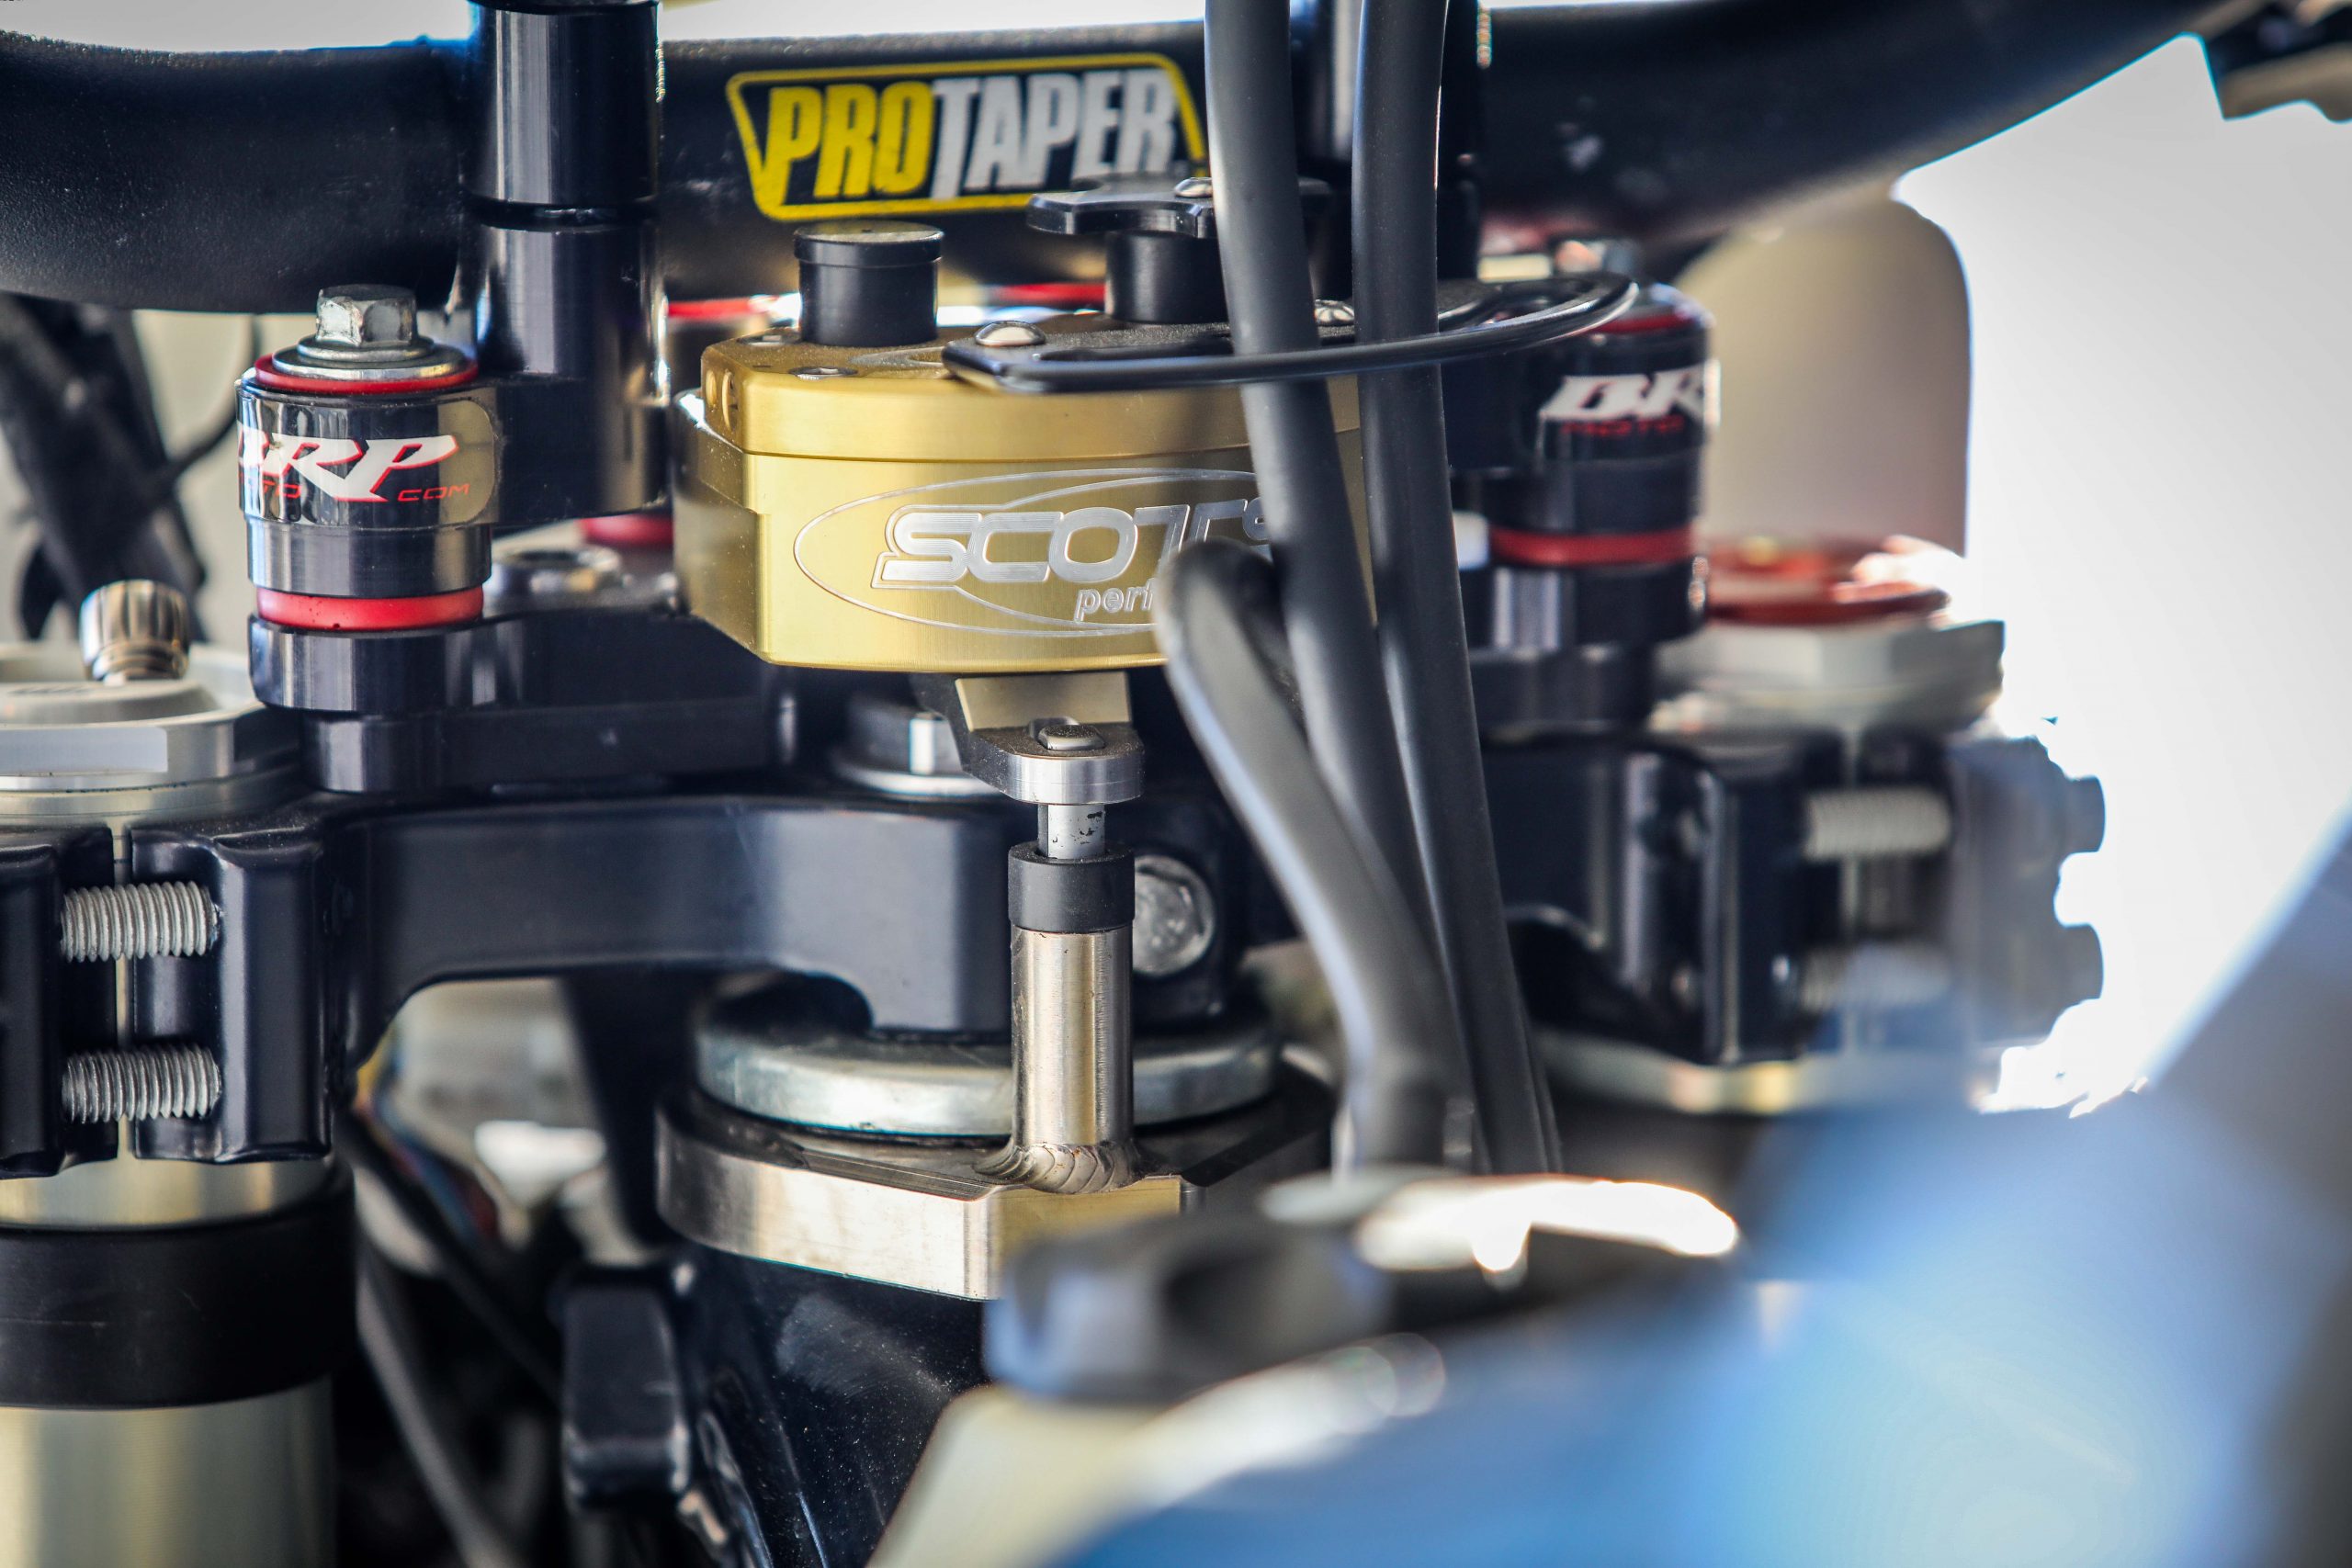
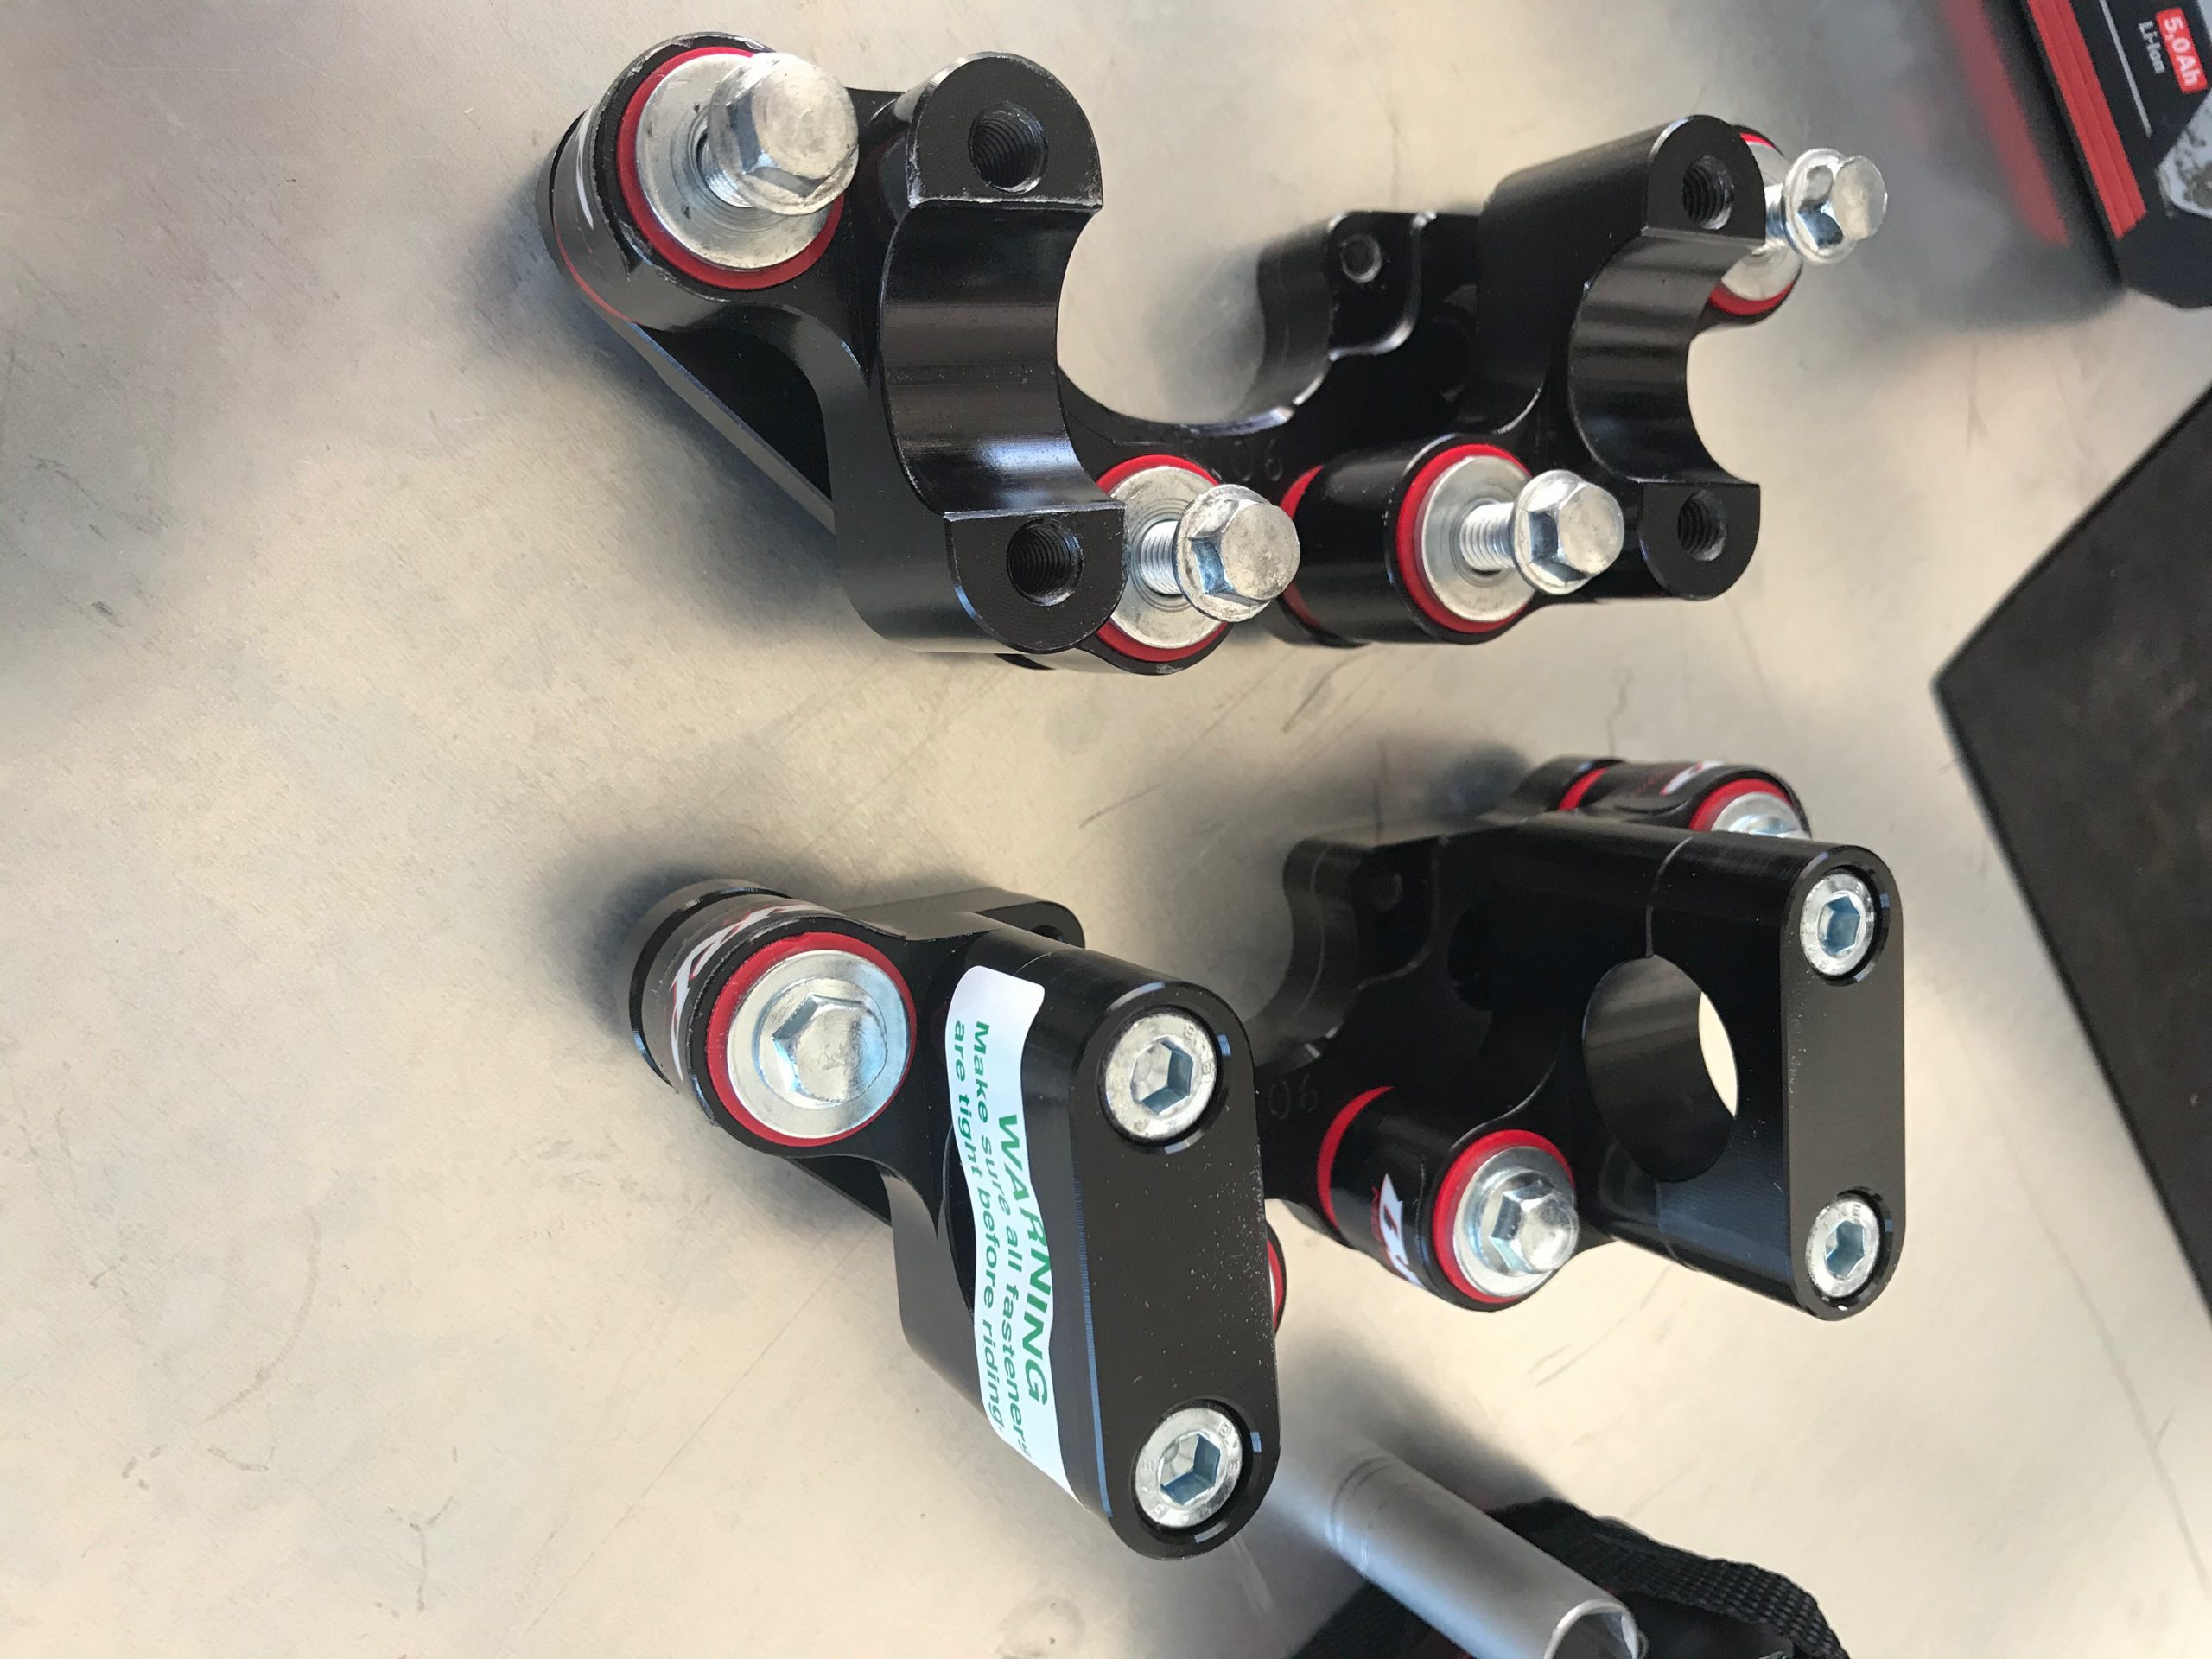
My cockpit and controls feature the Pro Taper Fuzion bars (I switch between the Carmichael – which are lower – and the SX race bend. Grips are Emig V2 ODI’s. The steering damper is from Scotts Performance and sub-mounted with BRP’s damped rubberised clamp. I run stock levers and stock KTM handguards.
Scotts steering damper is a lifesaver in the fast going we ride in Portugal
BRP rubberised clamps add even more comfort
CHAIN
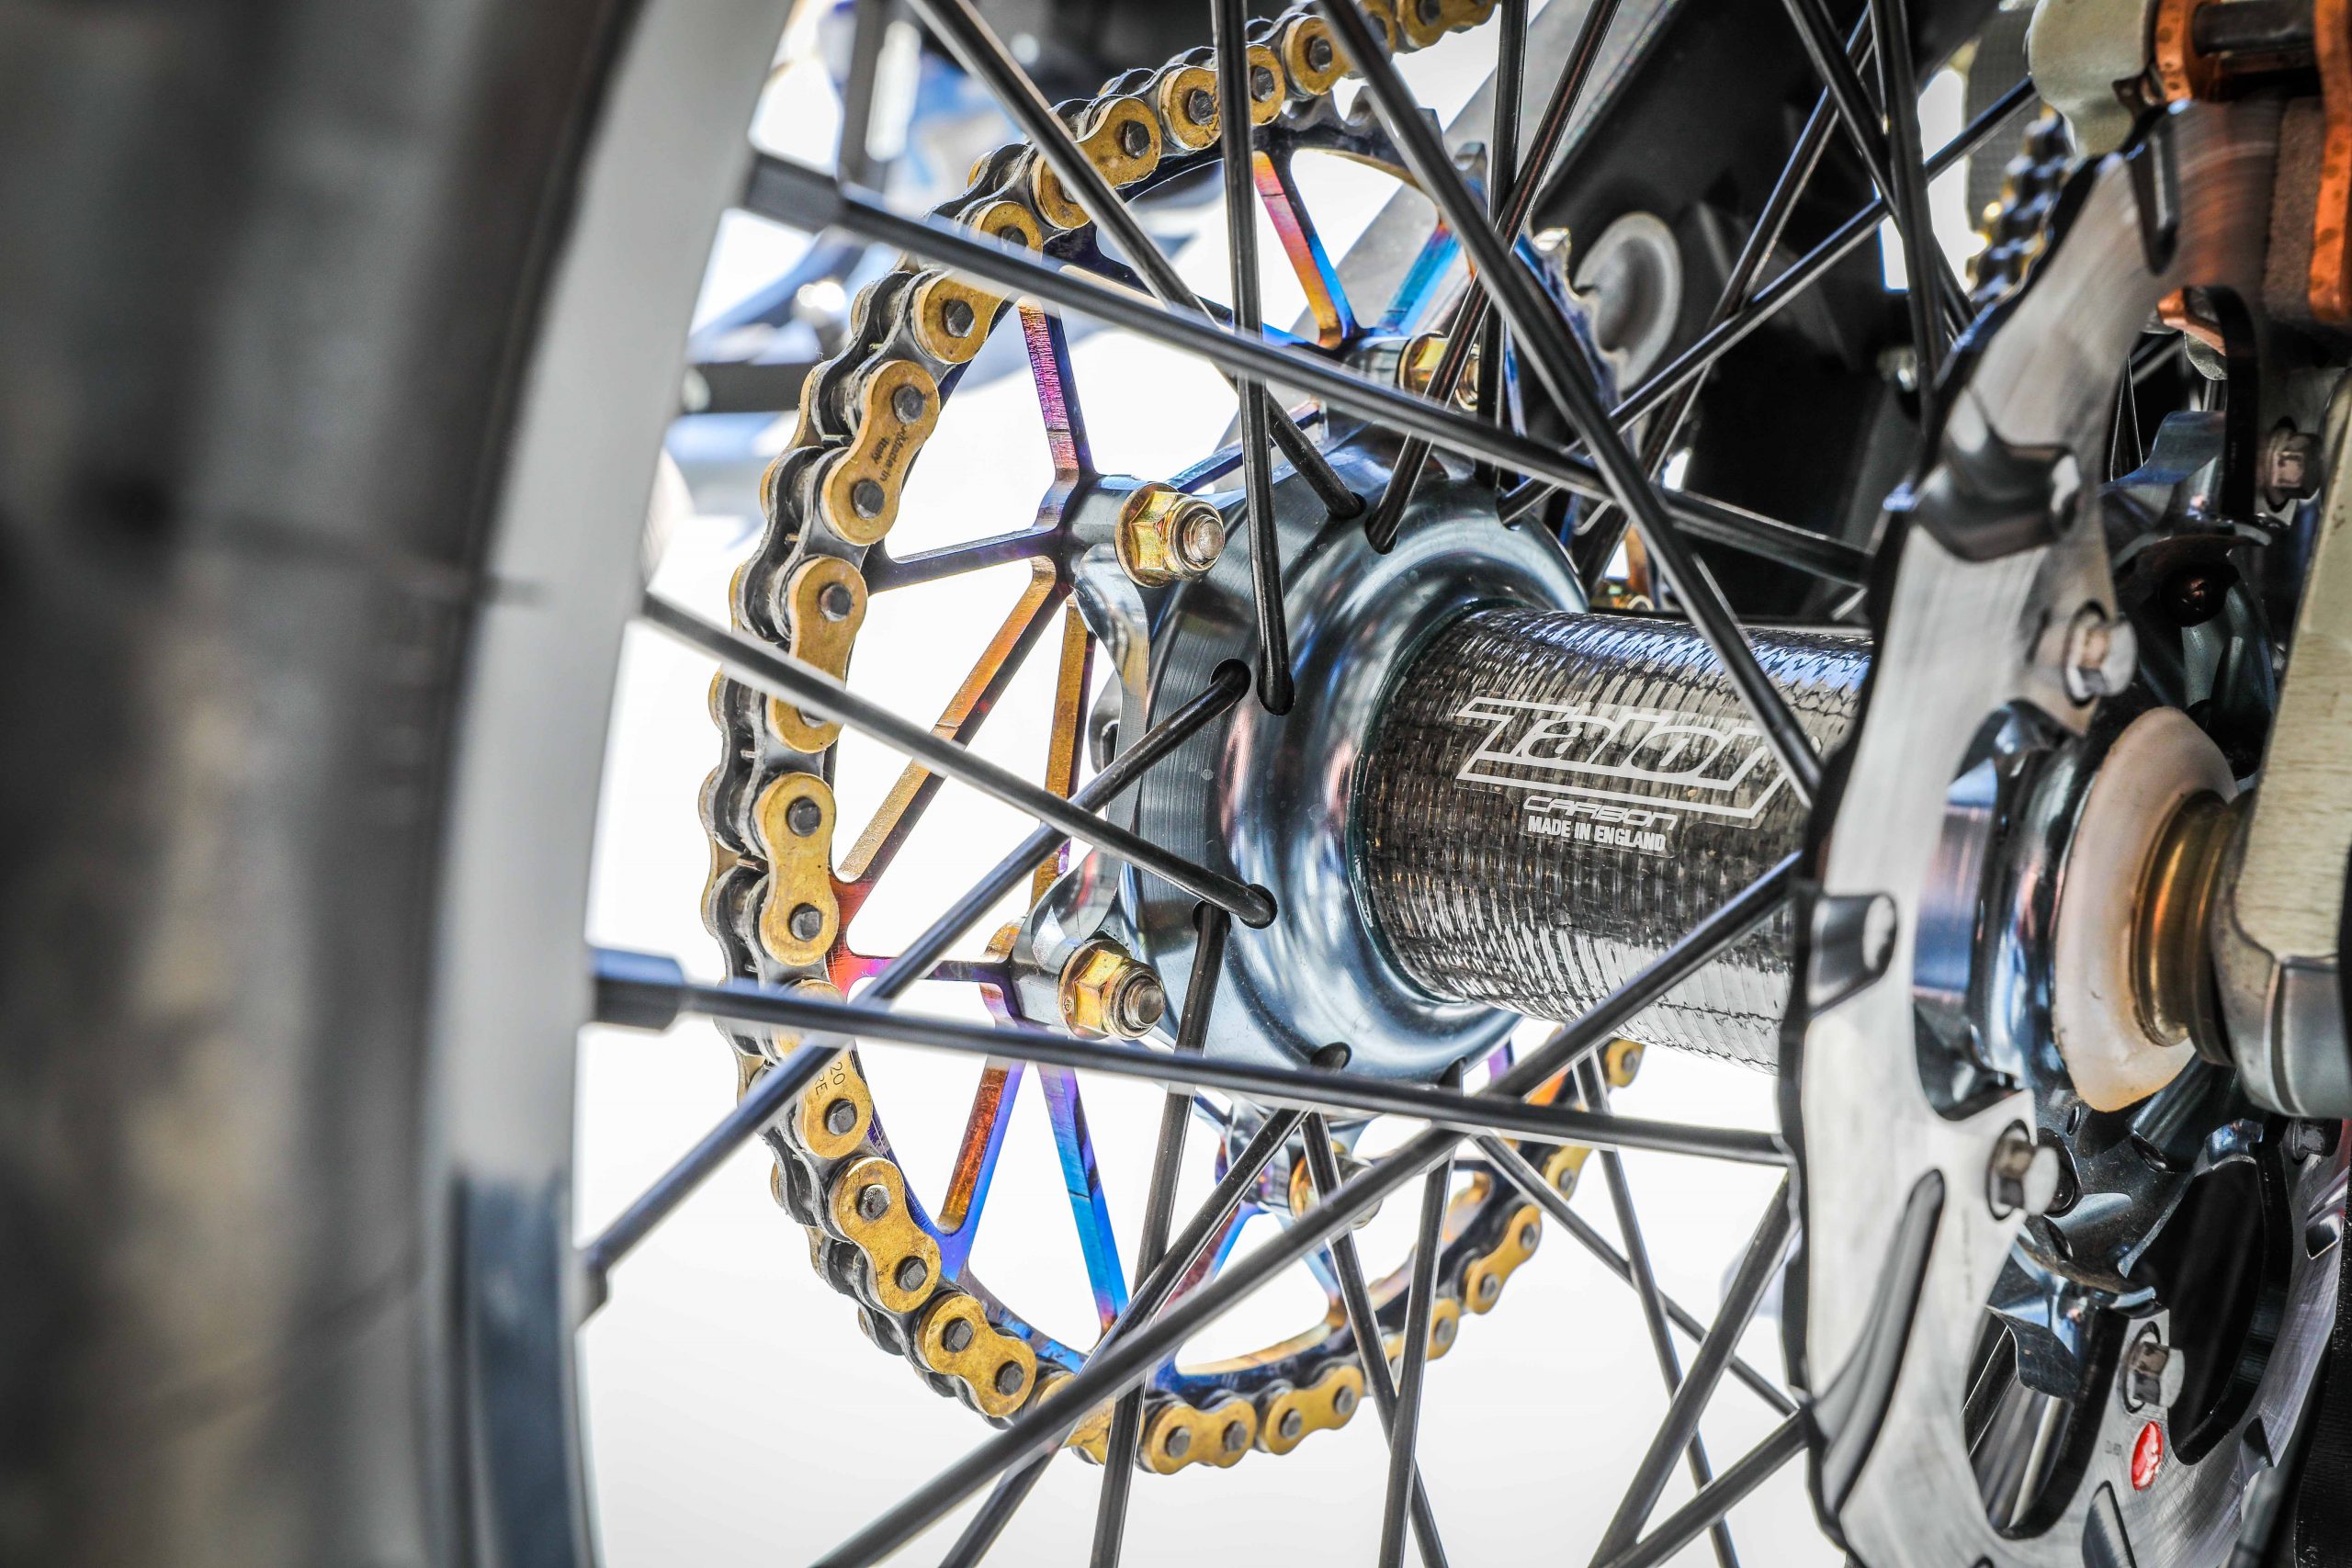
My choice of drivetrain is a 518 Regina gold enduro chain paired with Dirt Tricks sprockets front and rear. I have figured out that the gearing for this bike rarely needs messing with and I only ever switch between a 13/50 or 13/49 combo depending on the riding or event, but the majority of the time the 13/50 is fine.
Regina chain, Dirt TRicks sprockets and Talon wheels – nothing left to chance
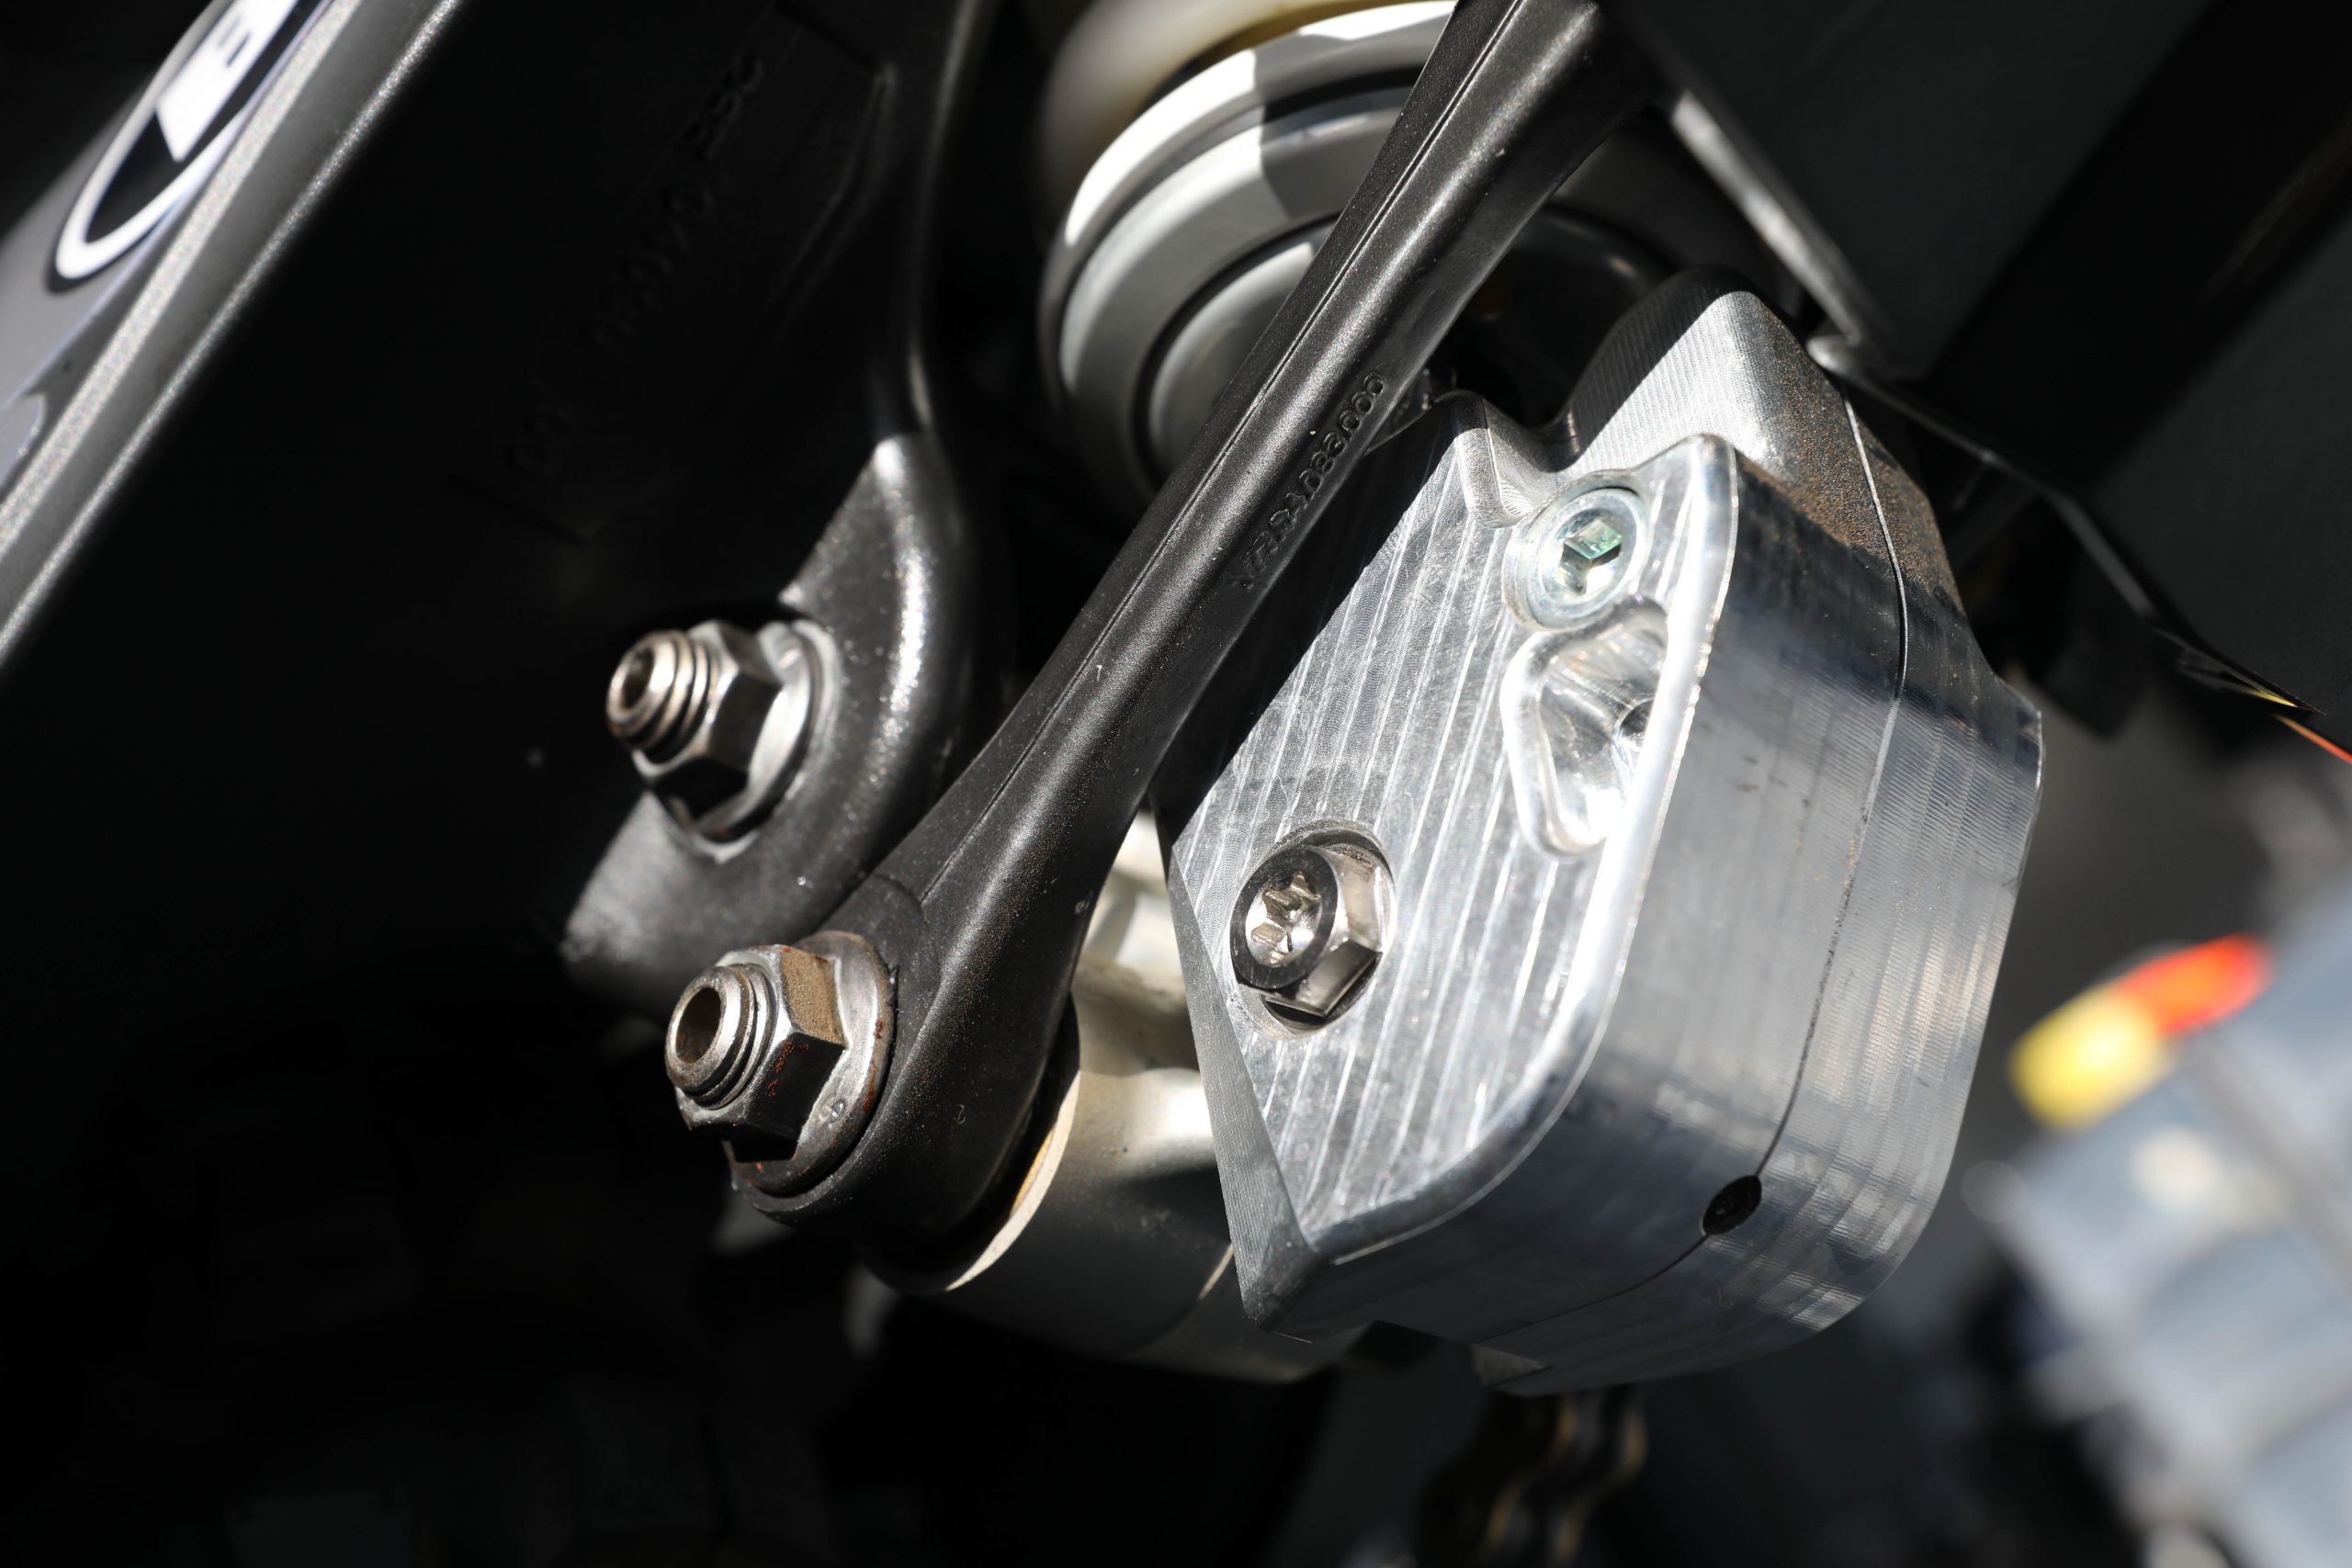
Billet linkage guard for peace of mind
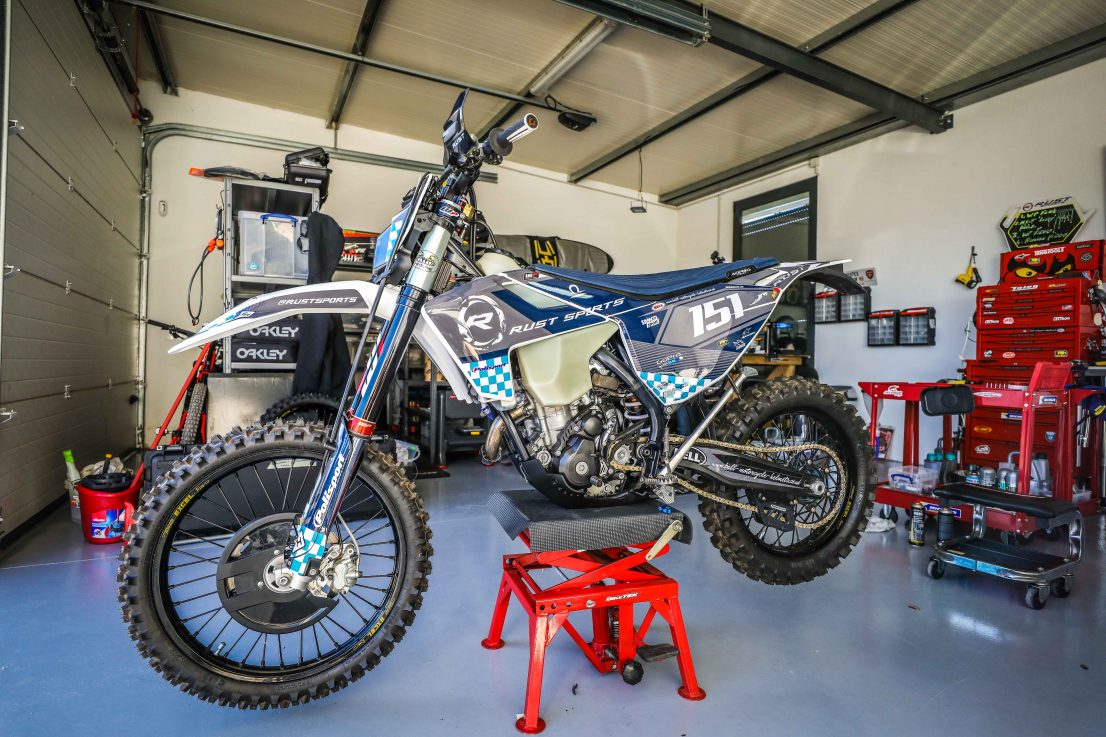
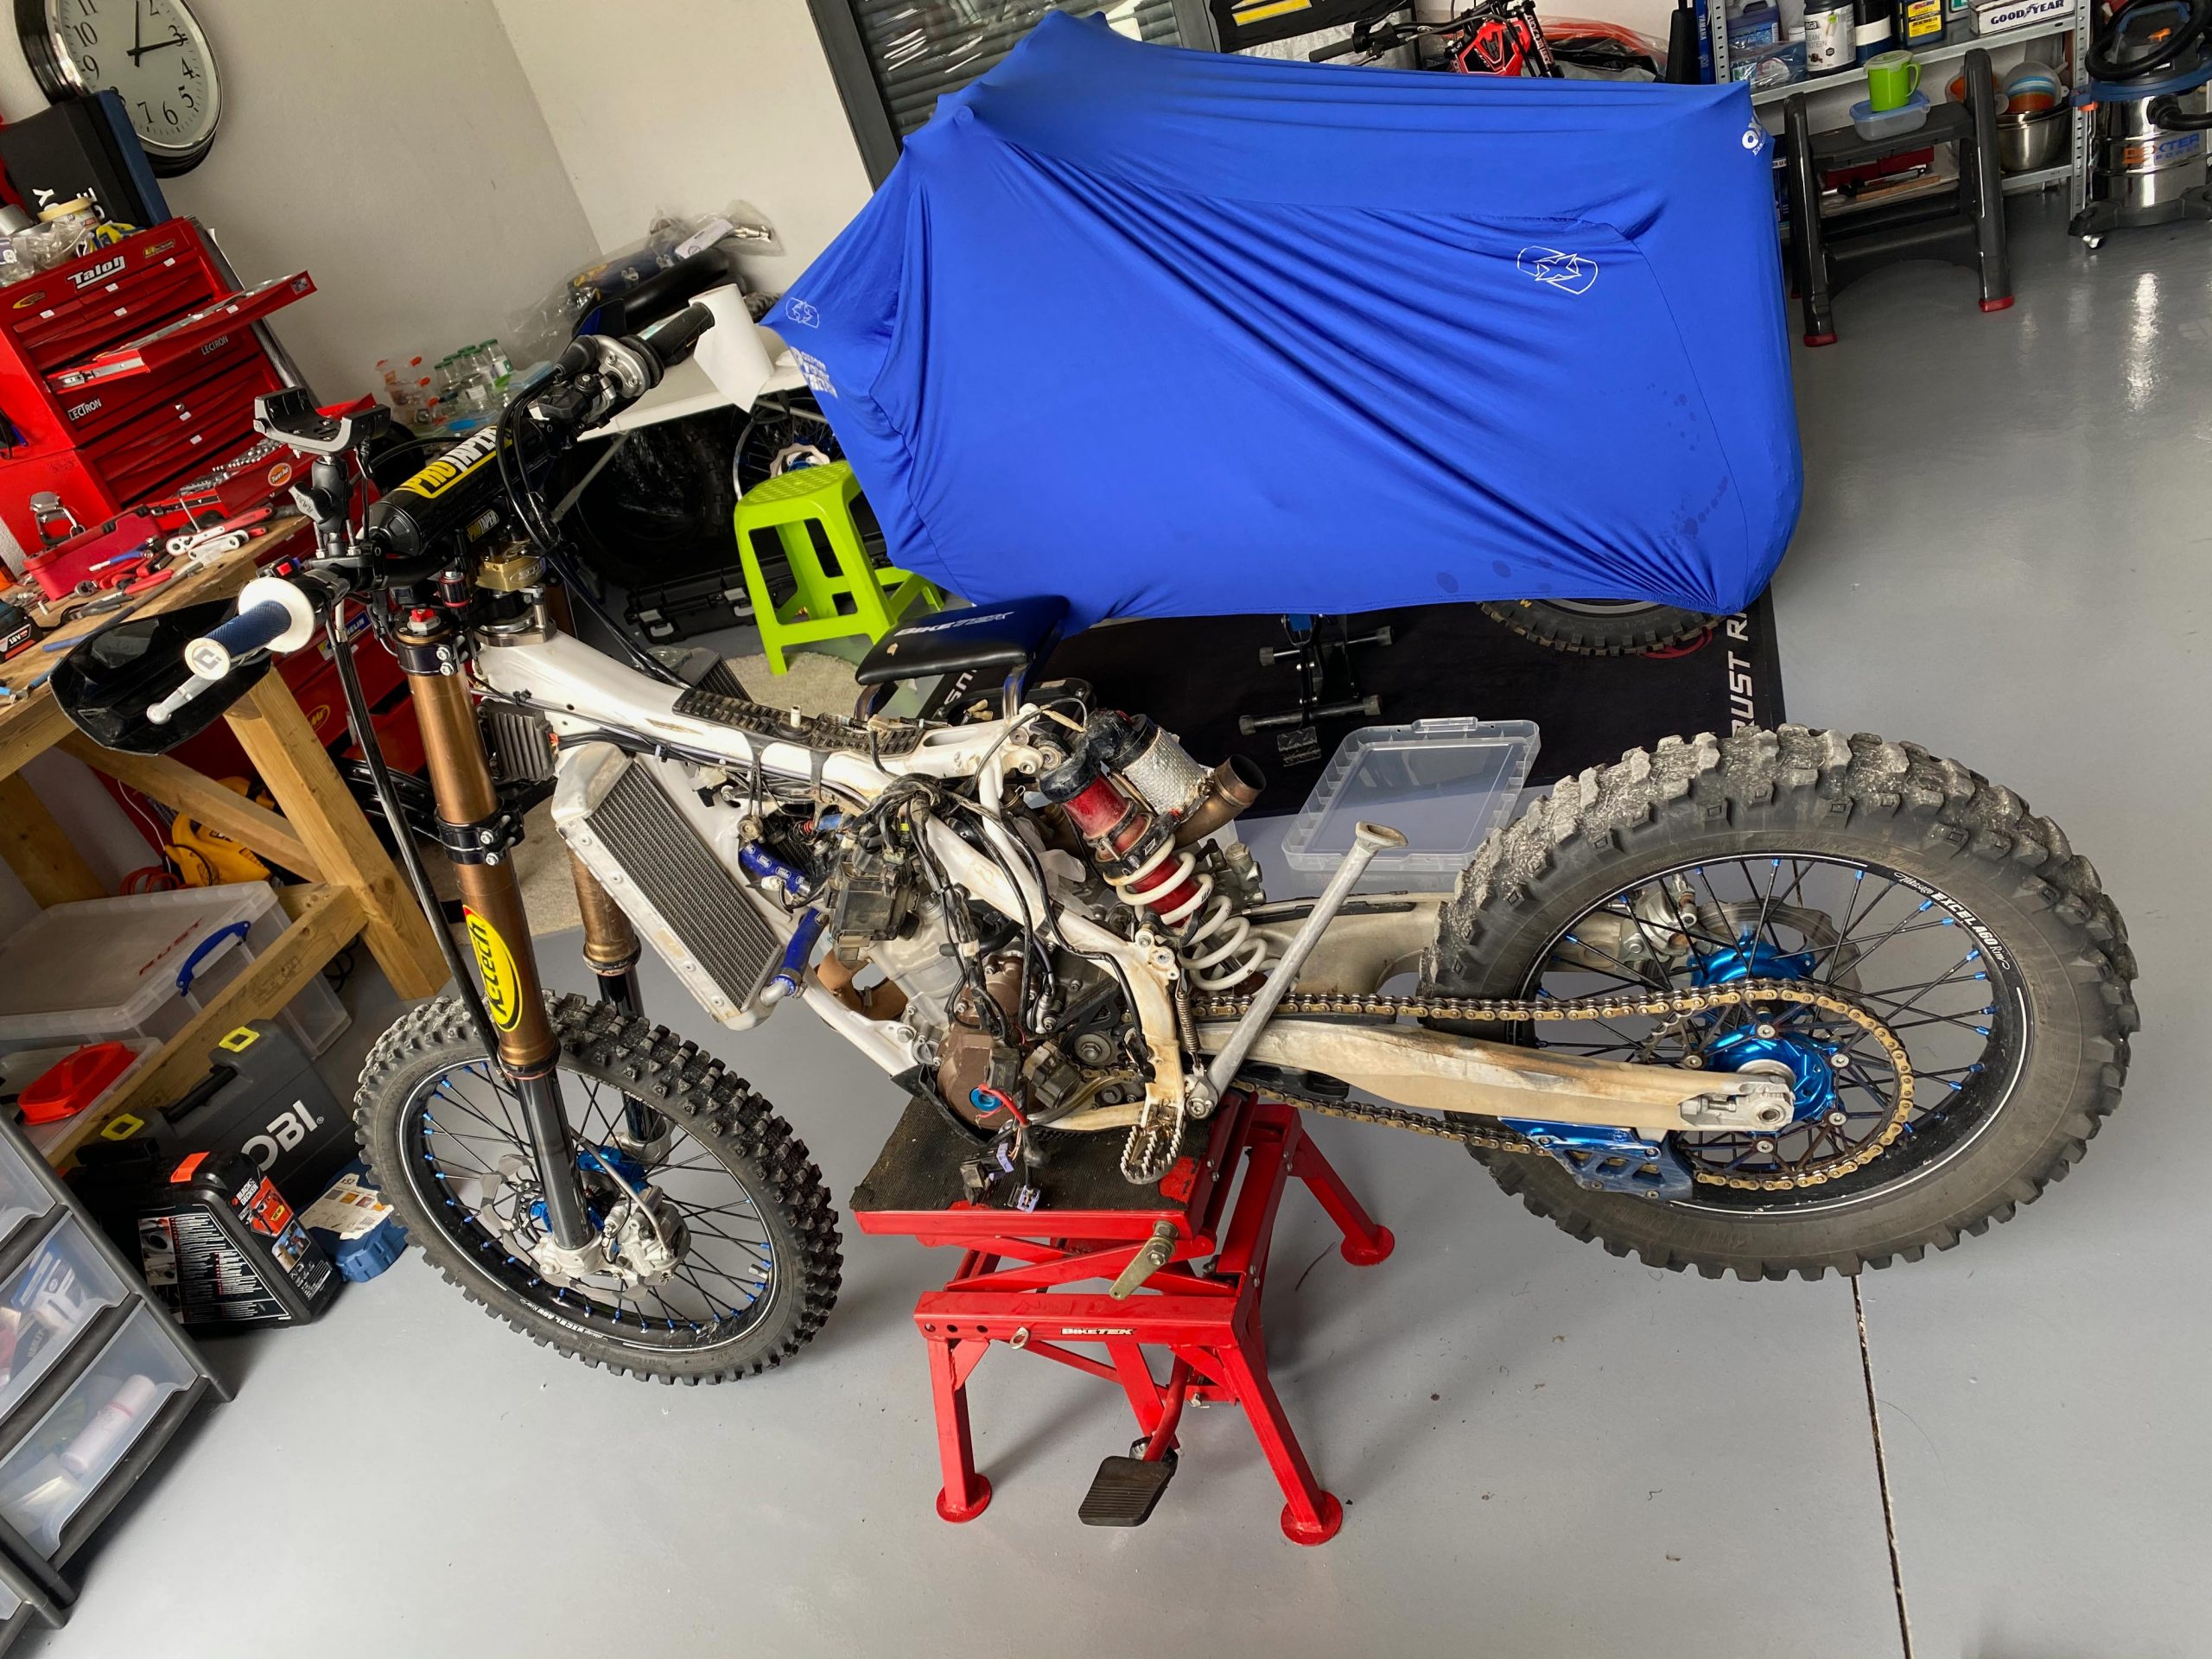
THE ENGINE REFRESH
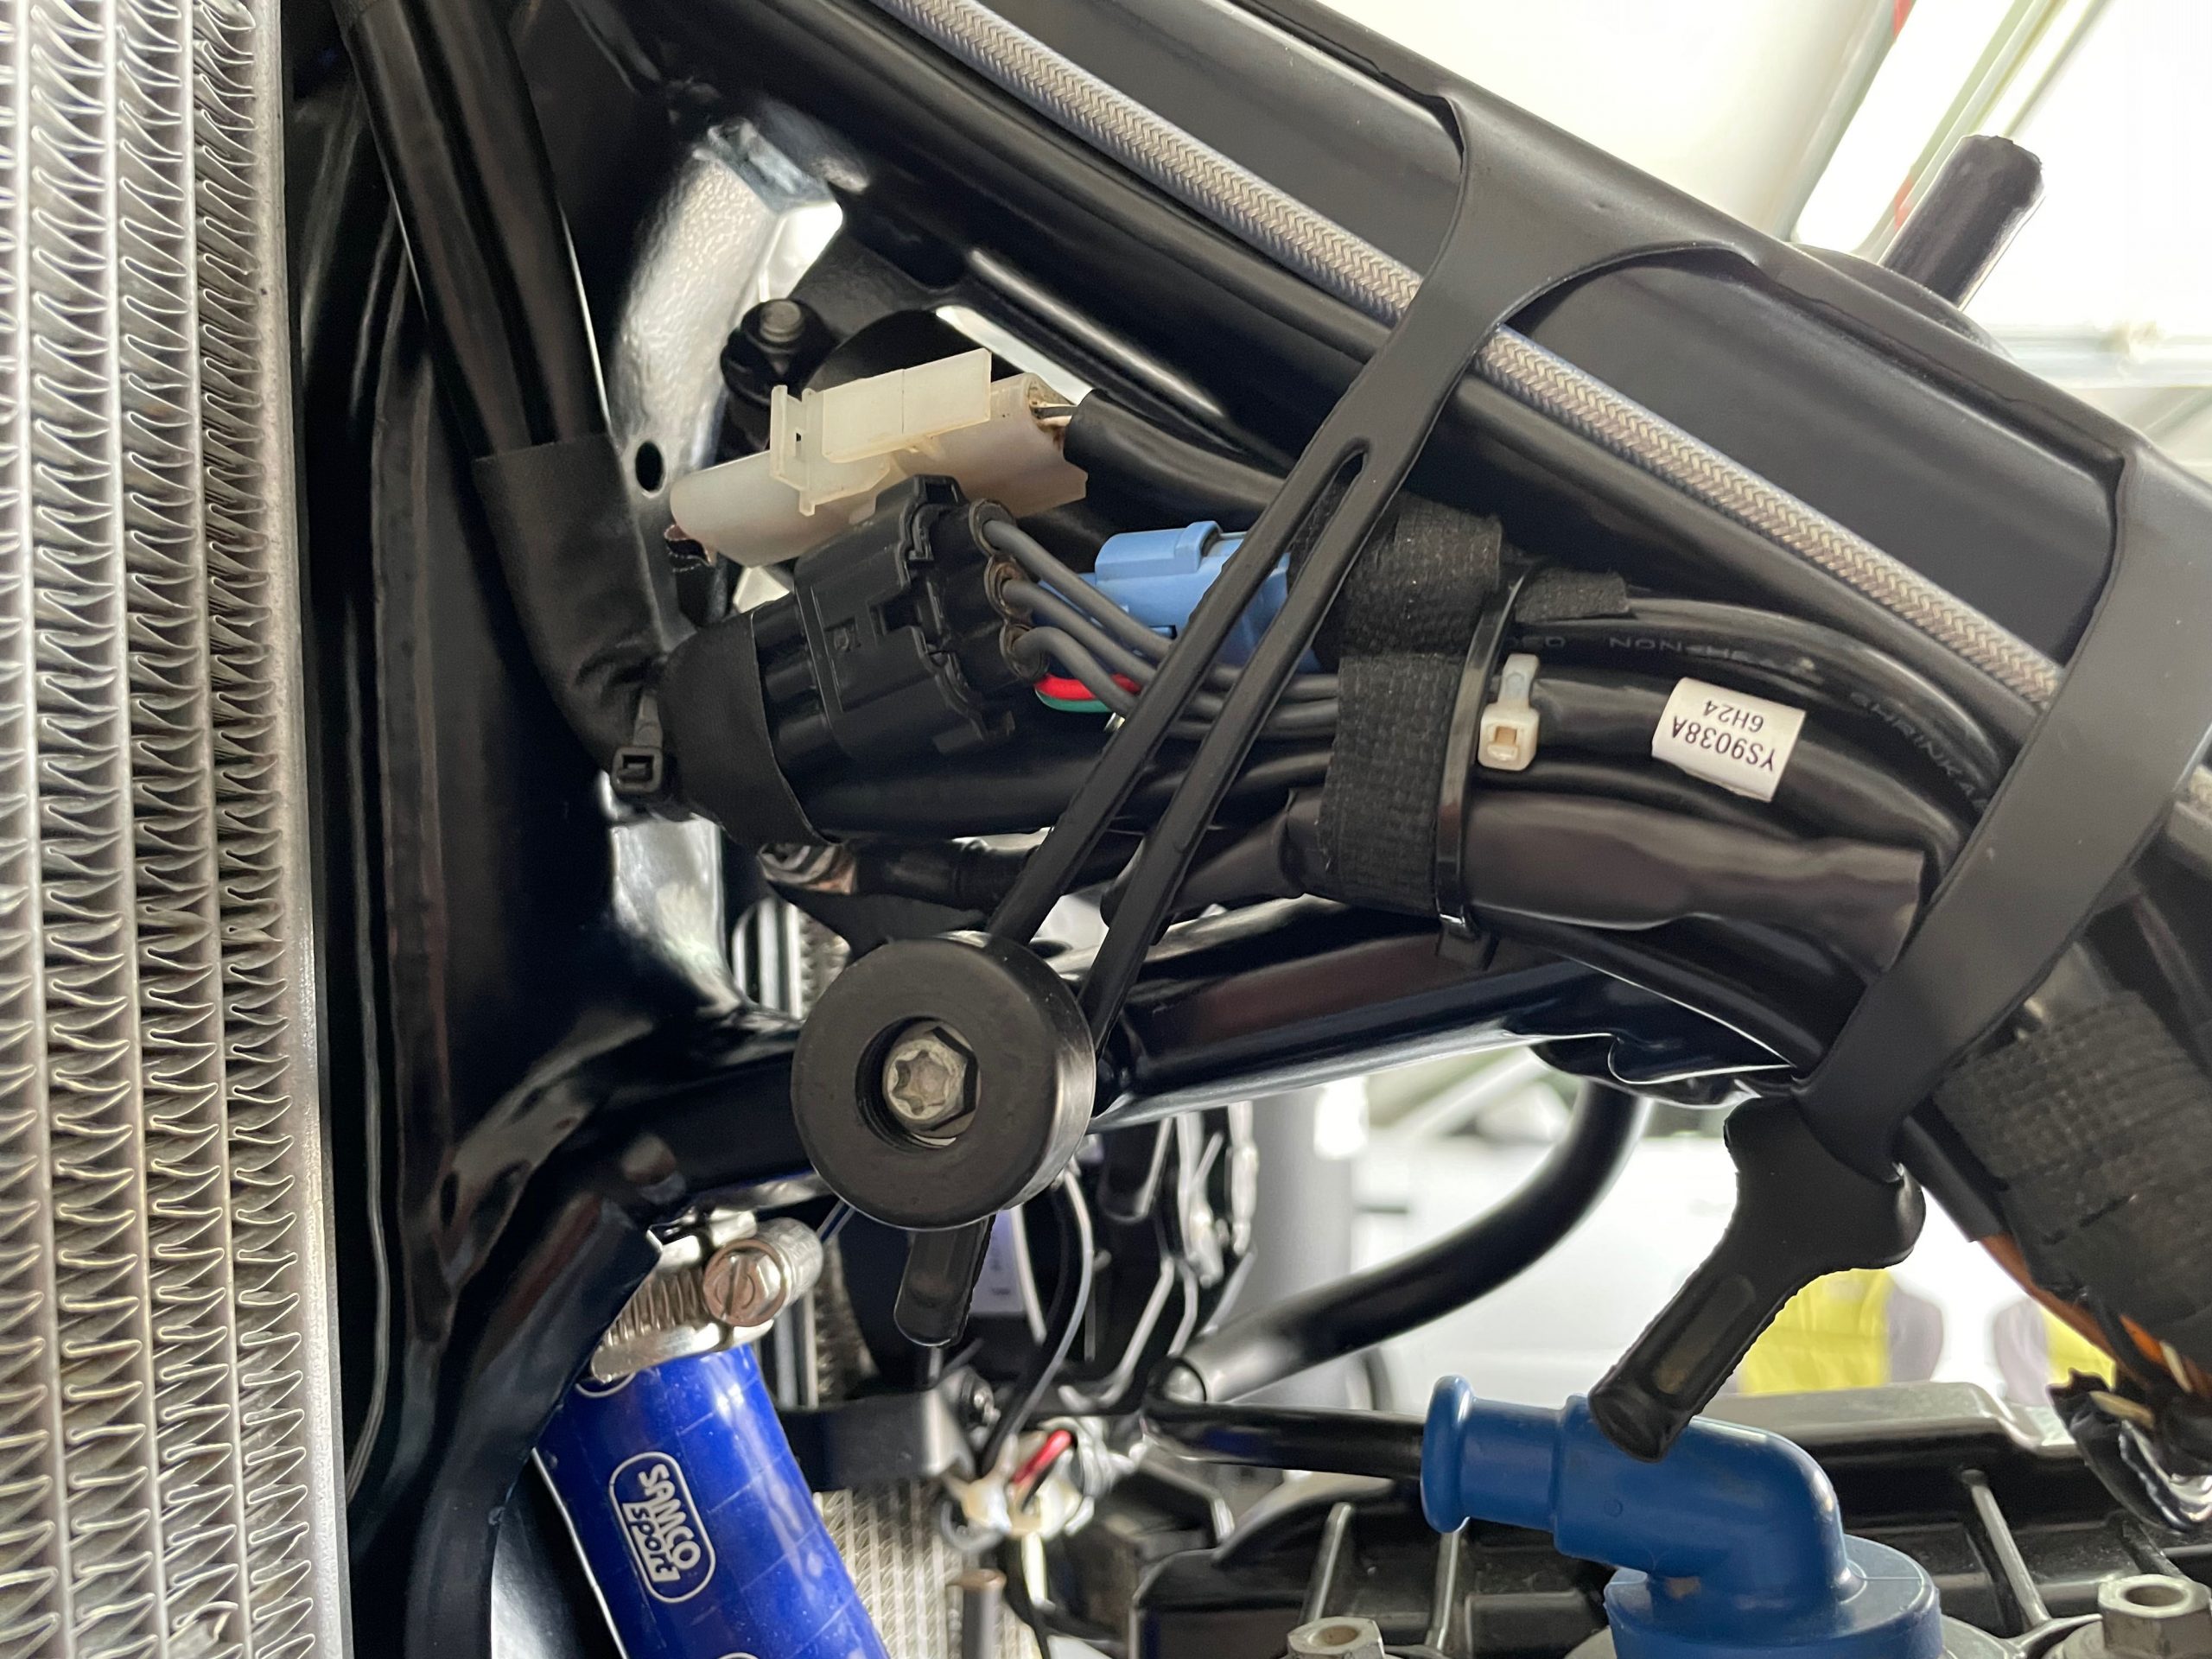
As for the engine and electrics on the Husky the first thing I did was clean up the wiring loom and get rid of all the unnecessary wiring and then lube all the connector points with dielectric grease to stop rust and them getting brittle.
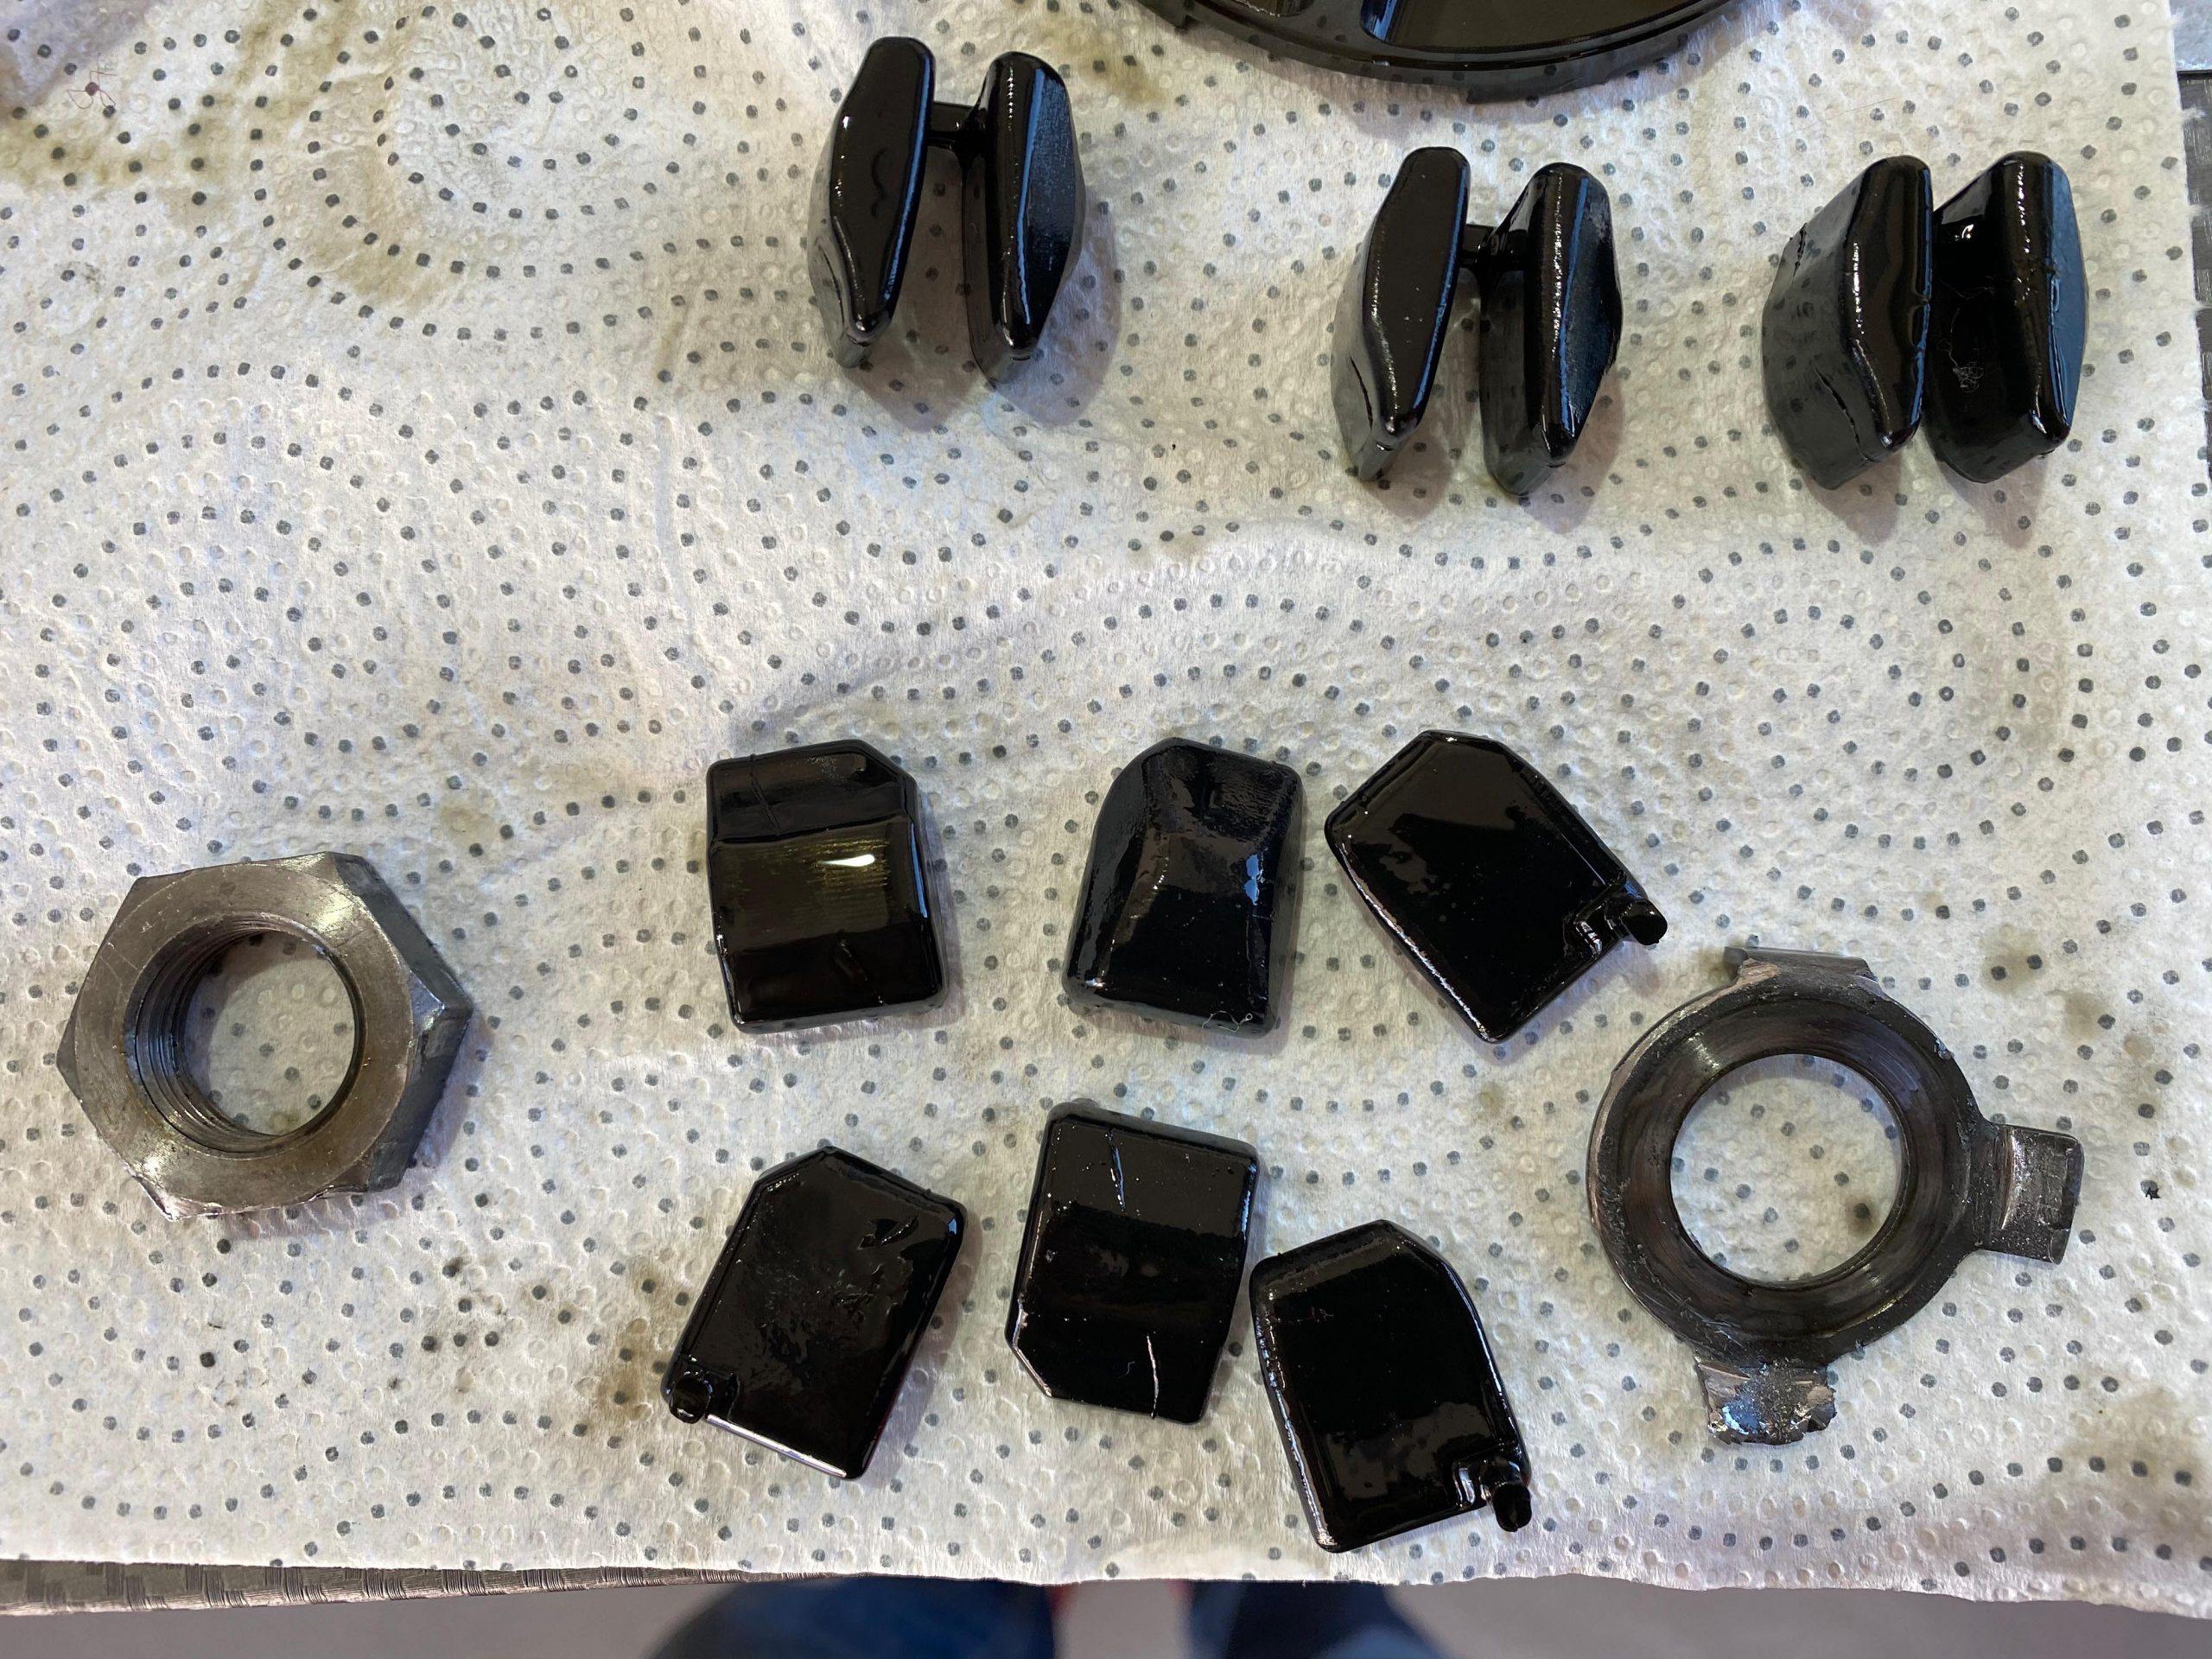
Second order of business was to strip the motor and inspect for any damage and wear. After 180 hours I replaced the clutch basket which was worn and had jagged edges on the outer spines. My Hinson clutch hub was still in good condition, but I replaced all the rubber dampers given I had some play, they also tend to split so best replace them every 20-30 hours.
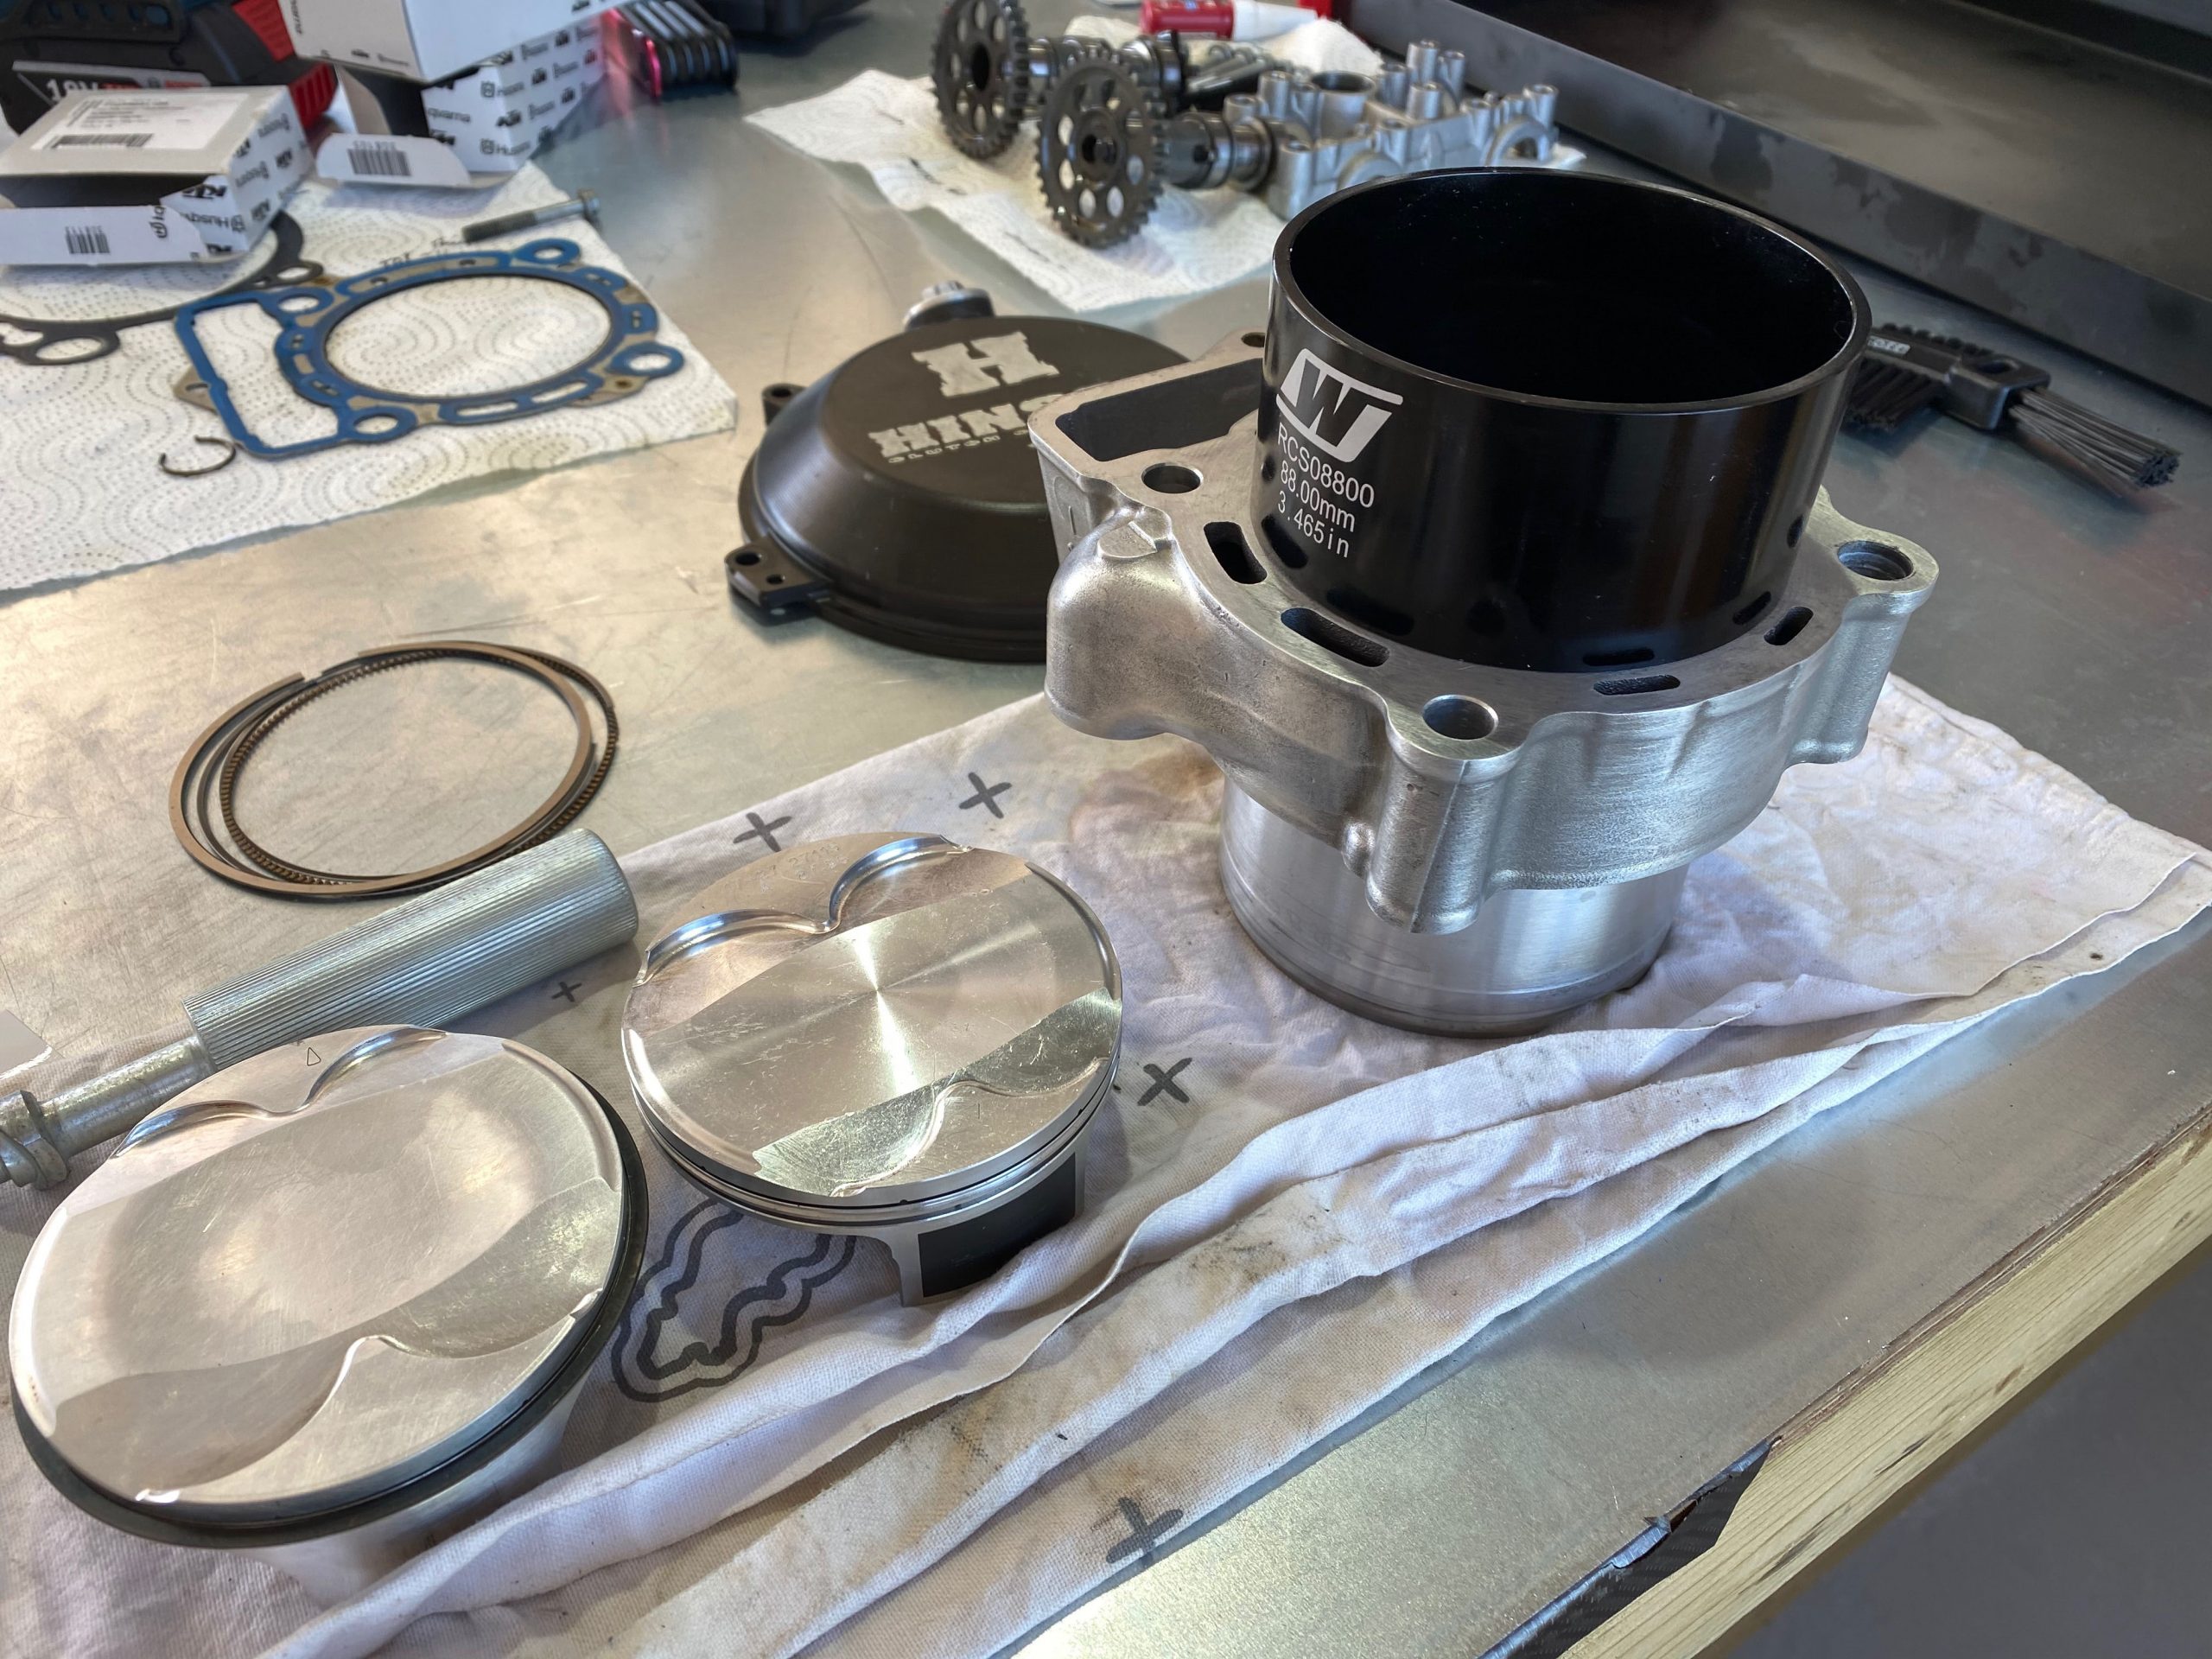
I was hitting false neutral in third gear and after closer inspection the primary drive gears needed replacing, which I did. Also new were the following: replaced the old piston and rings with a Vertex high compression piston and rings kit, new valves, valve stem seals, new rocker arms and I swapped out the OEM timing chain tensioner with one from Dirt Tricks. The cross hatching on the barrel looked excellent and even the old piston was in pretty good condition given the number of hours on the bike. The exhaust valve outlets had a good deal of carbon build up as did the exhaust valves themselves but nothing out of the ordinary. Overall, I was impressed at the condition of the motor.
ENGINE MODS
The three main modifications to the bike came by way of:
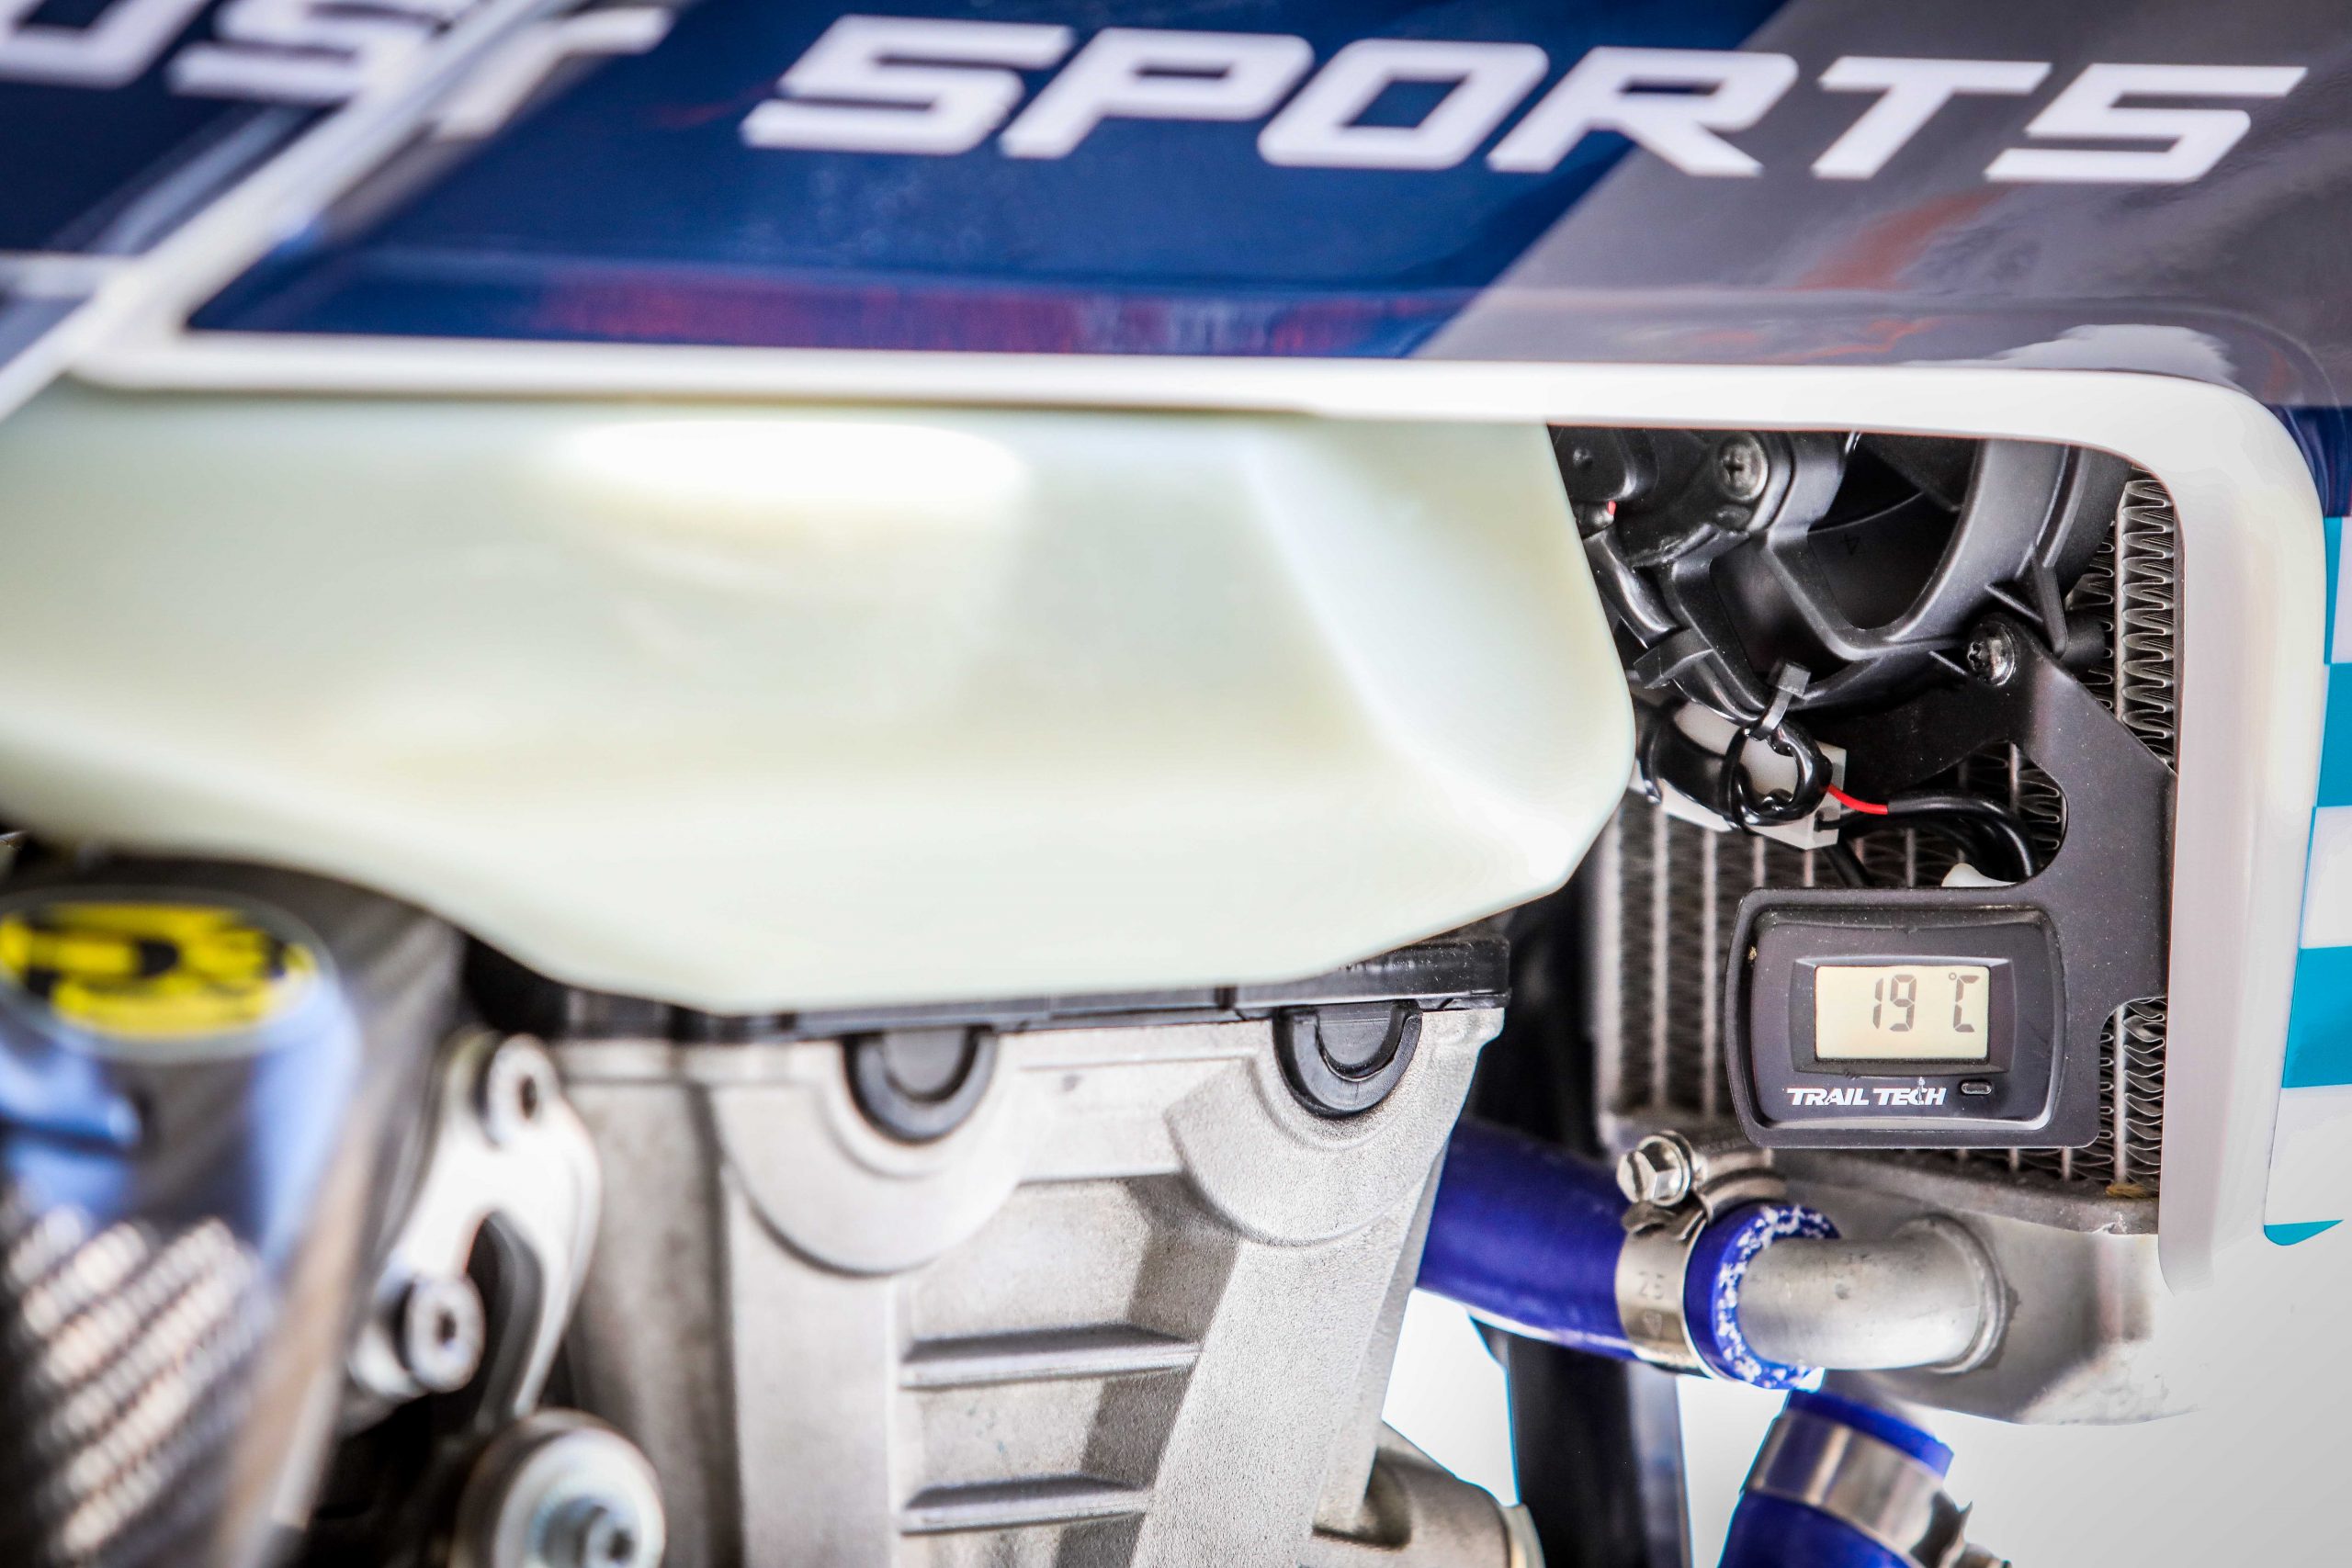
a reduced thickness head gasket (0.1mm) which raises compression slightly – this I’ve combined with the Vertex piston kit and I always only run 98 octane in the bike and have set the Trail Tech programmable radiator fan to kick in at 75 degrees, plus I run Engine Ice coolant to offset the slightly higher operating temperatures as a result of the higher compression ratio.
I swapped out the pair of top engine brace mounts from the 2017 model with a pair of 2021 KTM XC engine mounts. This makes a pretty big difference to the overall handling given the change in flex character on the frame. This has a significant knock-on effect on the suspension setup, too.
ECU – as an experiment I have swapped back and forth between the 2020 KTM 350 OEM ECU and the 2017 Husky OEM ECU with an adjustment to the TPS each time. I’ve found that the Kato ECU works better with the higher compression motor mods given that the 2020 engines on the 350’s were updated to feature a higher compression ratio from 12.3:1 to 13.5:1 due to a shorter barrel and a (0.1mm)thinner head gasket.
Tidied and cleaned wiring look
Just hoping it will all go back together...
The engine stand – yeah, you seriously need this if a full engine build is in your plans
Every small detail – new clutch shock absorbers
The cylinder bore was in great shape after 180 hours, but a new piston and rings was a must do
New valves in the cleaned up head too
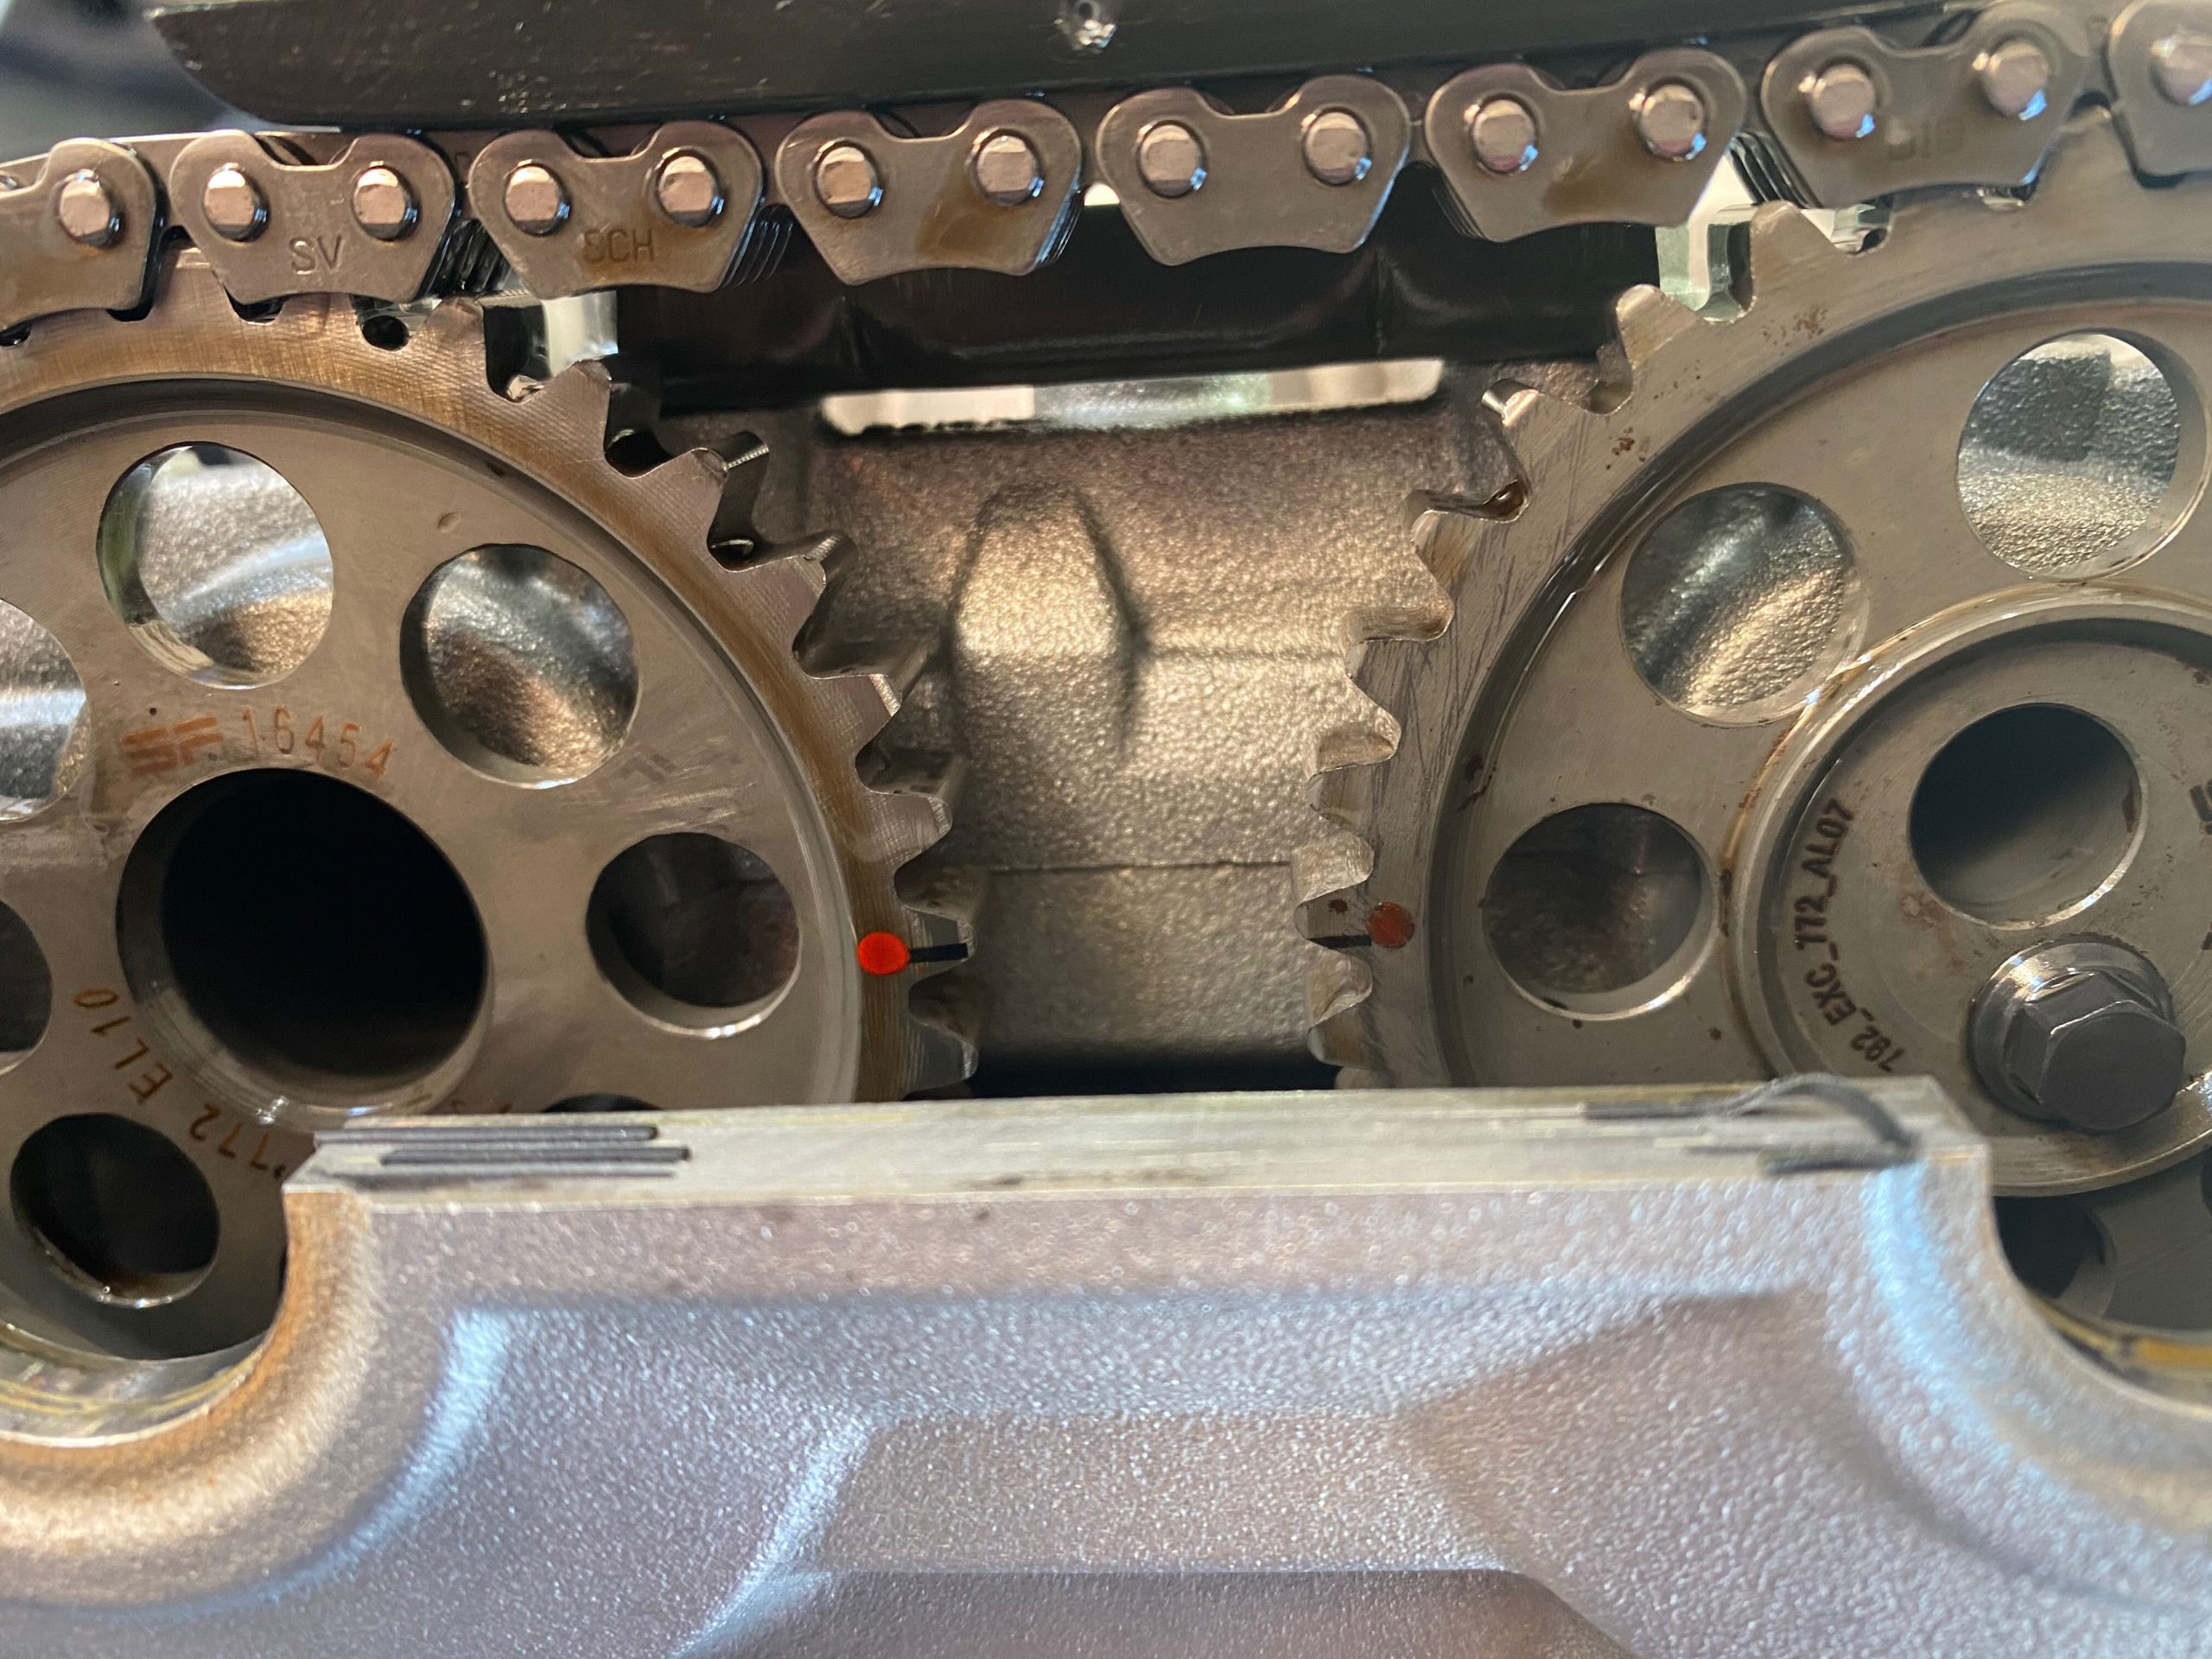
Cam timing is important – so important – to get right
Samco hoses for proper security and an adjustable Trail Tech fan – needed on the hot days
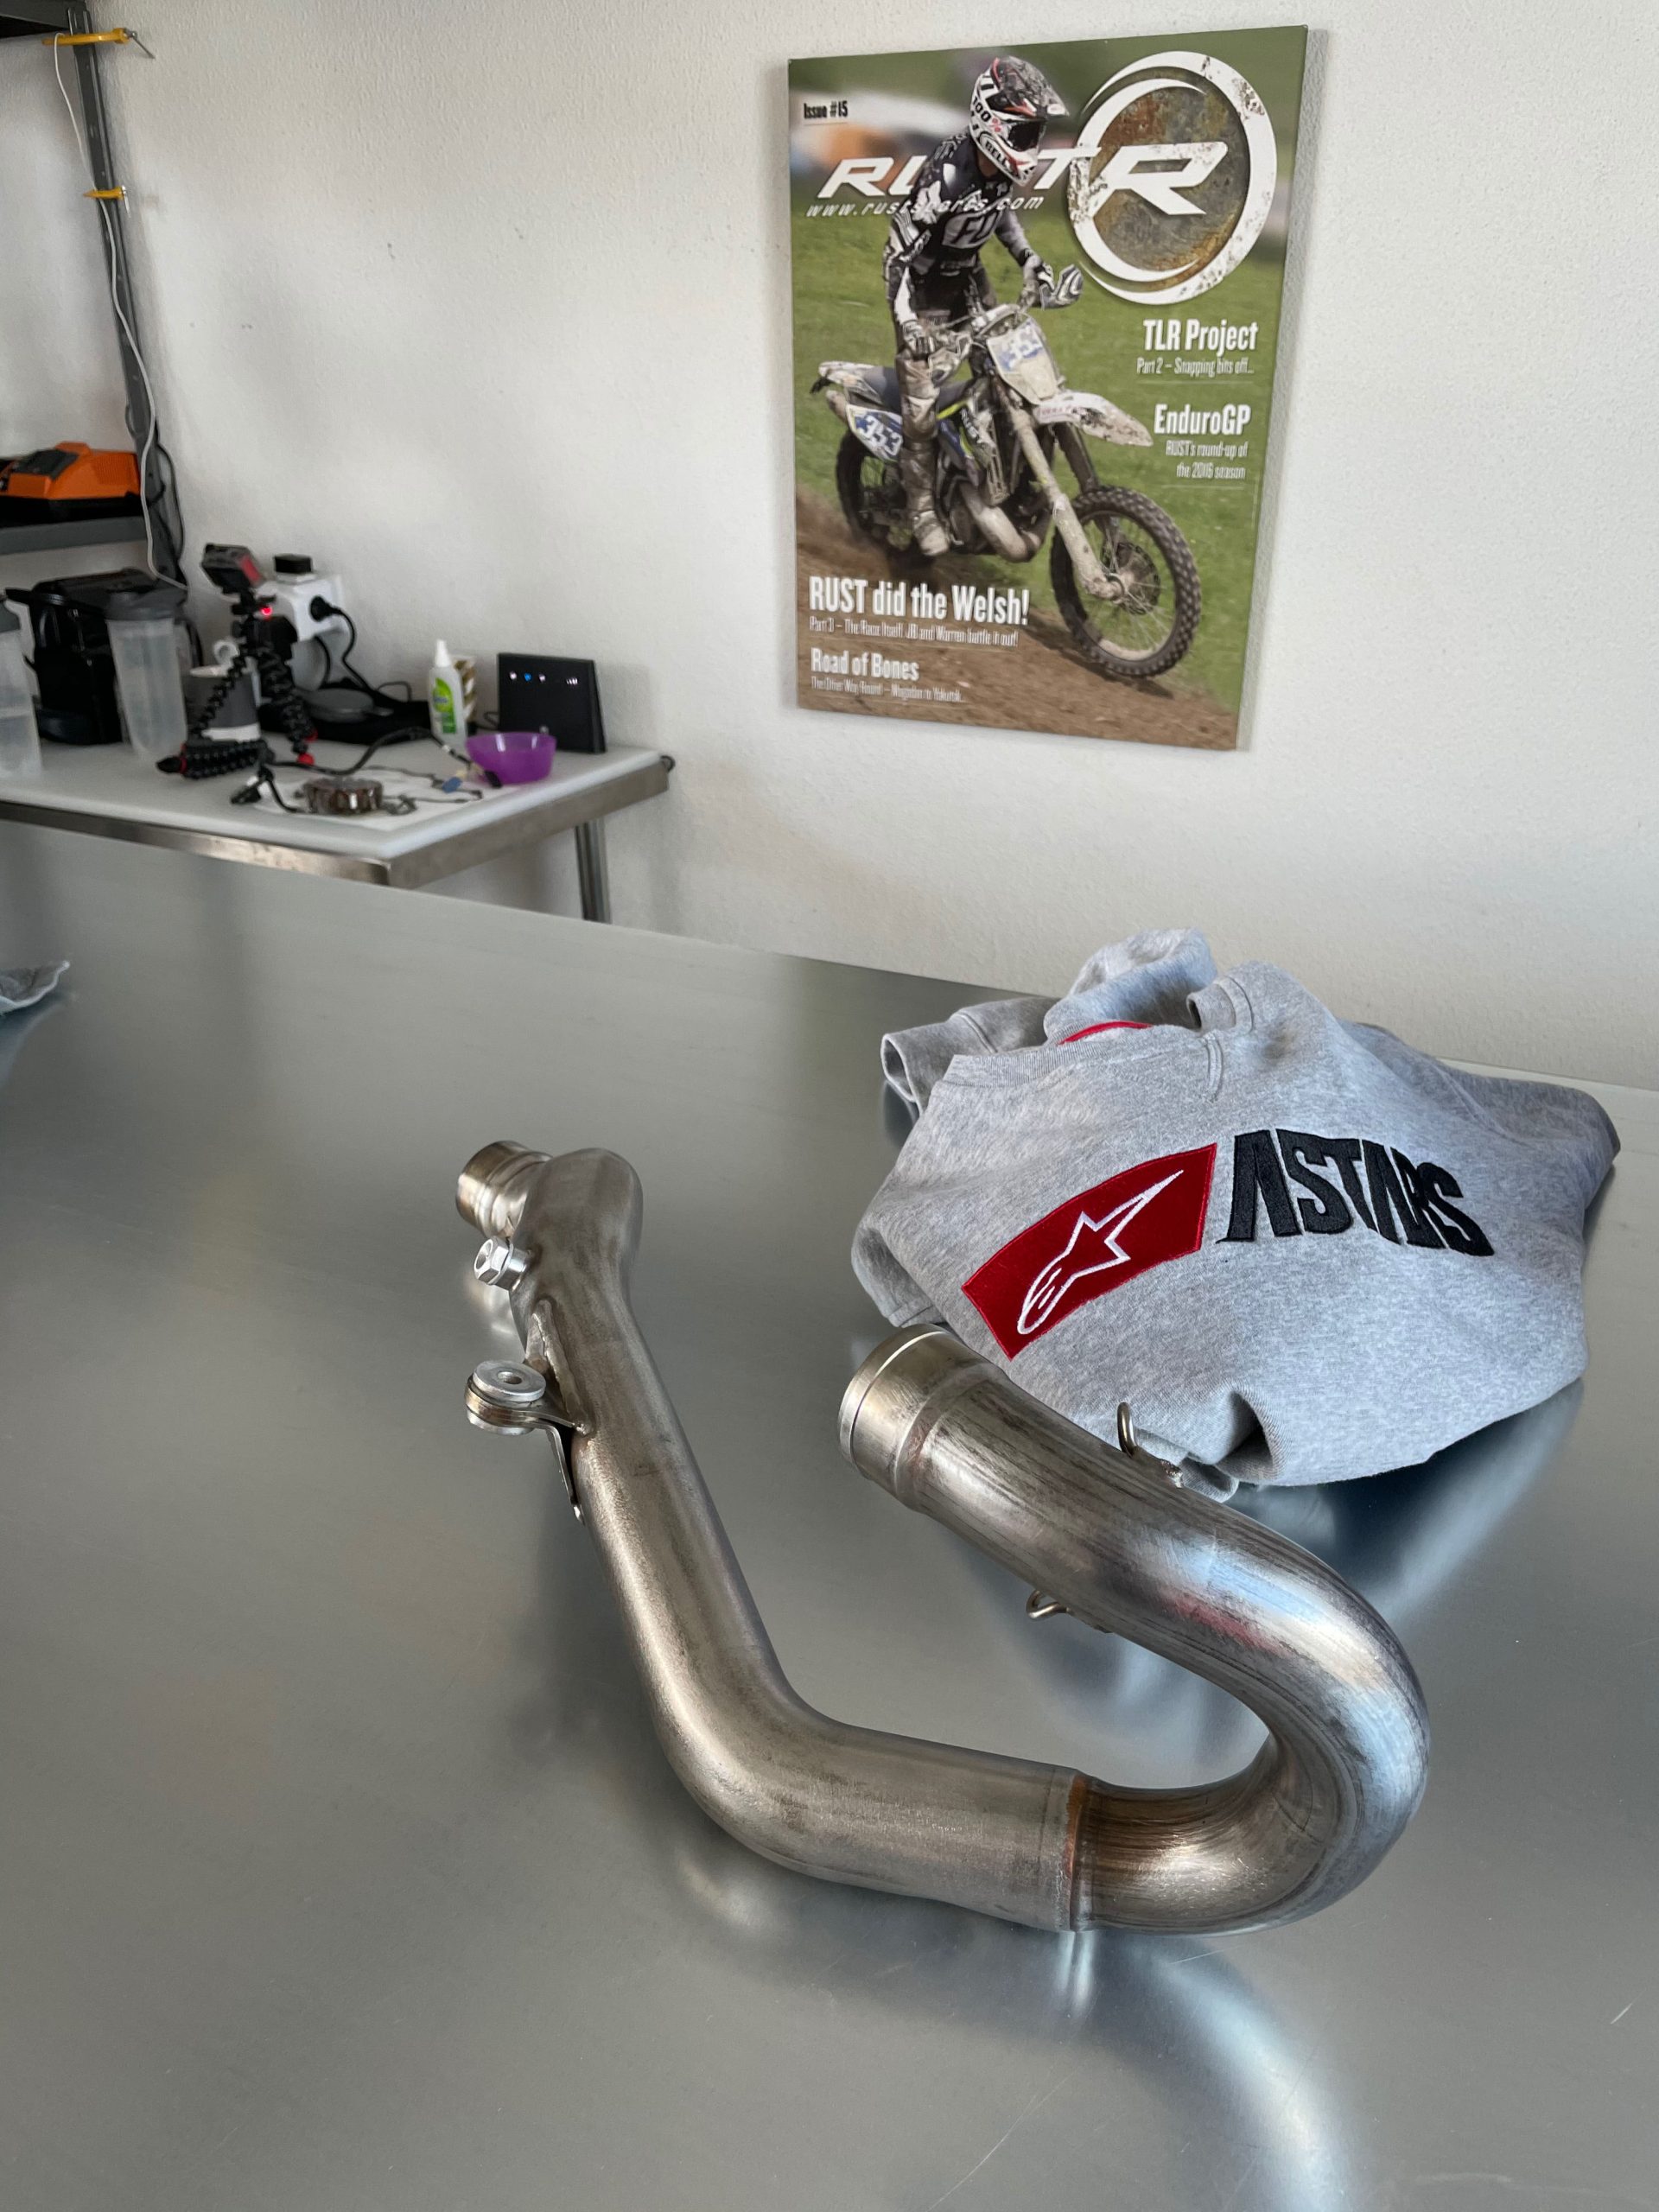
PIPE
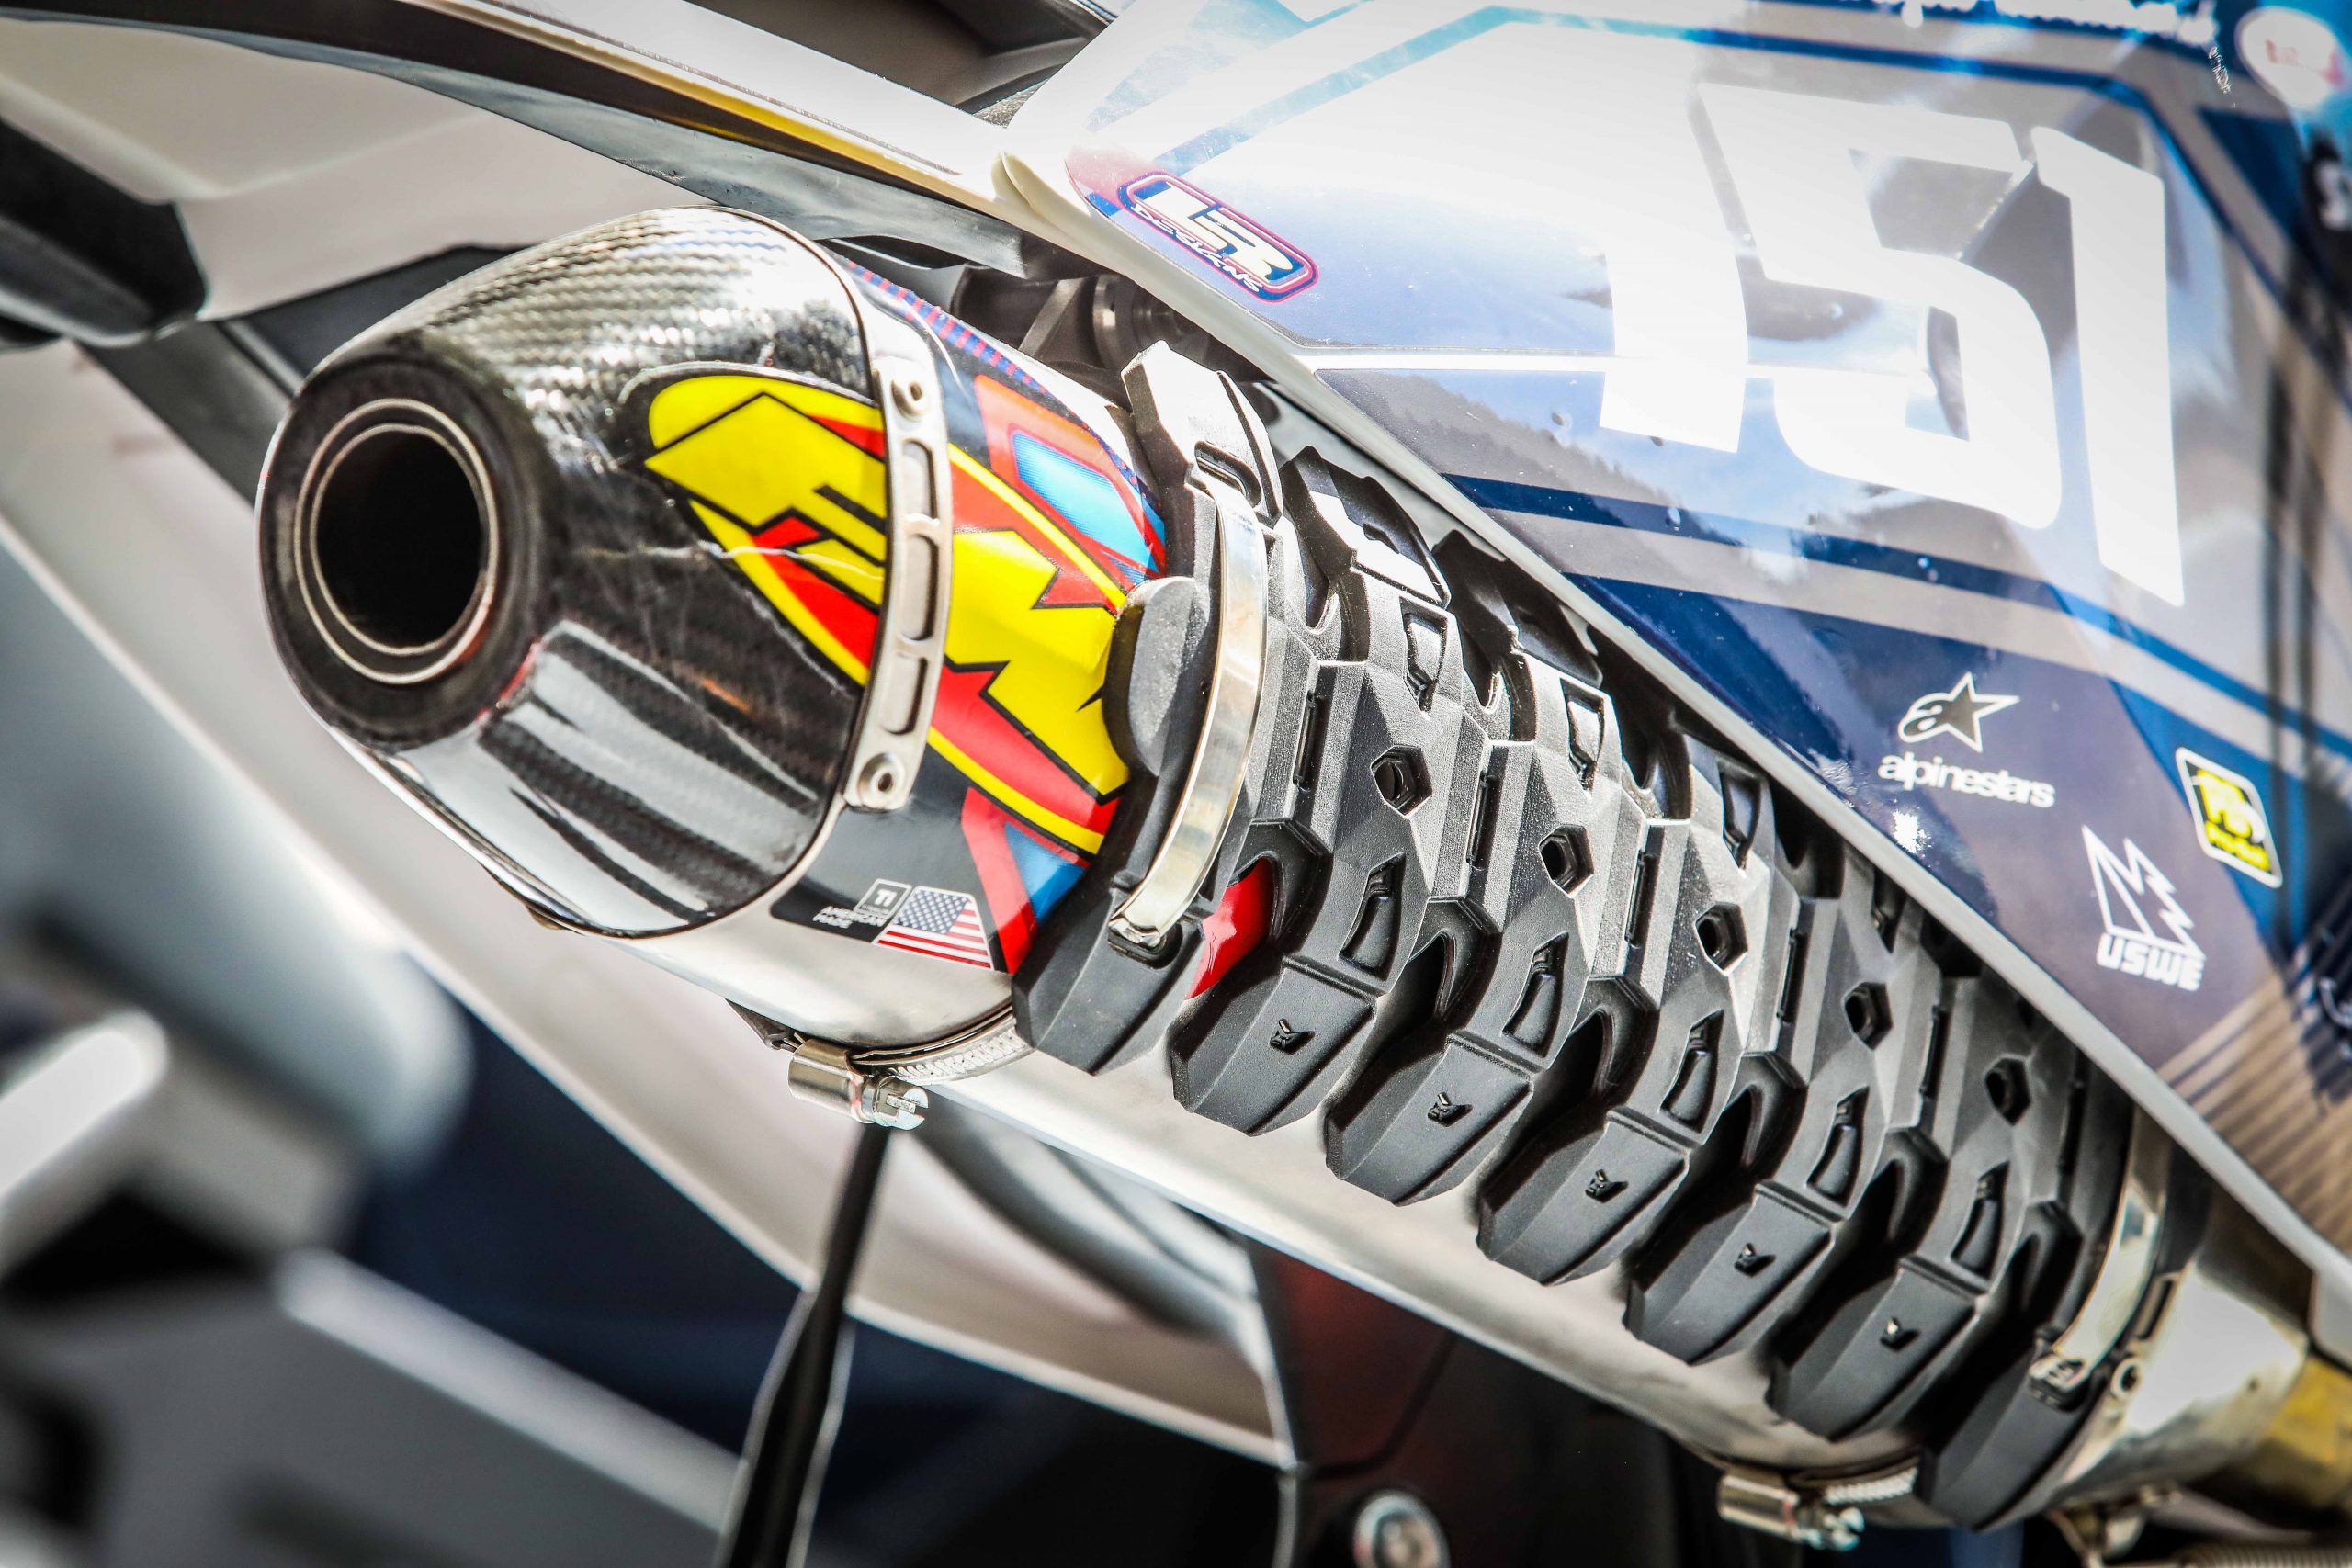
The pipe is a stock header with FMF Ti slip-on. I love the combo, it strips weight and adds a little bark to the engine torque, especially down low and combines well with the motor.
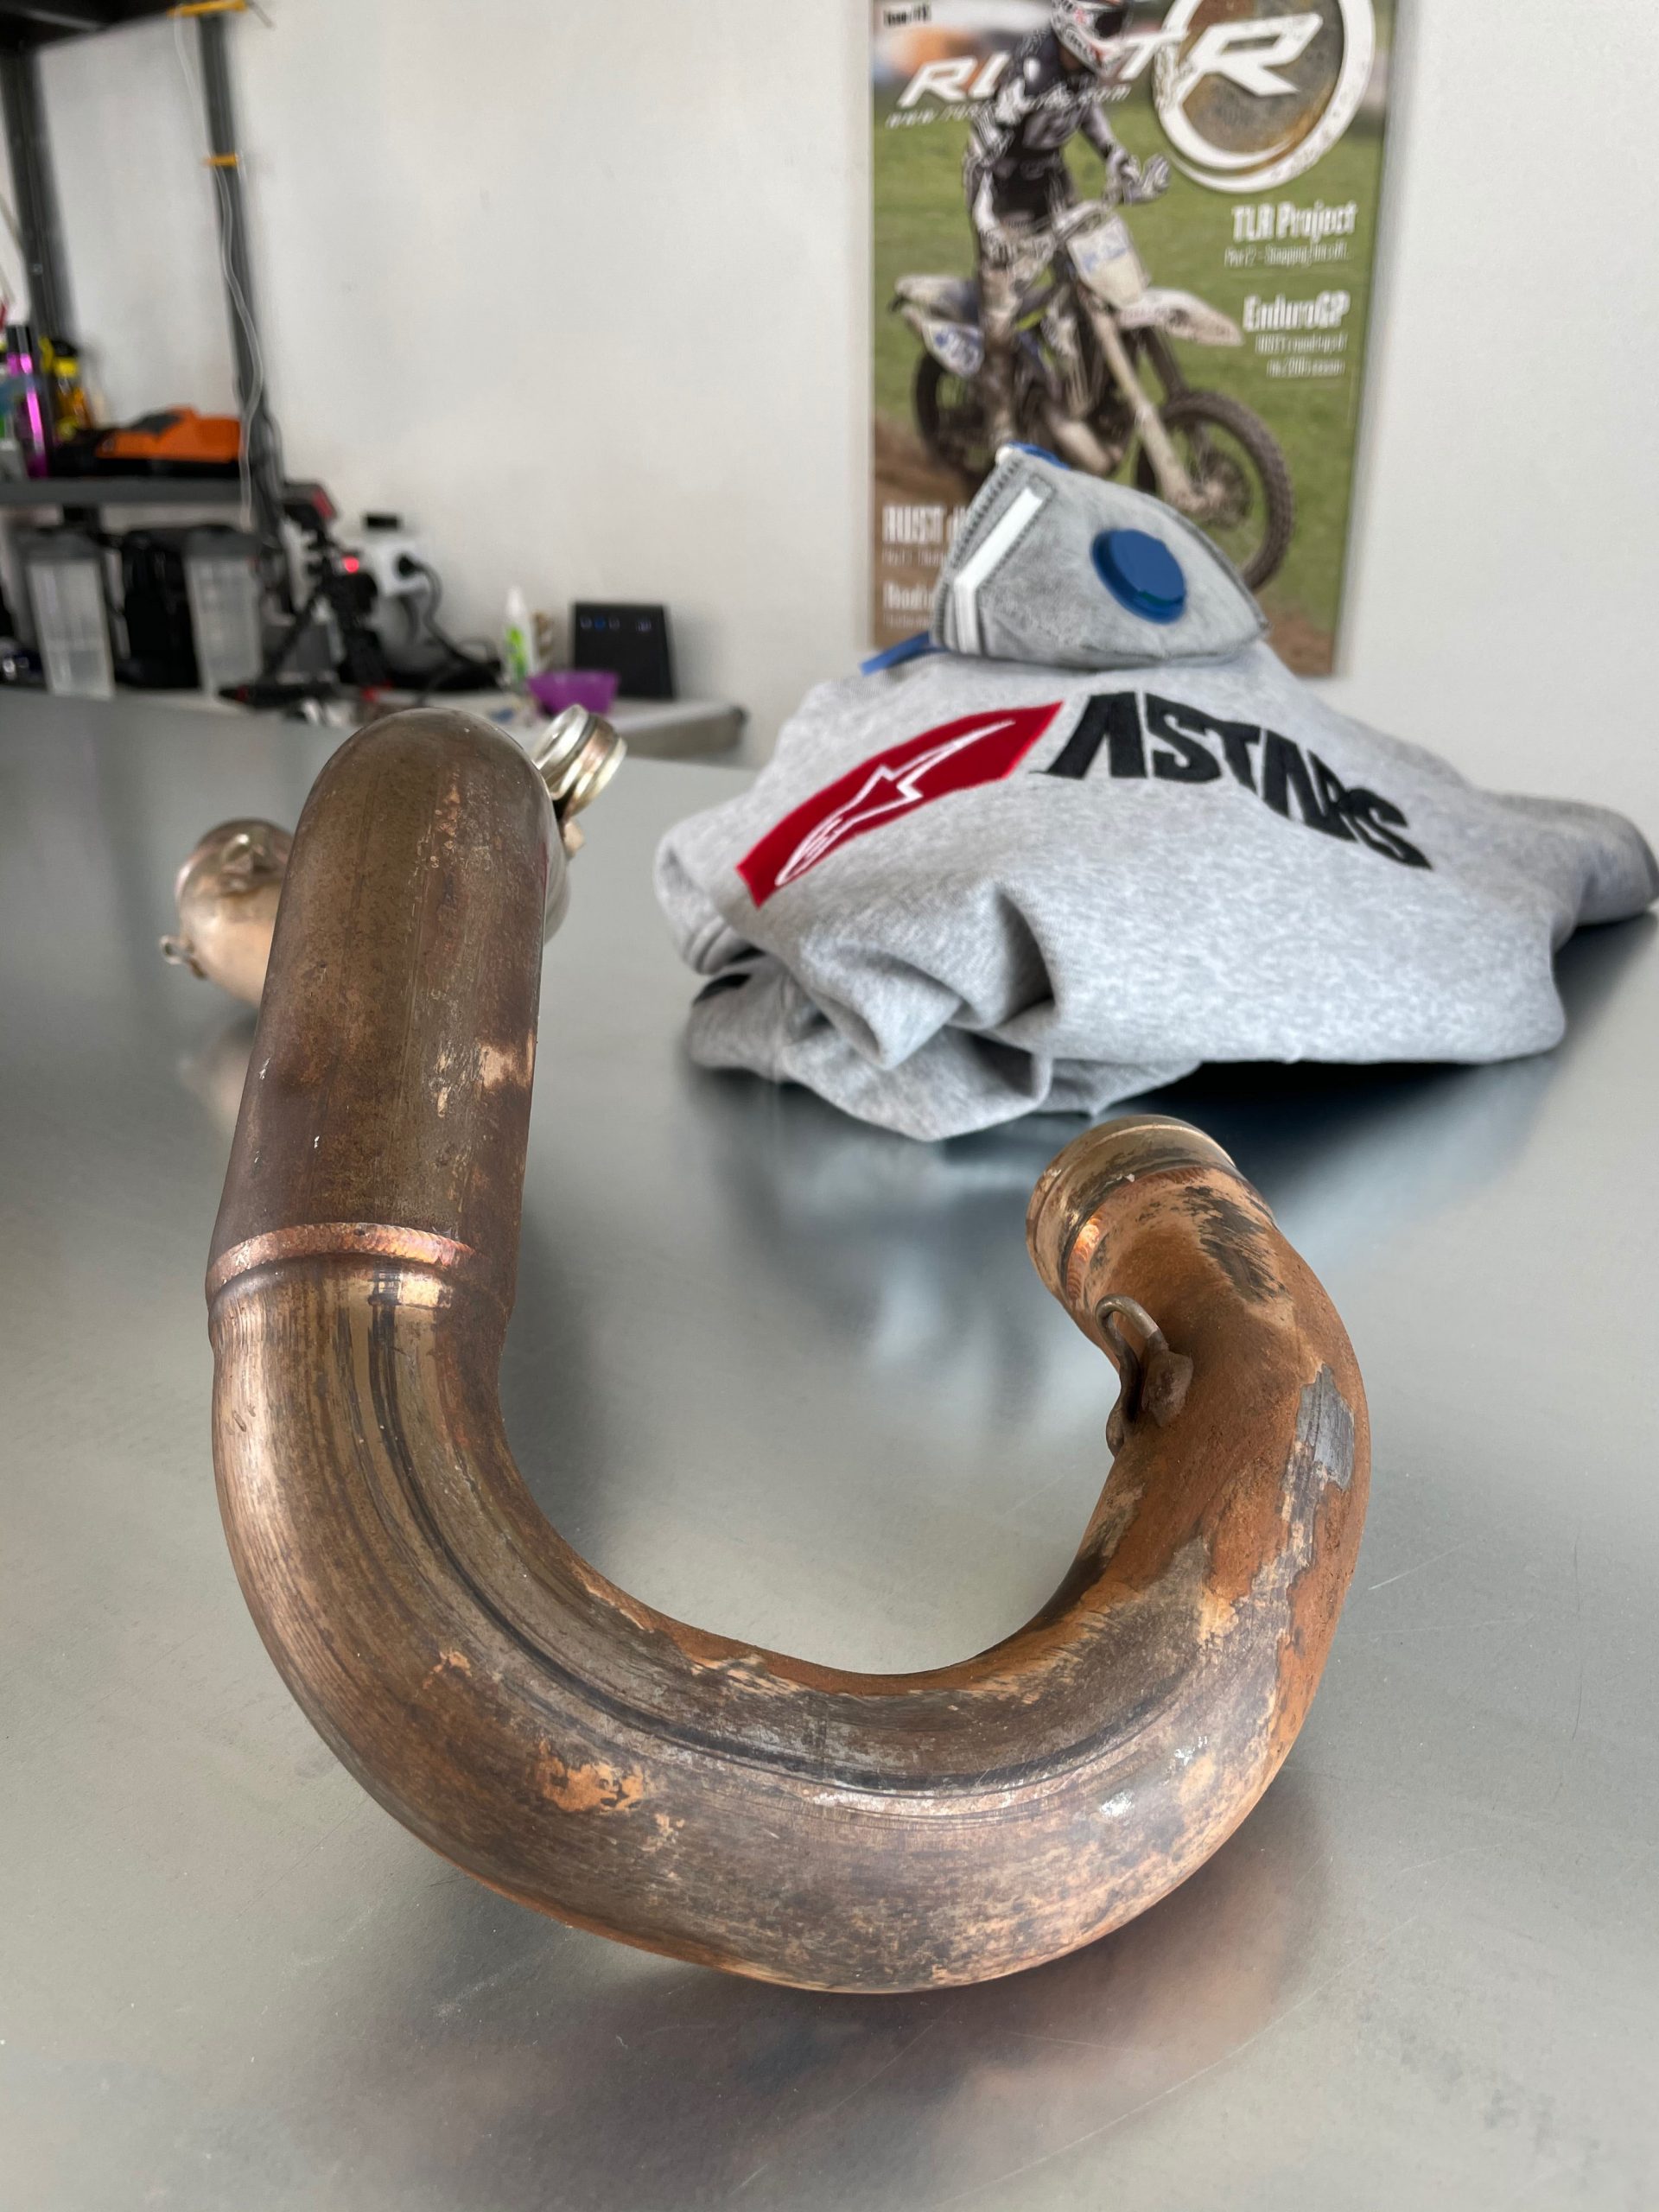
The header pipe as it came off the bike
And once given the Scotchbrite treatment
Stock header stays, protected by P3 carbon
FMF Ti pipe got repacked, and protected by Polisport Armadillo
GRAPHICS
The graphic design was my own and was printed by LR Designs.
Custom Graphics designed by WM and made by by LR Designs, applied to Polisport plastics complete the job
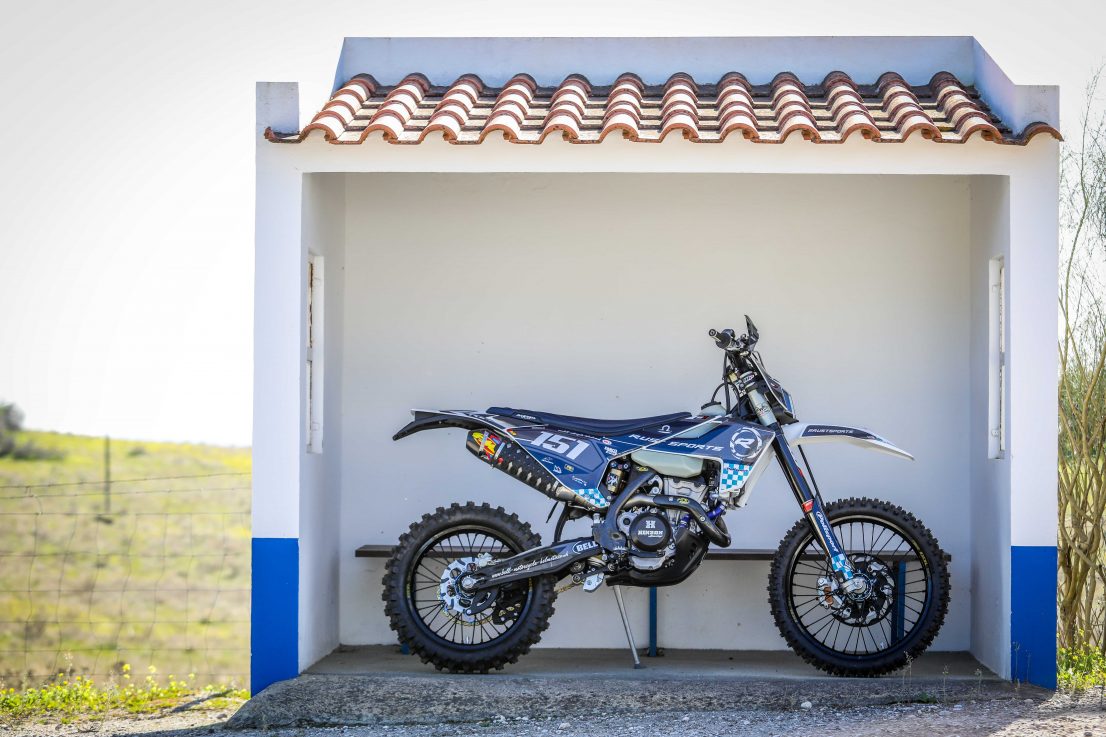
As JB said, it was a shame to get it dirty
THAT’S IT!
It’s taken a while to write these blogs, but it took far longer to do the actual work. The biggest hold-up there. As I said, has been the difficulty in getting parts. It’s worth getting the parts fully sorted before starting the work if you don’t want to see your bike out of action for too long. Hopefully this situation will improve, but with the pandemic still with us, well, we can’t be too optimistic.
Next blog I’ll let you know how the updates worked out. JB has tested it too and I got a fair impression that he liked it (wouldn’t give it back!).
In the meantime check out our social pages and YouTube for updates on the videos I’ll be posting over the coming weeks featuring this build and the 2020 KTM project bike.
One last thing… don’t be daunted by starting your own project – sometimes getting lost is learning the way. Ciao!
Keep up to date with the latest articles, receive our free magazine via email and get notified of special offers and discounts. Be part of the RUST community today…