After over 180 hours and four years of abuse its surprising to see what condition the various components and parts were in. I was surprised with what I found had worn out and what was still good.
The plan: new parts, reconditioning parts, upgrading parts
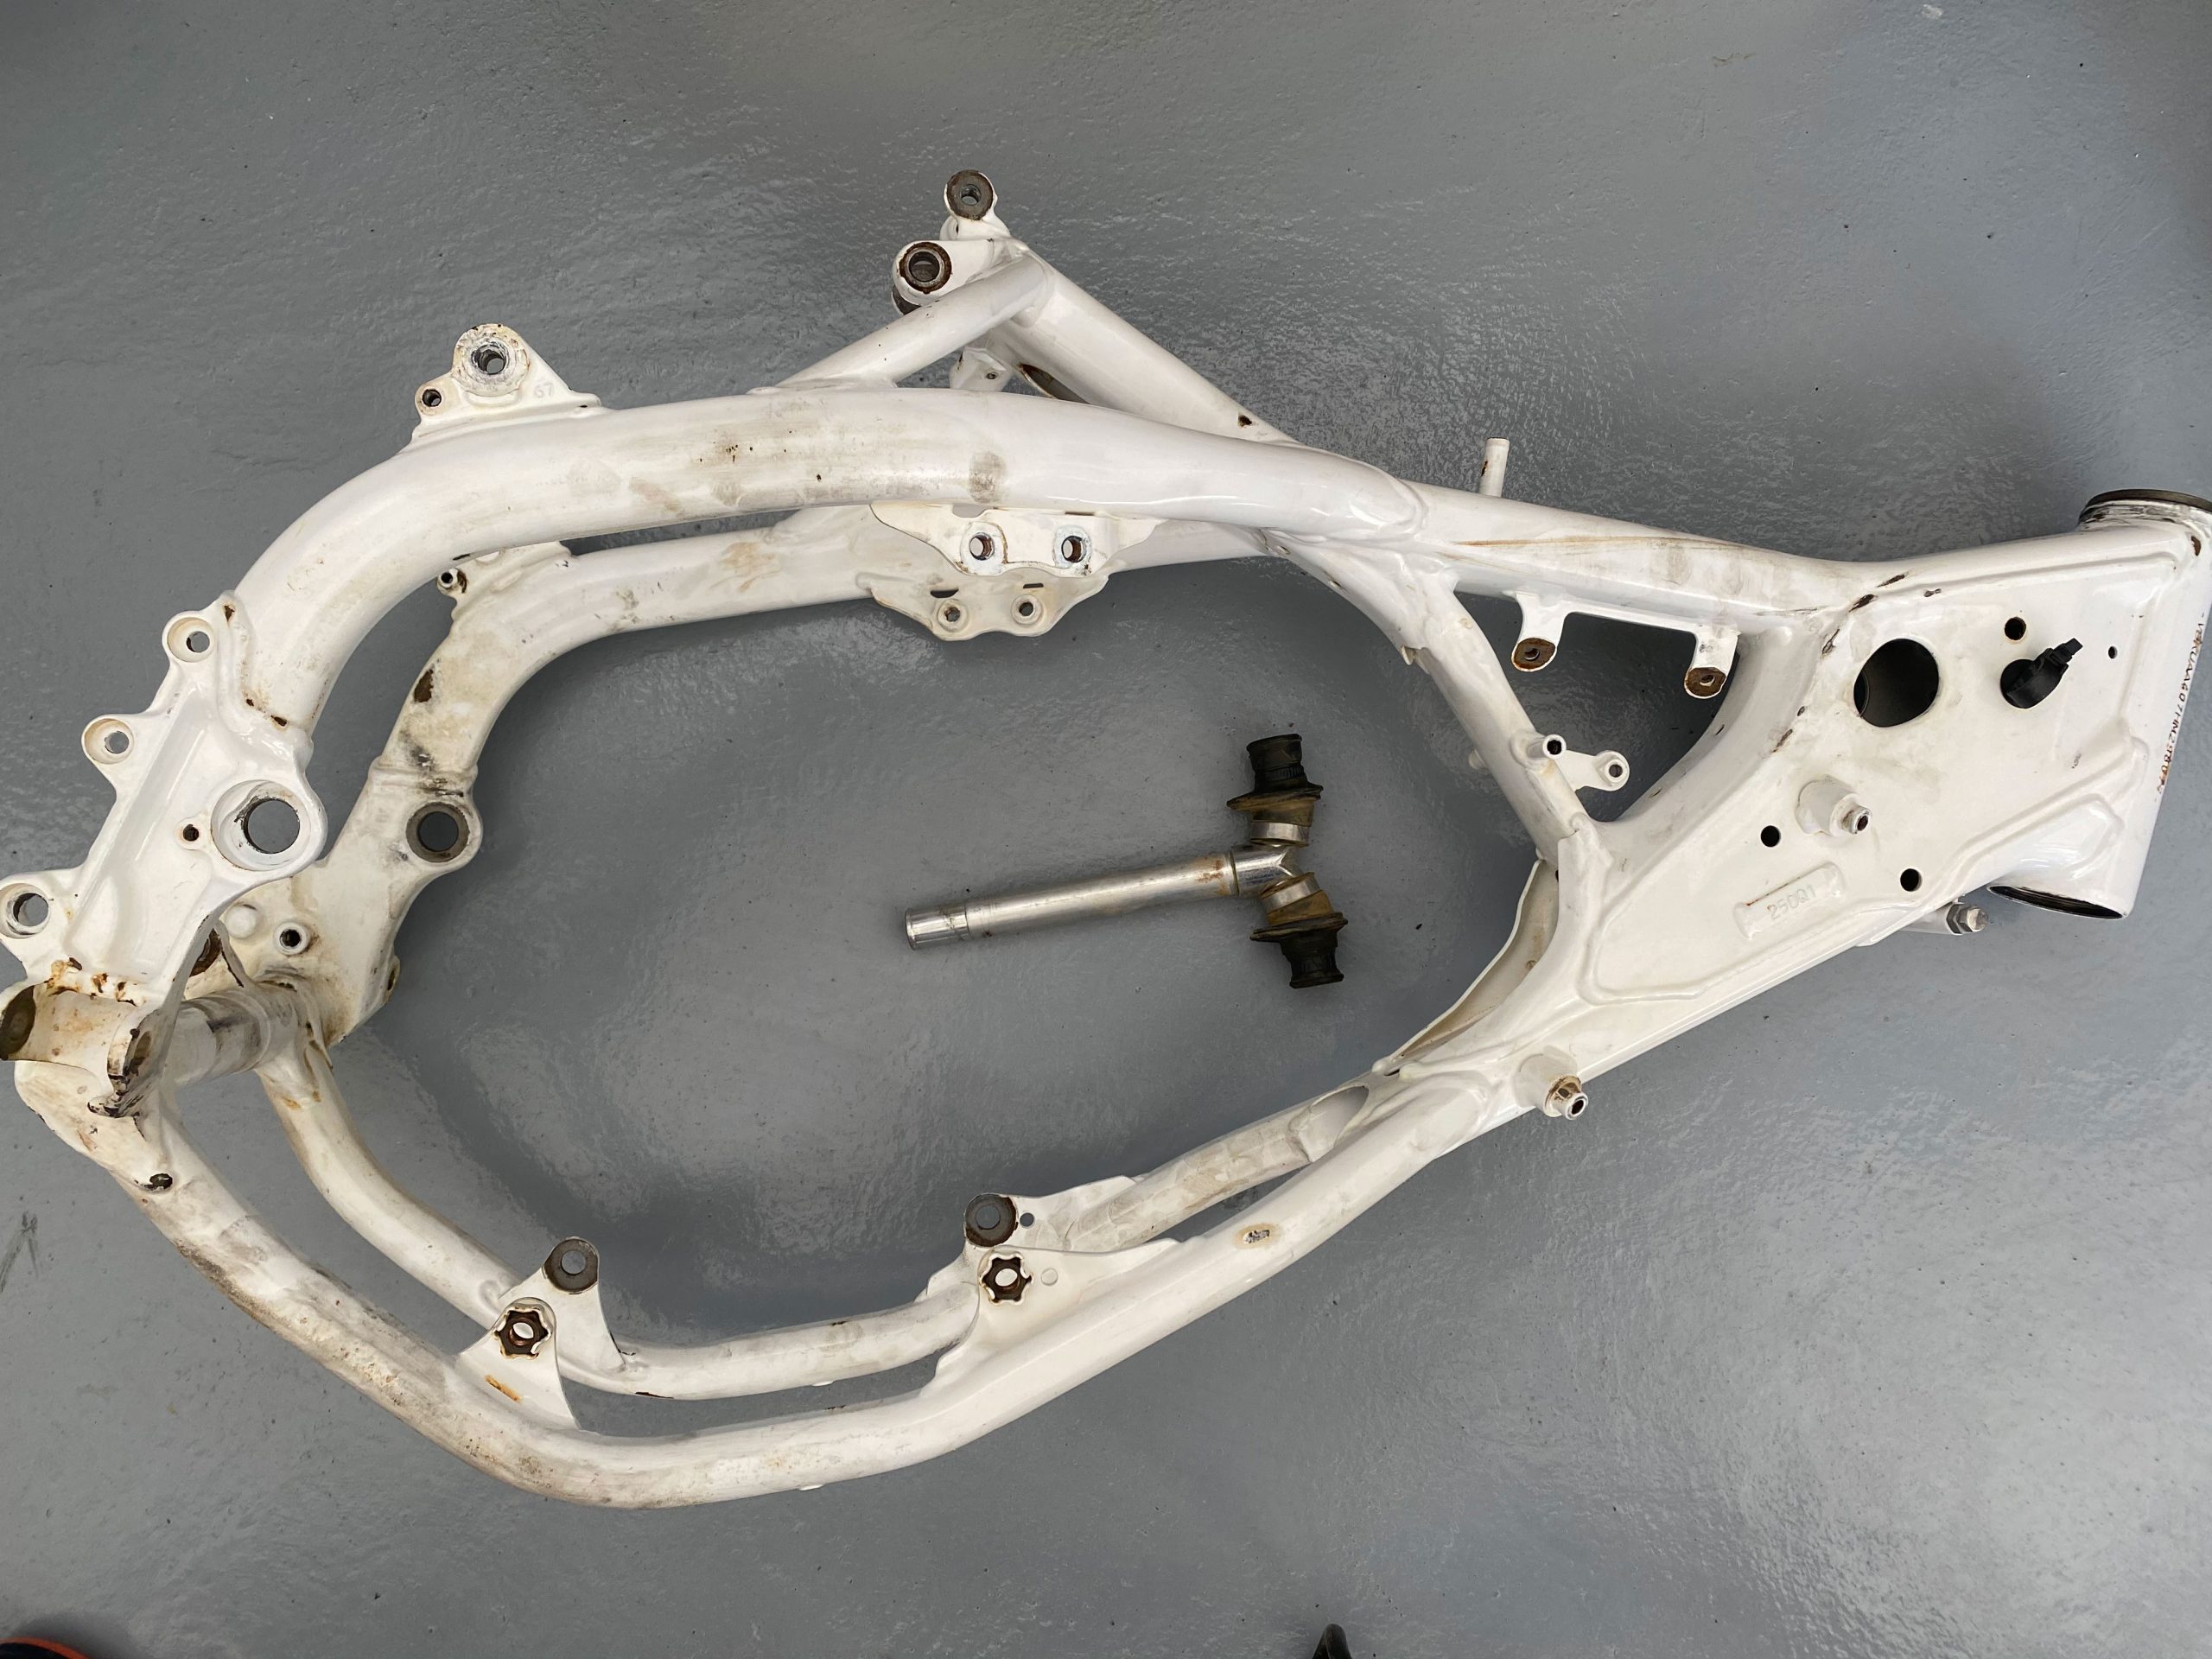
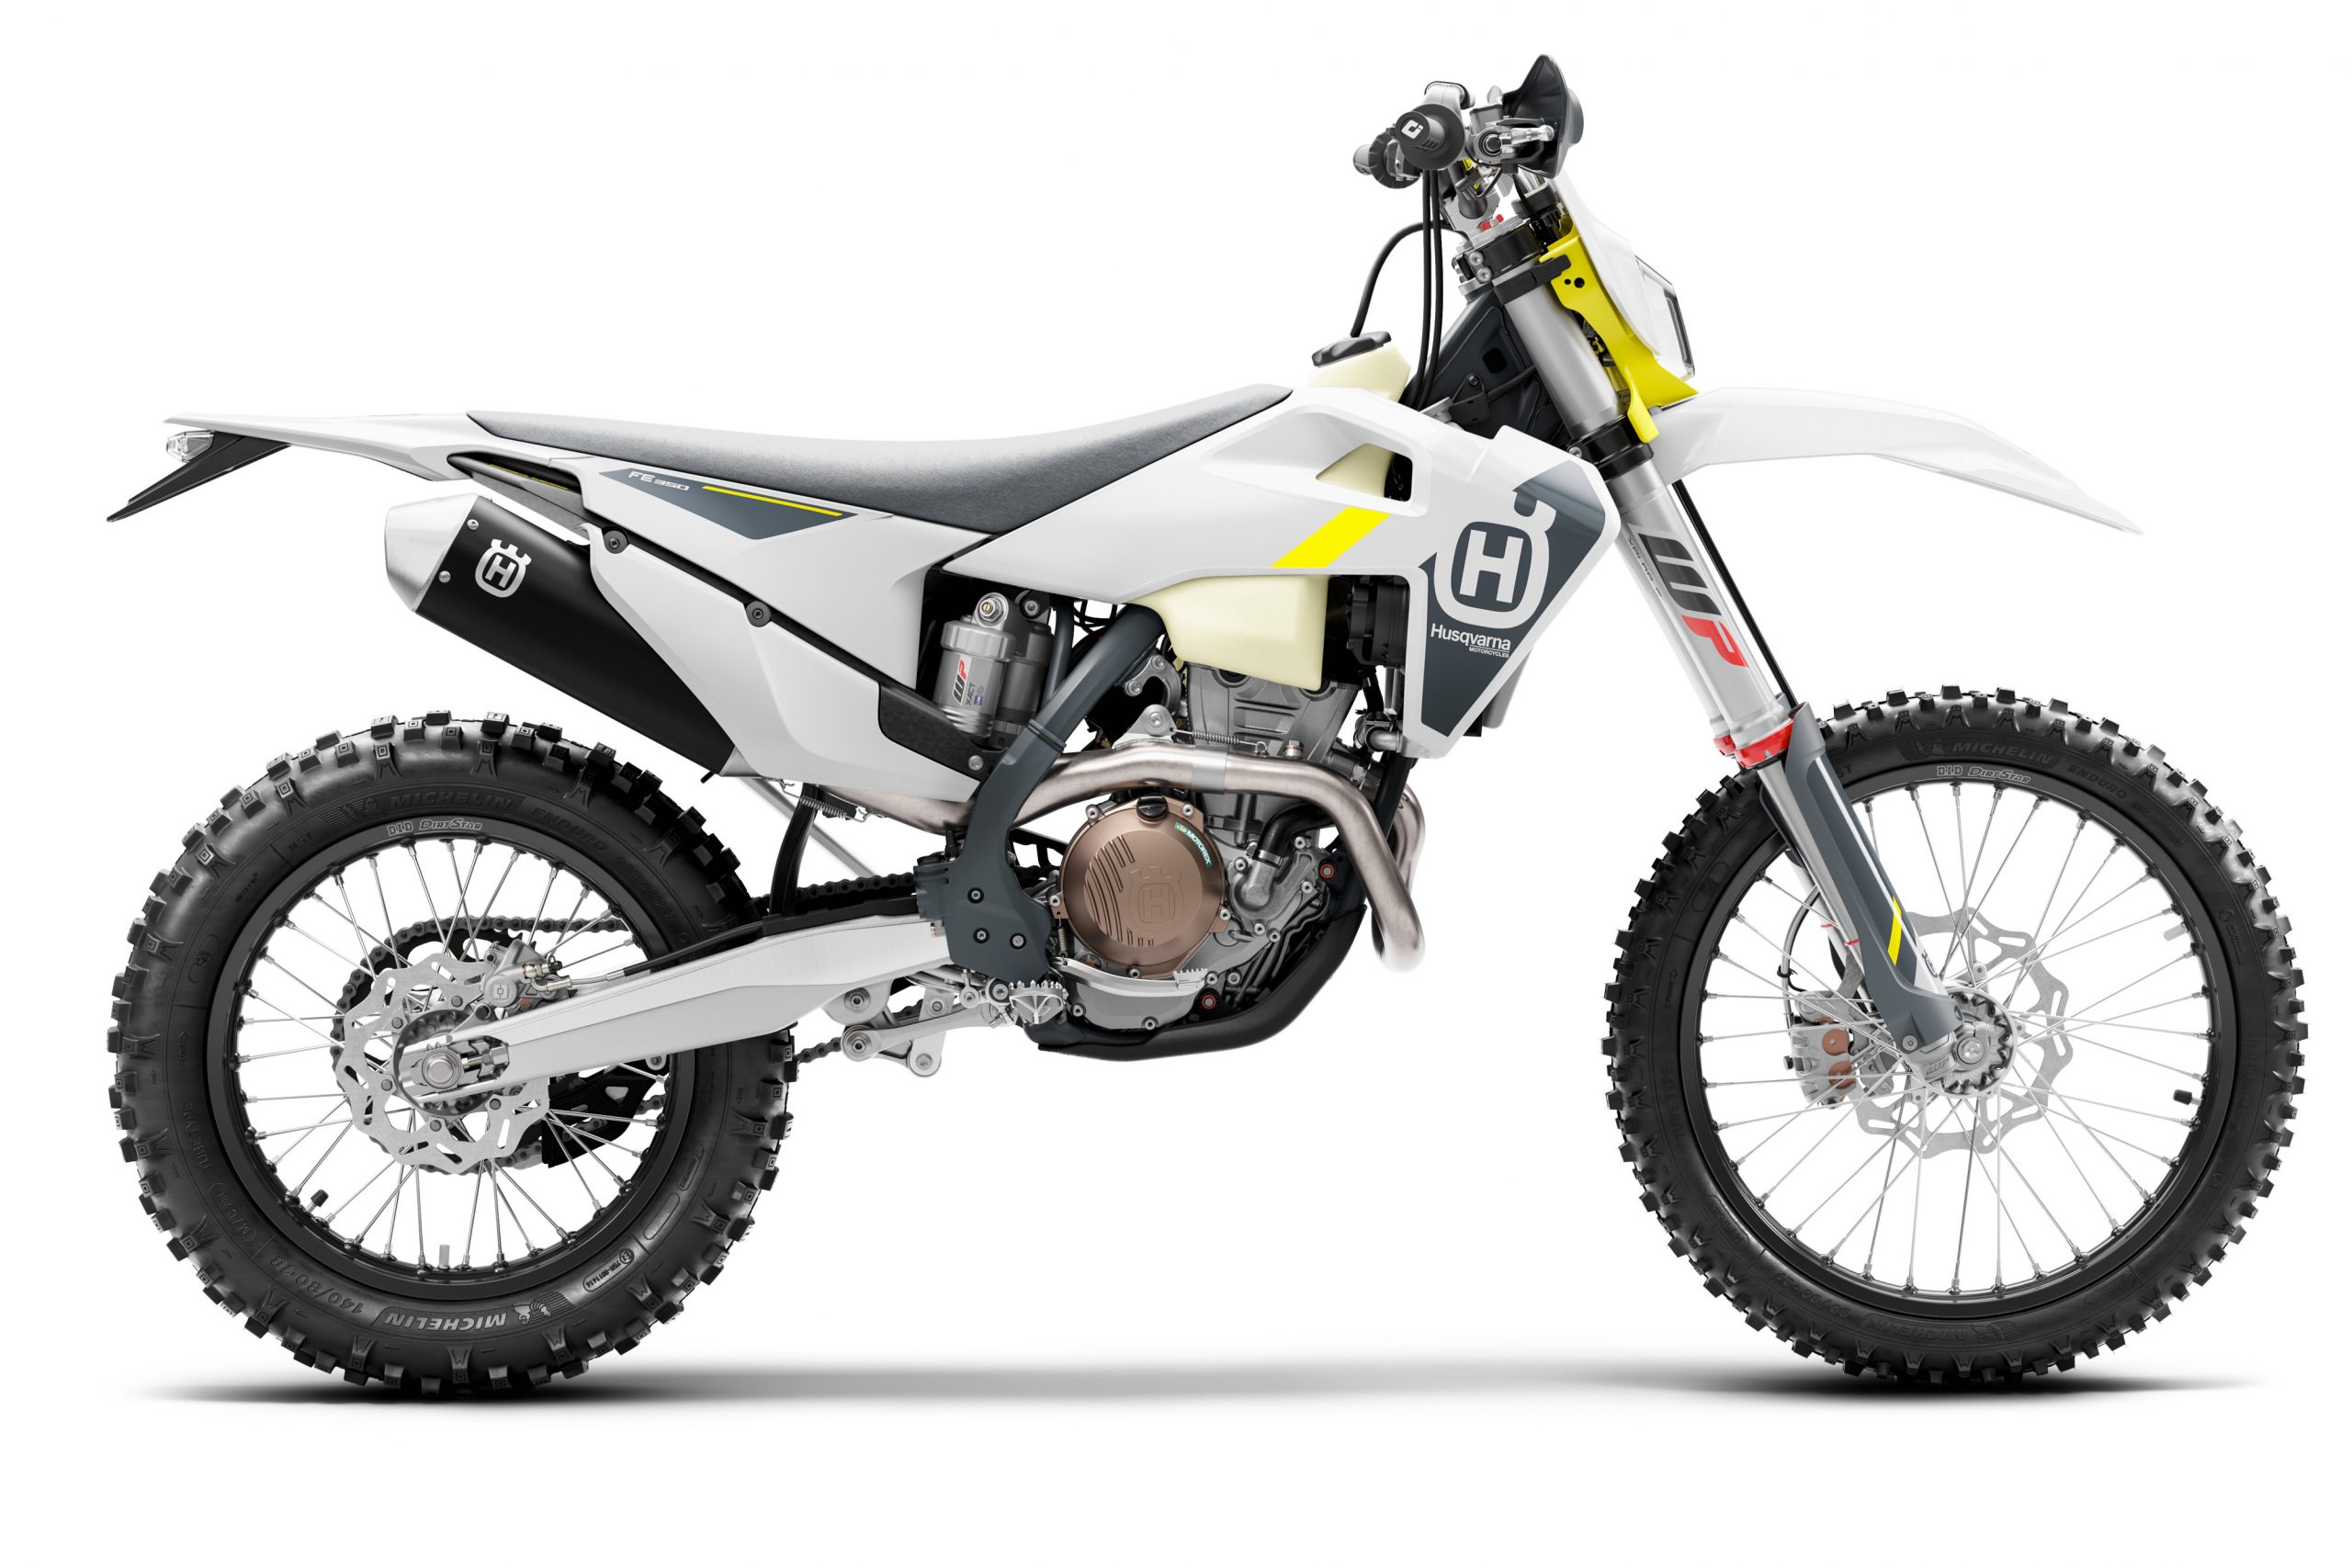
The easy things were the first order of work. I knew I wanted to powder coat the frame. The new 2021 Huskies had a dark blue frame (RAL 5003) so I decided to change the frame colour from white to a similar colour to the new bikes but in the end I opted for a darker grey blue RAL (5008) to match the ideas I had for the plastics and decal design.
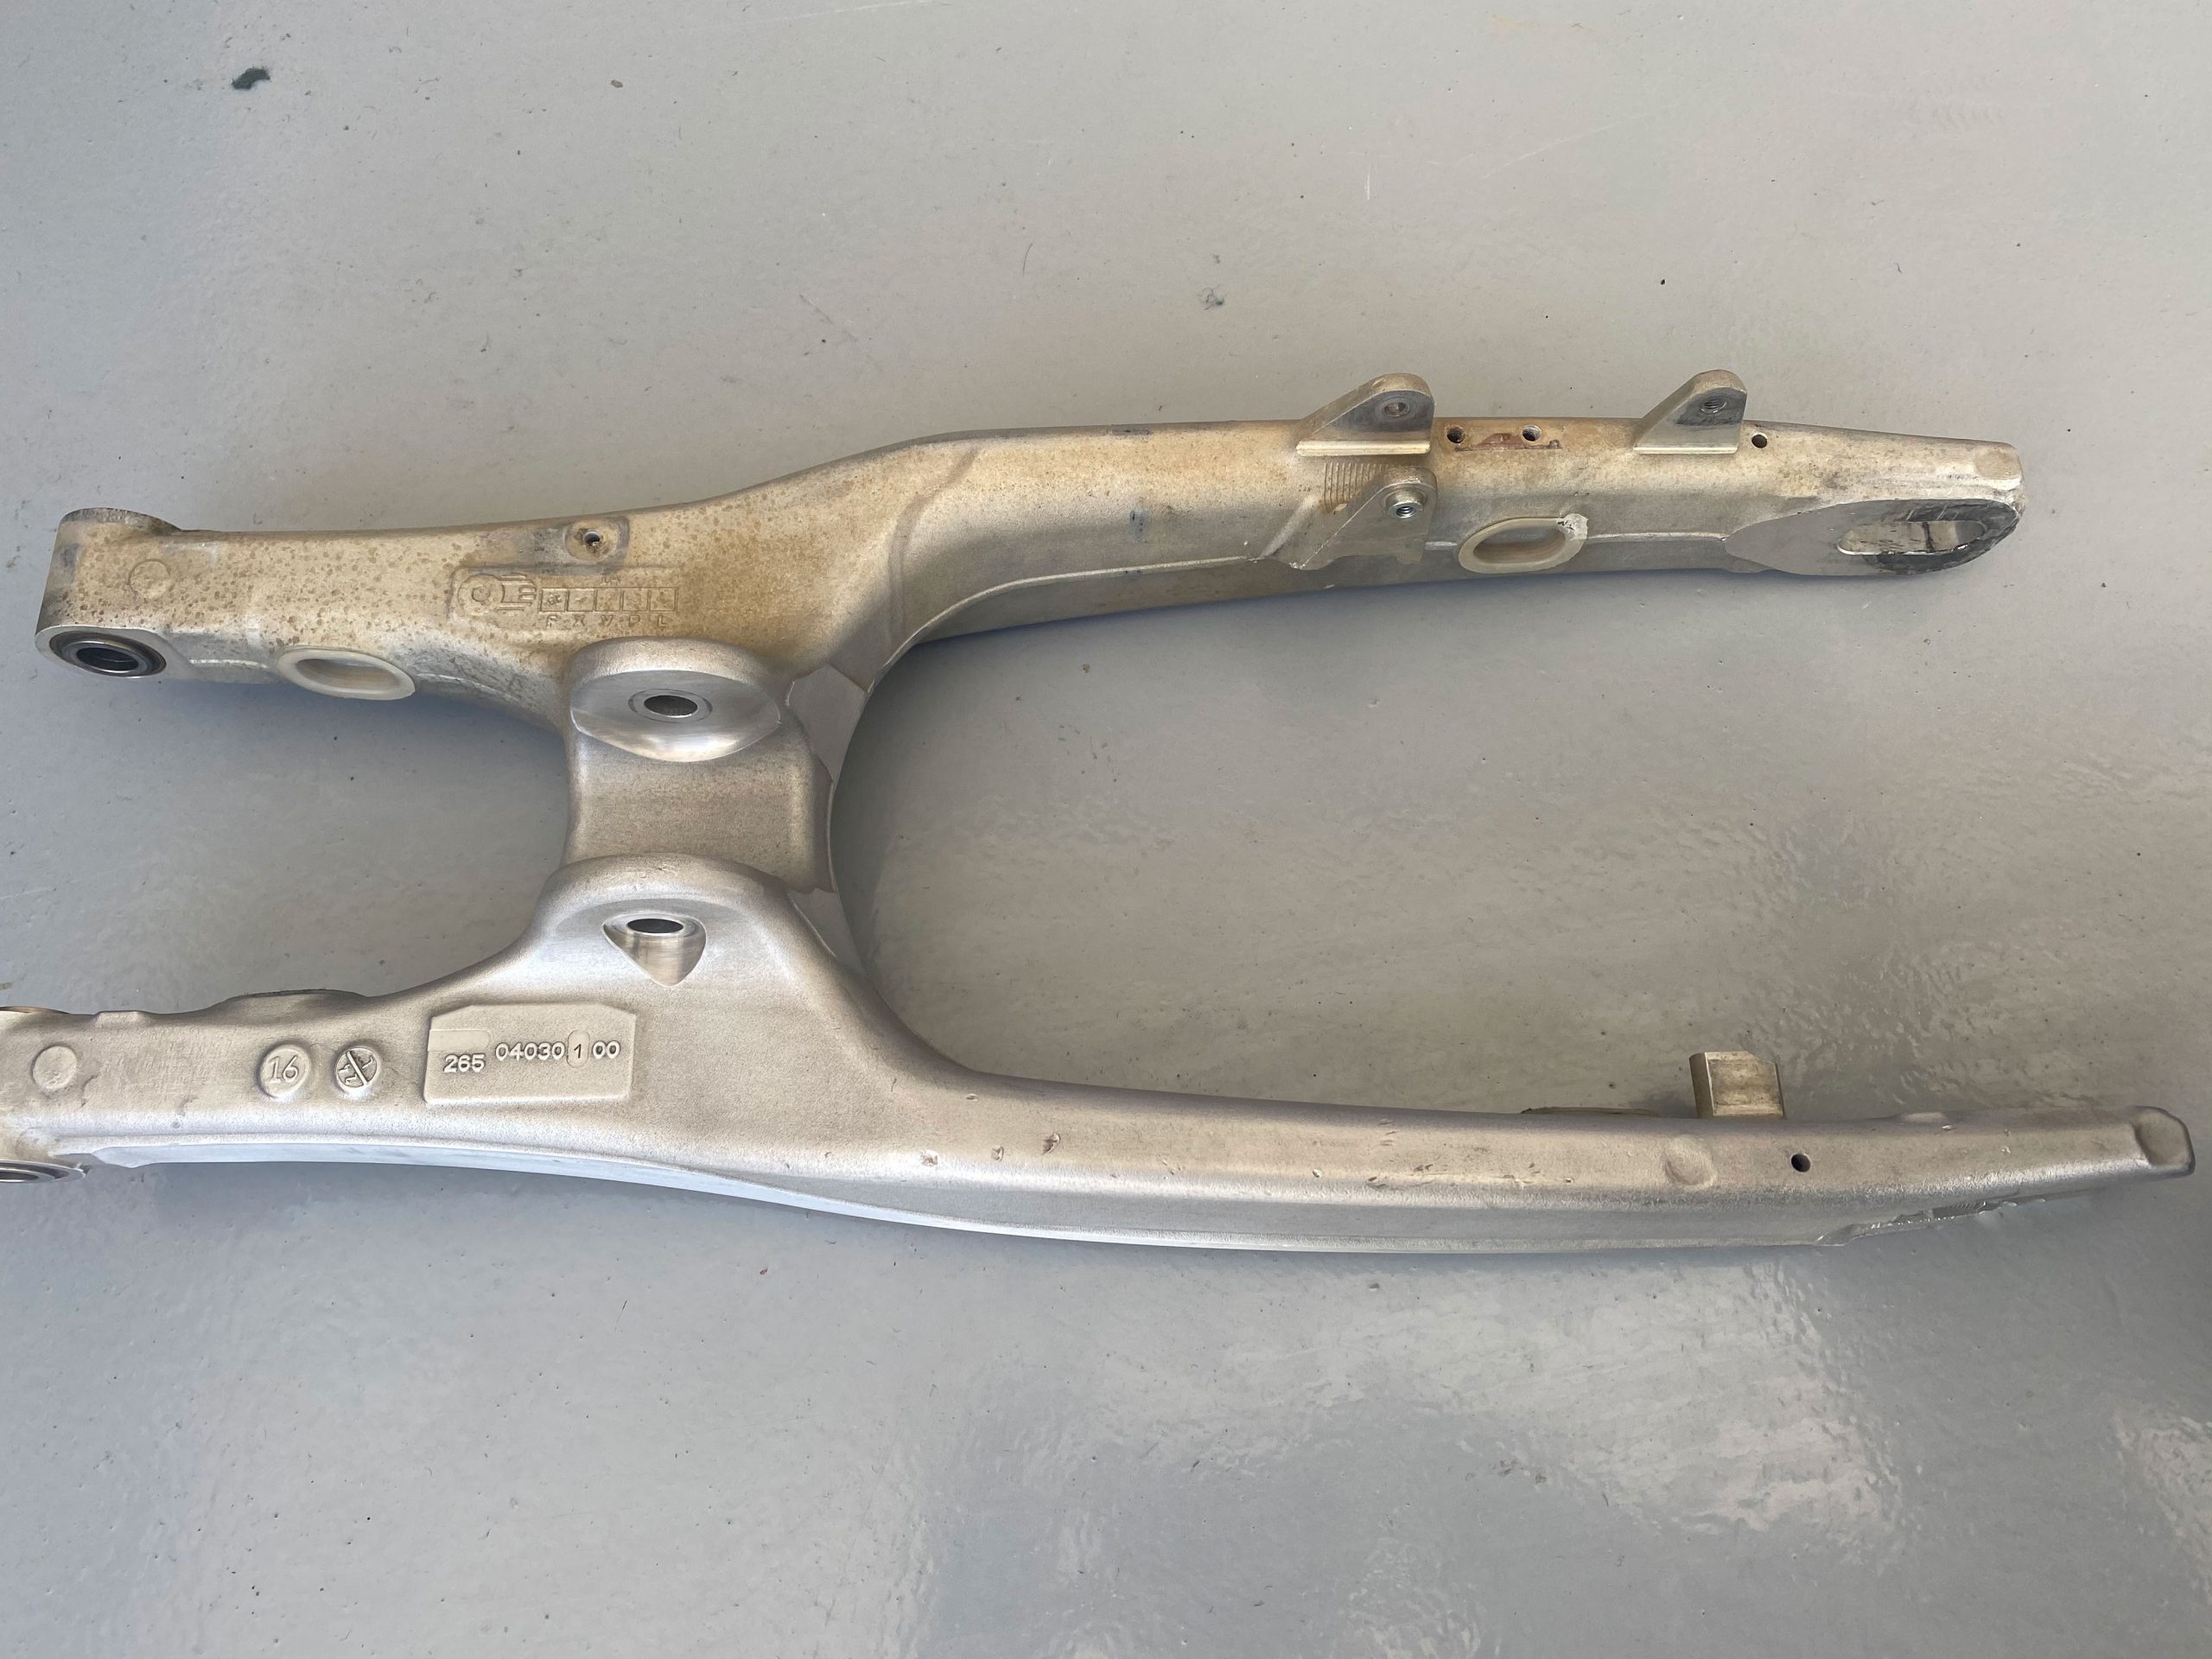
I inspected the swinging arm for any cracks or damage and finding nothing other than serious discolouration it was time to clean and prep it for painting which I’d decided to do myself using a unique product called Steel-it. https://steel-it.com/products/polyurethane-aerosol
I would do the same to the rear brake pedal and gear lever.
Cleaning the aluminium parts was a new thing for me so I started with using a bench grinder fitted with a brass wire wheel to remove the discolouration. And once that was done, I switched to using Scotchbrite and a Dremel tool with a brass wire cup. I did all the initial Scotchbrite work by hand rather than using the Dremel tool, then switched to using sponged sandpaper blocks starting with 40 grain with a light touch and then progressing to 80 grain and then eventually 120 grain before switching to the Dremel with 400 and 600 grain wheels. I repeated the process for the brake and gear shifters.
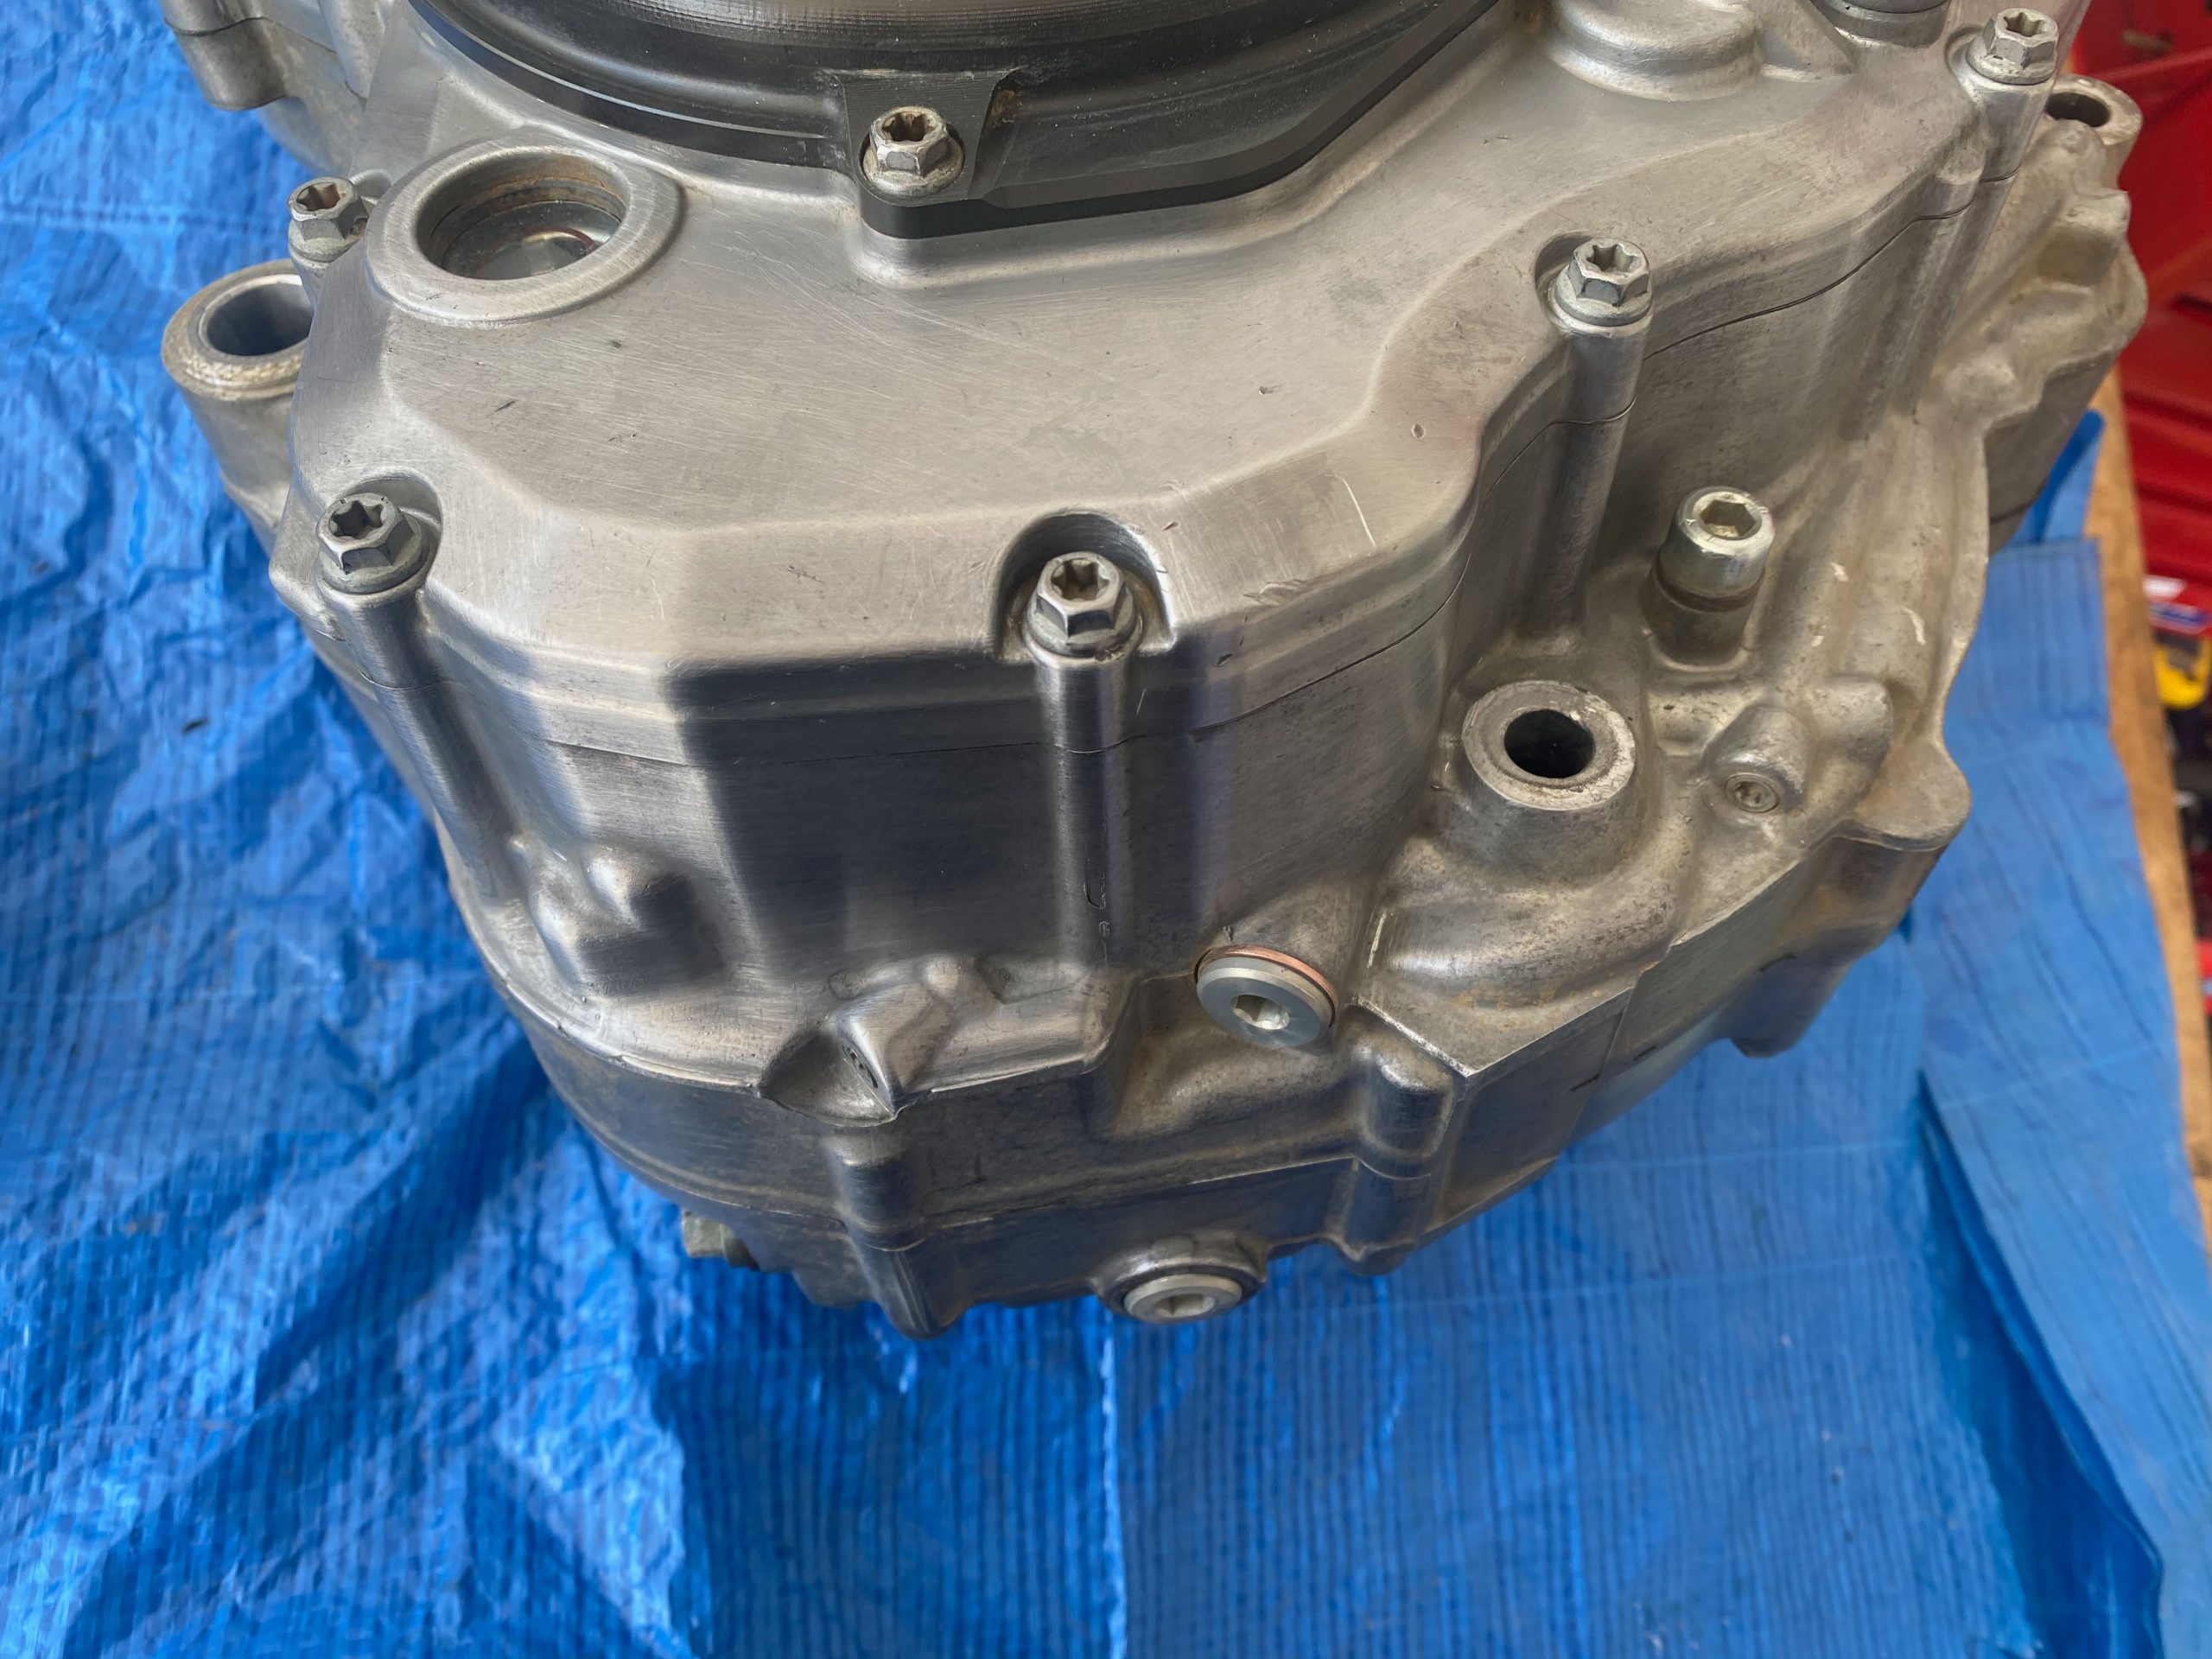
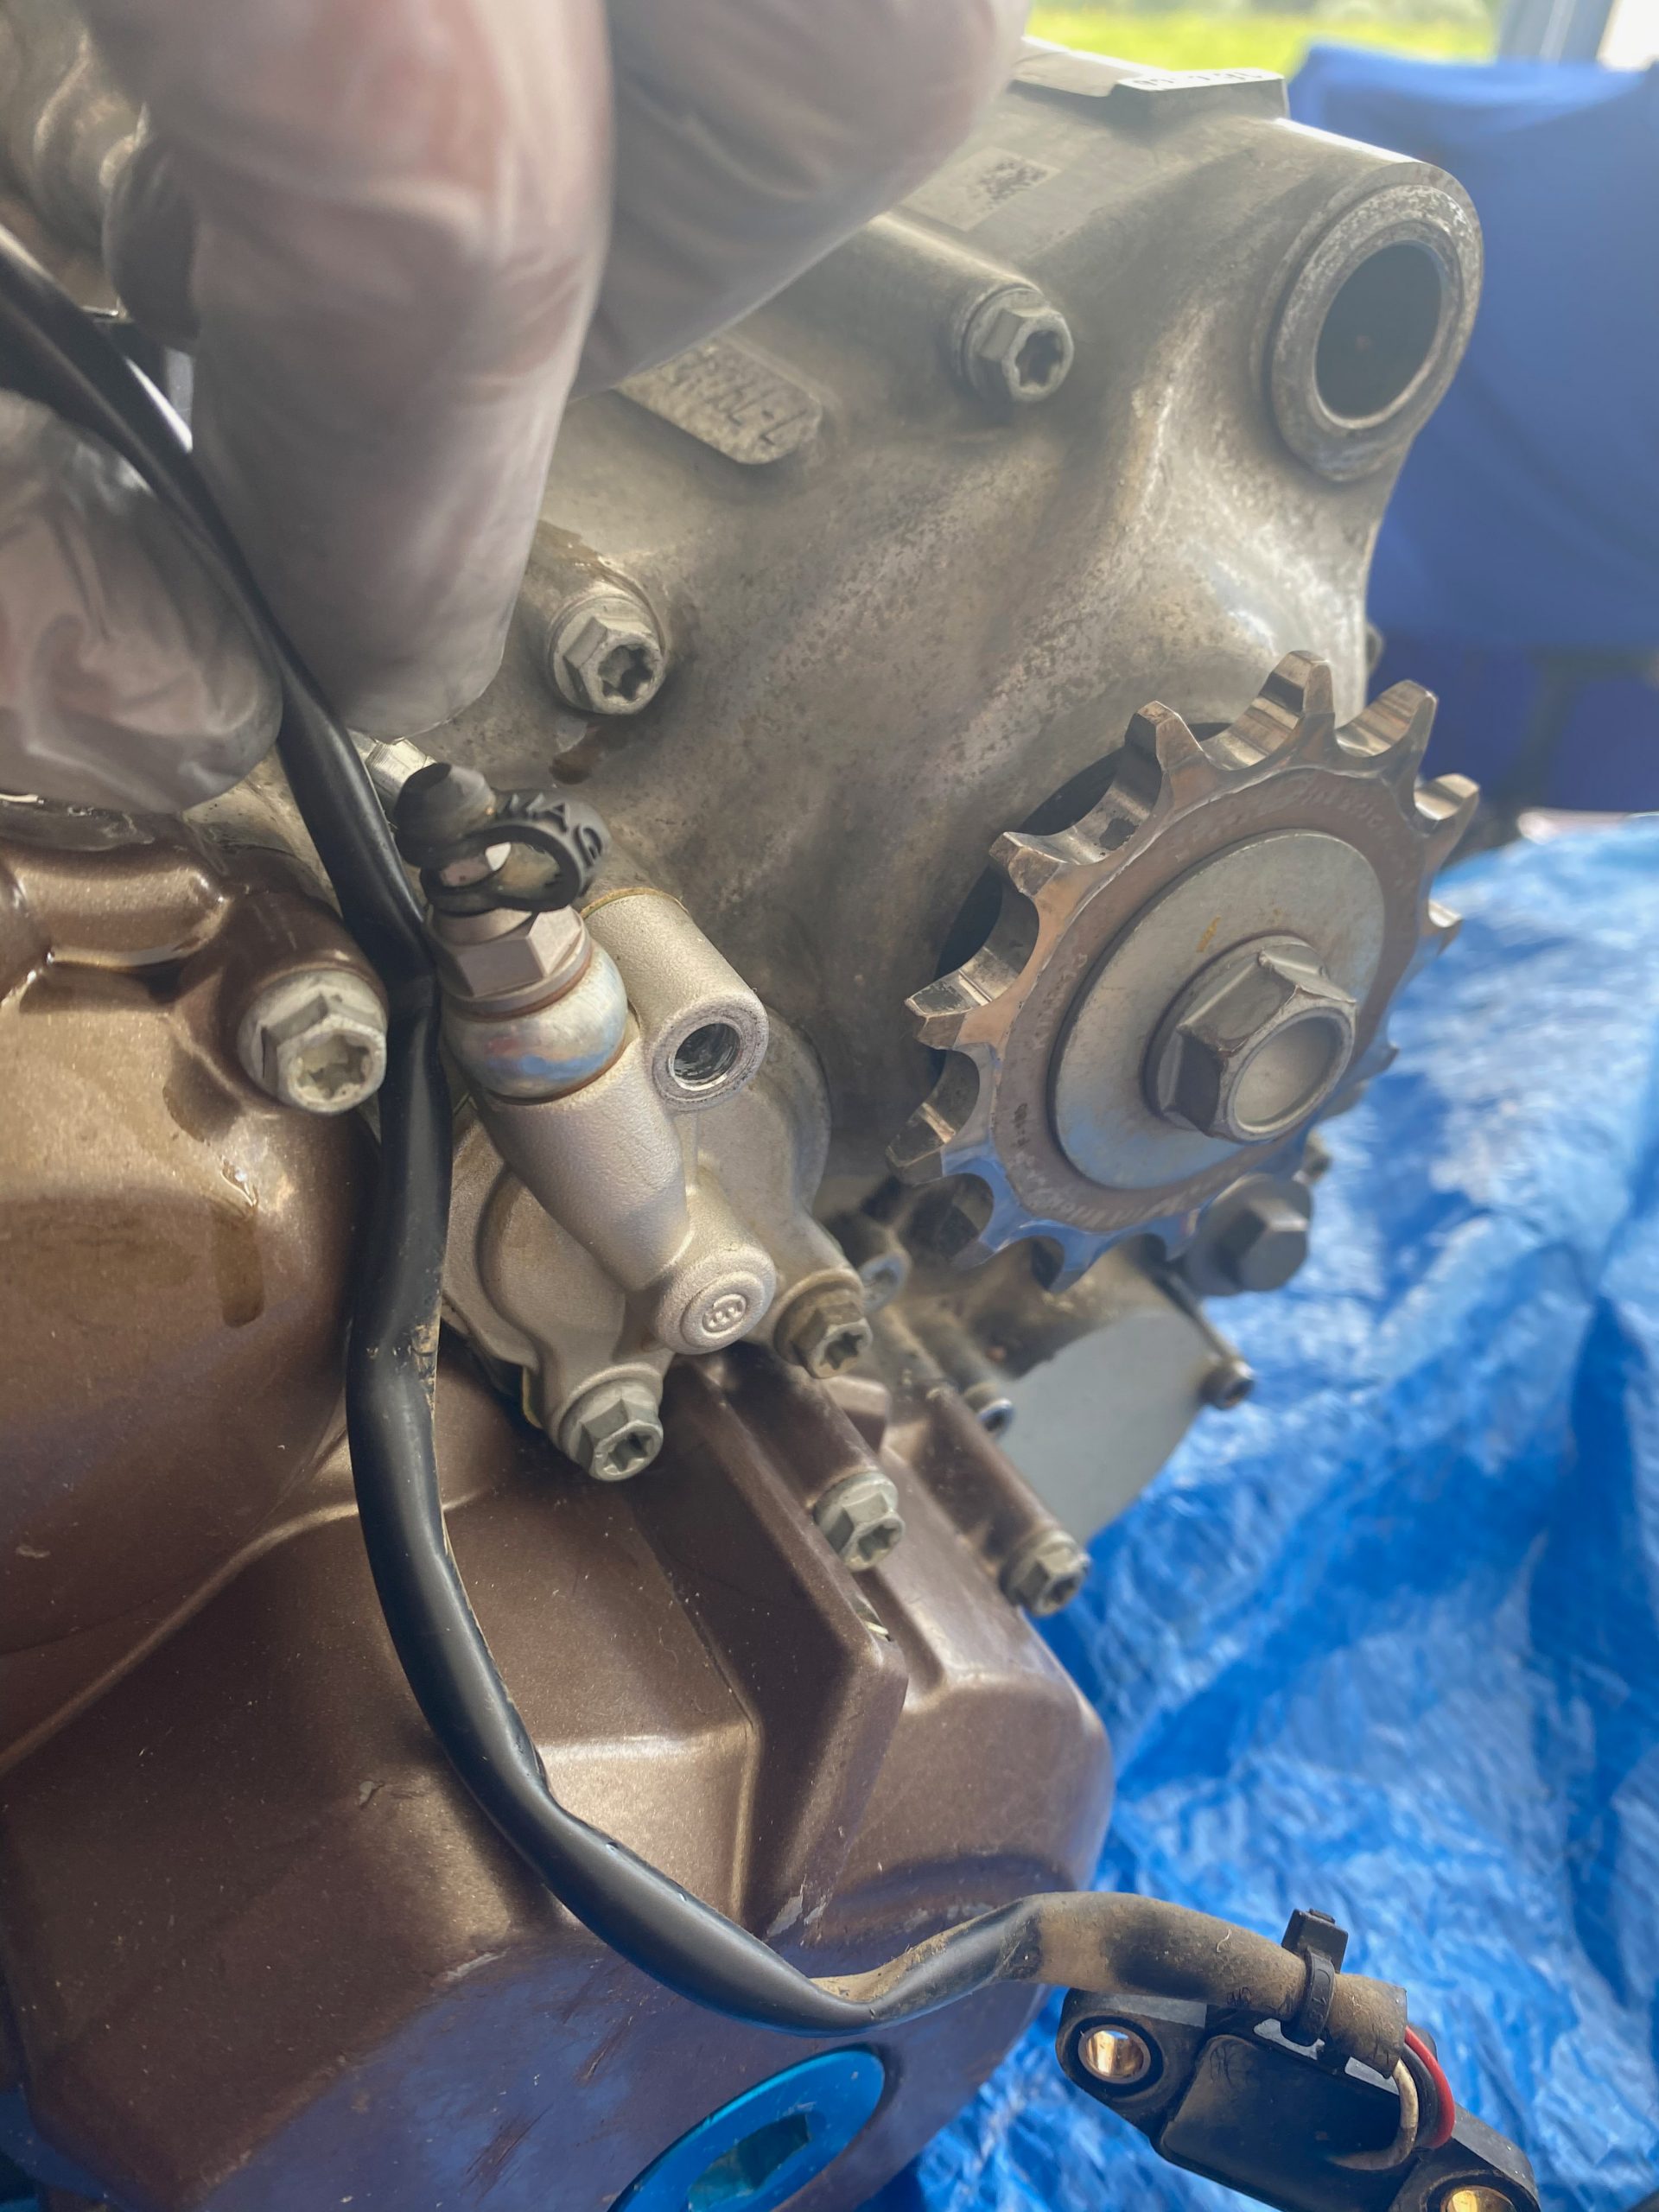
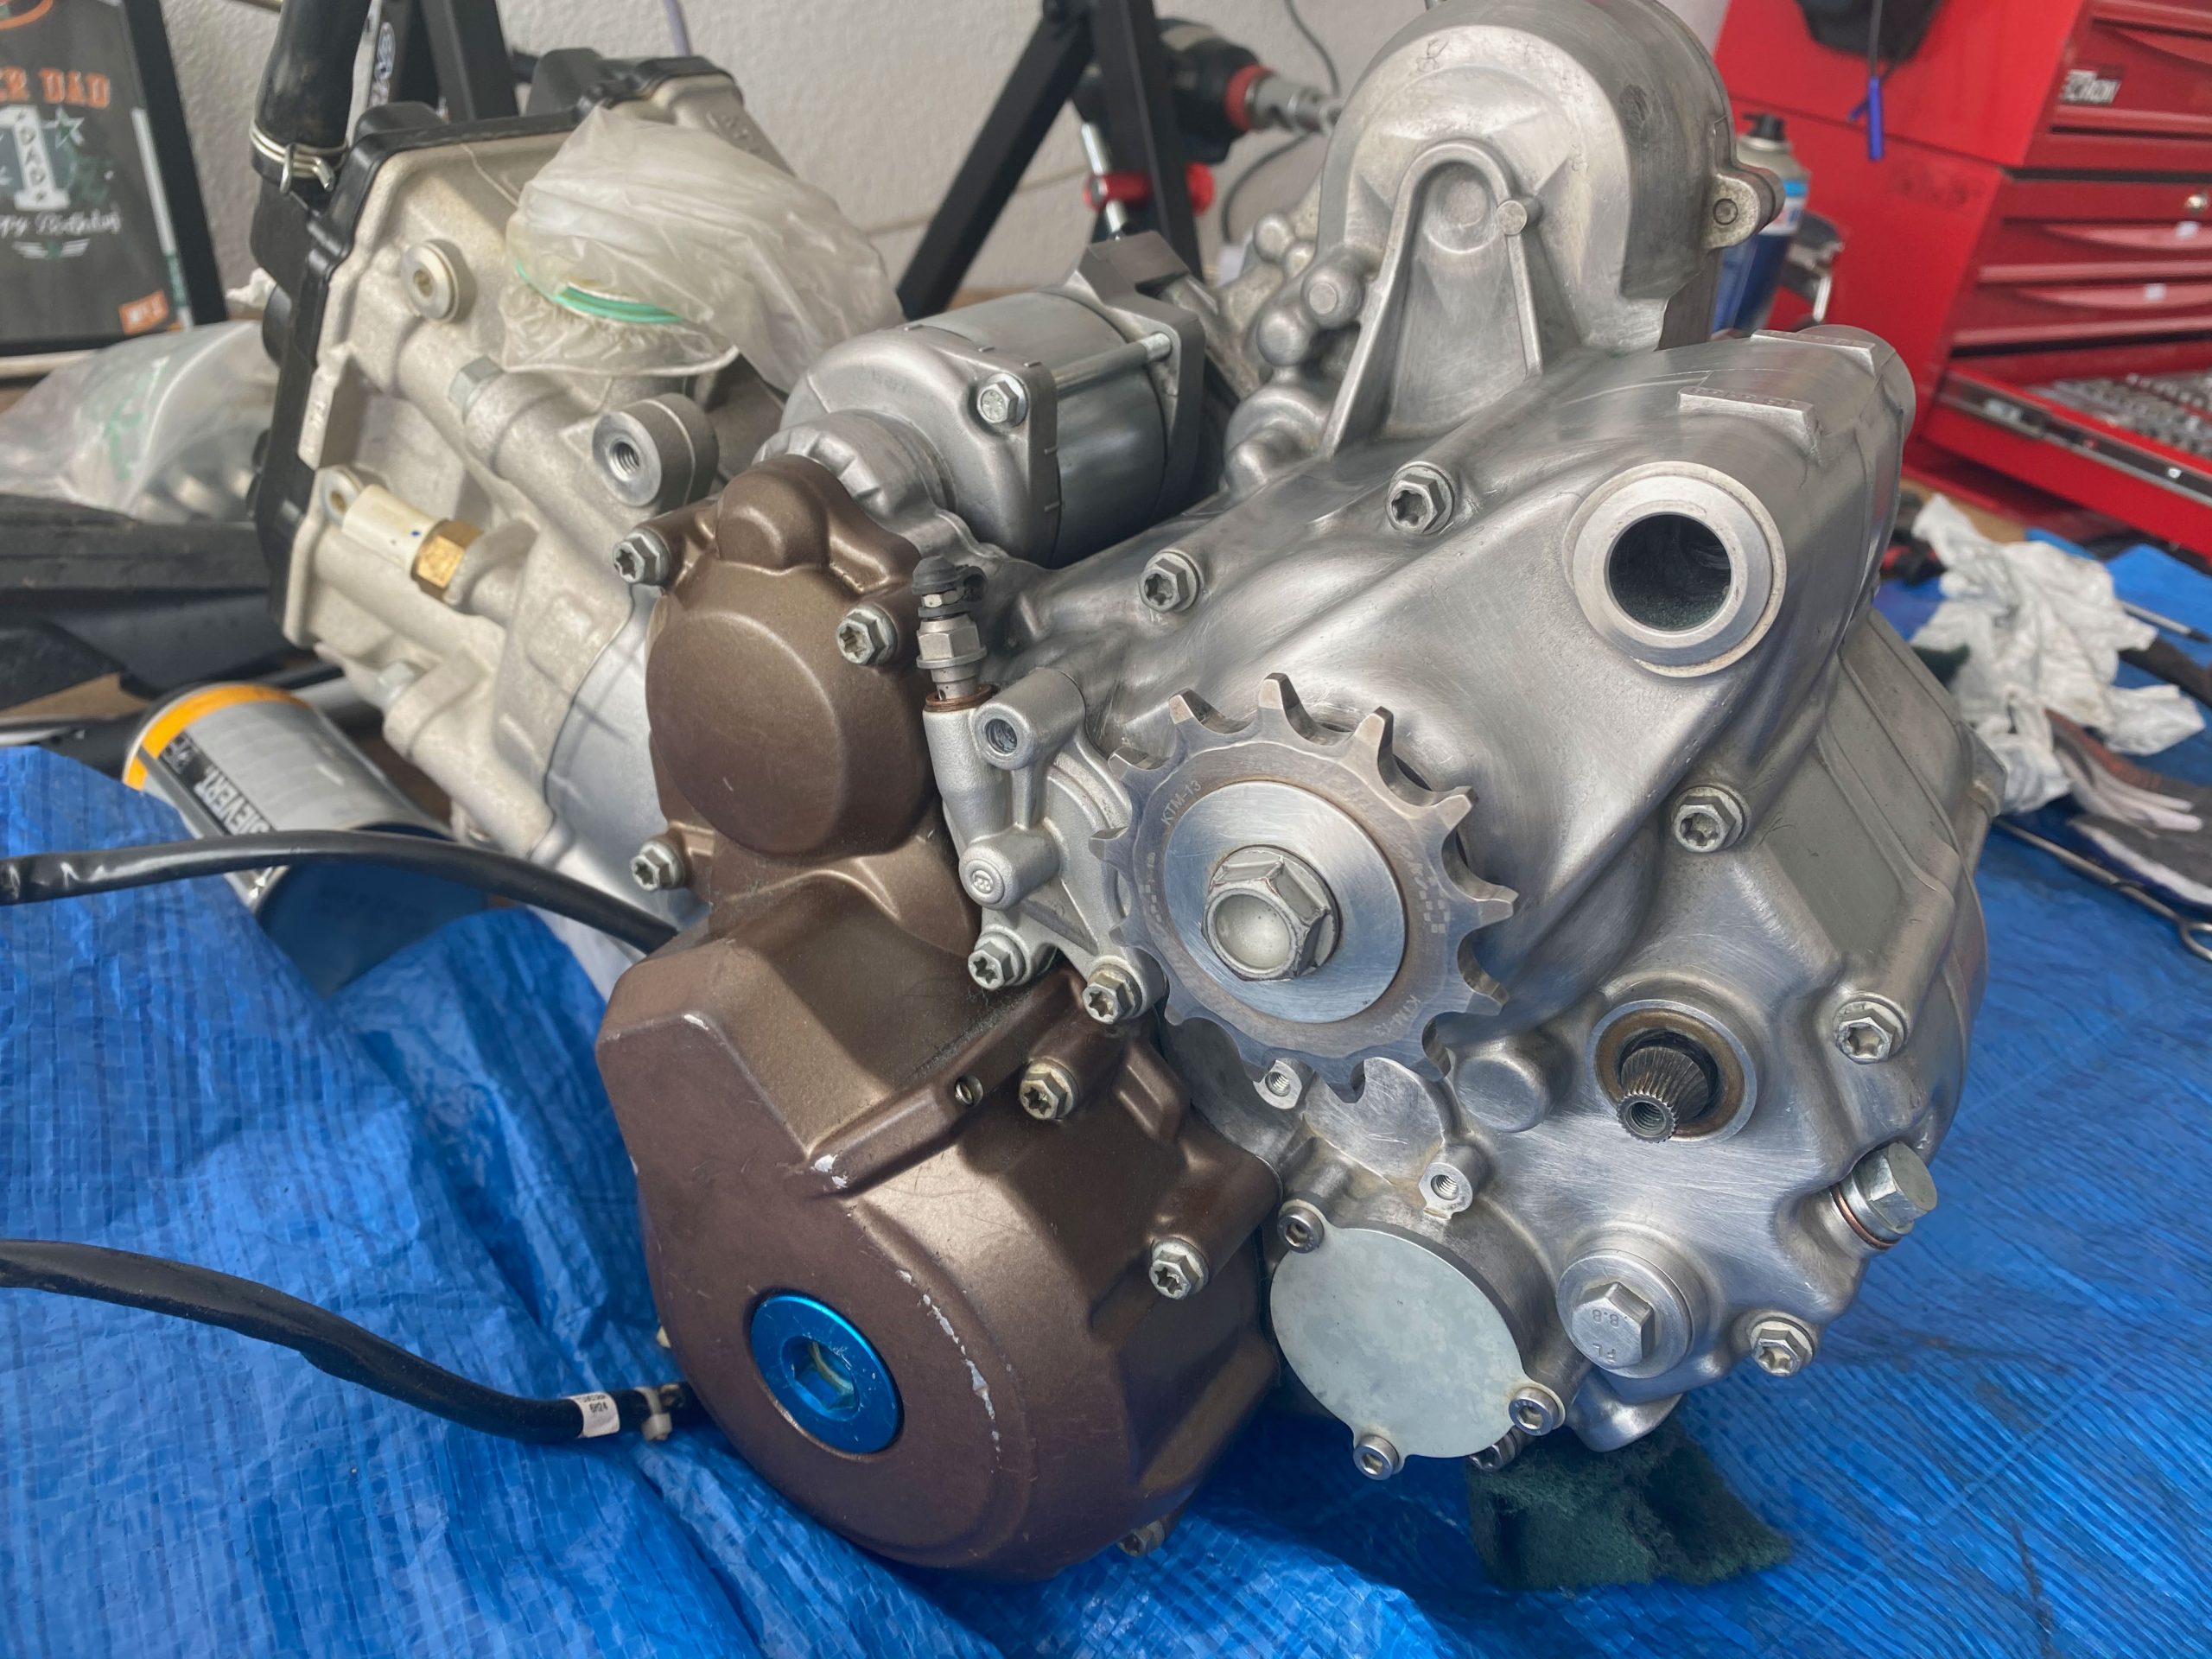
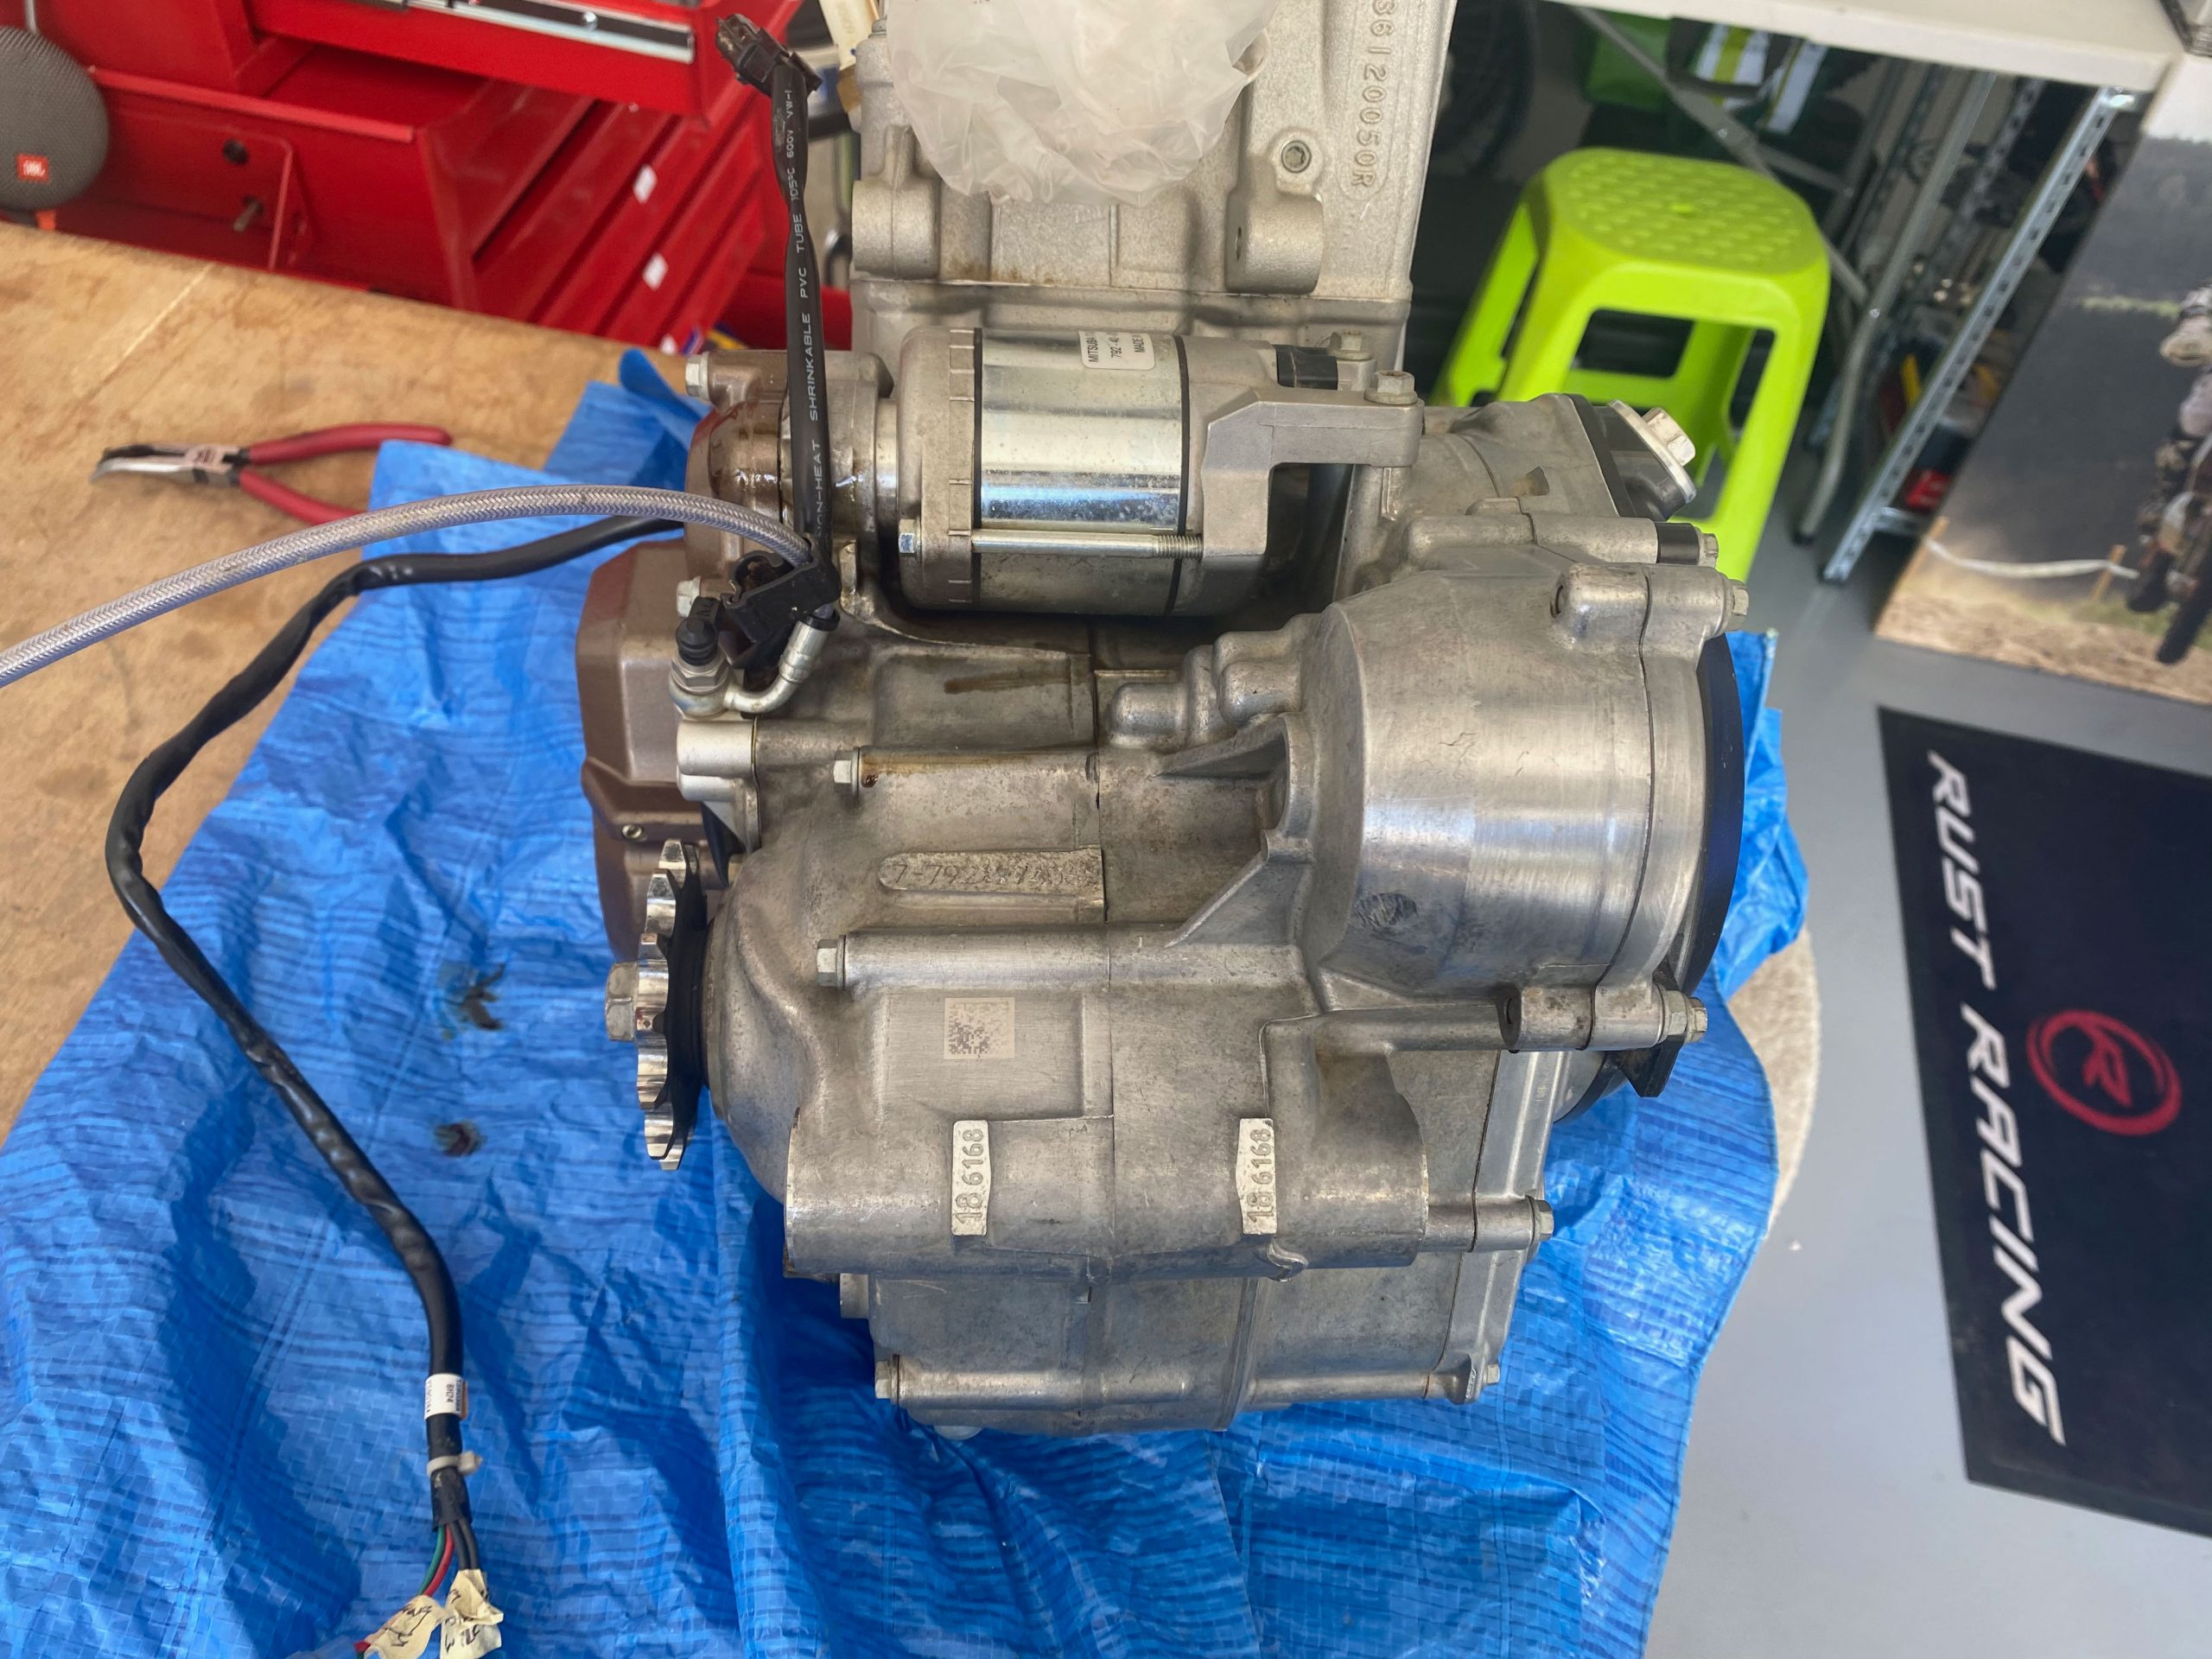
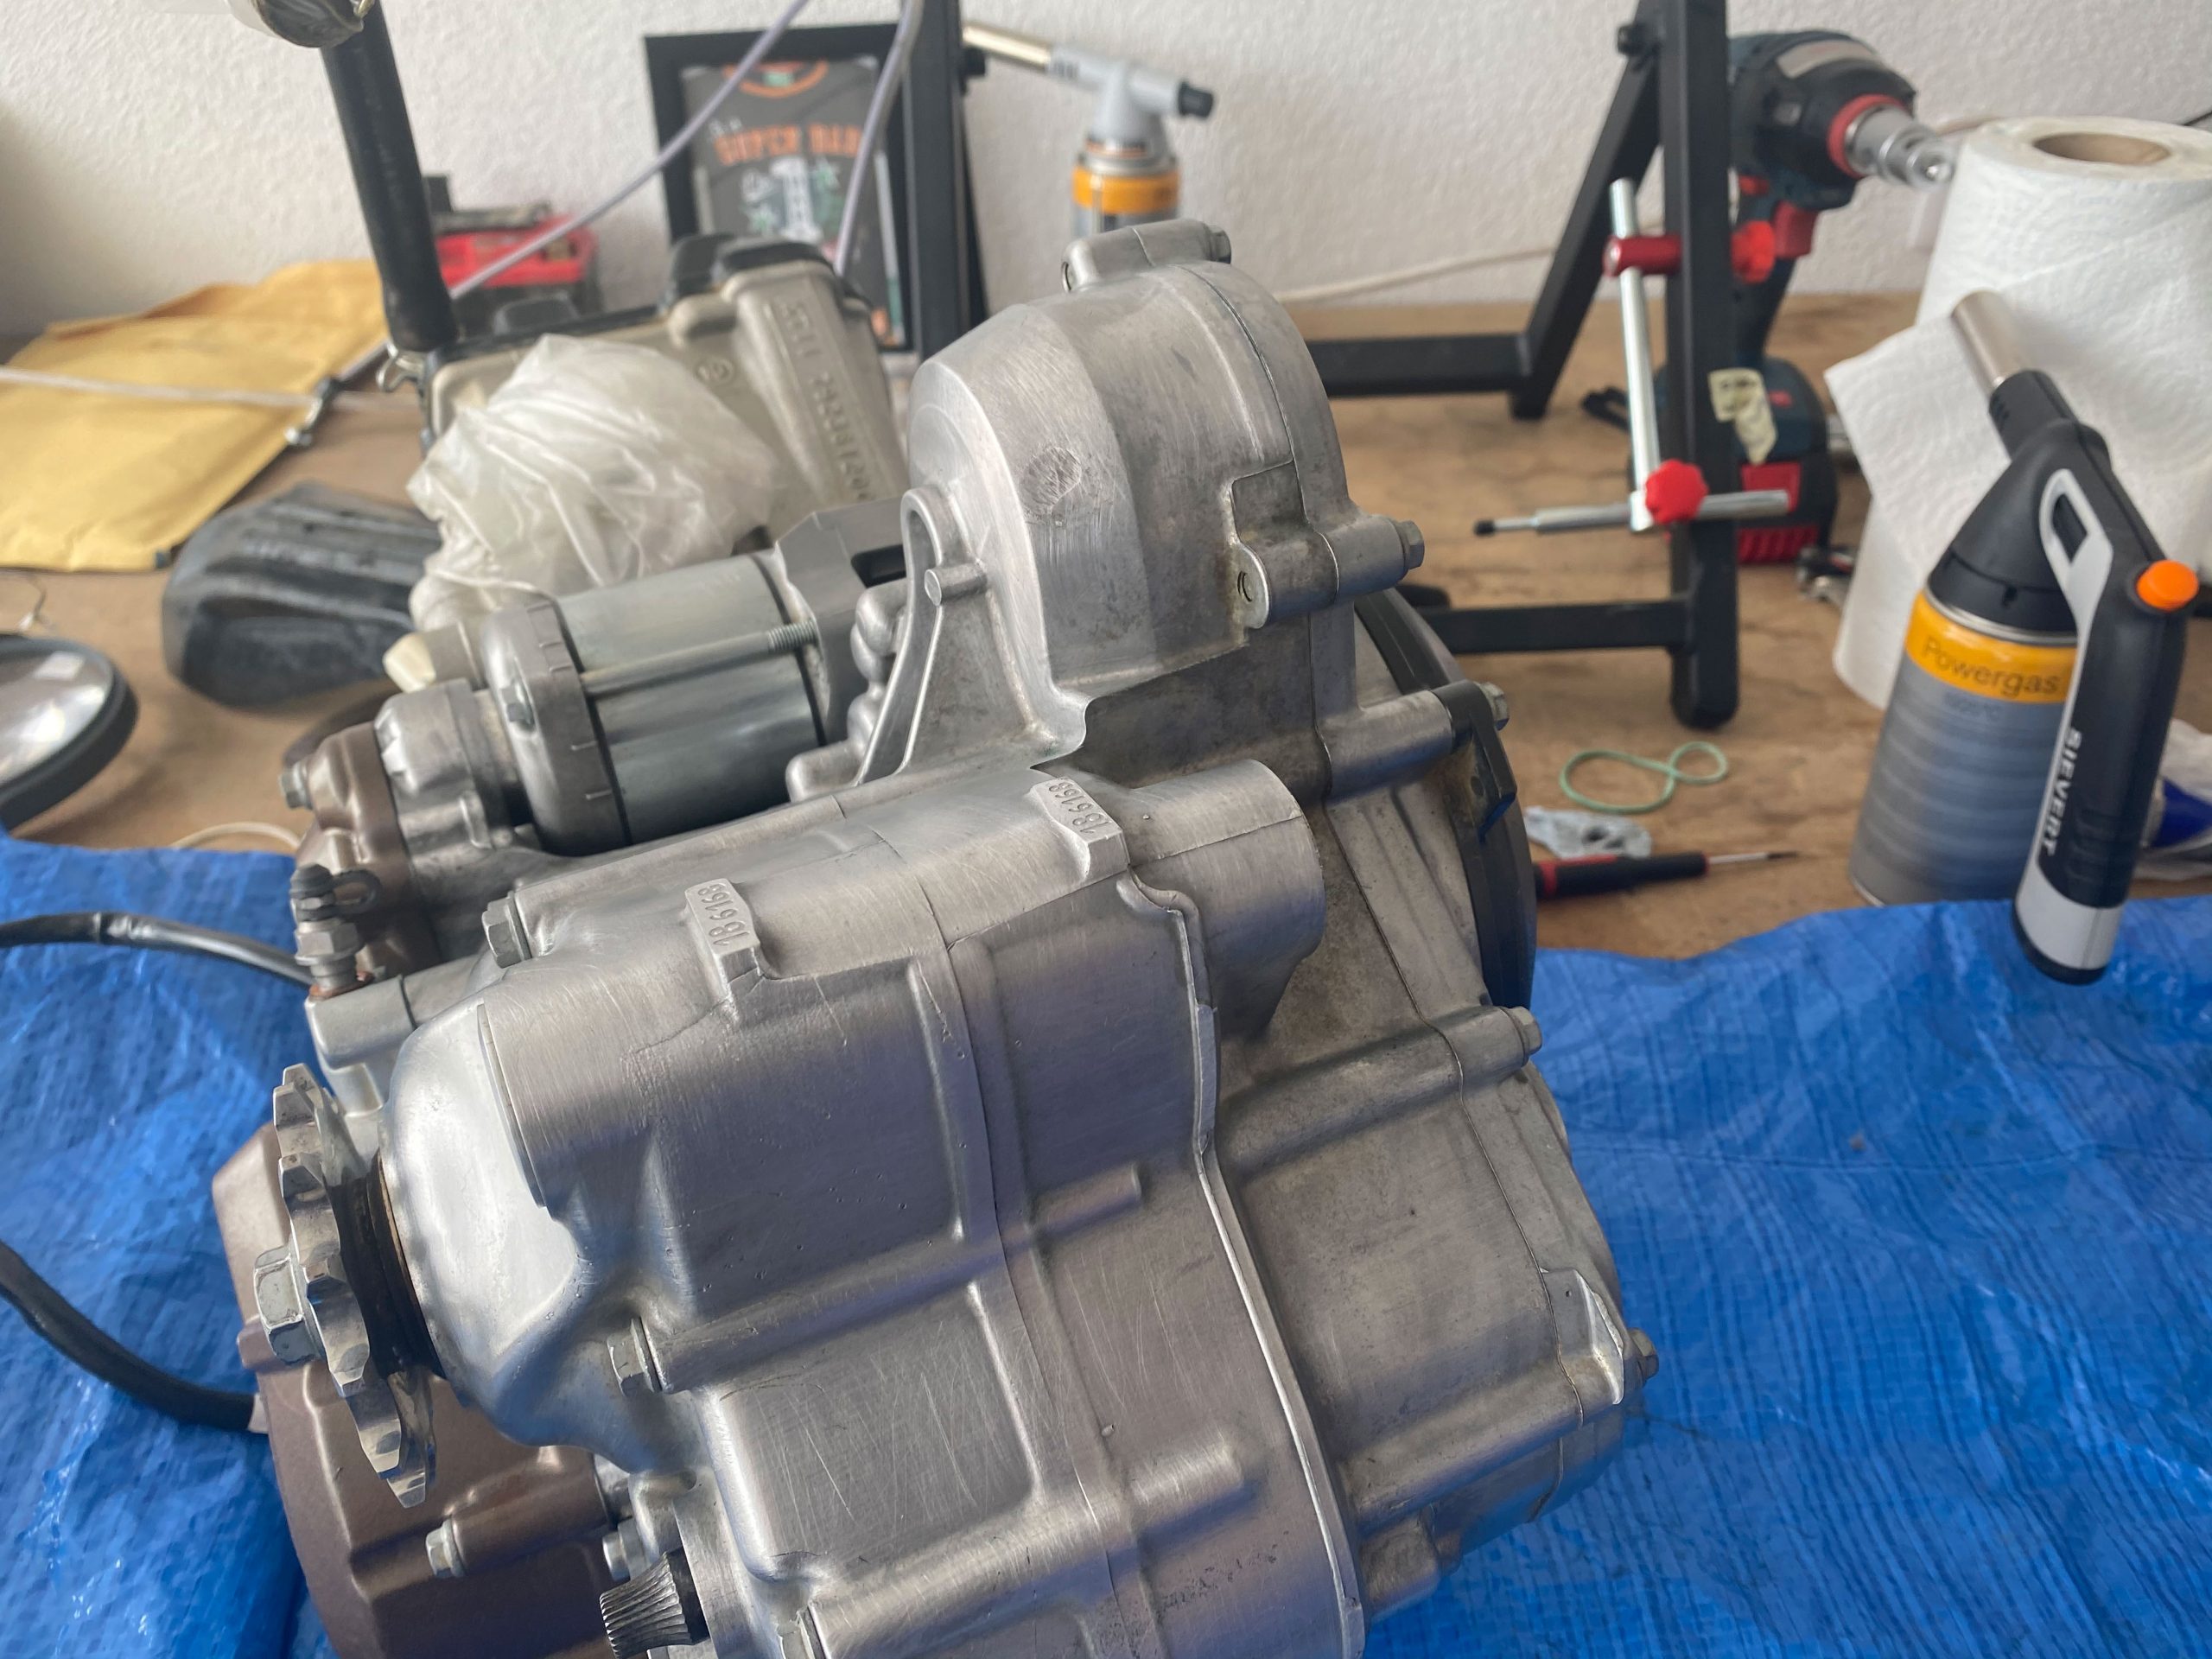
Next it was the engine casing’s turn for a good clean. This was all done by hand and using the Dremel miniature attachments. There are so many nooks and crannies on the motor that this took ages, and it would have been impossible without the Dremel.
I prepped the ignition cover for painting with Steel-it too and then set about cleaning all the bolts and nuts that I would reuse on the bike with a wire brush wheel followed by a run through the parts washer and finally dipping them all in some copper-based assembly paste before wiping them down and setting them to one side for future use.
Amazing the ingrained dirt on the swingarm – Scotchbrite cleaned it up nicely
Scotchbrite cleaned up the engine cases too
A before shot – see the surface dirt and corrosion
And after...
Again – before...
...and after
The frame – dirty and discoloured
And the chosen refresh colour was to be RAL 5003 (middle) but instead Warren went RAL 5008 – which we'll reveal later!
FIVE TIPS FOR STRIPPING A BIKE
My five tips for cleaning and stripping a bike are:
Pressure wash the bike thoroughly before you start the strip – remove the plastics, tank and seat before the wash to make sure you get a good clean. This ensures you’re not left with dirt where it’s not welcome. It’s a good habit to make sure your working area is always clean and your stripped parts are too.
Make sure you know what you are going to need to accomplish the job. Purchase the Dremel tool, Scotchbrite and sandpaper before you begin the strip. There is nothing more annoying than starting a job only to find you have to stop halfway through because you don’t have the right tools. I learnt this lesson the hard way.
Plan, plan, plan. It’s too easy to just launch into it and strip the bike down to nothing – only to never be able to build it back to what it was before – ask the many abandoned jobs lying in garages the world over. Even with a plan and what I thought was a good approach I caused myself issues I could have avoided if I’d been more precise in my approach. Before you begin, purchase your bike’s complete workshop / service manual. I bought mine on eBay for £5, which was delivered electronically, and I kept this to hand on my iPad in the workshop.
So how do you plan properly? Well, the first thing is to make sure you photo catalogue the project and file it correctly. Secondly, take videos of the strip and make verbal notes on camera, especially when doing the tricky bits that you are unsure of. The next thing is to buy a few plastic boxes and a good simple labelling machine. (I use the Demo LabelManager 160) and lastly make space for the disassembled parts where you can either lay them out in an orderly fashion or put them in a tub, so you know where they are.
Make a list of replacement parts you are going to need as you go through the strip. I use a spreadsheet and follow a linear process in order of the strip. Be precise!!!! You need to list every bolt and nut as well as bearing and part. The bigger parts are easy, it’s the nuts and bolts and other specialty parts that need careful attention. My top tip is to use your online dealers OEM parts search tool to catalogue the description of every nut and bolt size and length for the whole bike (you can use a digital caliper too, which I used frequently). This will save you so much time when you are reassembling the bike and will ensure you are fitting the correct fasteners in the right places.
Keep up to date with the latest articles, receive our free magazine via email and get notified of special offers and discounts. Be part of the RUST community today…