CENTRESTAND FIT
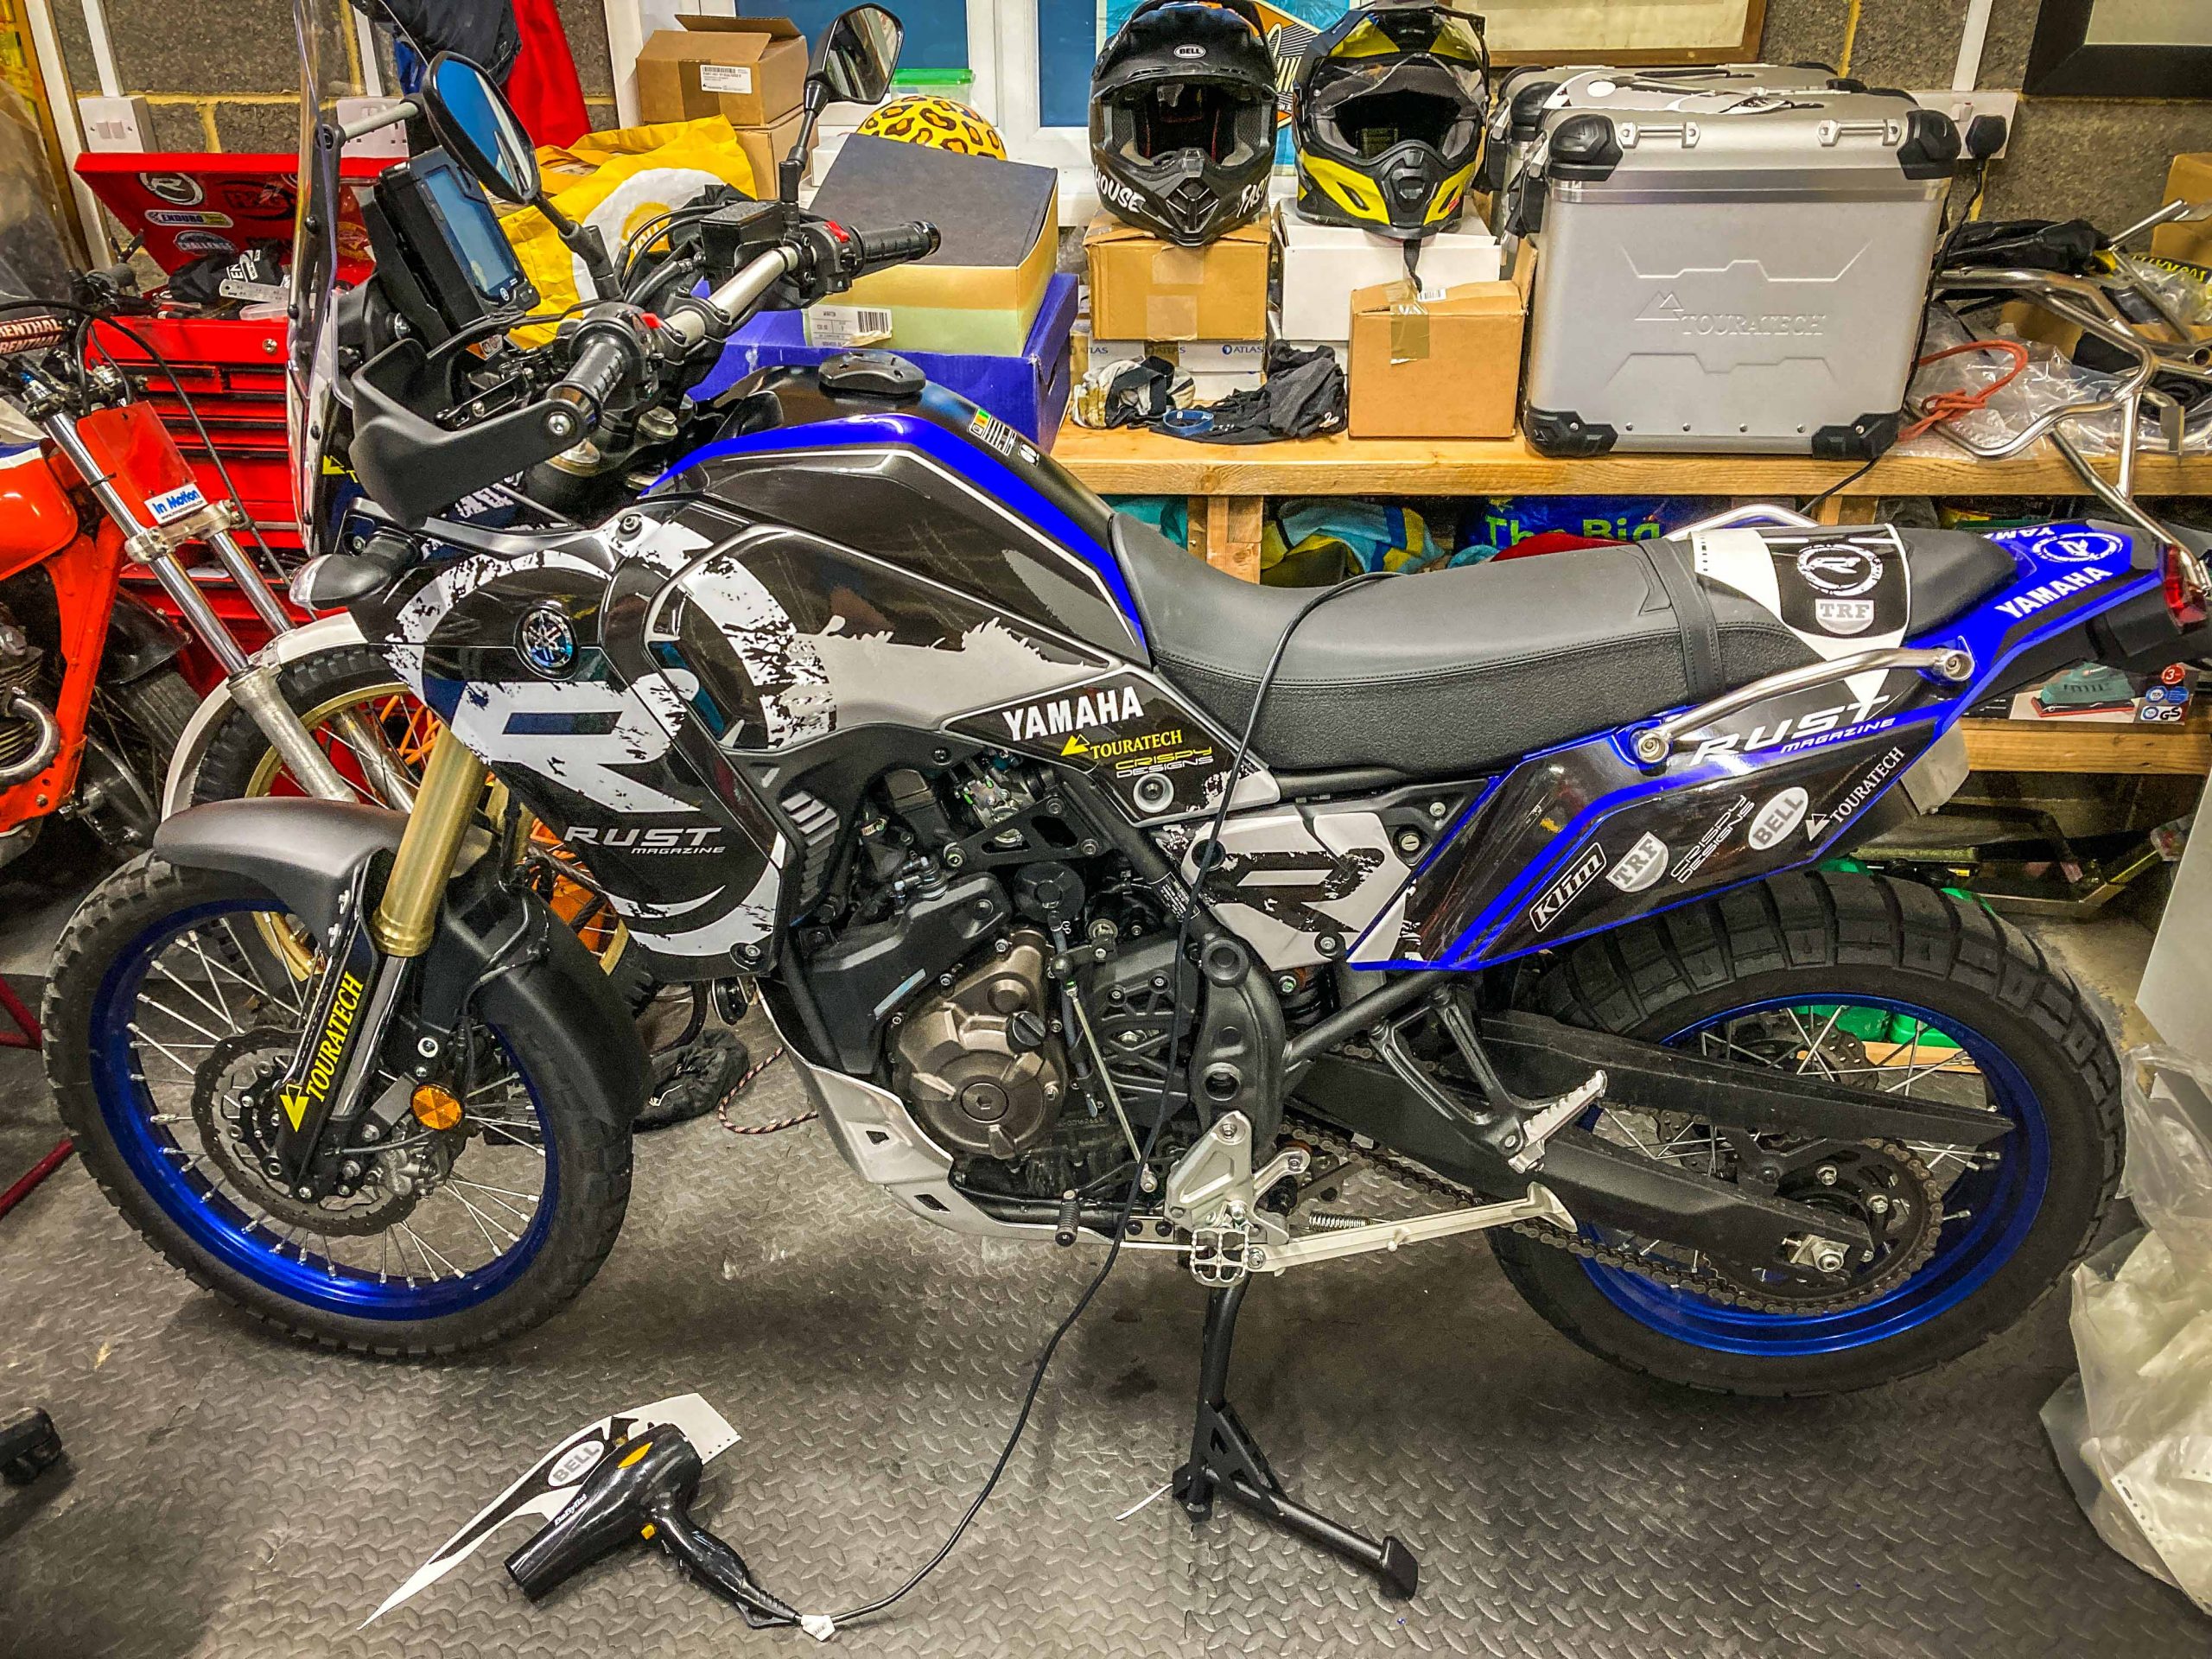
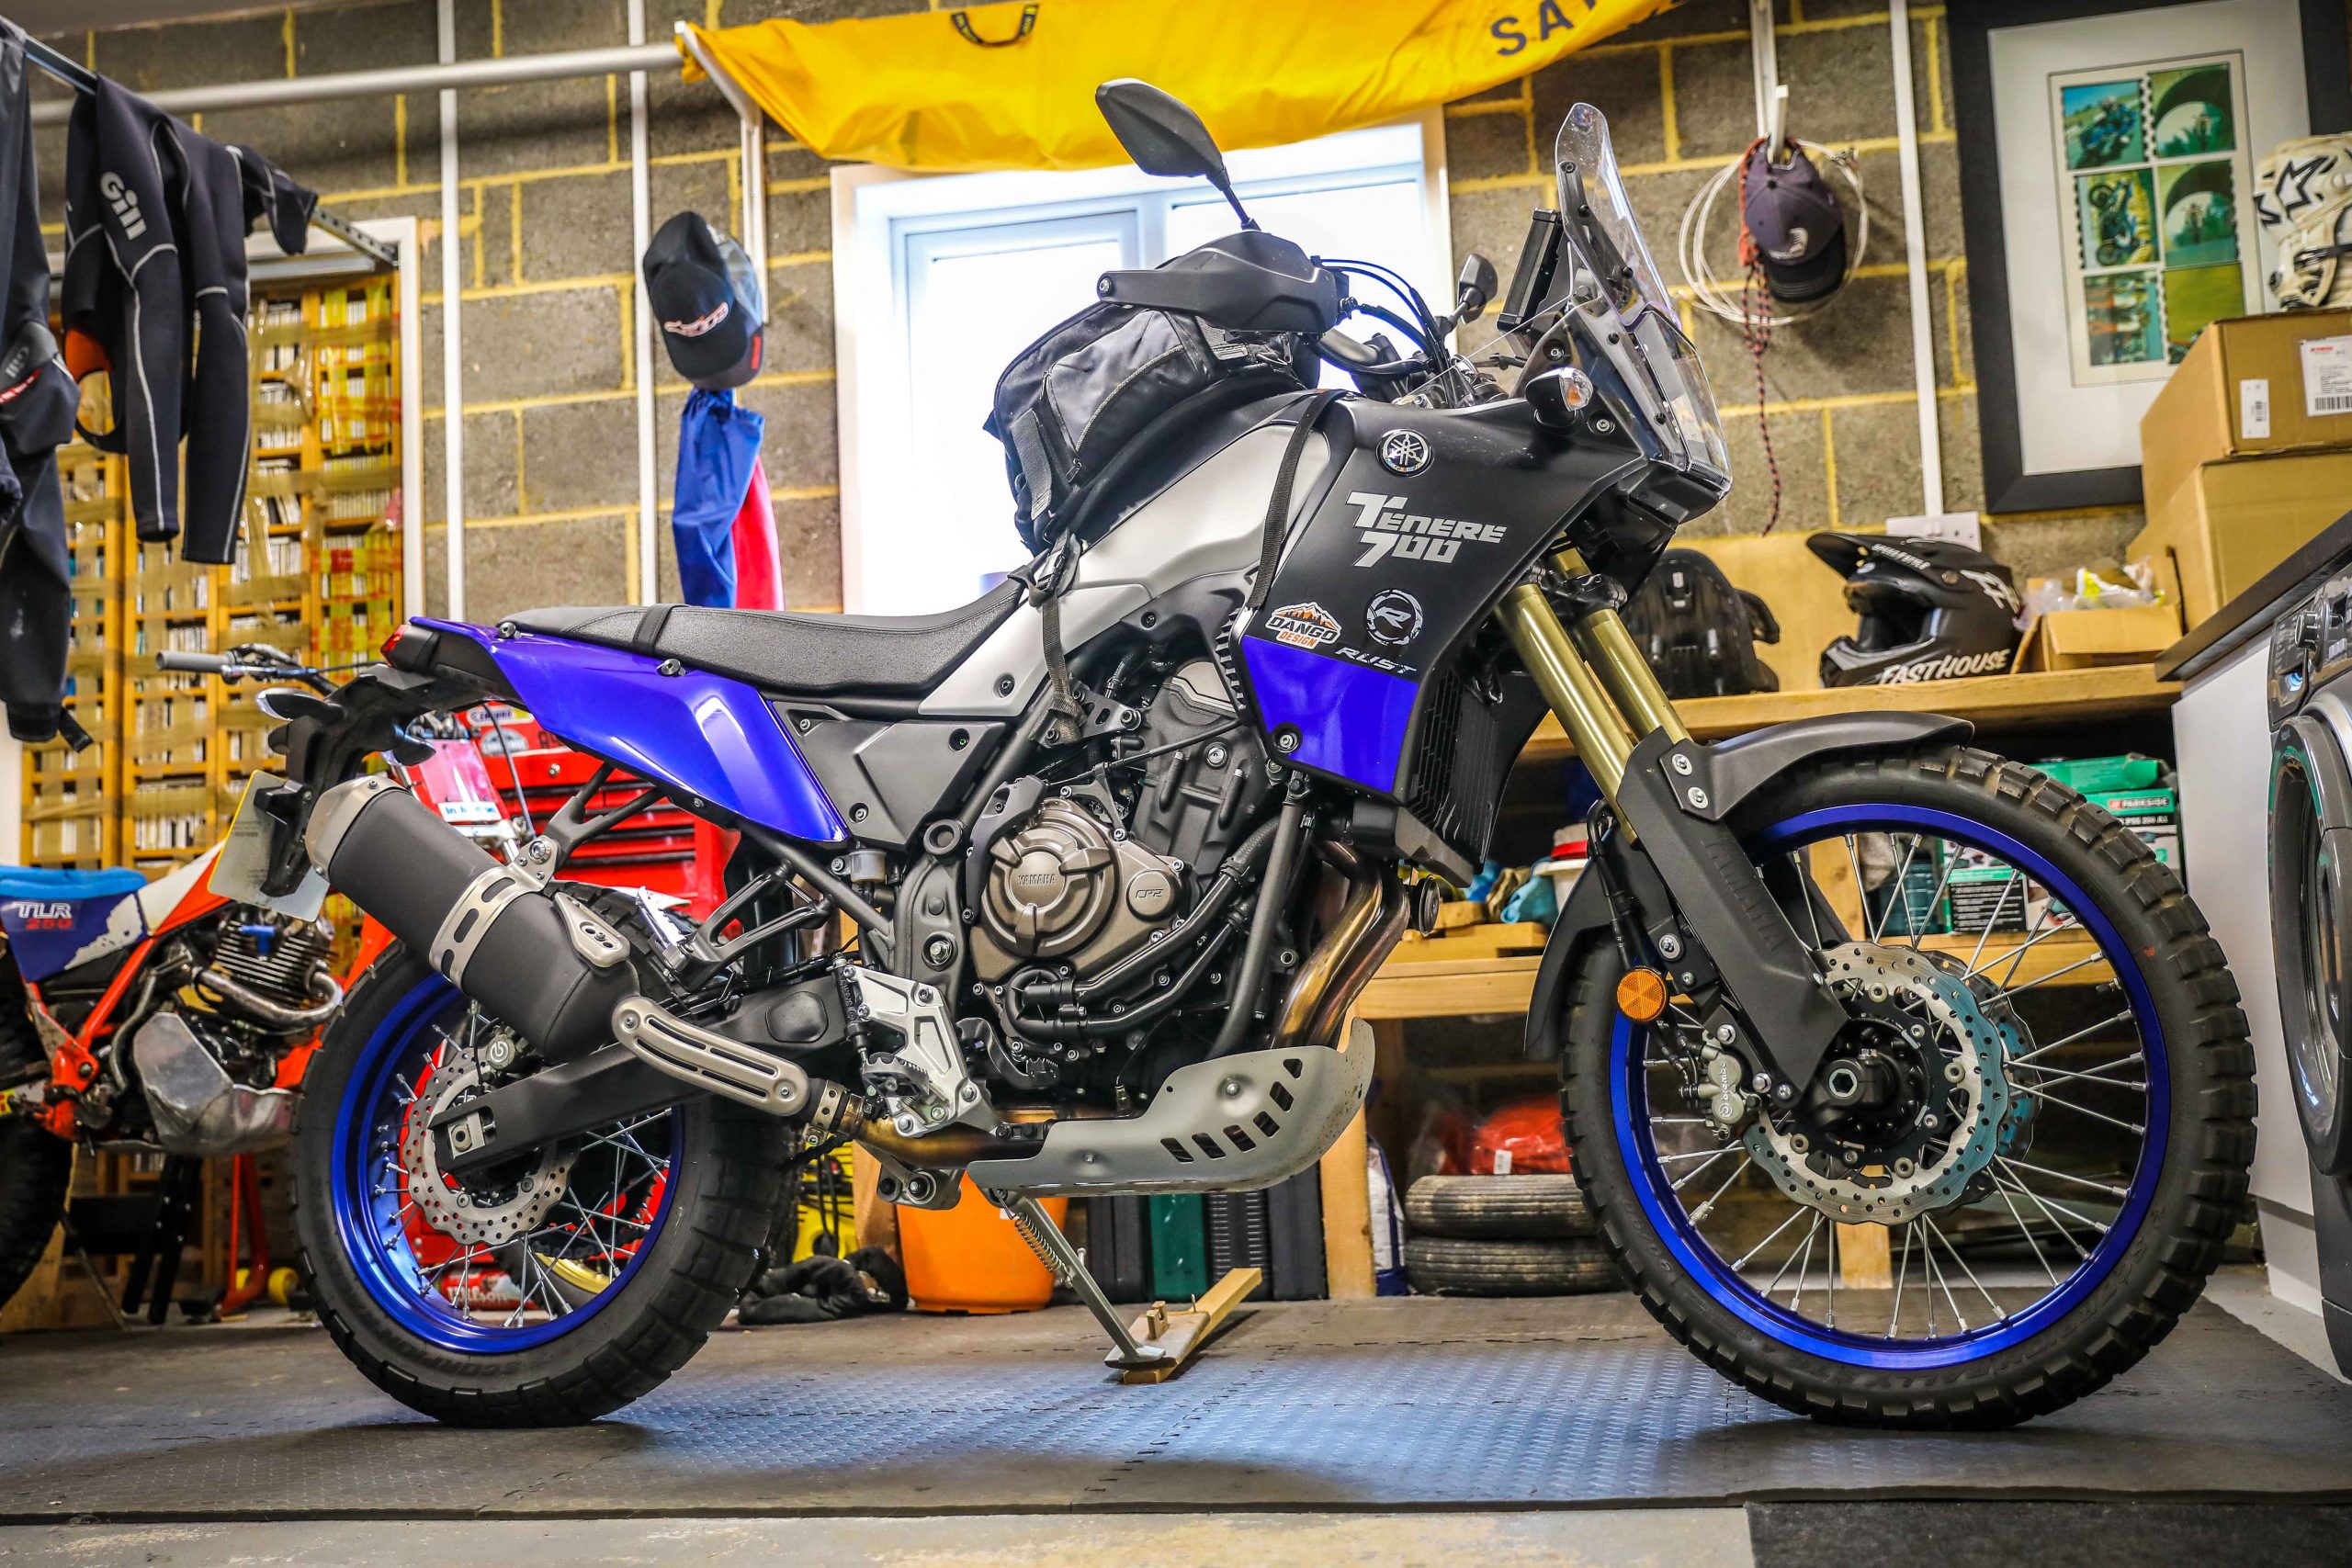
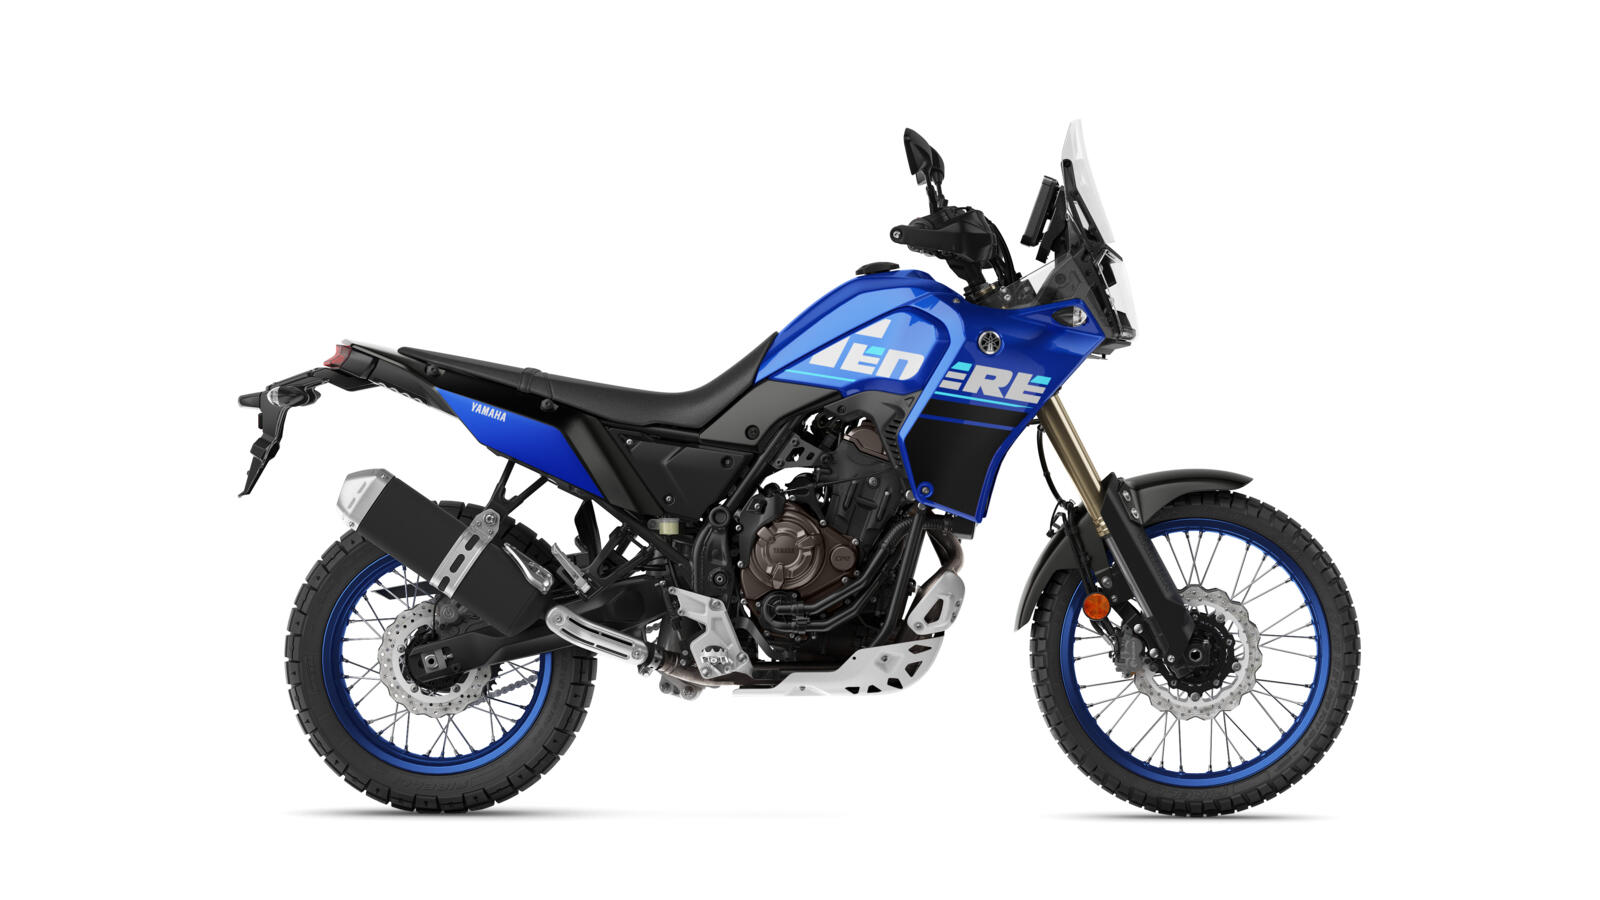
First job before the protection fit, was putting on Yamaha’s optional centrestand. As you’ll see it makes workshop time a lot easier, plus if you puncture or need to make any maintenance (like chain oiling) when riding then again this is much easier to deal with if you’ve got a centrestand. Especially so if you travel alone and have no one to help you…
PROTECTIONS
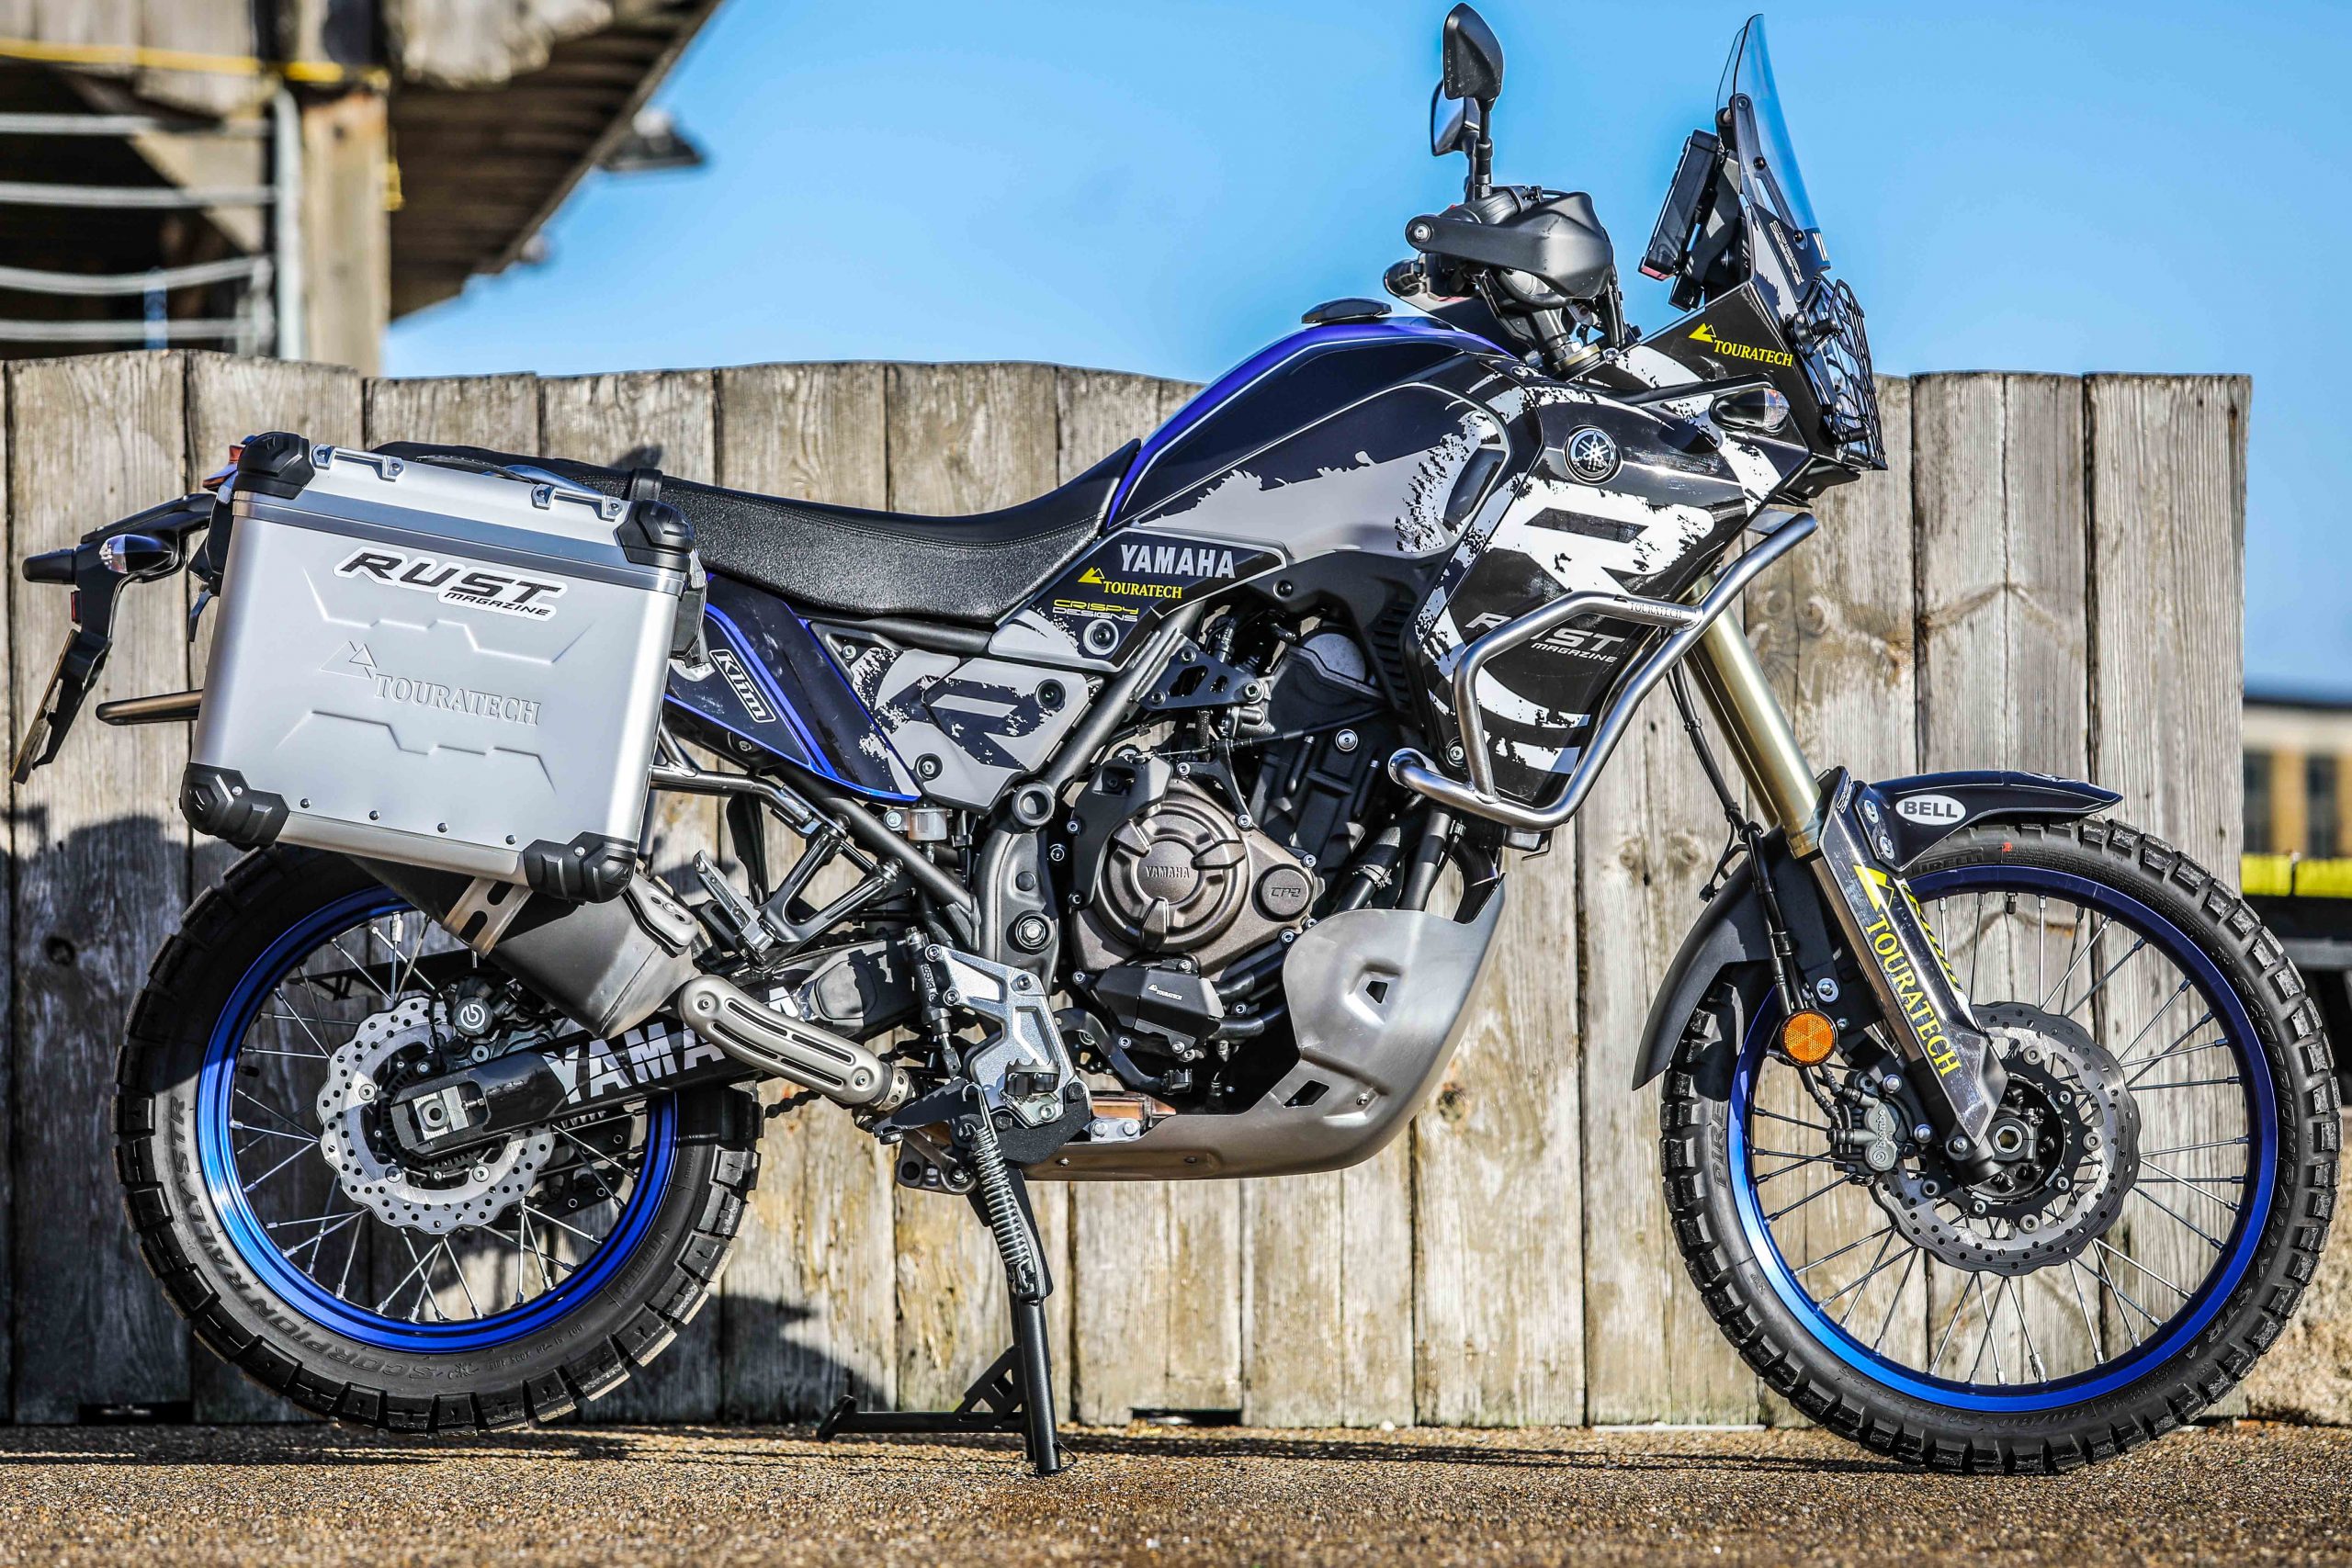
Having made a small diversion to cover off the matter of graphics, this blog we’re back on course with the, er, ‘build’. As said, we’ve got a three-part process with our modding of the Ténéré – ergonomics, protection and travel. So here we are with protection.
Handguards
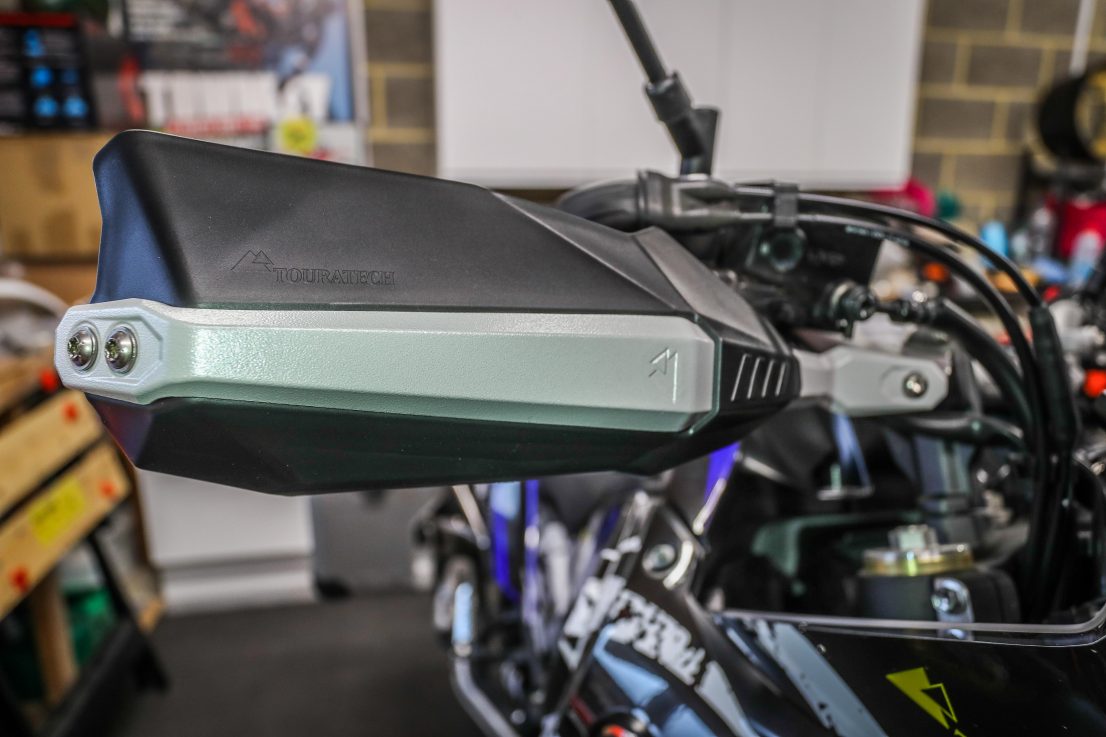
Handguards are fairly high in the list of essentials. When a bike goes down, even in a tip-over, the handlebars nearly always hit the deck. They might save a bit of damage to the bodywork in doing so, but that can be small consolation if you’ve a snapped lever. A recent spill on a KTM 1290 Super Adventure R brought home the importance of decent handguards. In that little 10-15mph tip-off the standard plastic guards (I call them fly deflectors) gave only the smallest of protection. Worse than that, being connected to the mirror stalks, the impact resulted in snapping one of the stalks, so the handguards created more damage than they saved. Now the Ténéré has a very similar OEM setup – just a light plastic guard connected to the mirror stalk – so yeah, they have to go.
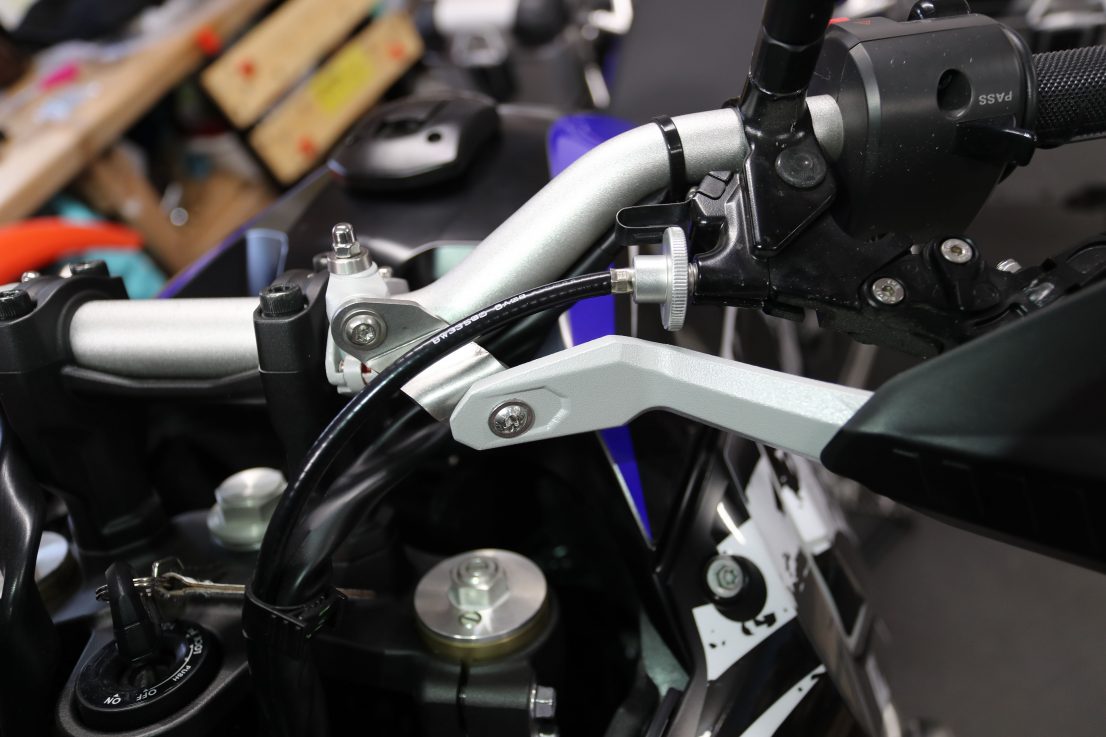
In this instance we’ve installed Touratech’s Defensa Expedition handguards. There’s a sense of flat pack furniture with them in that they come in three distinct parts which you assemble – a plastic deflector which you thread over the main bar (and screw into place), plus a two-piece protection bar which you screw together. Plus there’s the clamp to the handlebar with a folded plate connection piece to the protection bar. On an enduro bike handguards are a little more simple as there’s less cockpit clutter to thread around but looking at Touratech’s guards here and those of competitors you can see the job is a little more complicated on adventure bikes.
Fitting takes about 30 minutes as you acquaint yourself as to which screw, which nut (cap nuts and self-lockers) go where, but the instructions – which you download from Touratech’s product website – are pretty clear. Personally, I’d prefer a direct connection between clamp and bar – but as said, given the clutter that’s just not possible. For sure, though, these are a huge upgrade on standard and between these and the folding Touratech levers we should be sorted.
Where to buy: https://www.touratech-uk.co.uk/hand-protectors-defensa-expedition-for-yamaha-tenere-700.html
Sump plate
Again, here, the OEM sump plate is a little on the light side. If you don’t go mad, stay on light trails, it’ll do the job. But sometimes you’ll find yourself among the rocks, with a step up or step down and not a great deal of ground clearance – then, taking a direct hit with 204kg of Ténéré above it that 1mm plate is going to struggle and having seen a GS puncture its sump and knowing of a Honda Africa twin which punctured its sump just through debris flying off the front wheel, then yes, decent under-engine protection is a good call for adventure riding.
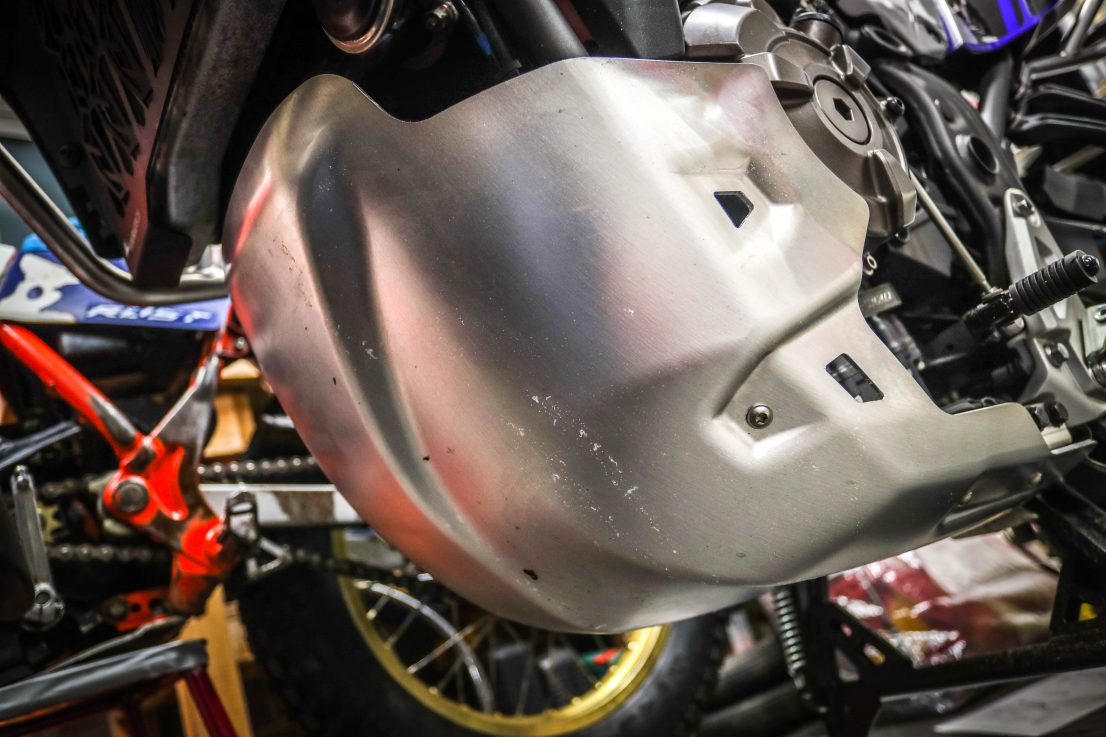
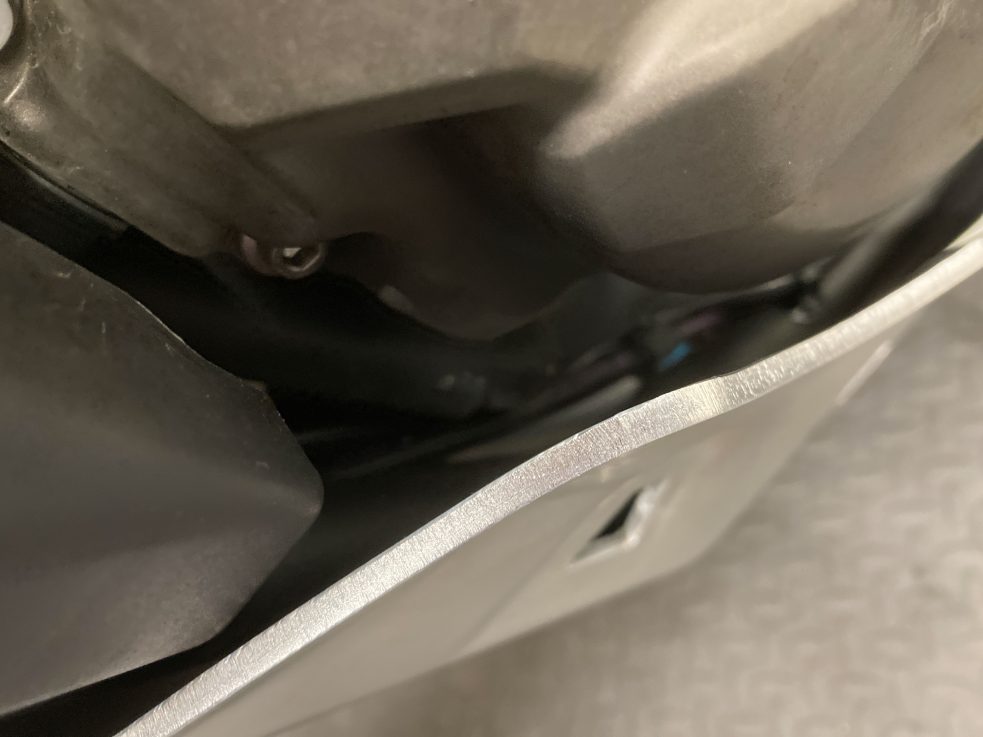
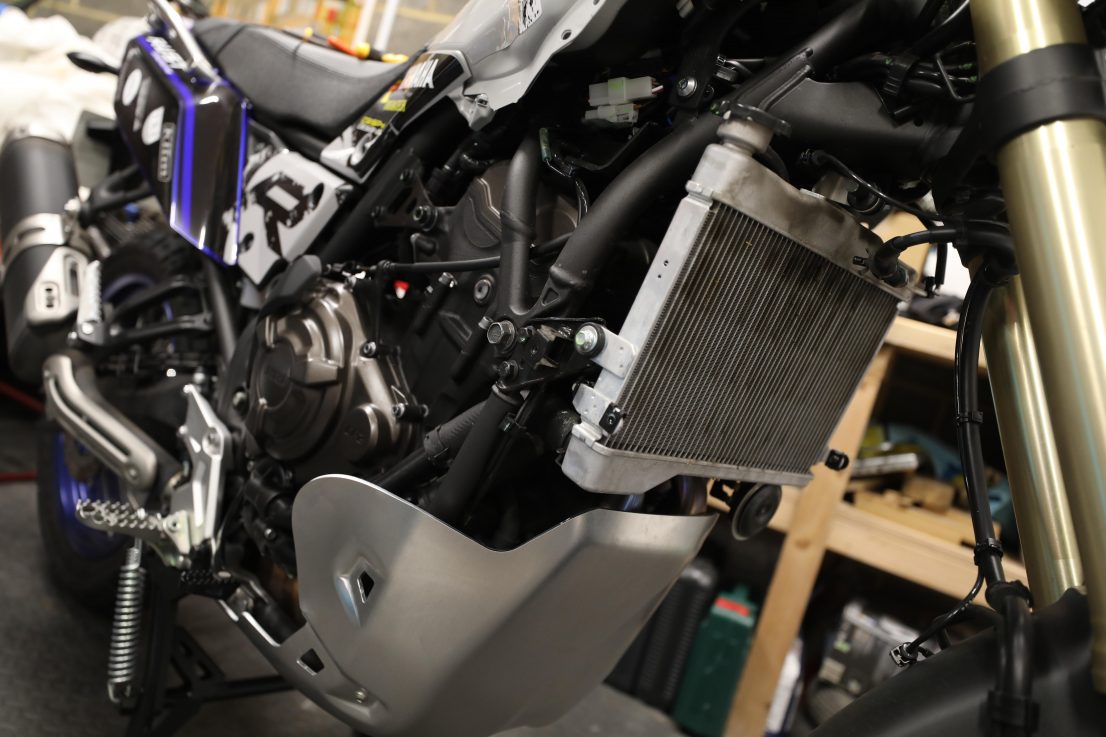
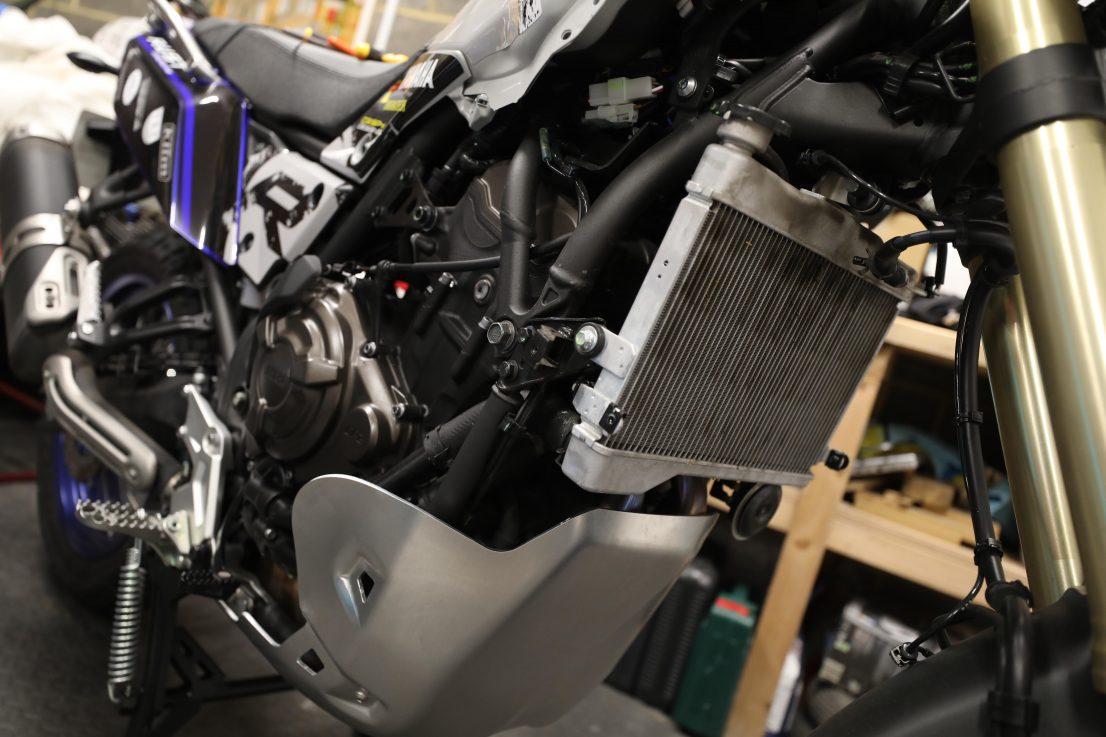
Touratech’s Rallye is more than a sump plate and, rightly, given the full wrap-around nature of the Rallye, they call it an engine protector. While clearly heavy duty – this is 3mm aluminium plate – and while kind of brutish it’s also a thing of beauty given it’s a single plate that’s probably been hydroformed to achieve it’s impressive curved form with not one weld. That production process should add – I’m not a metallurgist (so correct me if I’m wrong) – greater material integrity, possibly strength, but as importantly it’s removed those sharp welded angles you find on other sump plates, which should stop it snagging and it’ll glide easier over obstacles.
The Rallye protects more of the engine, too, as it curves up and around the engine. And where the OEM plate has four mounting points, here, by way of folded plates off the bottom engine rail, the Rallye has six. It sits snug with precision alignment, being a doddle to fit.
Where to buy: https://www.touratech-uk.co.uk/engine-protector-rallye-for-yamaha-tenere-700.html
Crash bars
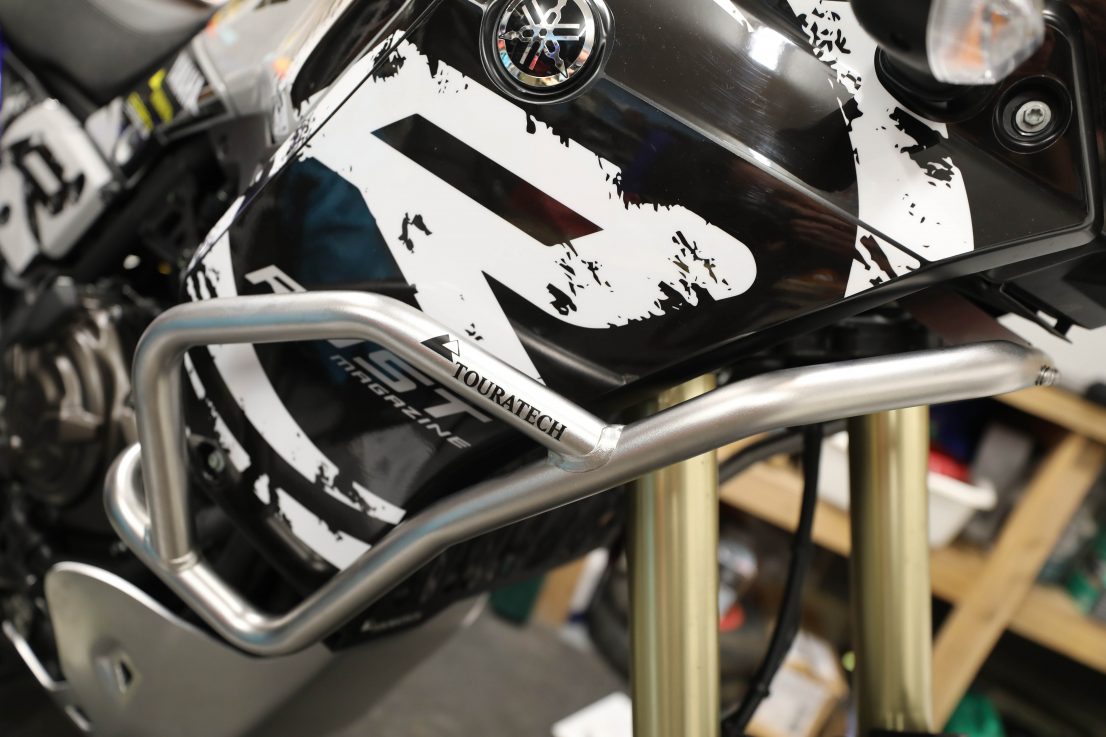
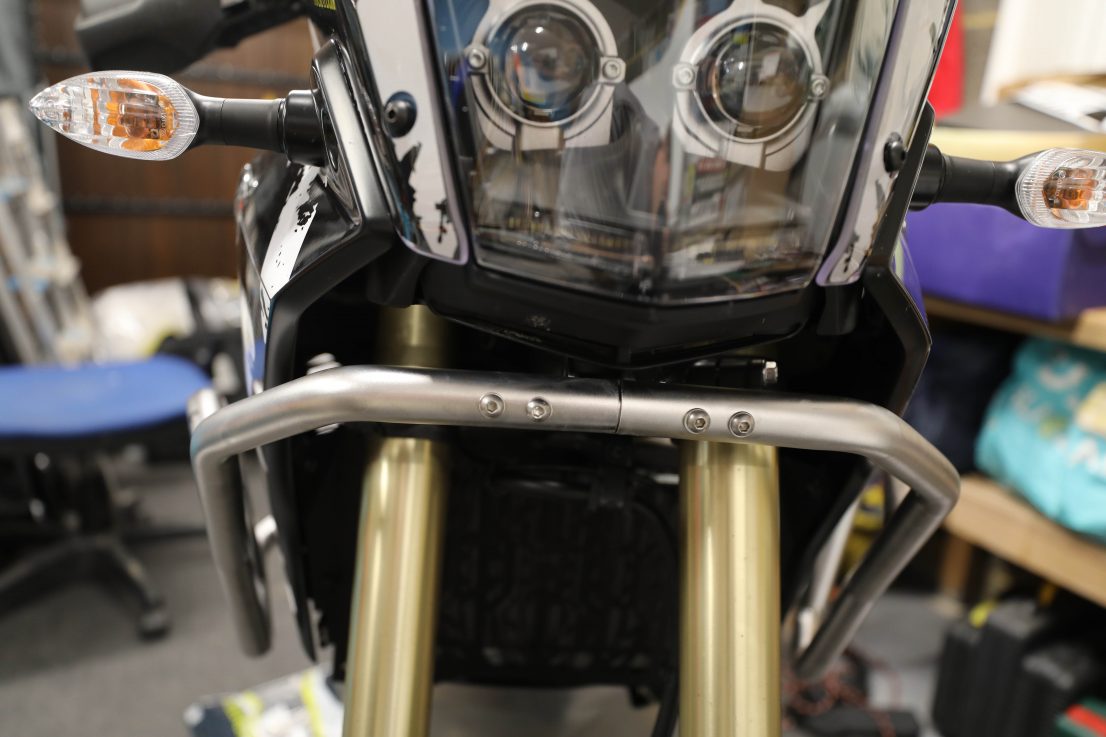
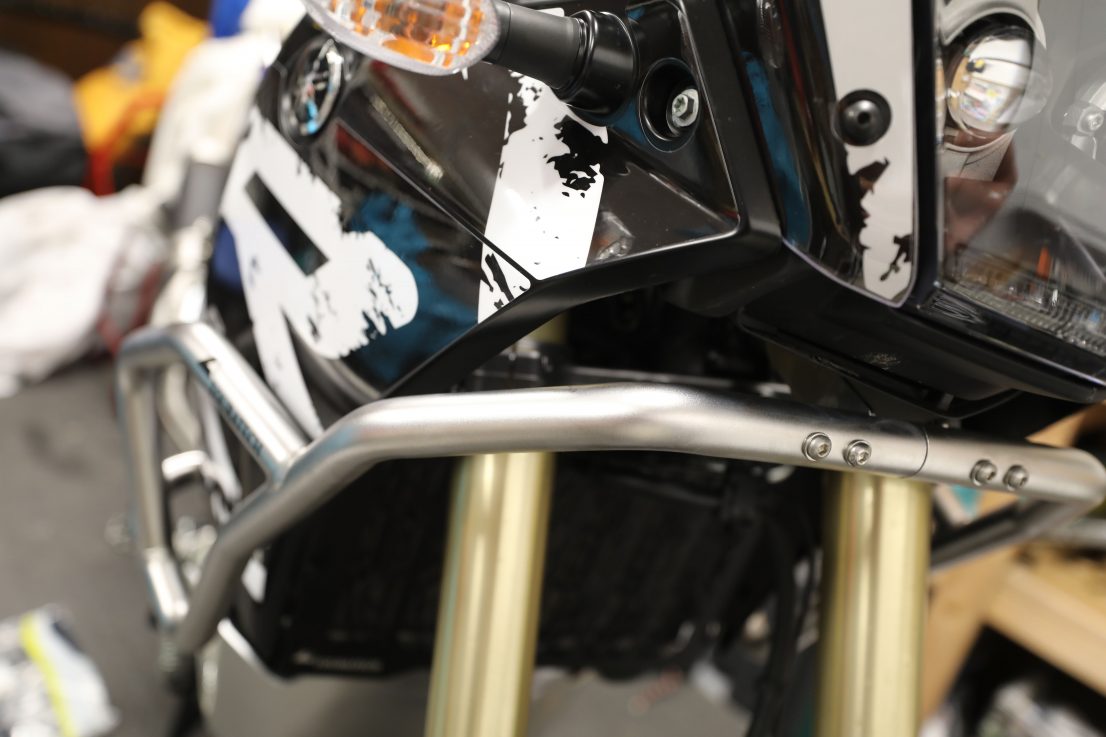
I was in two minds about fitting crash bars. After all, what’s the point in spending £200 to save a £60 fairing panel? That was until someone on social media posted on how in his tip over, sans bars, it wasn’t just the fairing panel, no, the fuel tank took a big knock too. Then there’s the possible crush damage to the radiator. Yeah, better safe than sorry, eh?
I had the option of Yamaha’s own crash bars here but in the end took the Touratech route again, based on their offering being lighter and a better aesthetic. Fitting was again very straightforward, and I really like the finish on the stainless steel (so no rusting).
I’ve got some lower crash bars to go on too, but after fitting the centrestand and the Rallye sump plate I’ve run out of bolt length to get these mounted as well. So, these will go on as soon as I’ve sourced a longer M8 bolt (not that difficult).
Where to buy: https://www.touratech-uk.co.uk/engine-crash-bar-stainless-steel-for-yamaha-tenere-700.html
Ancillaries
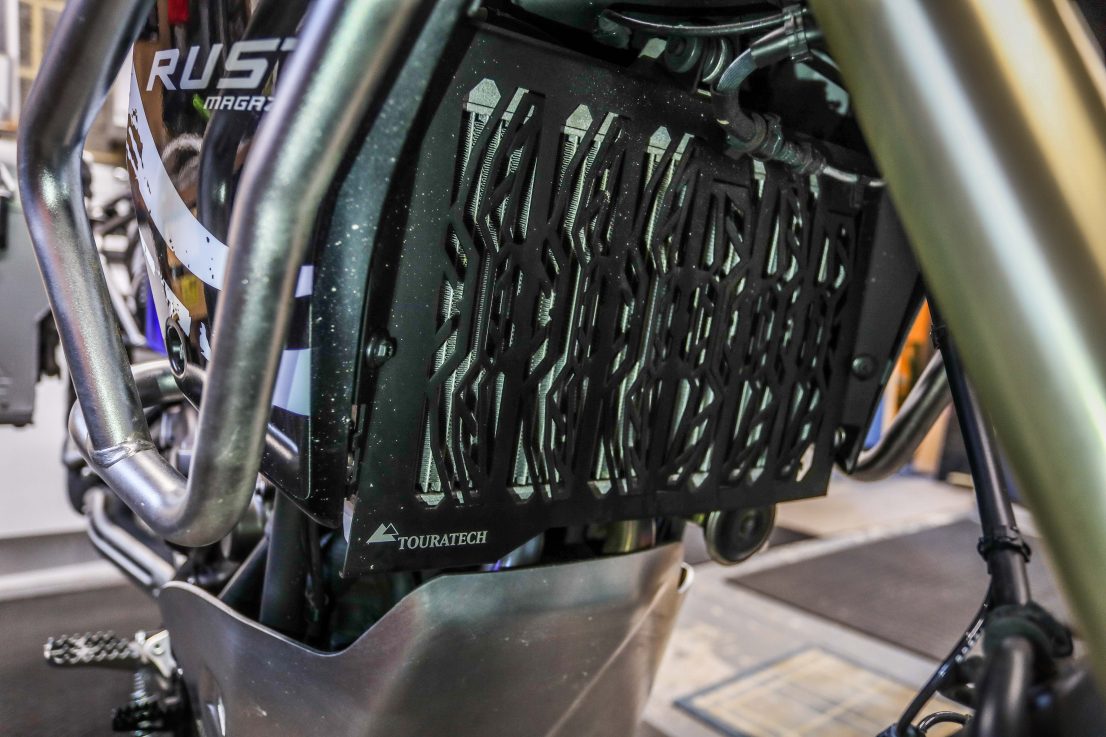
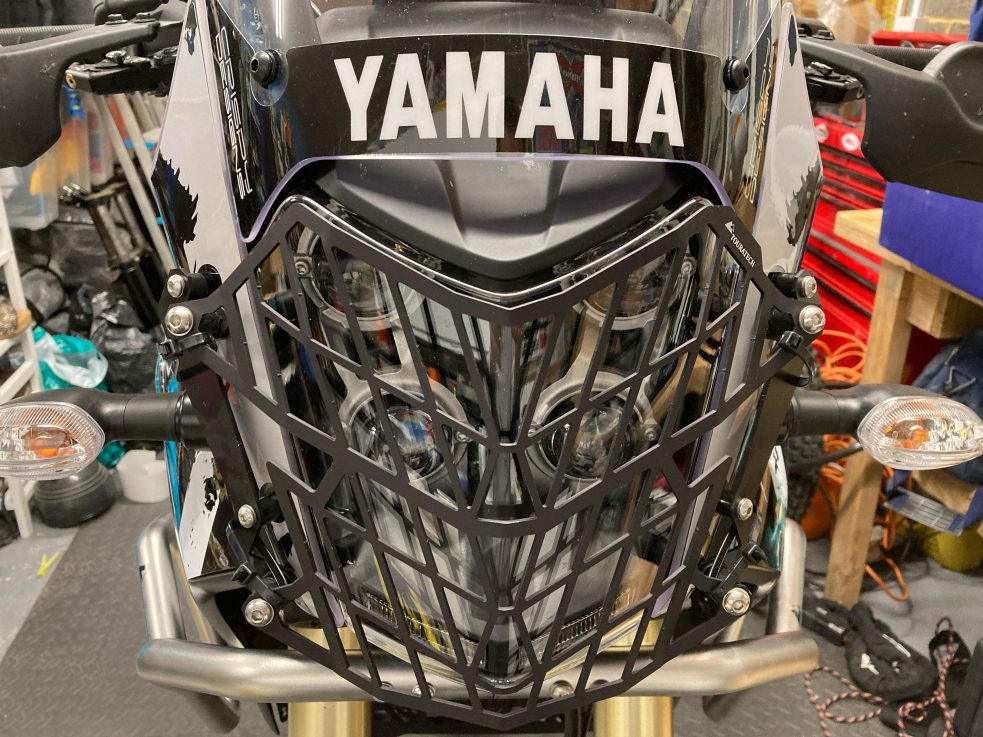
What else? Yeah, that radiator. An aluminium guard for that seemed a good idea too. This and a grille to cover the headlight. I took the grille option over a Perspex cover as you don’t get all the dust building up and dimming the effect of the headlight. For both the radiator and the headlight the danger is flying stones and rocks, typically coming off throttle happy jocks either overtaking or showing you their drift technique (and yes we have throttle happy jocks here at RUST, not naming names…).
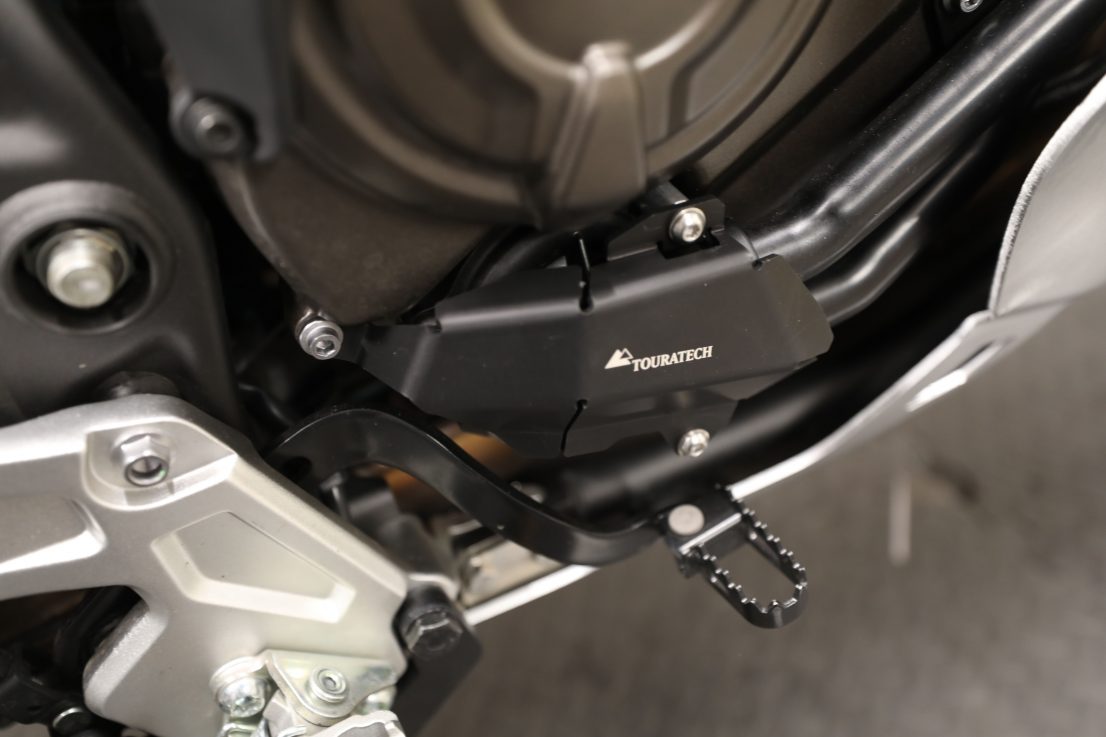
The last protection – a sweet little water pump cover. Again, all you need is one angry rock at just the wrong moment to really make your day!
Where to buy:
https://www.touratech-uk.co.uk/radiator-protector-black-for-yamaha-tenere-700.html
https://www.touratech-uk.co.uk/water-pump-protection-for-yamaha-tenere-700.html
NEXT TIME
So, protection over for now (there’s always the option of adding more), next stop is ‘travel’. Travel, I should explain means a combination of luggage provision and navigation.
