It’s a funny thing. There are plans and then there is reality. For some these can be the same thing. Rarely for me, though. And so it is with this project.
My plan – get a long-term loan Ténéré and then over the ensuing months get to know it, gently modify it and finally go on big rides. A natural evolution in ‘ownership’. But then we live in a time of pandemic and not everyone’s timeline can run so smoothly. So this story started with a bike delayed by about 18 months. Then no riding. Then accessory parts coming through in drips and drabs as supply chains started reconnecting – but of course those parts not necessarily arriving in the order I’d planned or needed.
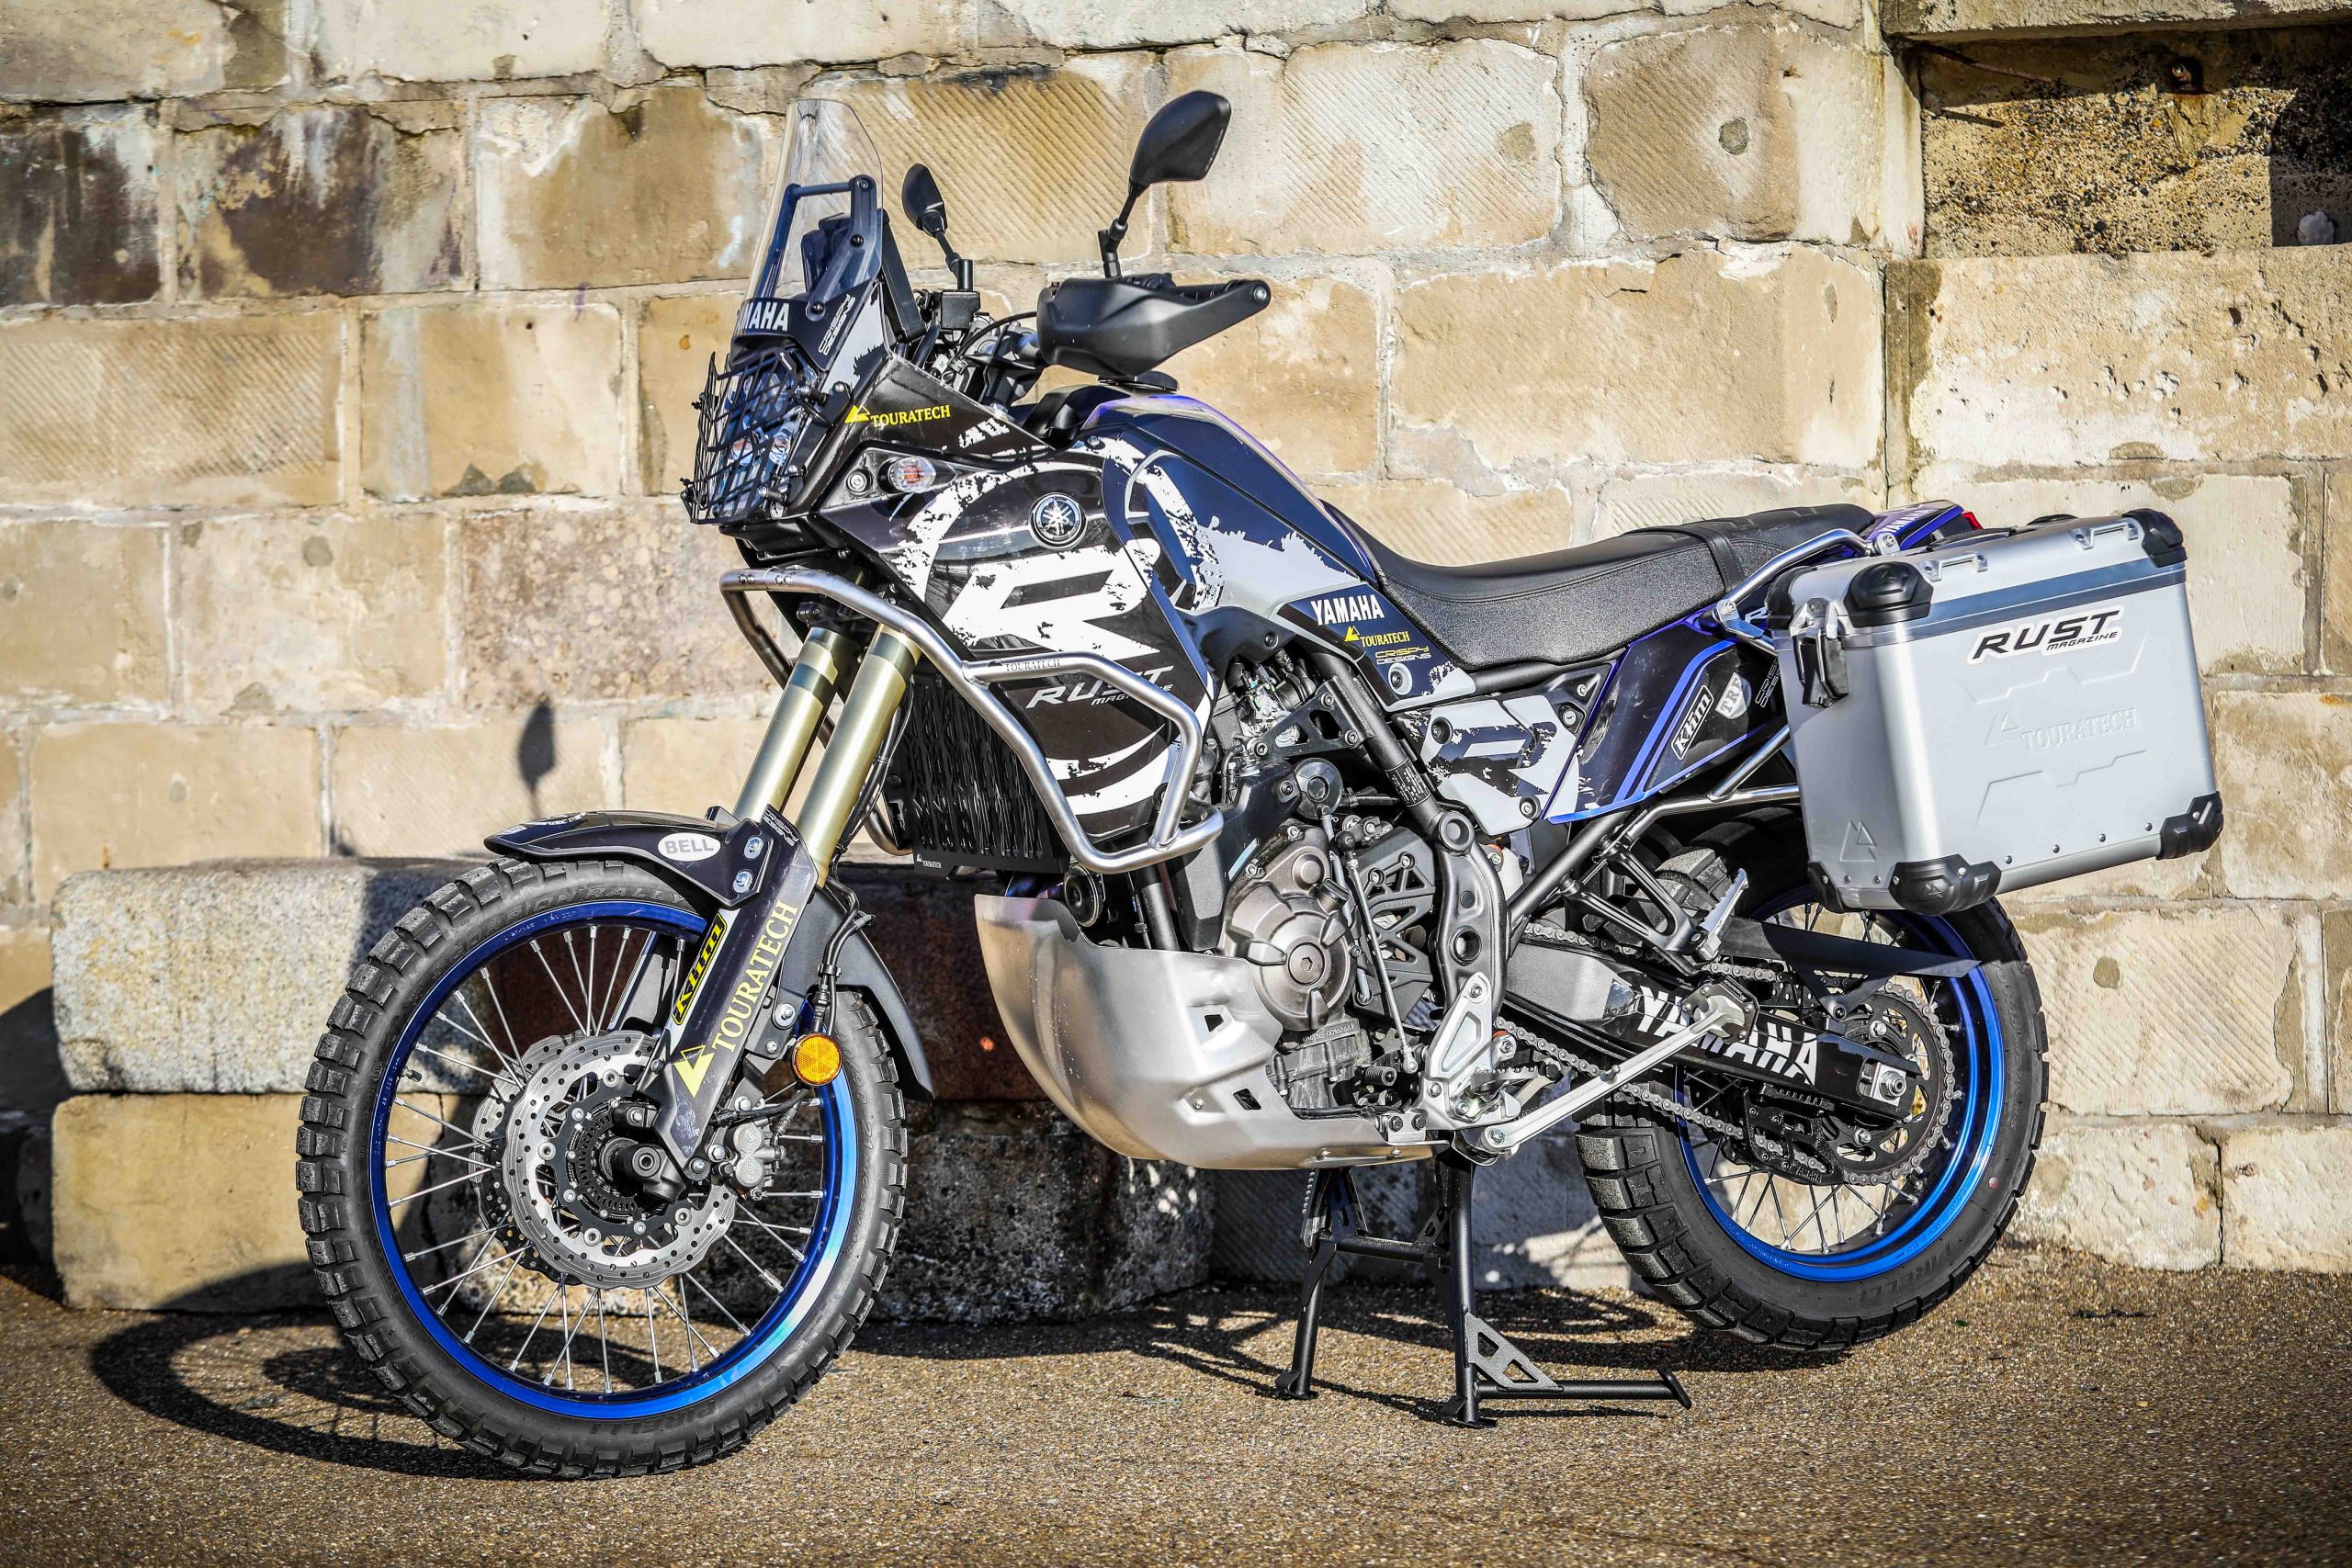
And then: suddenly a load of parts all at once (thank you Touratech!) and a request for the bike to make a public appearance at Motorcycle Live! Now, I recall a three-part plan for the mods: firstly personalise the ergonomics, then fit some protection and finally add luggage. Well, instead, after starting on part one, parts two and three all happened at once and were in fact entirely preceded by the optional part four, which was to apply a set of graphics.
So here I am in only part two of this blog with a bike that looks almost entirely made-over already. Hey ho. Well, I can at least take some time in explaining what’s gone on.
Crispy Designs have got the delivery nailed – the graphics organised neatly on a roll that means they can be despatched rolled up in in a modest-sized box. Clever work.
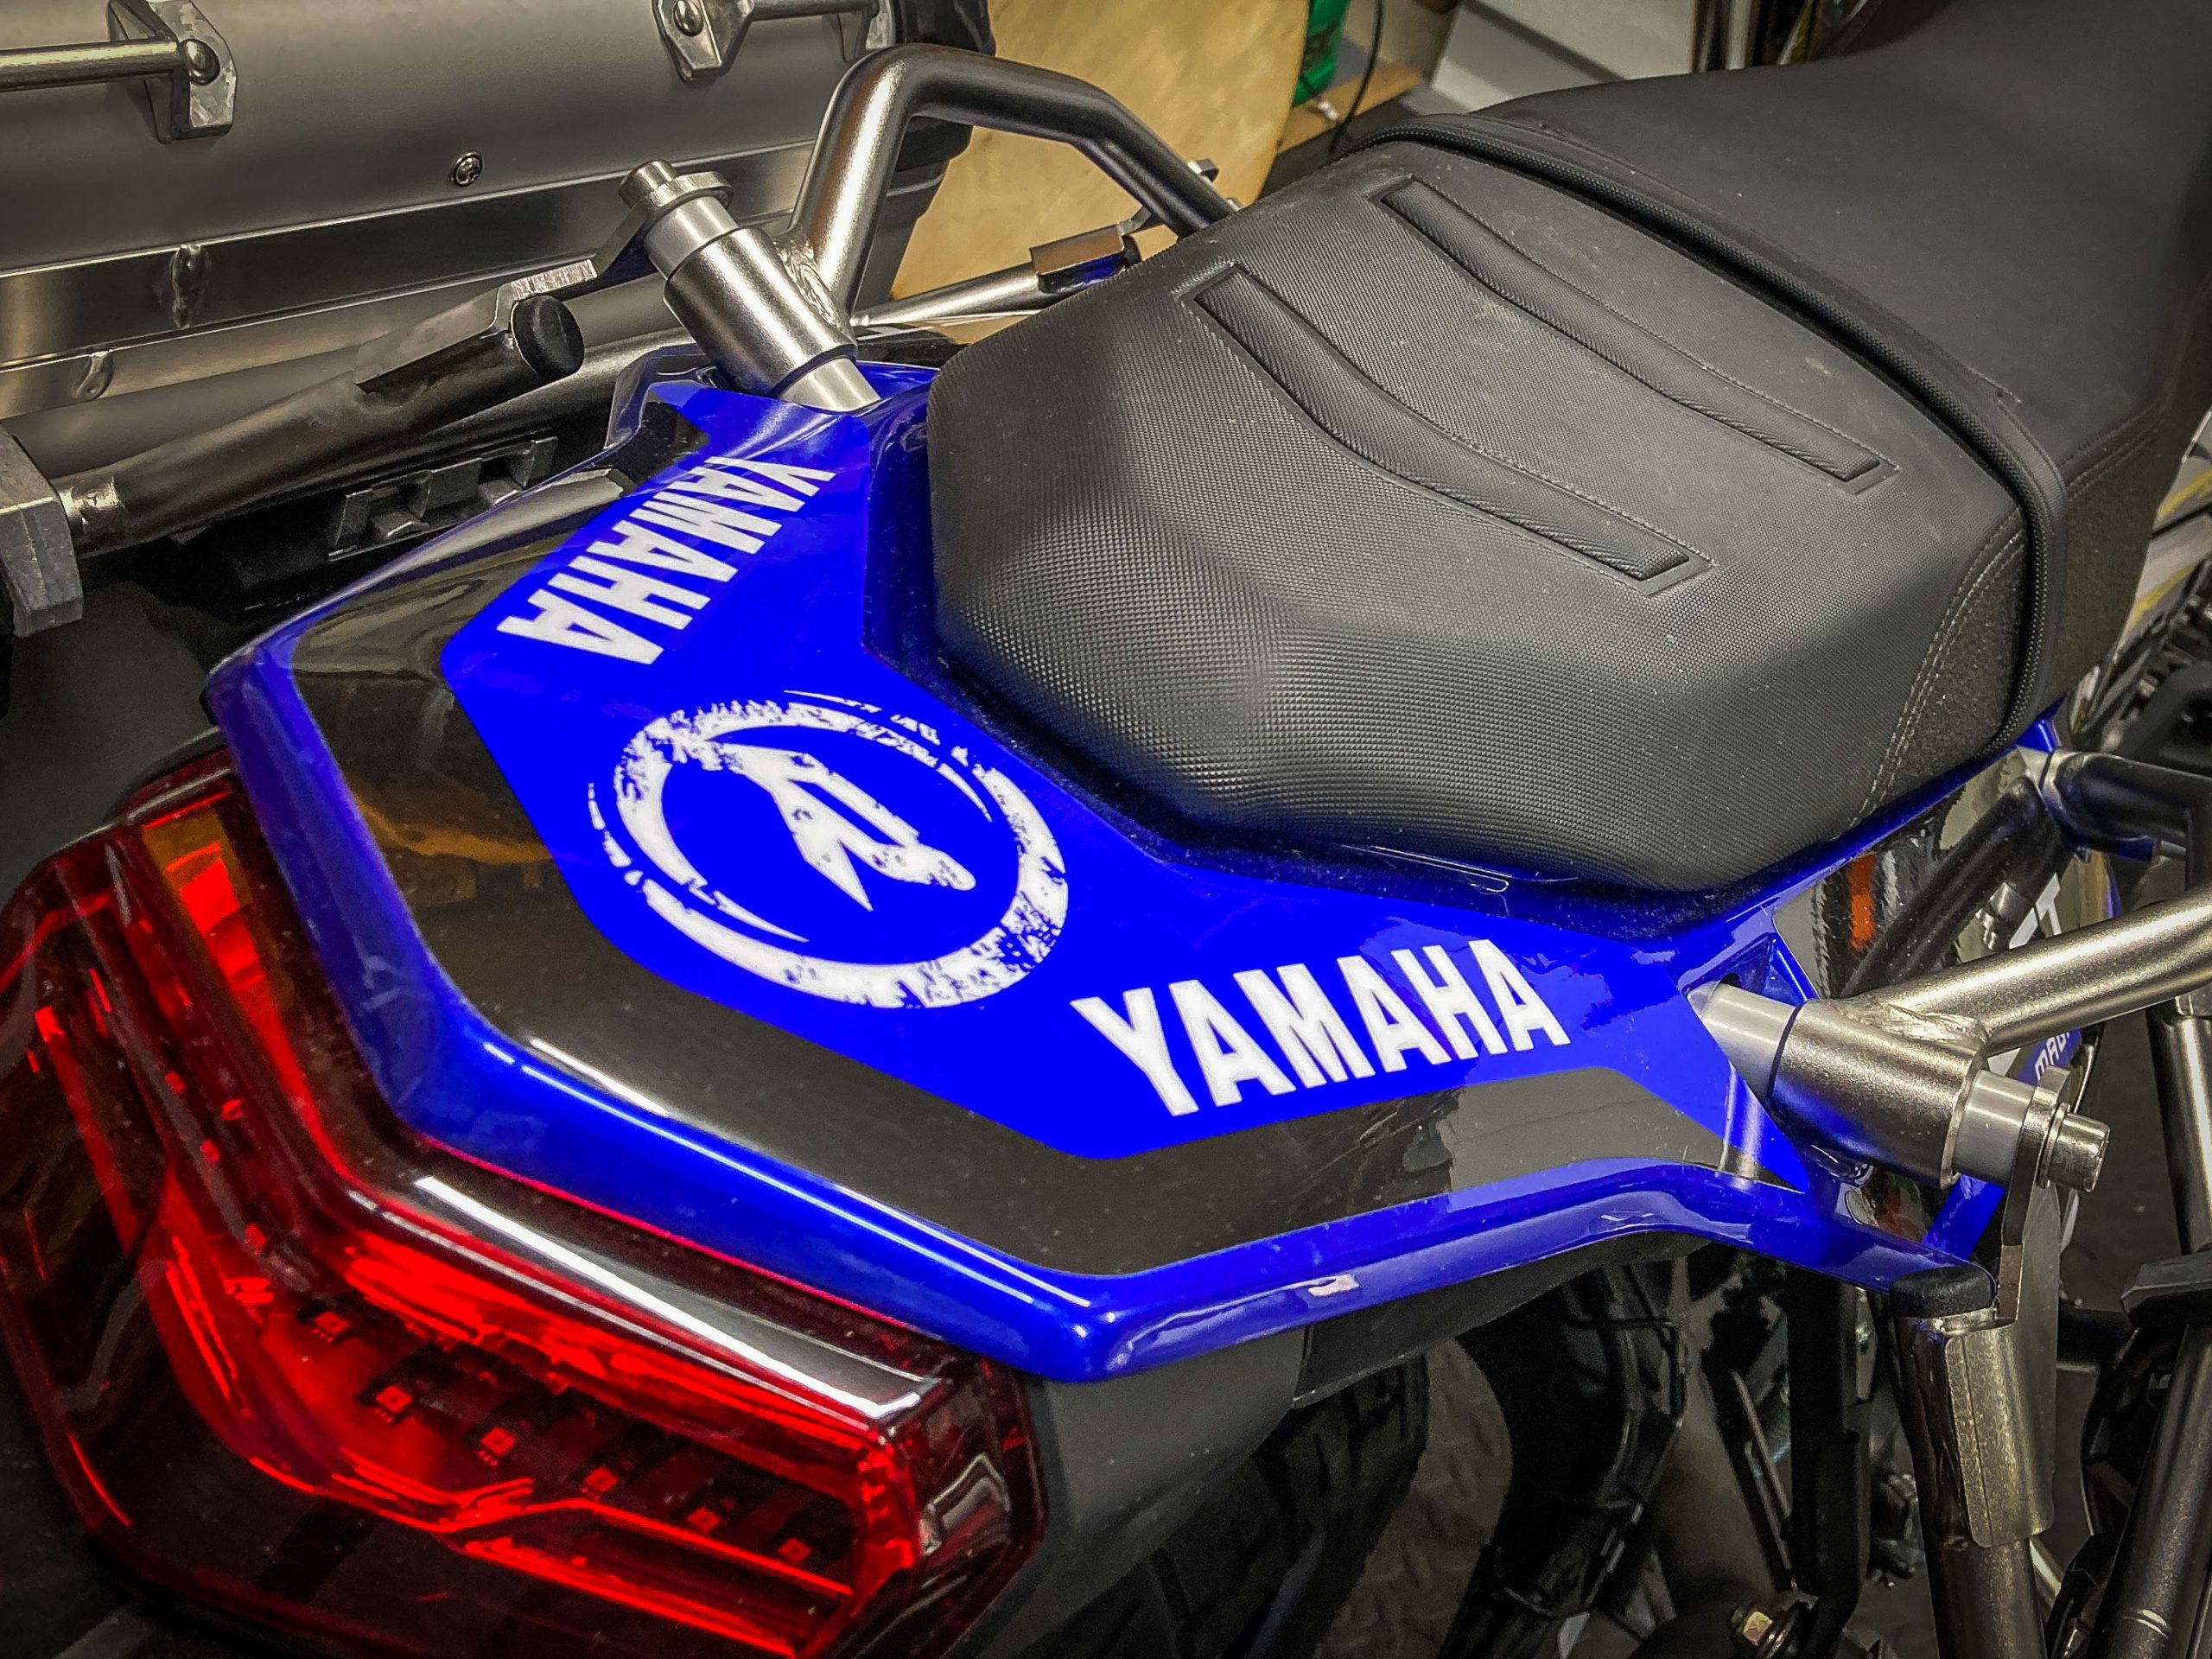
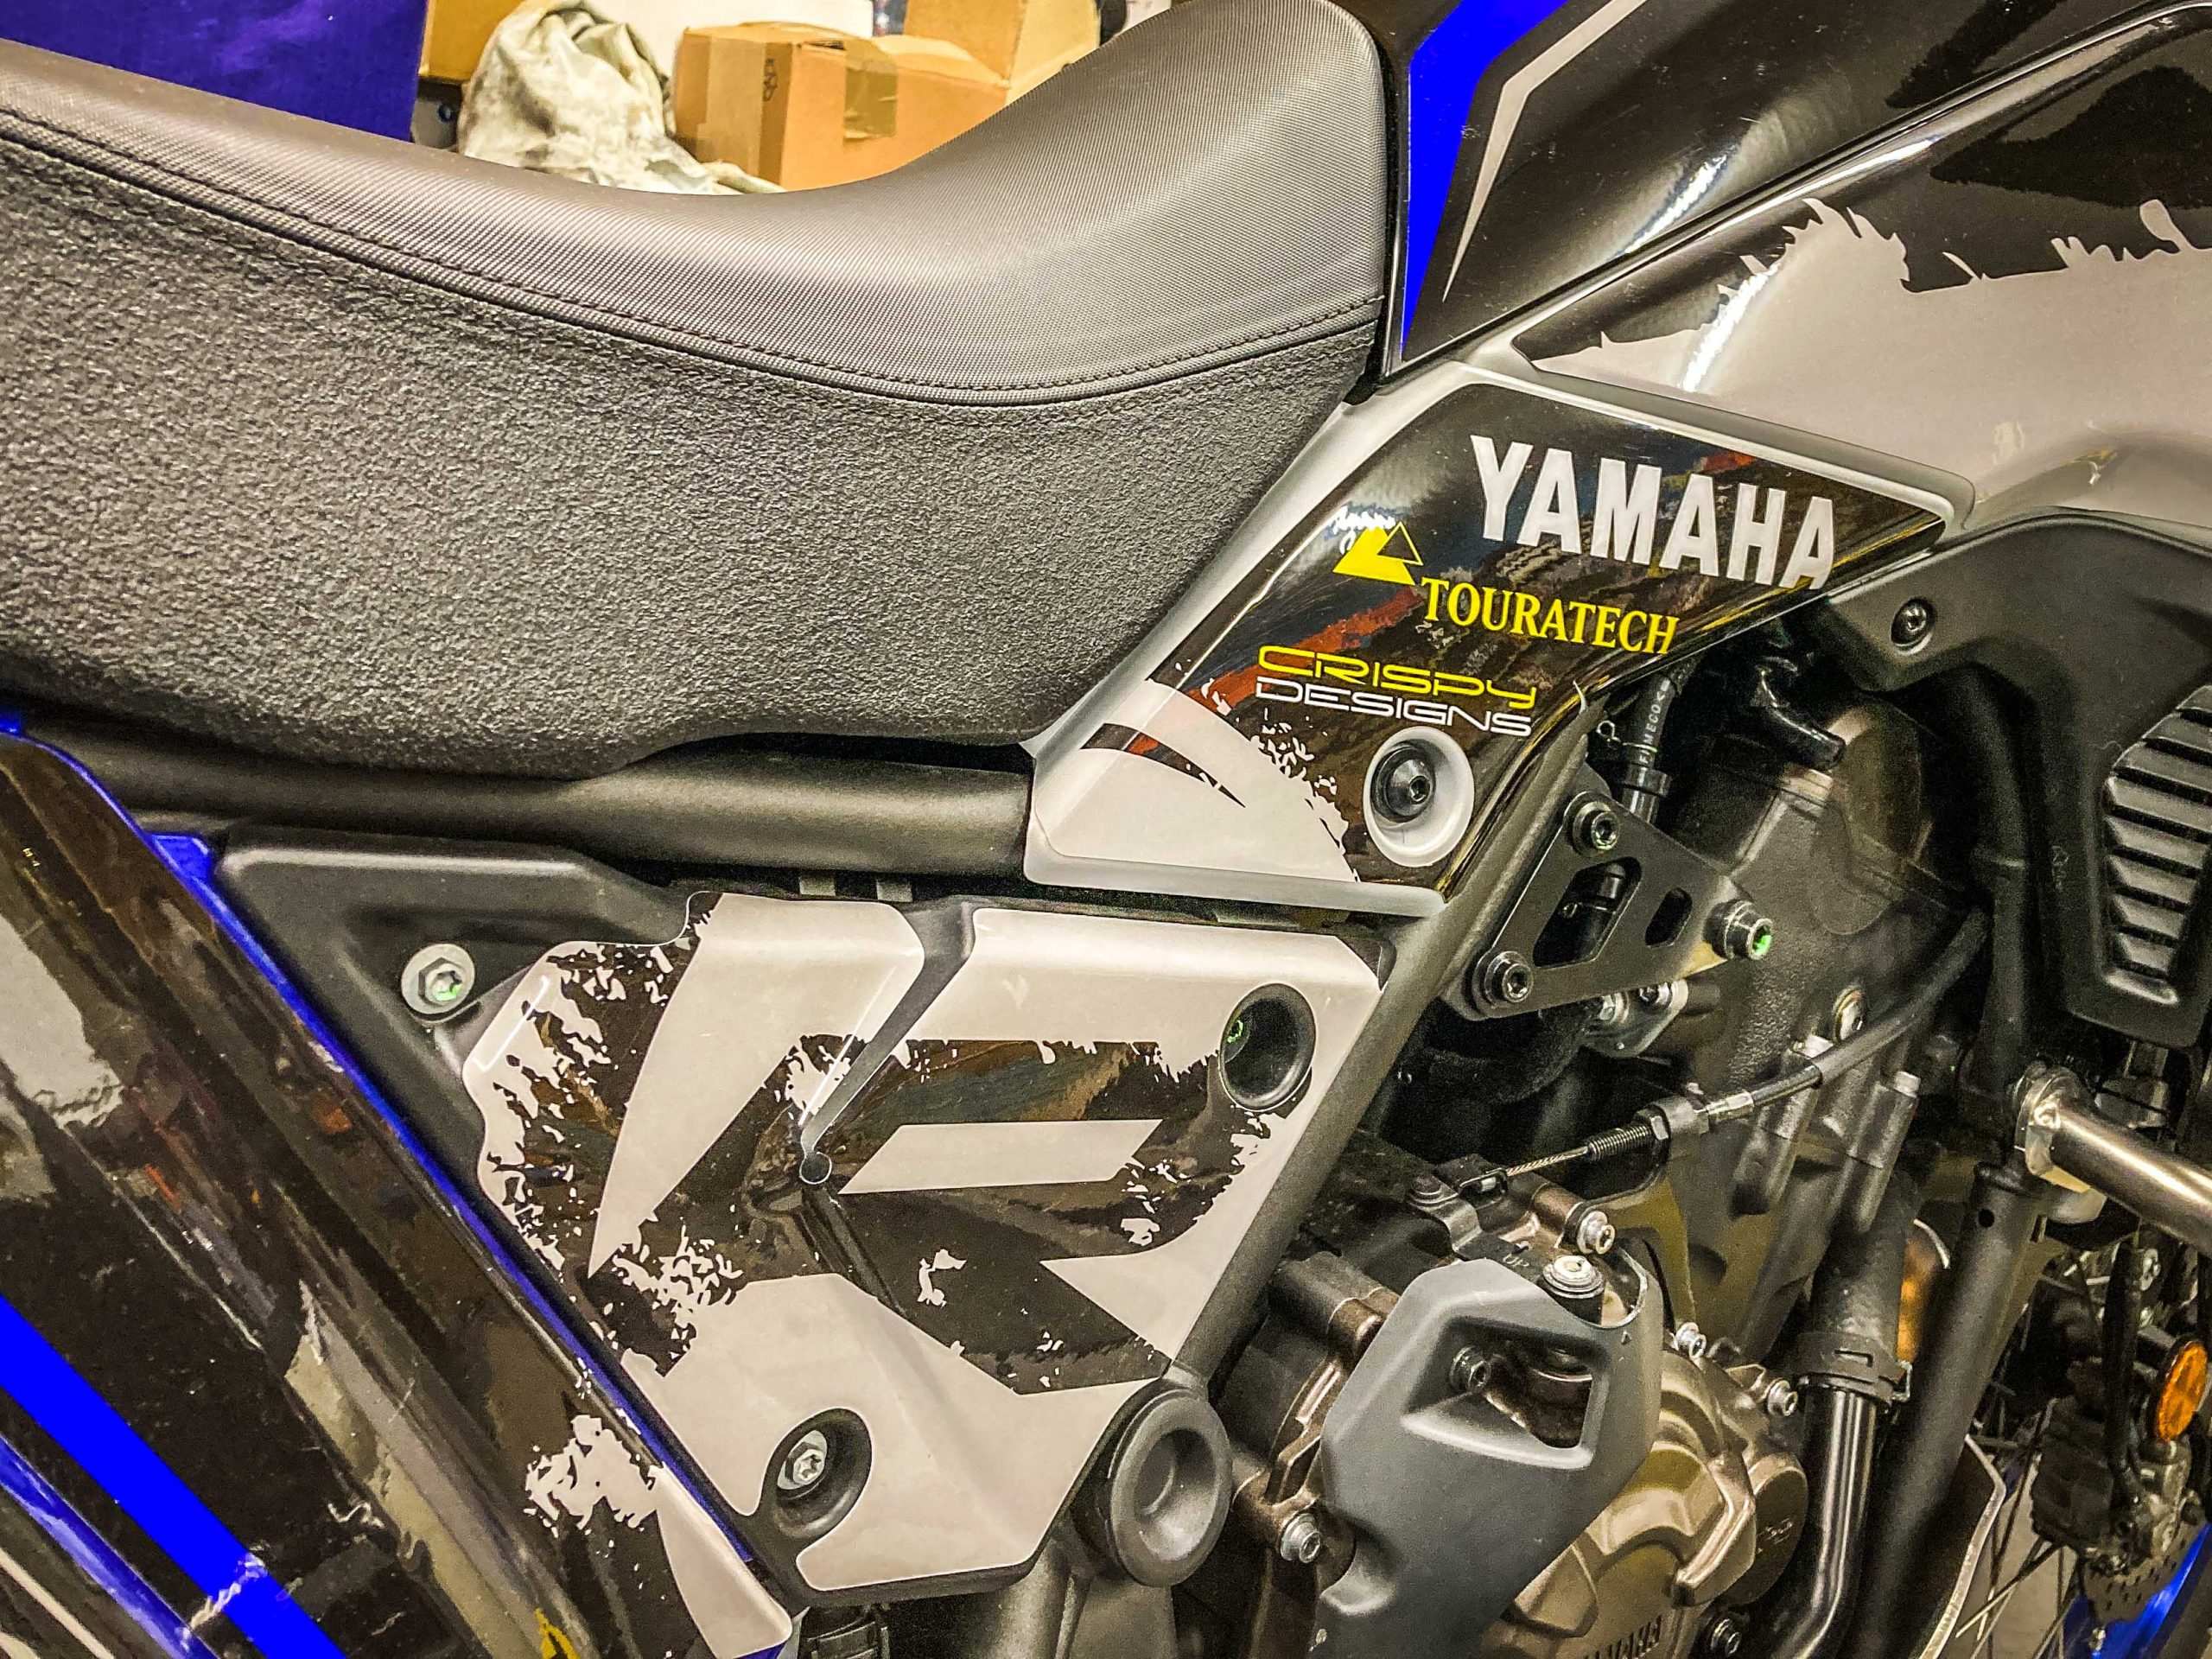
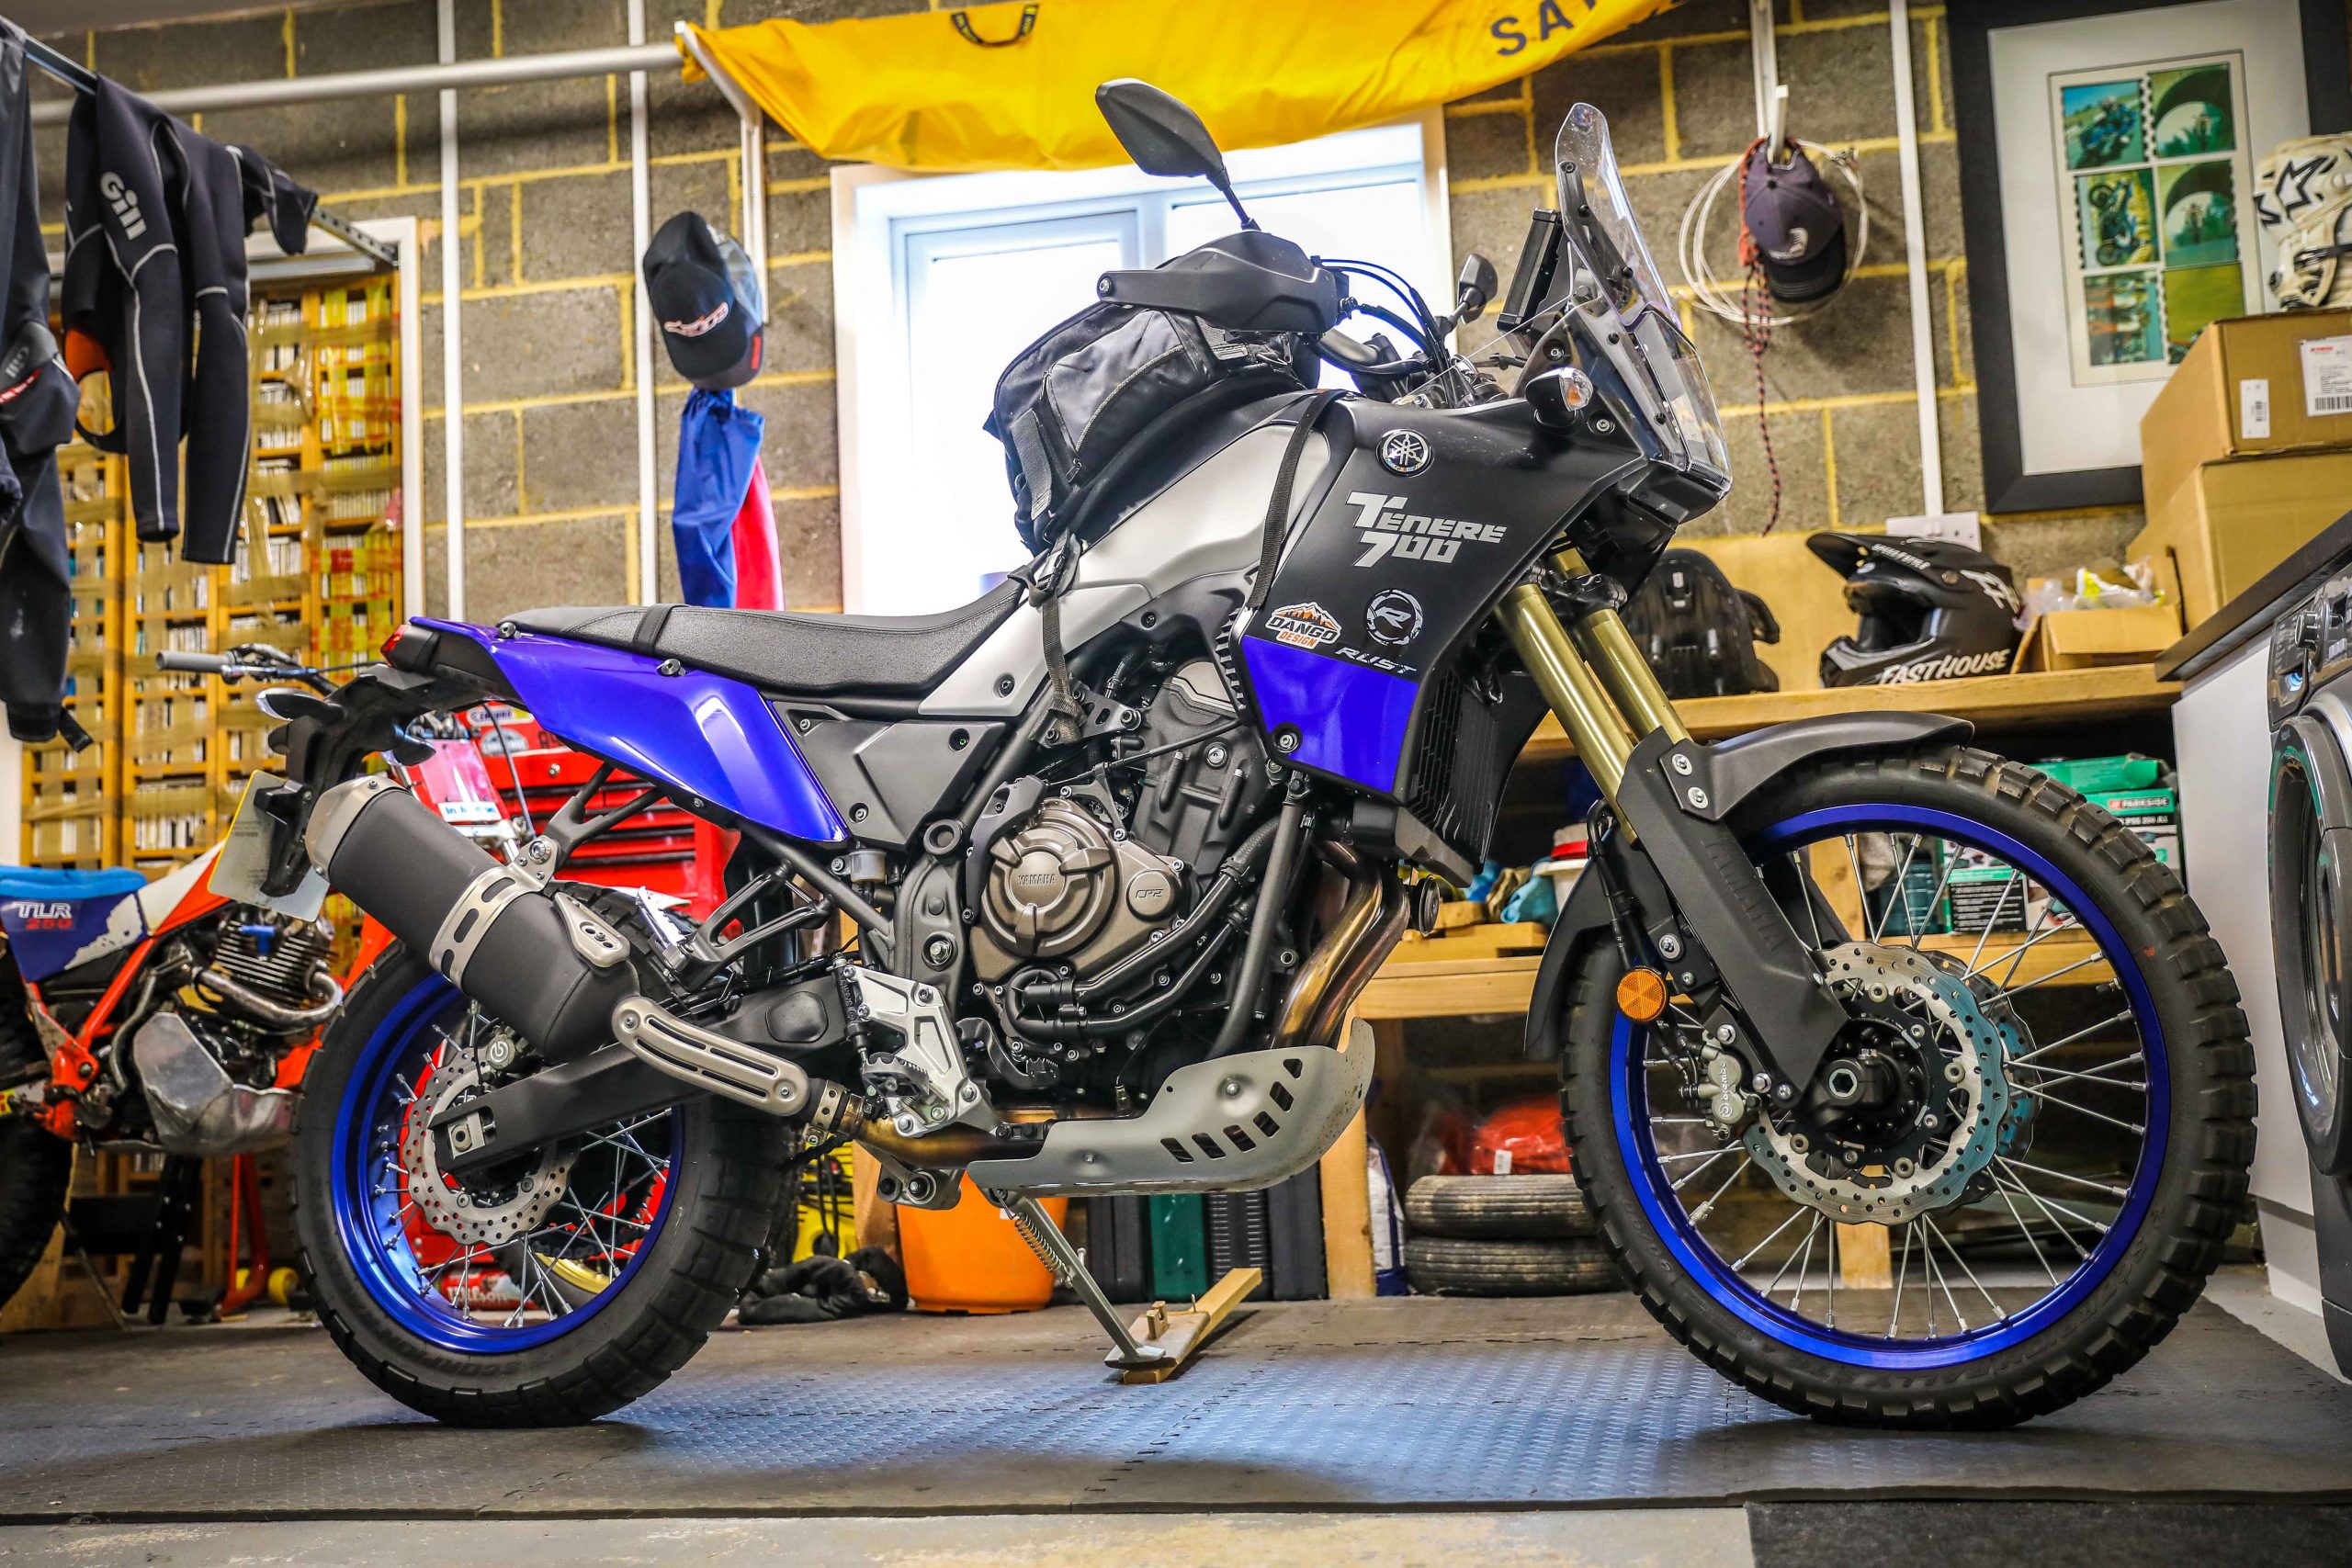
I started simple, applying the tail piece graphic first, to get a feel for the pliability of the graphic – note exact colour match between Crispy's graphic and Yamaha's paint
CRISPY!
You see, realising the bike was going on public show it definitely needed a little bit of added bling, not for the sake of it, but just to be seen – especially given the company it was going to be in, with all the new-for-2022 kit that would be elsewhere in the NEC halls. So, this brought forward the need to add some graphics, more than anything so as to say thank you to our RUST supporters this past year in the form of KLIM, Touratech and Yamaha. And seeing as the TRF guys were hosting the bike, and given the excellent work they do for our rights to ride off-road, it was only fair to include their logo in the graphics design, too.
Where to get the graphics done? There are many mx graphics specialists out there, but few of them have yet seen the potential in the adventure market so don’t have any designs yet mapped out. For me, there was the only man/place to go to: Christian at Crispy Designs. Crispy already has a high profile in the adventure sector given the superb off-the-shelf designs he produces for Ténérés and KTM adventure models – and social media is awash with customers expressing their 100% satisfaction in his product.
Christian was already flat out working on serial orders when I contacted him, but he was willing to sacrifice a couple of evenings in front of the telly to create a bespoke design and somehow jam that into his non-stop print run. The turnaround was fabulously quick and I couldn’t believe it when this small foot-long box arrived within just days. The packaging is impressive. Often you see graphics flat-packed, which is a nightmare for delivery, but the Crispy style is elegantly simple and you see when you unroll the graphics that he uses some kind of system or programme to print the graphics with minimal waste. It’s clever work.
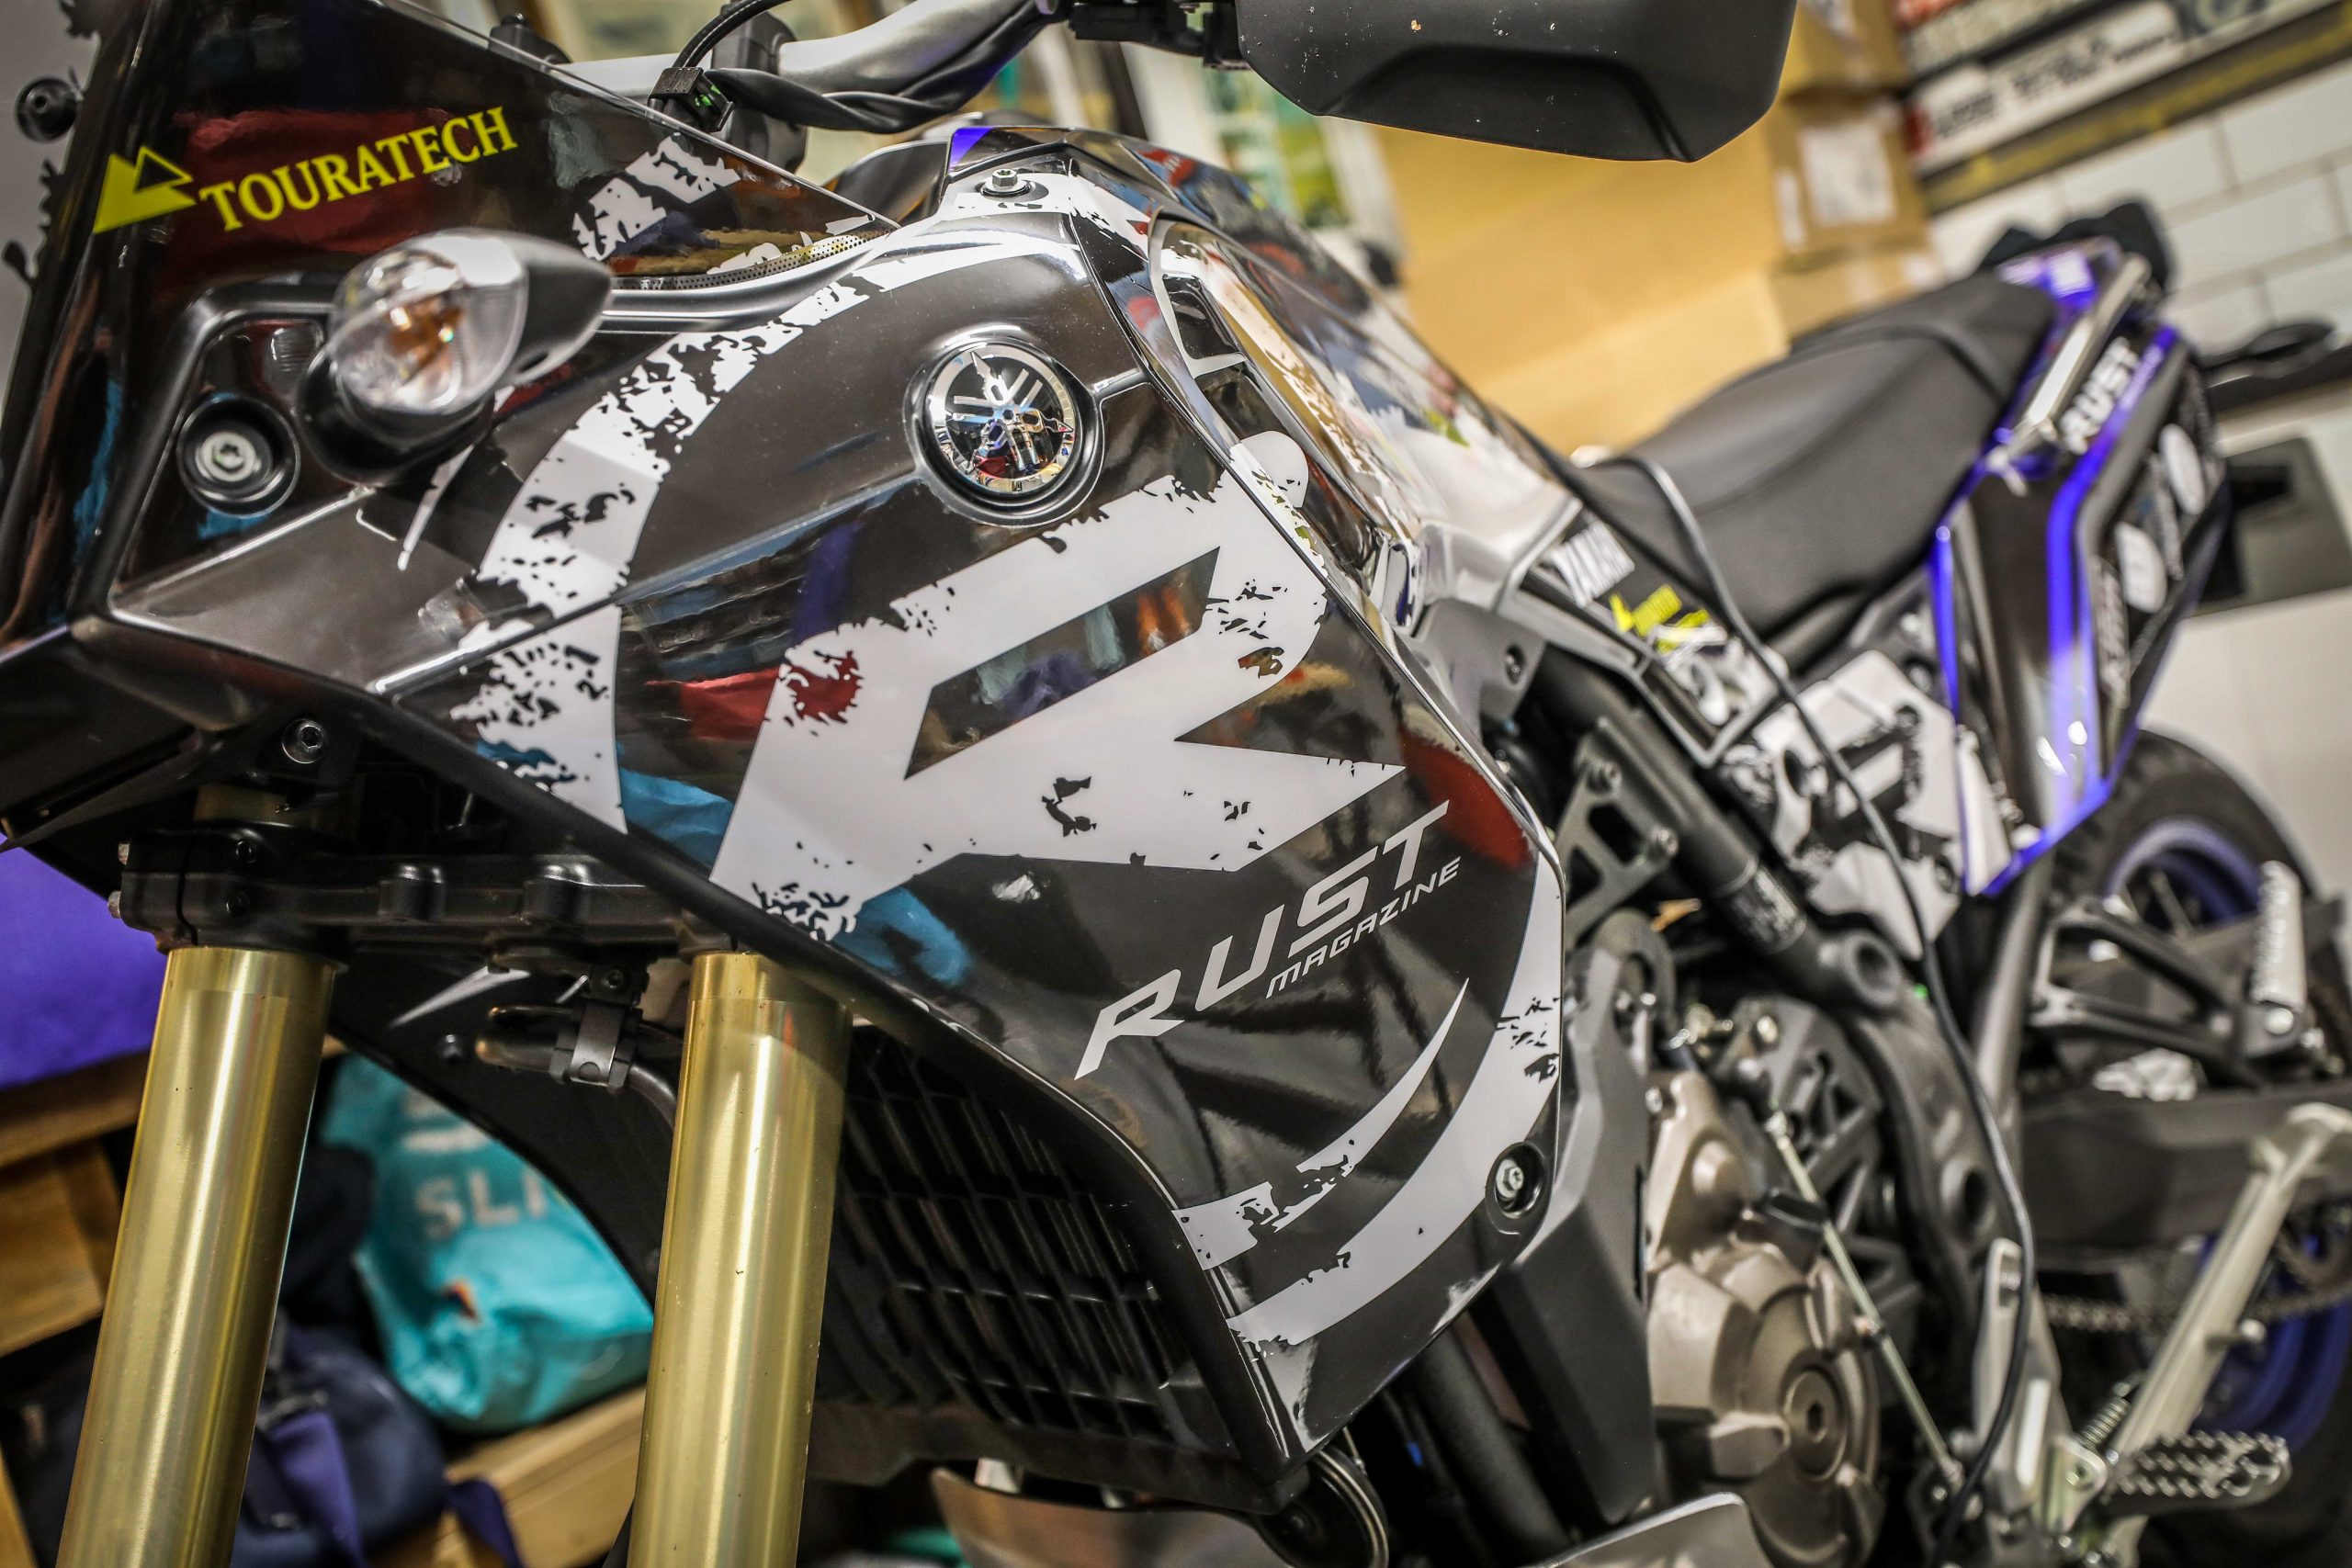
Starting with the flatter panels helps get your eye in before tackling the multidimensional panels
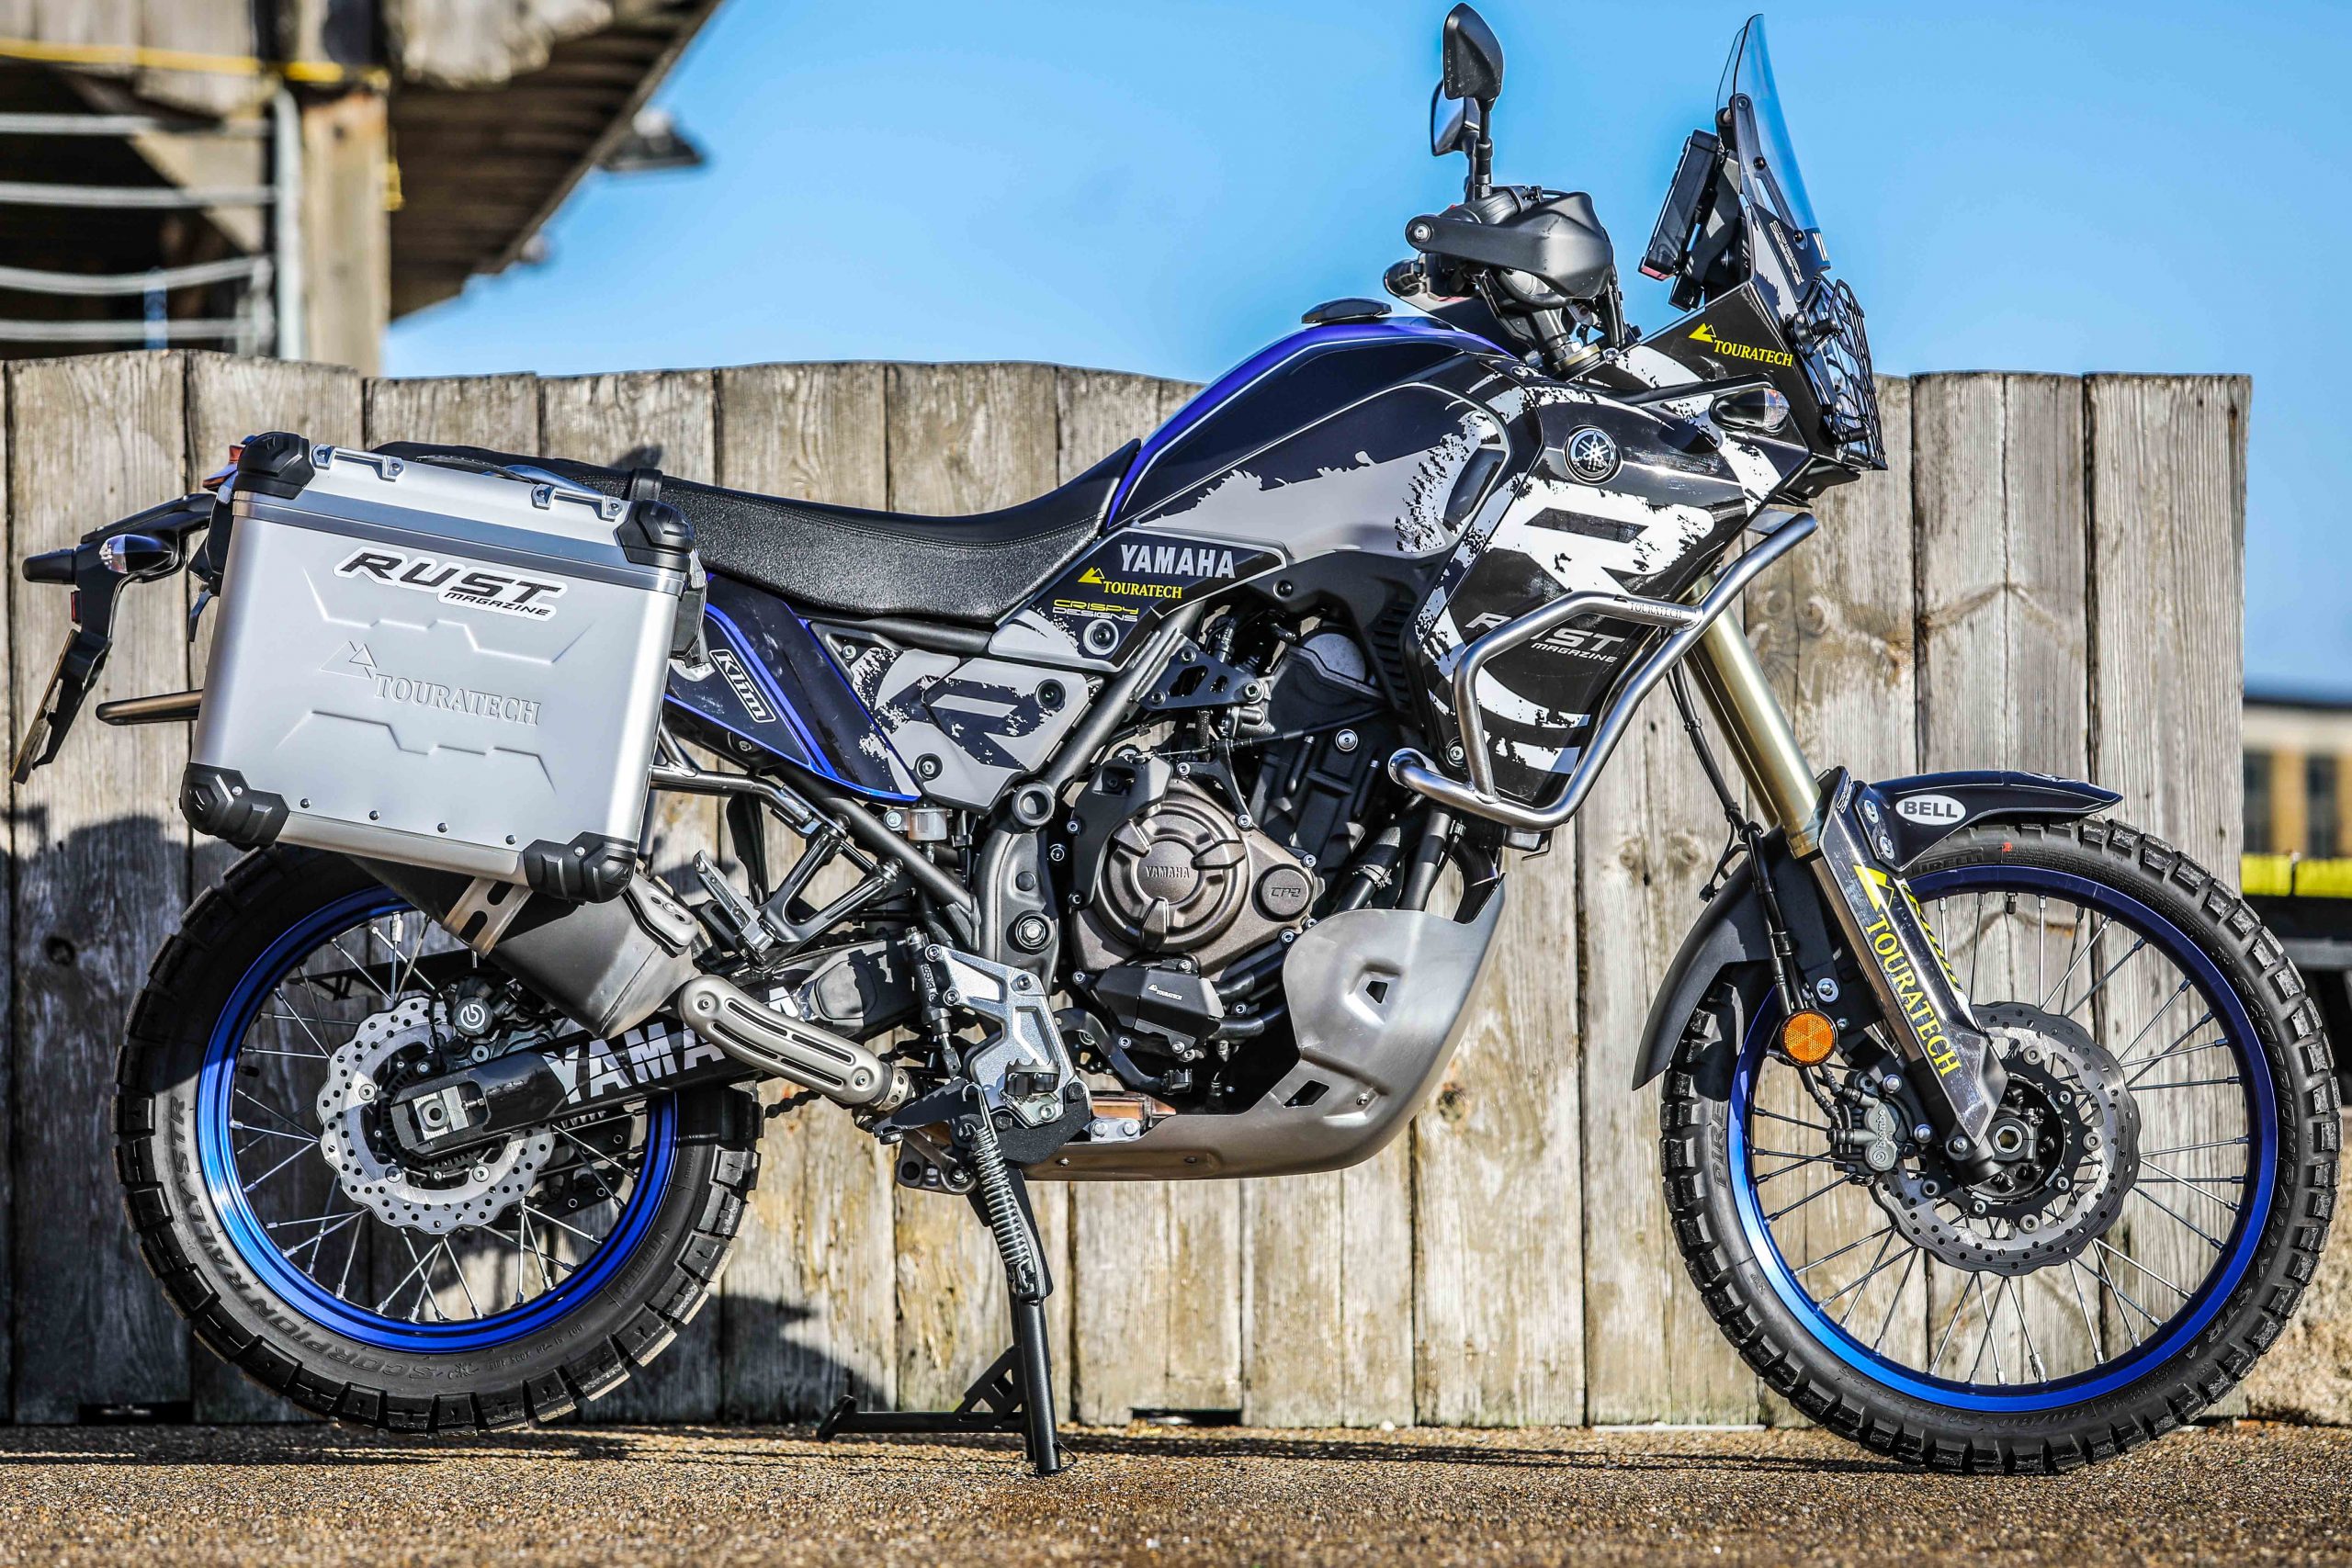
The graphics were an excellent fit for each section
I used a hair dryer to gently heat the graphics before and during applying, especially important where the graphic has to bend acutely
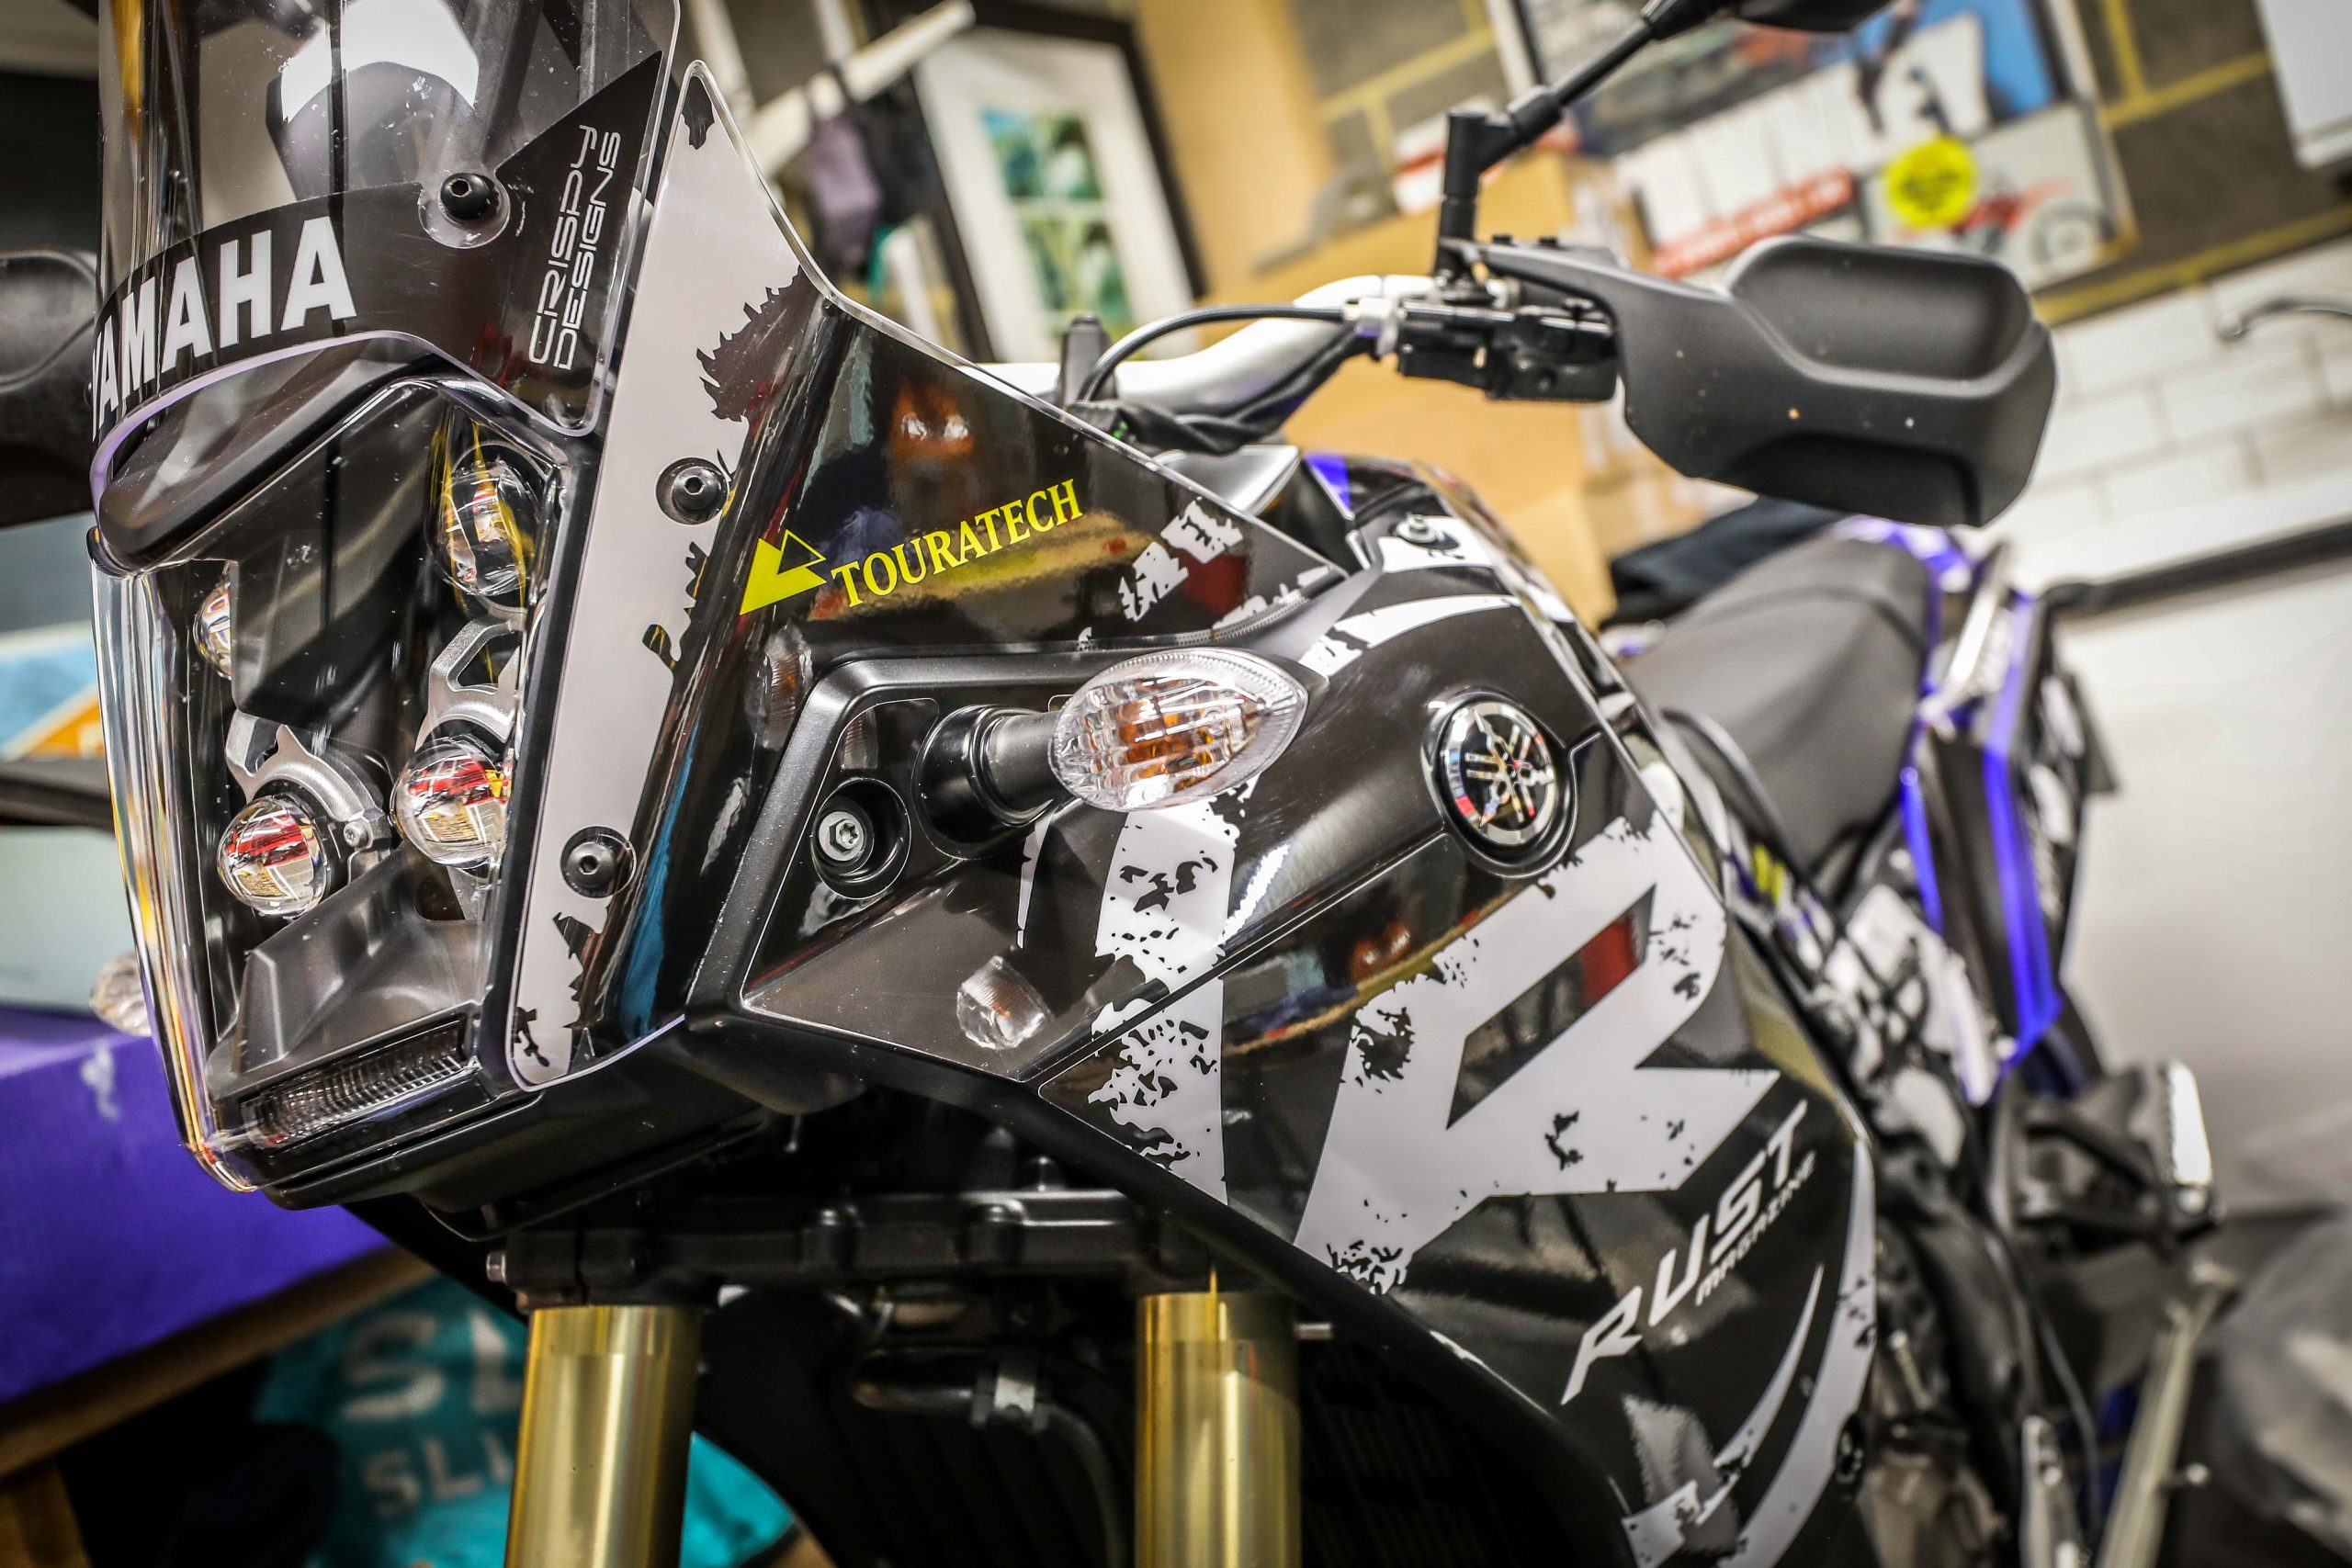
The graphic has to apply to a variety of surfaces, from alloy, to steel to ABS (rough and smooth)
NO BUBBLES
Now I had been planning to concentrate on fitting various protections after finishing my ergo setup (see blog #1) but I quickly realised that I’d be taking most of these off again to apply the graphics. The order had to be stickers first, crash bars etc second.
Before applying the new graphics I gave the Ténéré a decent clean and with the aid of a hairdryer the existing stickers on the side panels came off easily and just needed the smallest rub with a petrol-soaked rag (and then a quick wash with detergent) to remove any adhesive residues.
Applying the graphics is a matter of maintaining maximum concentration and some care and patience. None of which I’m very good at. But actually, it’s not as difficult as it first seems and while I confess I didn’t achieve an entirely flawless finish I’d say I’d get an A-, possibly, as there’s just the odd small bubble or crease on the most difficult multi-angled sections. Careful use of the hairdyer again helped a great deal, especially where acute folds around corners were required. And my logic was to start with the easy flattish panels first to ‘get my eye in’ as it were. This kind of worked, but after starting with the tail piece I then found I had to apply the biggest panel, most prominent of all next – the front fairing sidepanels next (gulp). But these worked out fine, as did the rest.
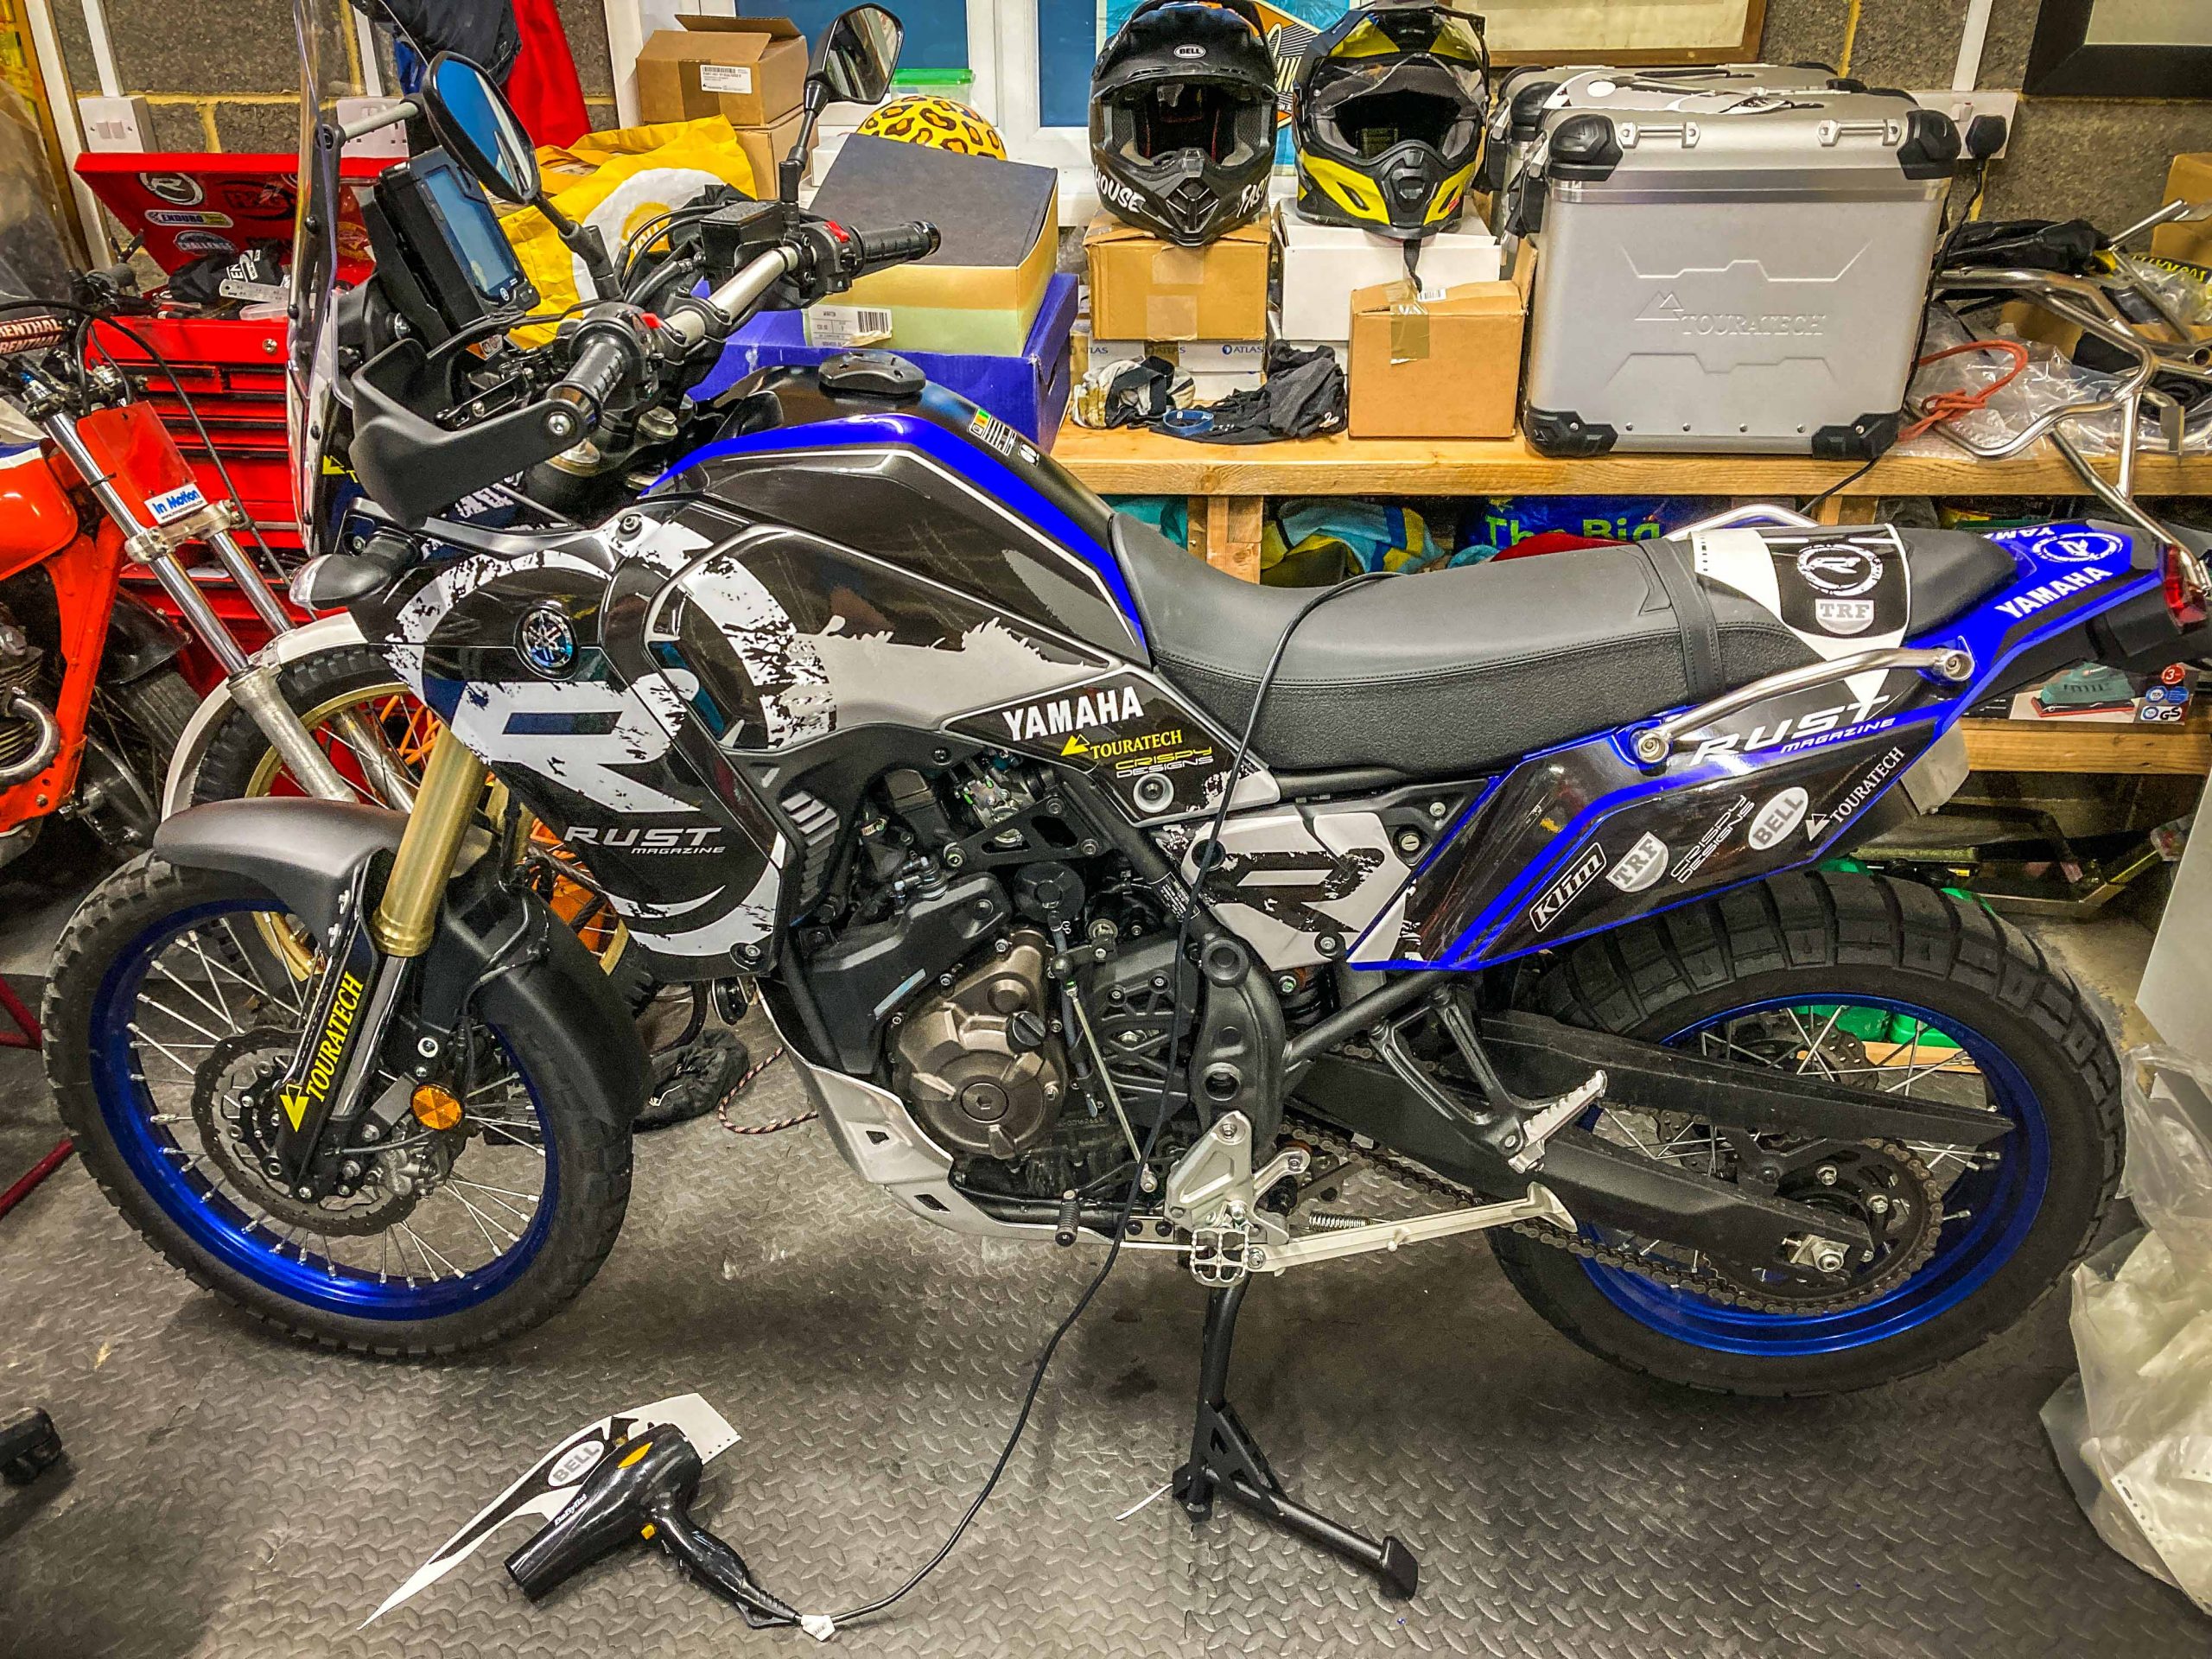
A CONVERT?
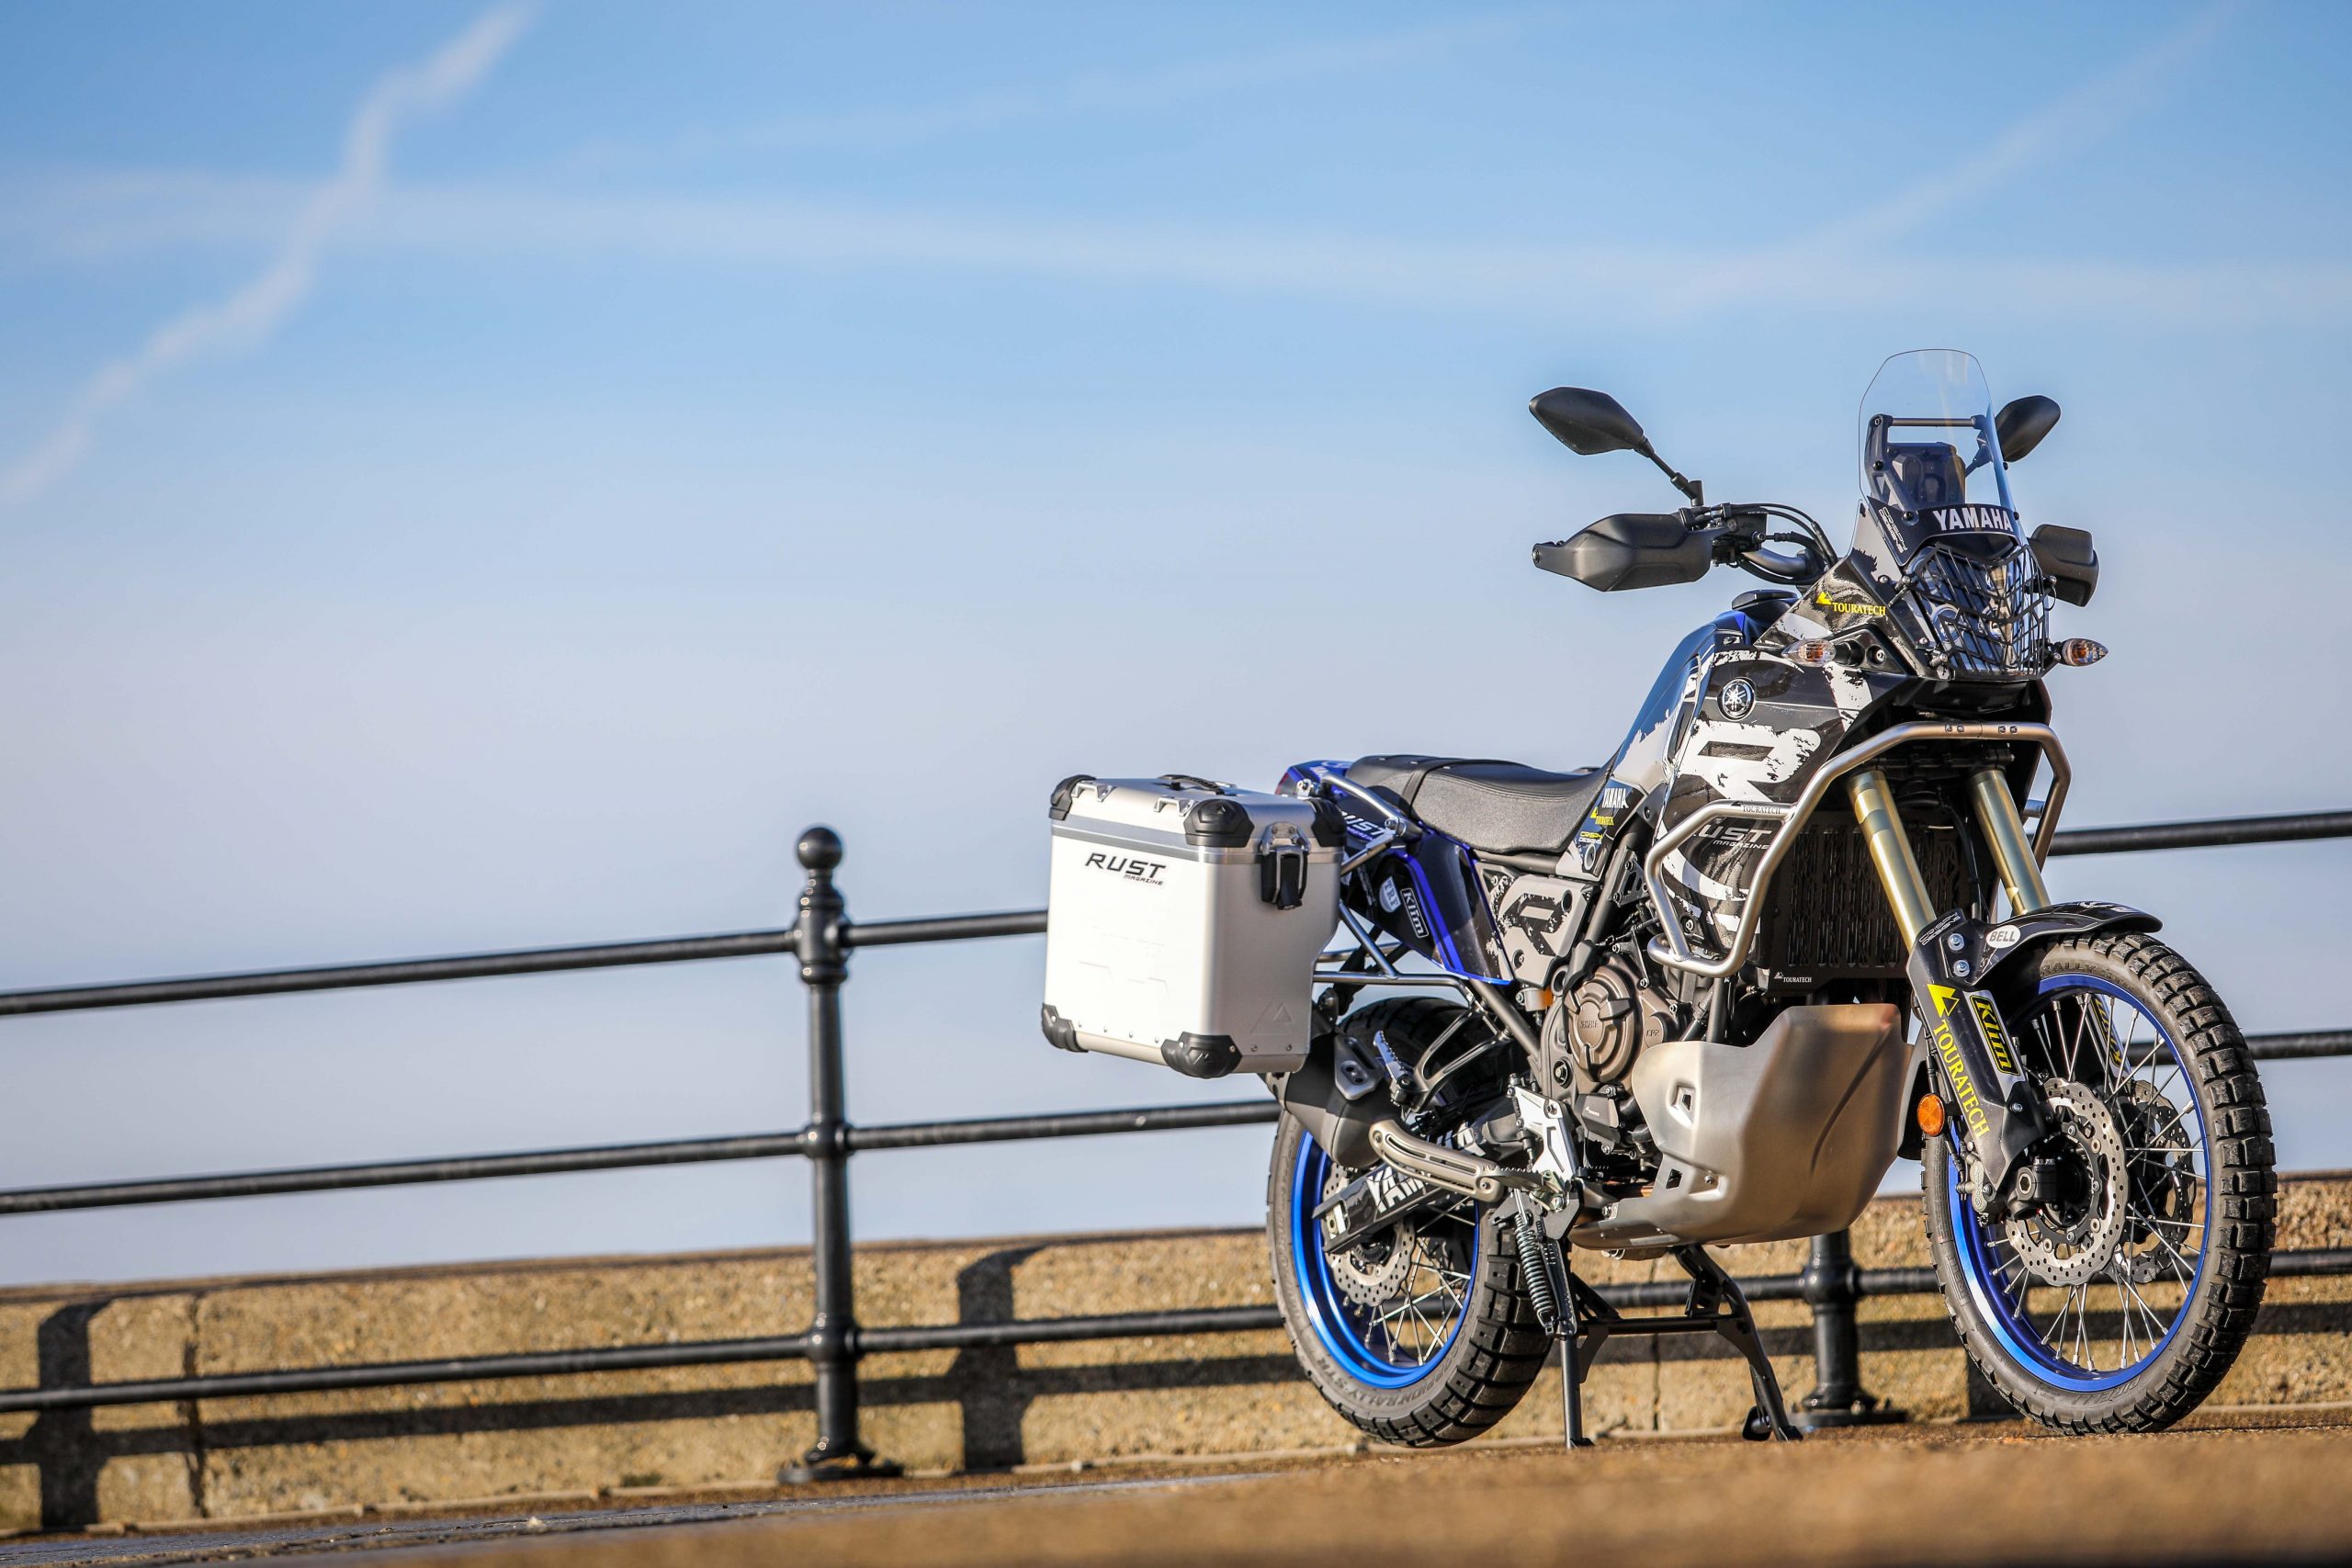
Job done I’m super-impressed with the result. I must confess I wasn’t sure I wanted to graphic-up the bike. Adventure isn’t racing and I’m not sure it’s a good thing to make our adventure bikes look too racy – it sends the wrong message to the public when we should be just noodling along these shared country trails. Given that stance, my instructions to Christian had been to create a look that was exciting/interesting but not immediately race-oriented – so certainly no number backgrounds or numbers! And I think he achieved exactly that.
And with the job done I confess it’s made me love the bike more. It’s now not a Ténéré it’s my Ténéré (although Yamaha UK might dispute that!). And while I’m not a modifier/farkler by inclination, I have to say the process (which will continue in the next blogs) does connect you more with your bike and certainly increases the pride in ownership. It’s a ‘journey’ (as they say on Strictly)…
Keep up to date with the latest articles, receive our free magazine via email and get notified of special offers and discounts. Be part of the RUST community today…