Generic selectors
Exact matches only
Search in title
Search in content
Post Type Selectors
Generic selectors
Exact matches only
Search in title
Search in content
Post Type Selectors
Generic selectors
Exact matches only
Search in title
Search in content
Post Type Selectors
Yamaha Tenere 700

BLOG – YAMAHA TENERE – RIDING AND MODDING – 4

At last, the 'travel' section of RUST's mods to our Tenere 700 – yep, panniers, bags – and navigation – get covered off in this instalment

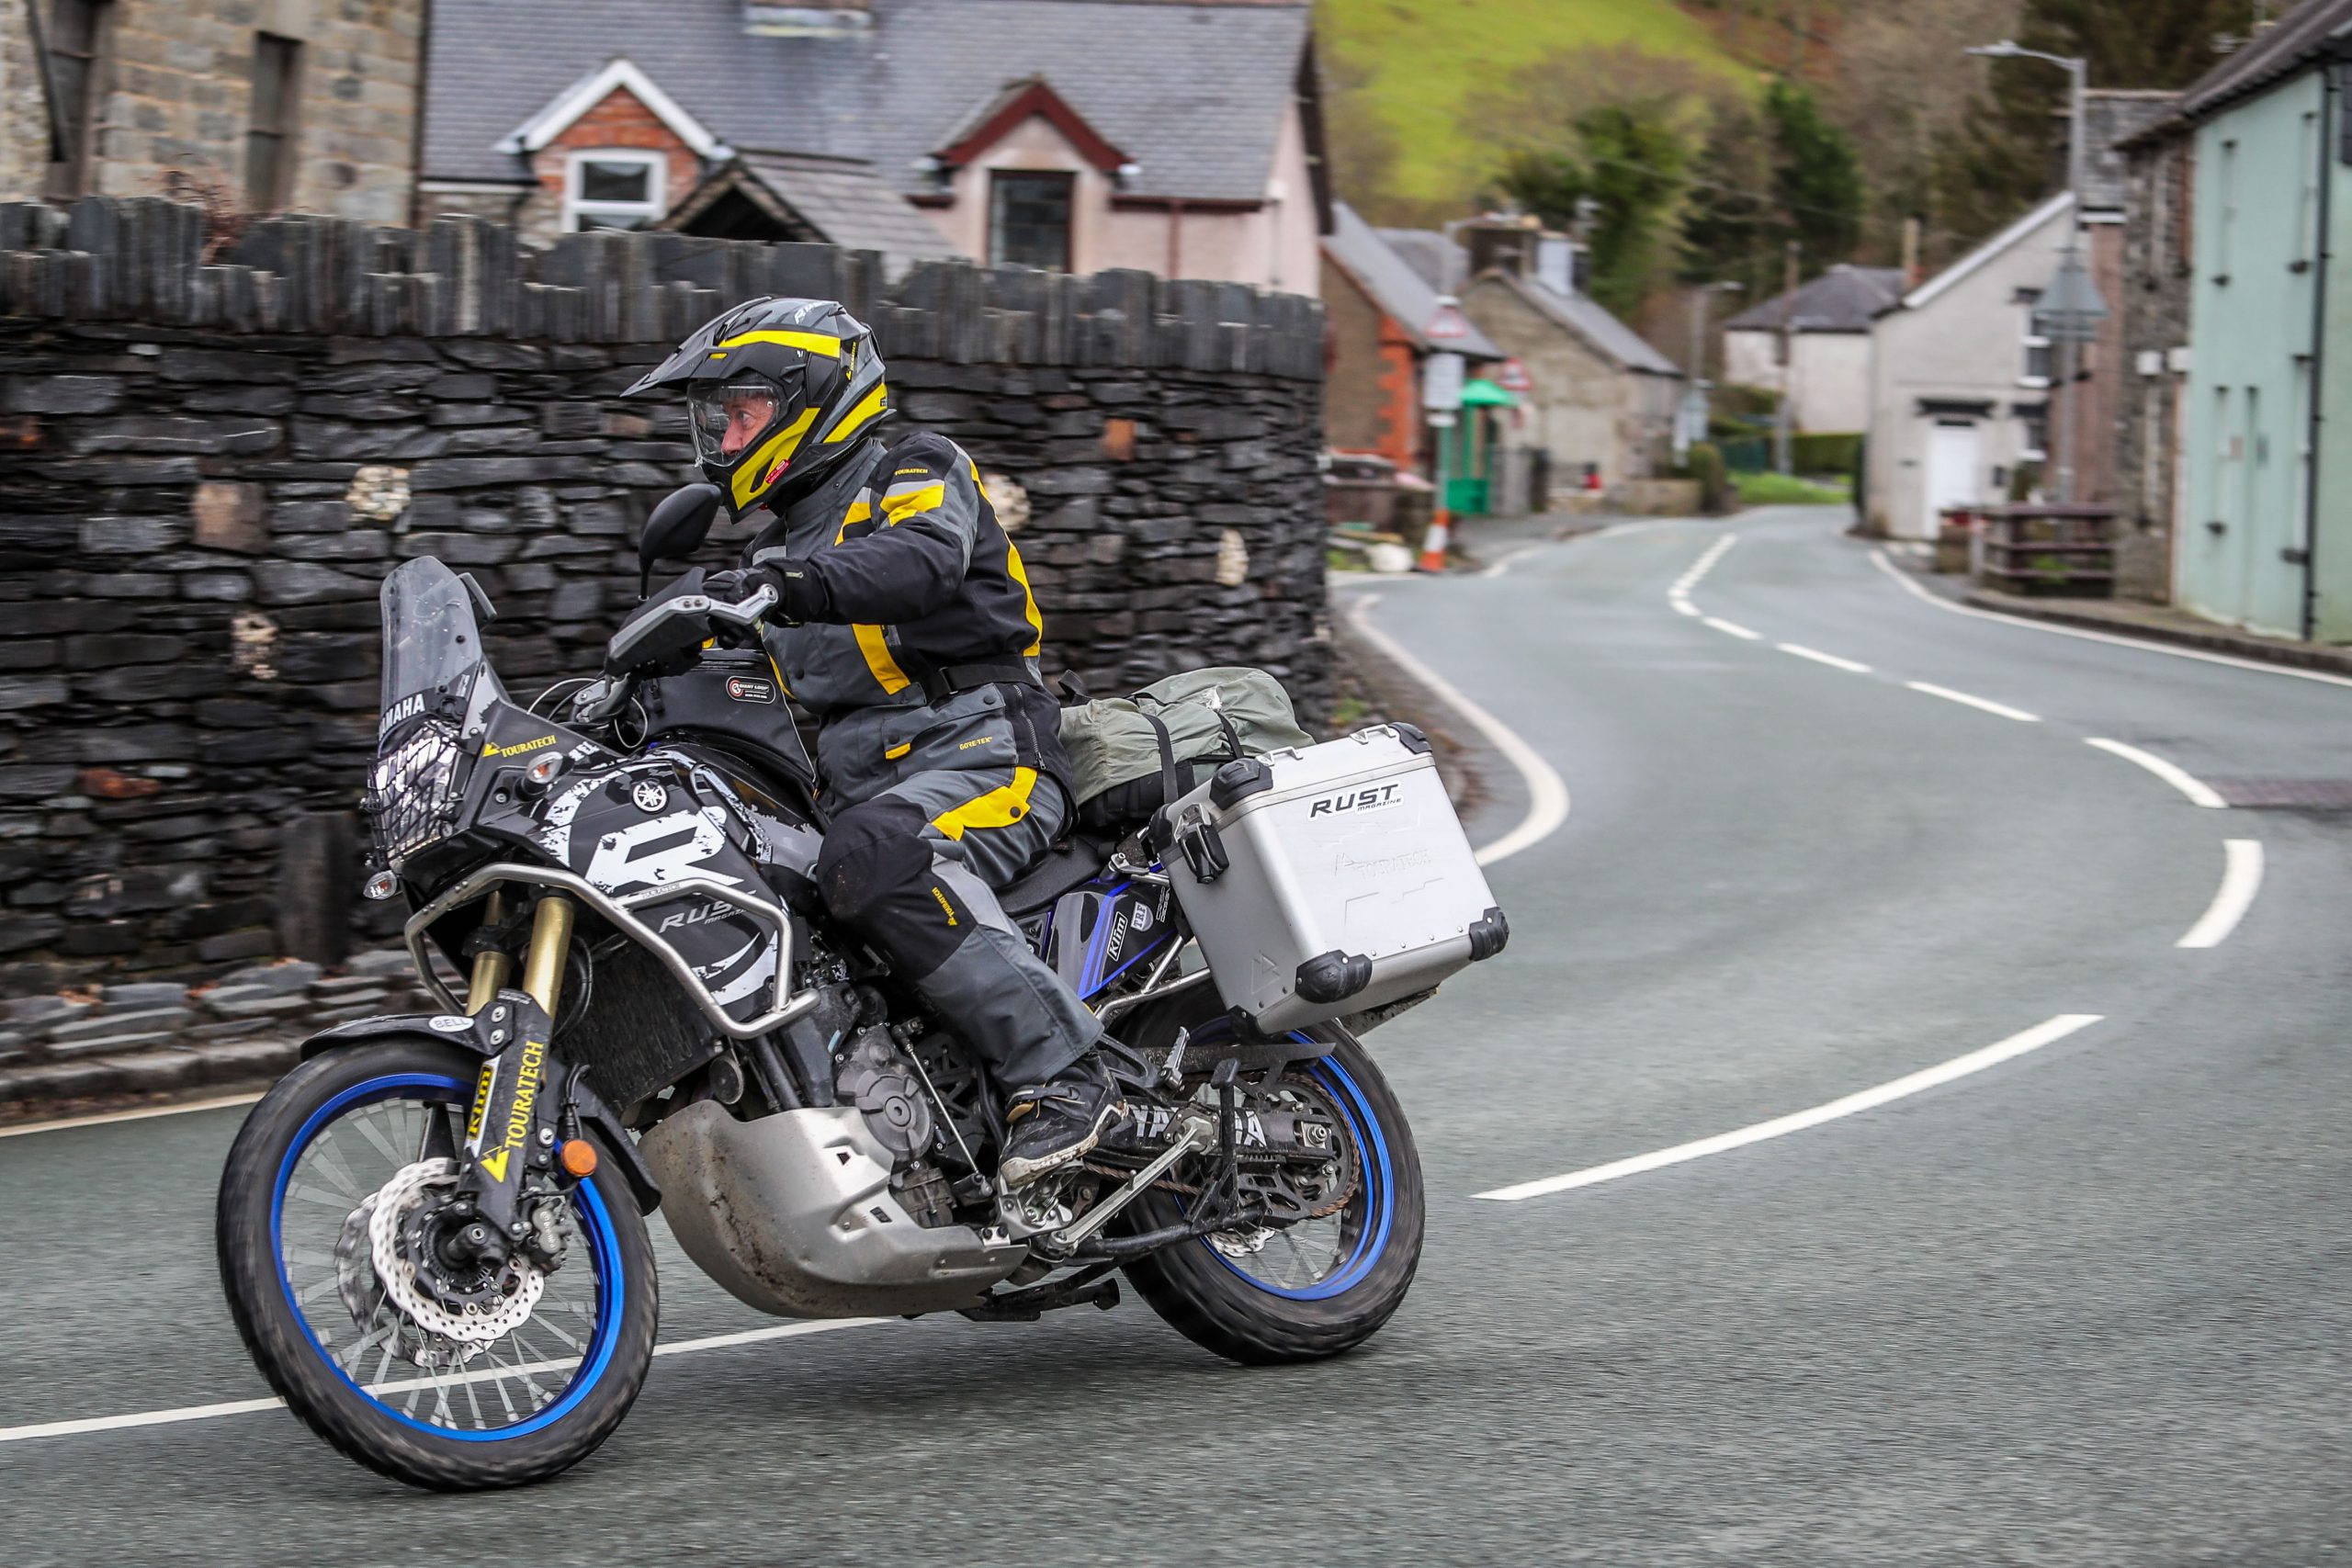
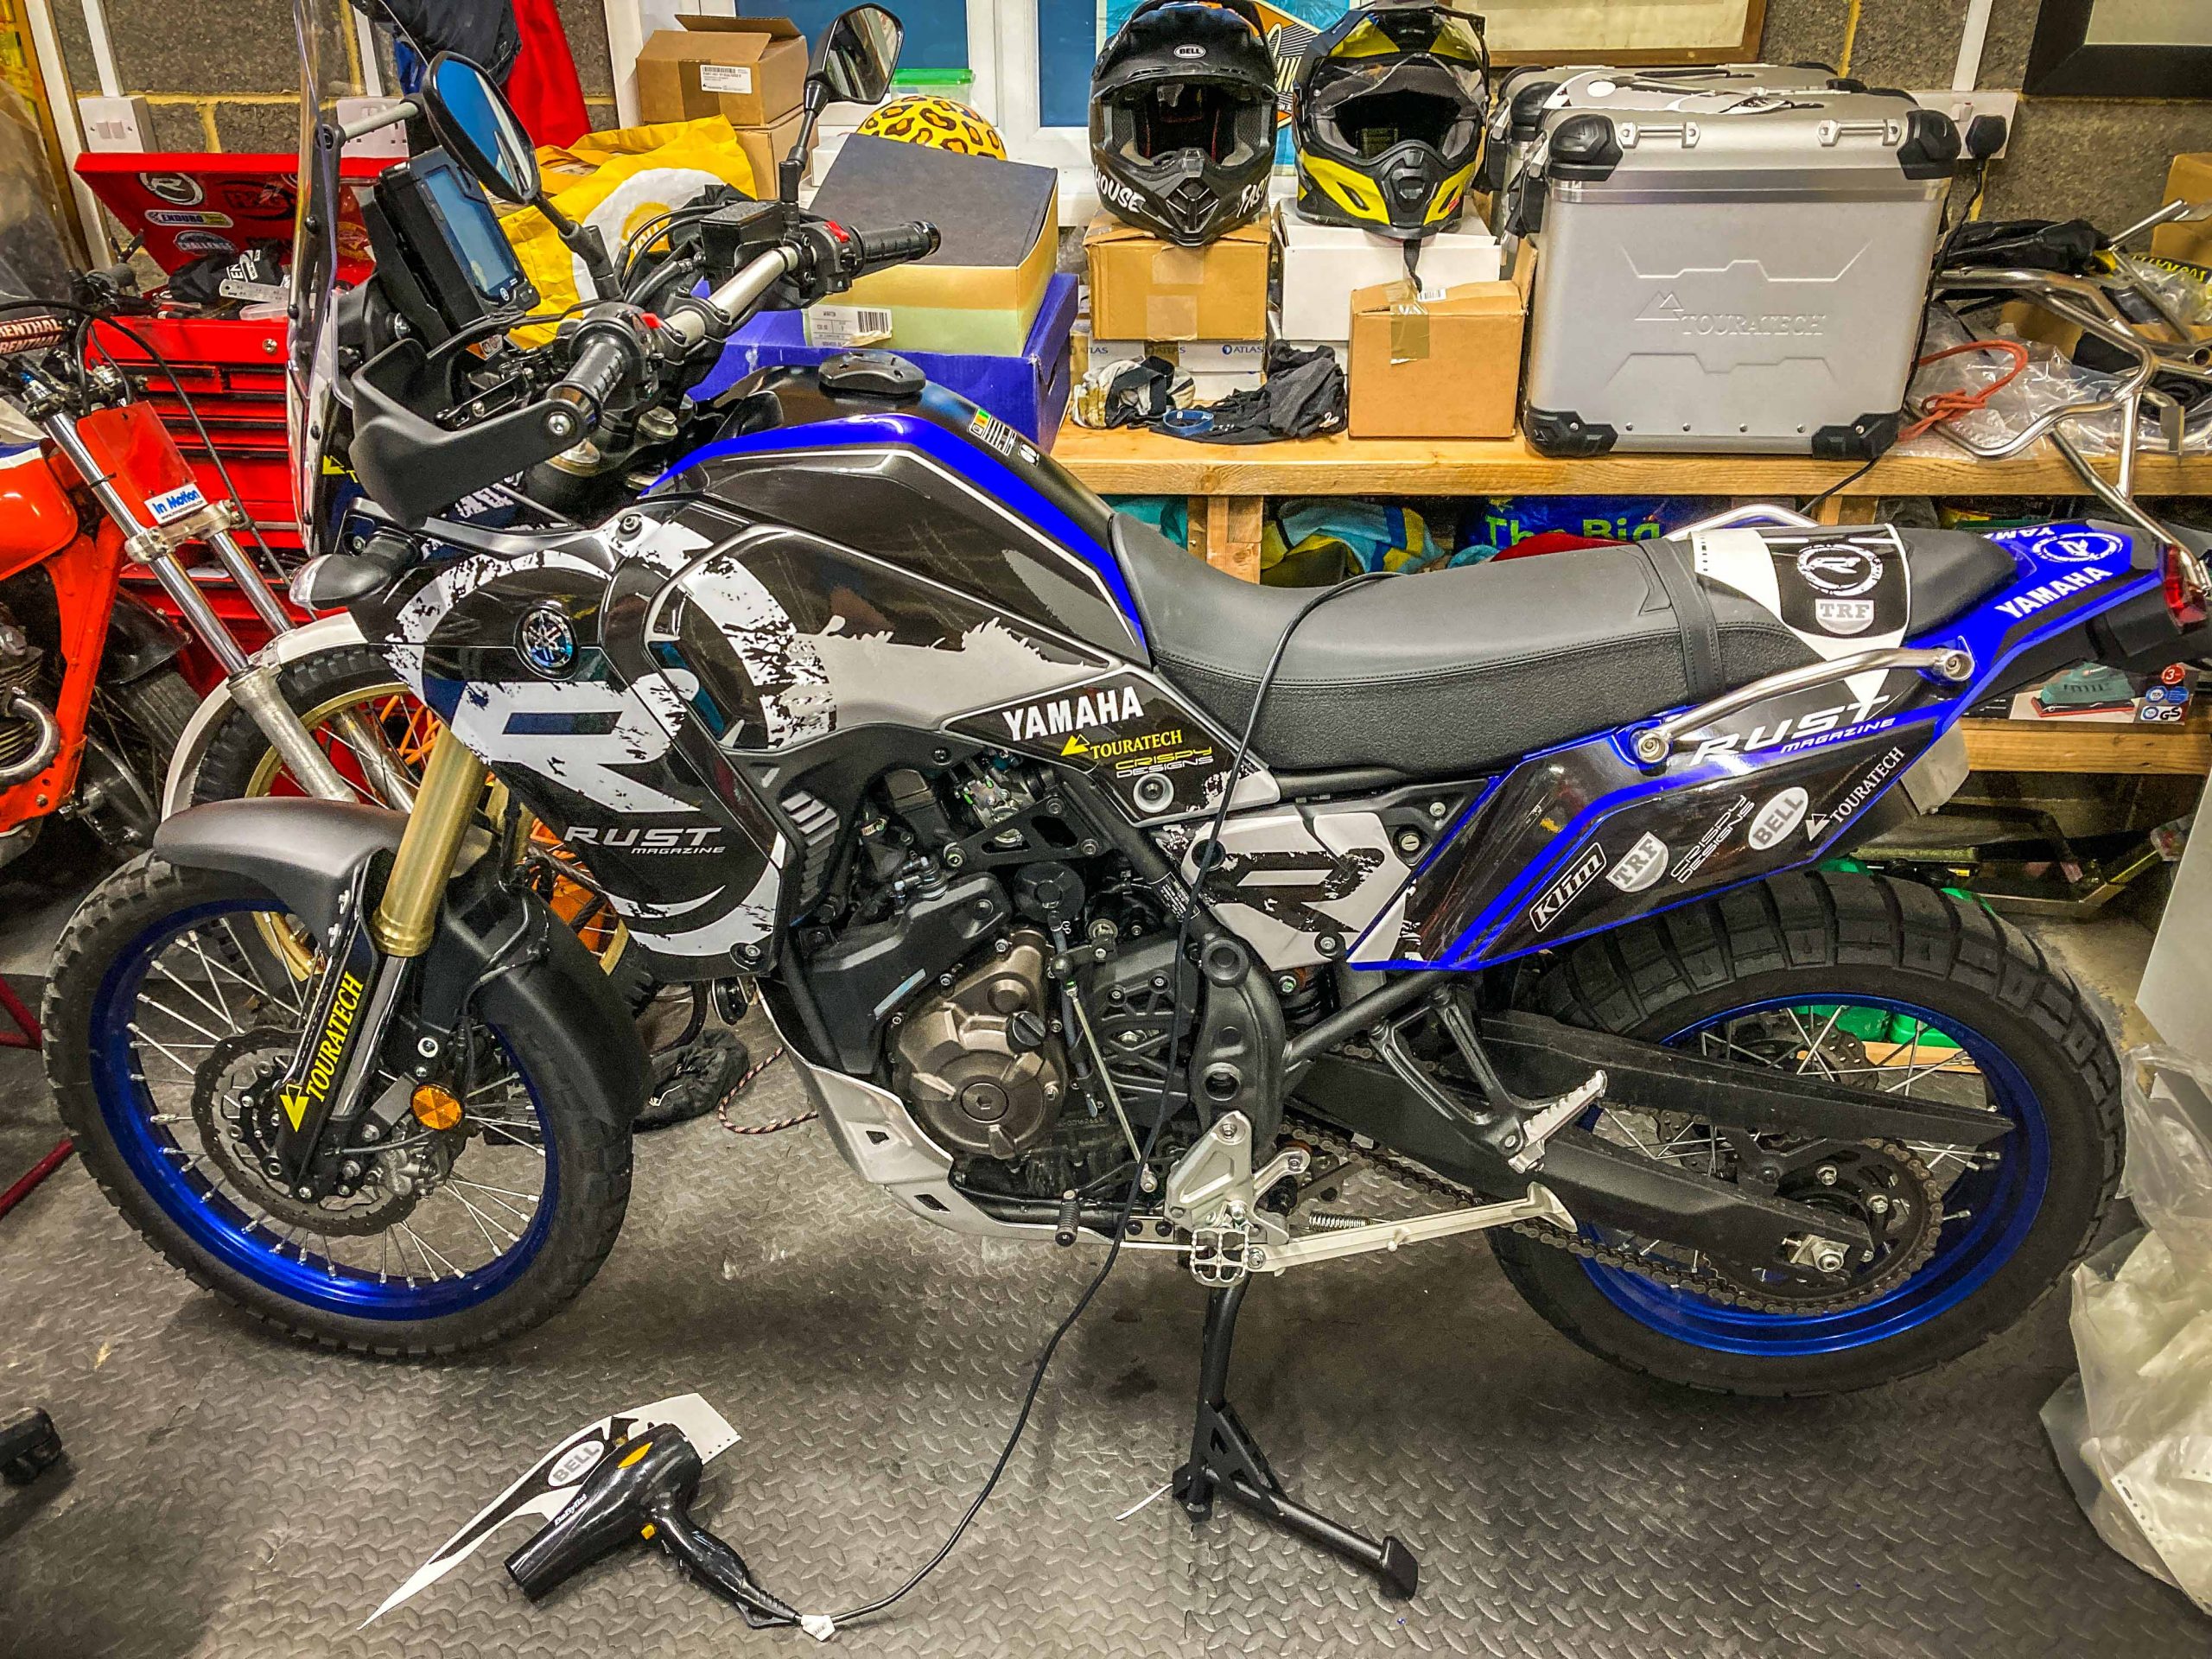
The RUST Yamaha Ténéré ‘build’ is nearing completion. I wouldn’t say it’s totally completed as such because there’s always more to do, more I might want to add. And we most probably will be visiting things like suspension and of course tyres in due course. But in terms of having a bike that has all I need to go adventure riding now, yeah we’re there or thereabouts.

So, the ‘travel’ setup. Here’s what I’ve done.

PANNIERS

I didn’t immediately plump for panniers or throw-over bags (ie hard vs soft luggage) when it came to luggage. I don’t favour either because having travelled with both setups, I know there are positives and negatives for both. Instead, I have both options here!

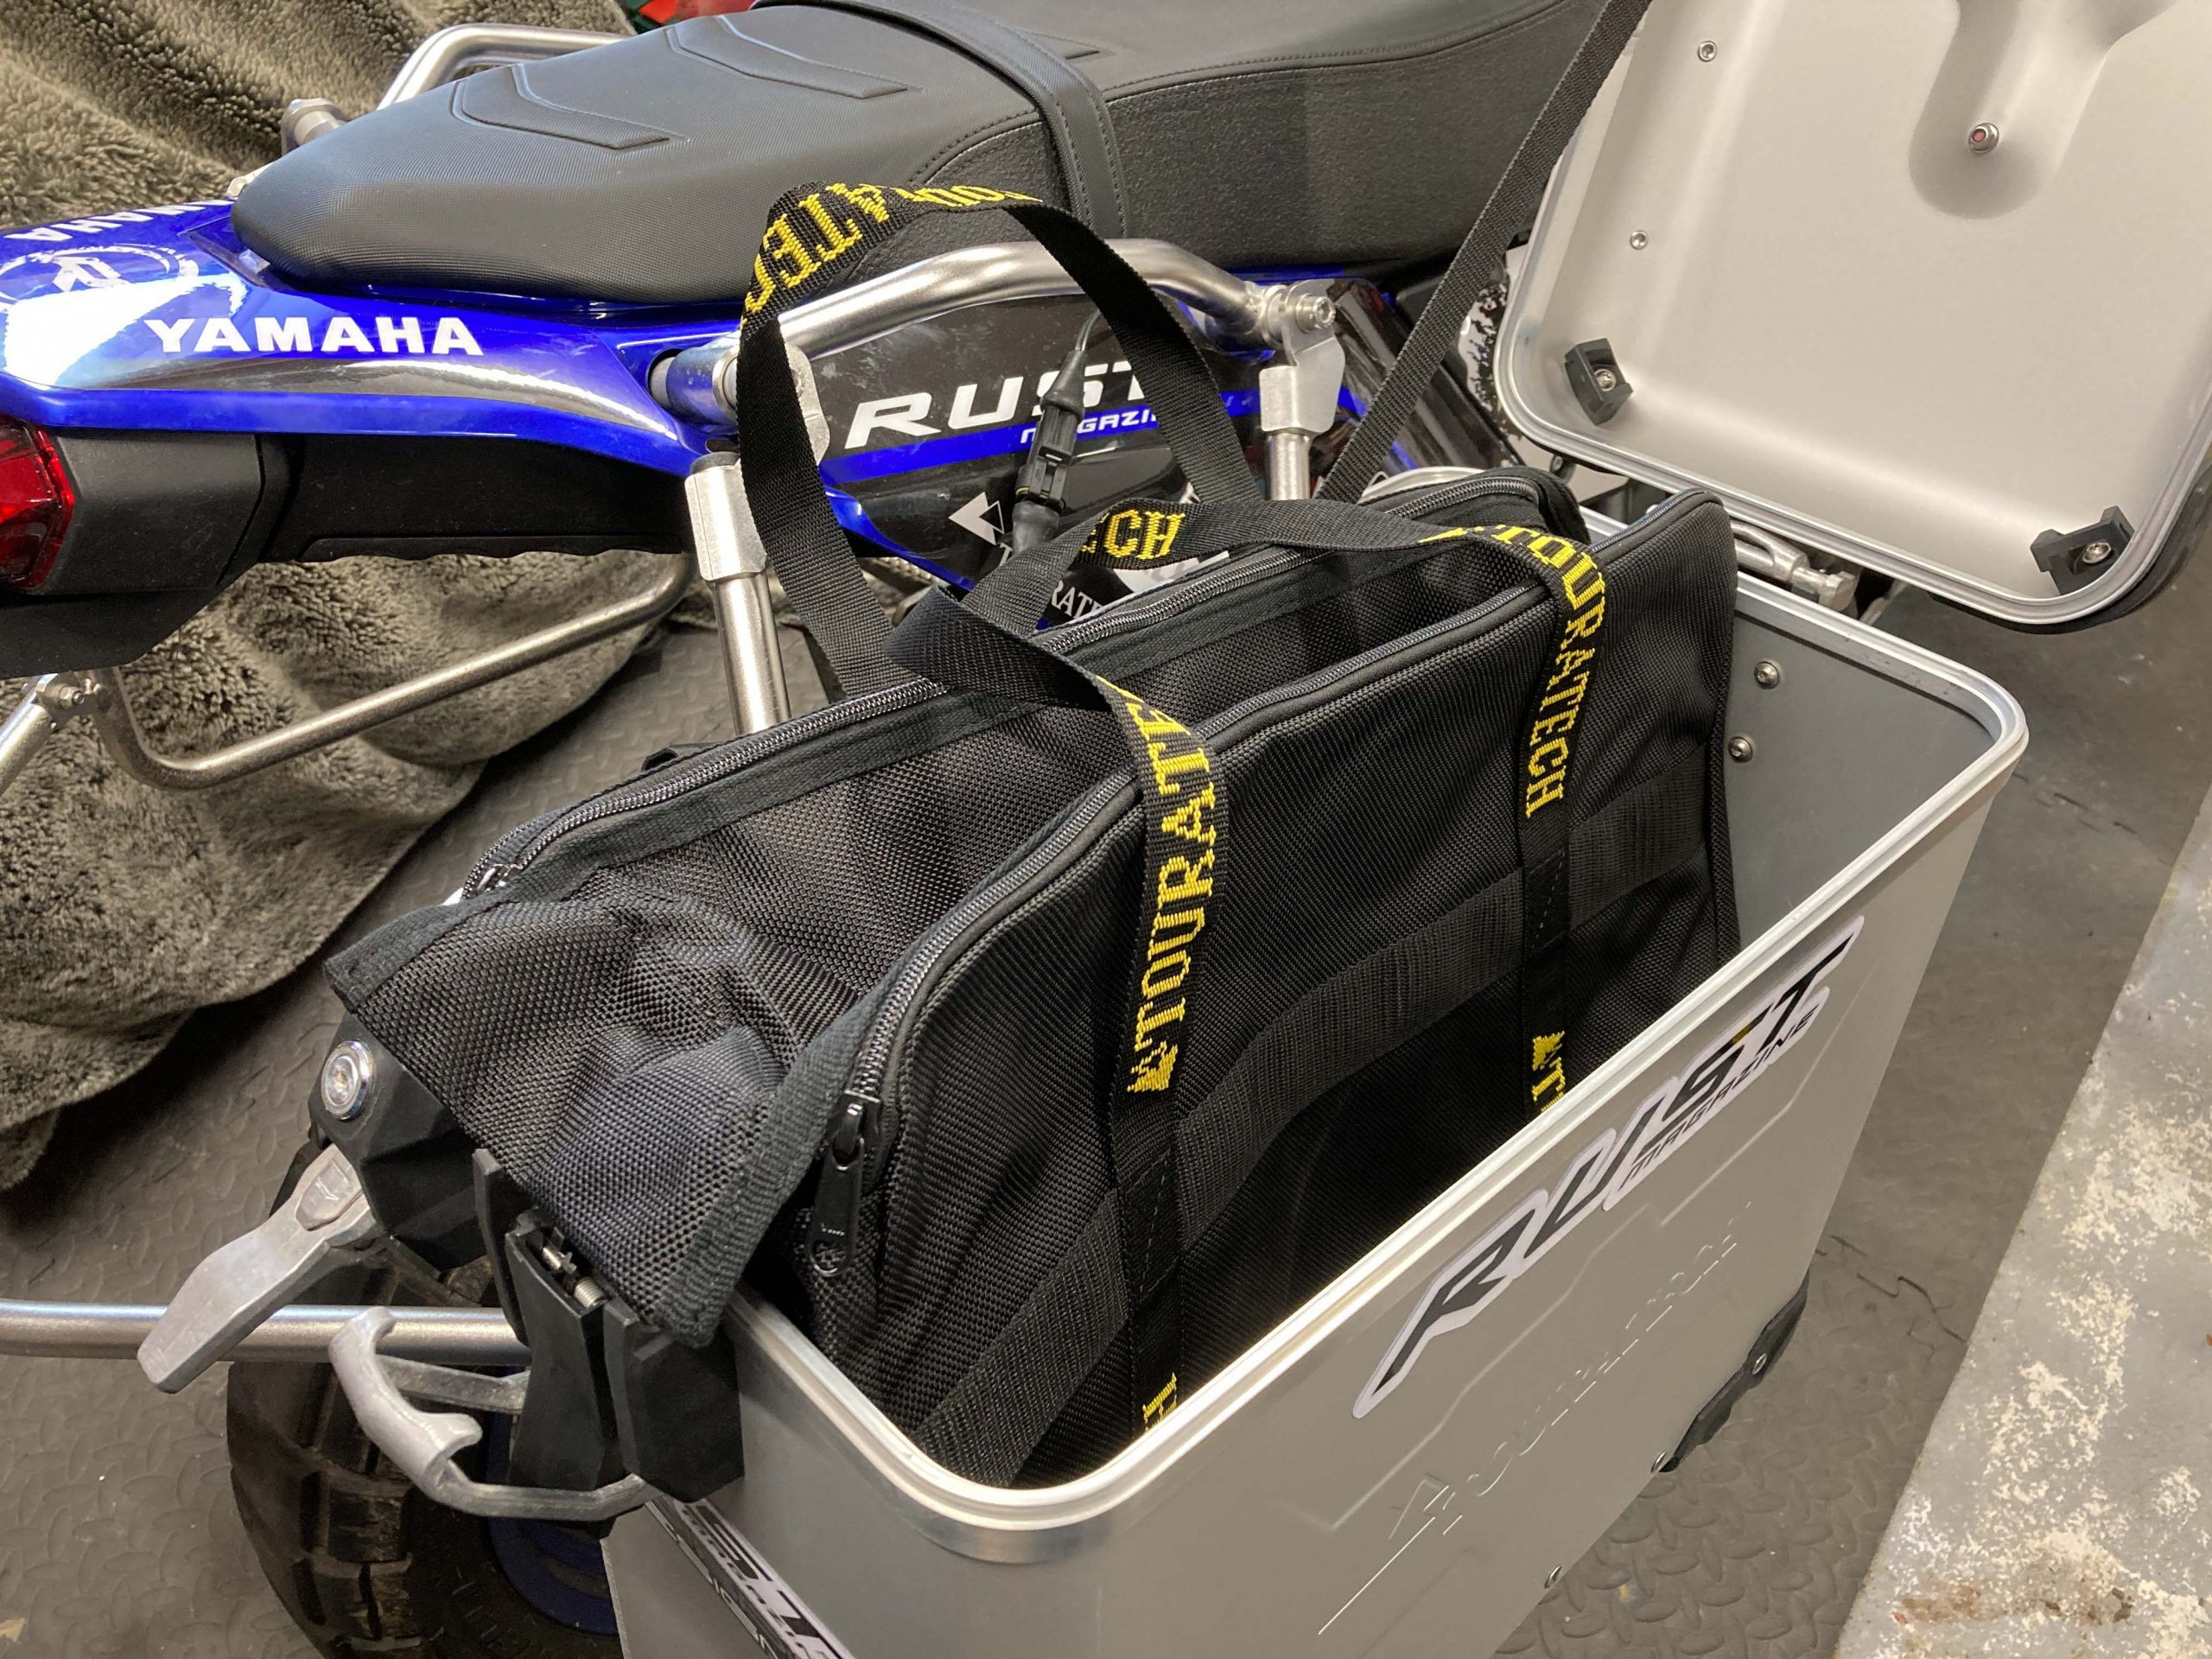
For a soft-luggage setup I have Touratech’s Discovery saddlebags, which I’ll be using later. This system offers two soft bags of 25-litre capacity each, plus has a neat integrated capability for lashing say an Ortlieb bag or tent (or both!) across the top. It’s a cute setup, with yellow waterproof inner bags that sit inside the external Cordura bags, plus there are an additional two 7.5-litre pockets with roll-top closure for more gear stashing. The whole lot, you throw over your bike and tie down with the four straps provided. The downside – as with many soft saddlebag designs – is you sacrifice the pillion seat to the bags. But it’s ideal for action (long) weekends for the solo rider. Two things you have to watch with soft bags: panel scratching (not an issue with enduro bikes, but tough to swallow with more expensive adventure bikes) and propensity to melt, or even catch fire if they rest on an exhaust.

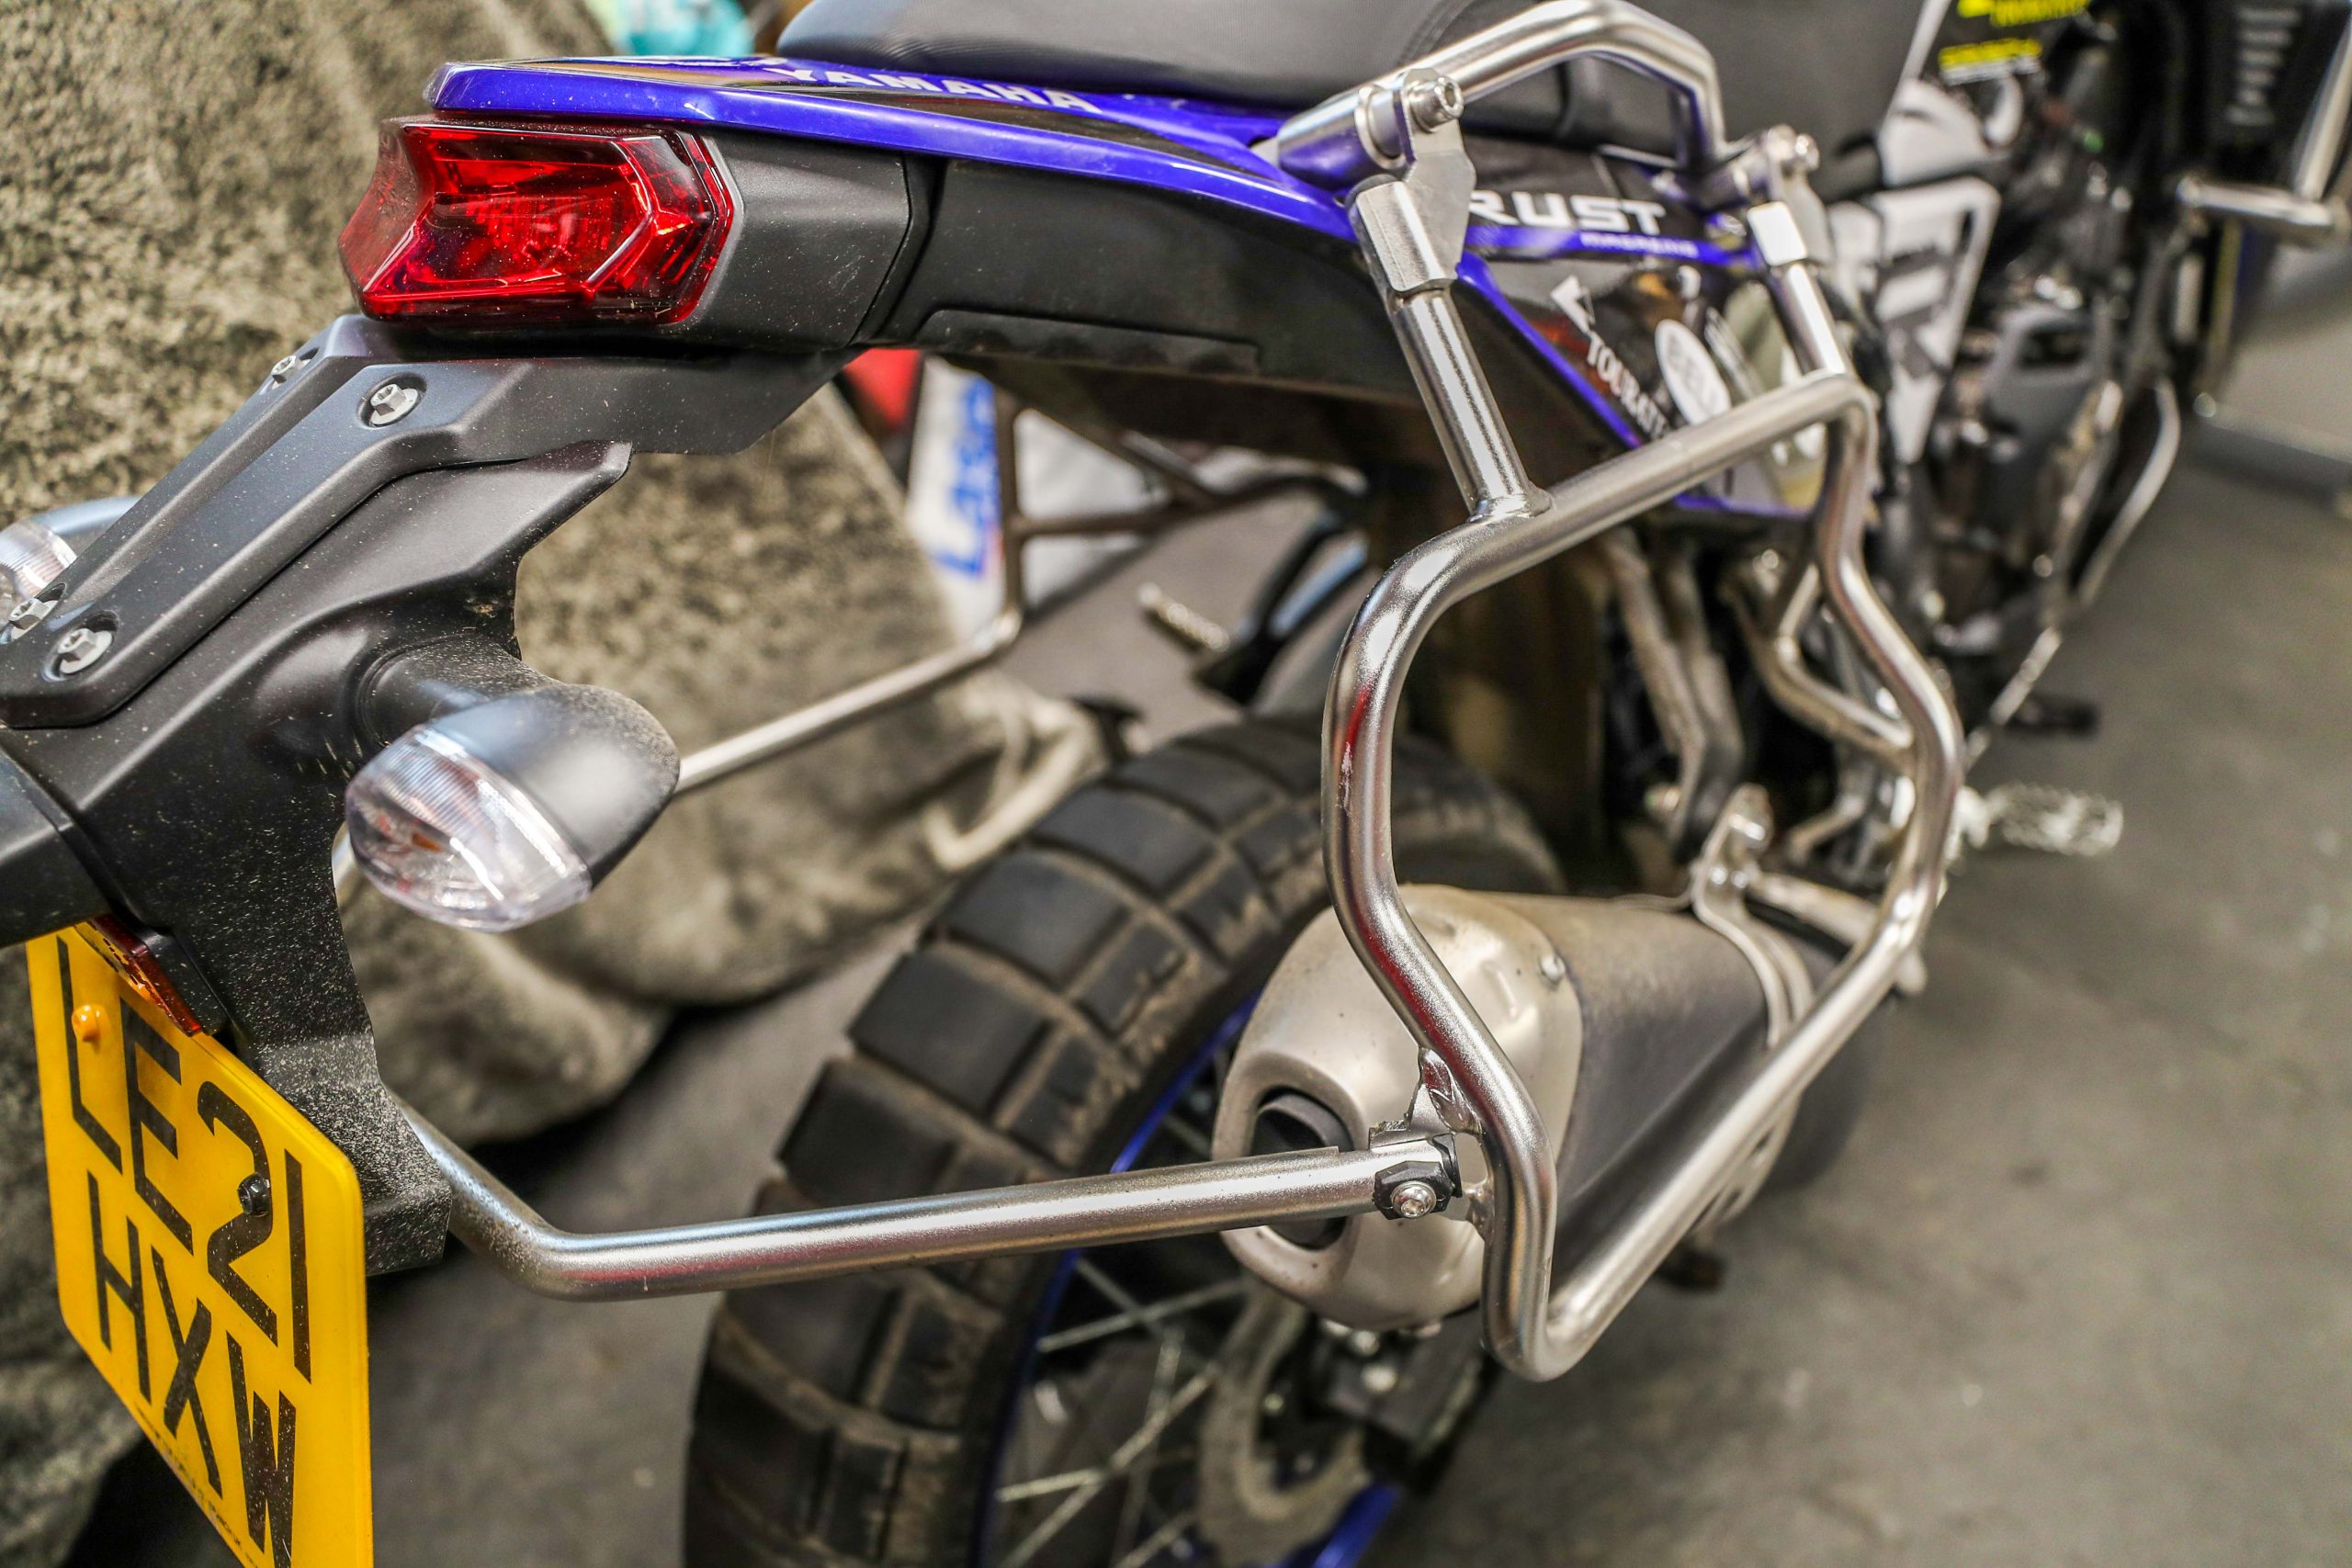
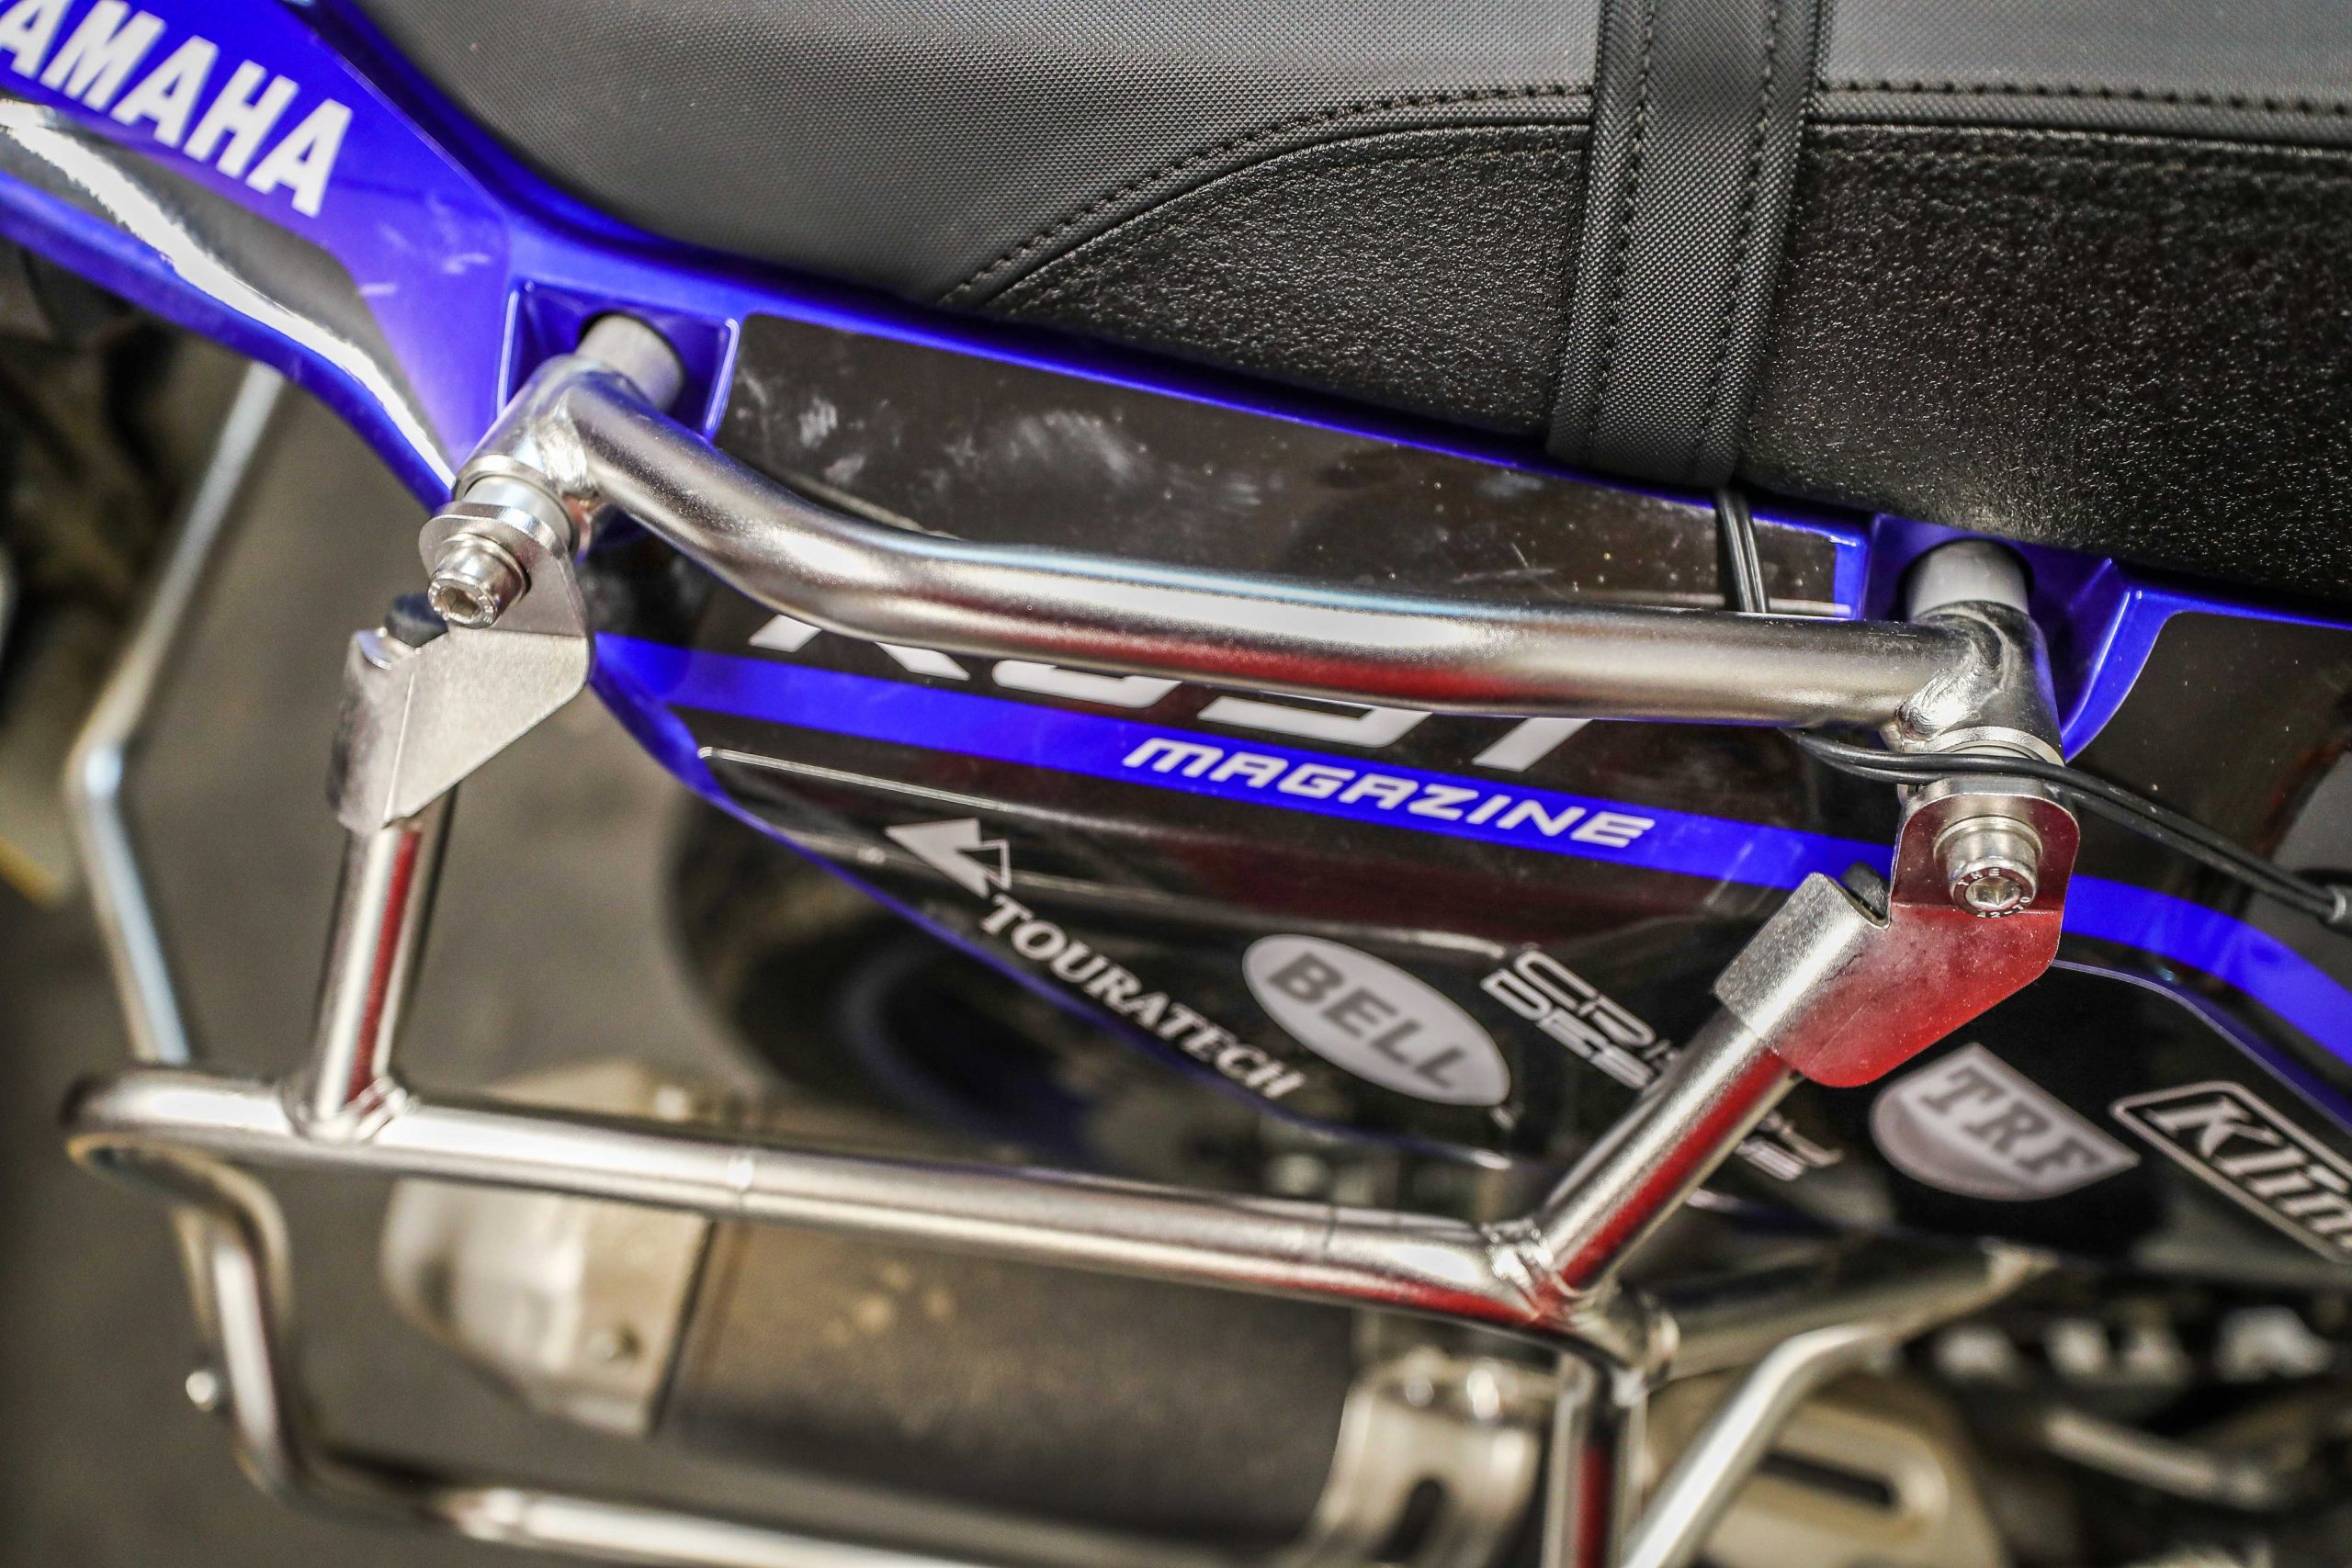
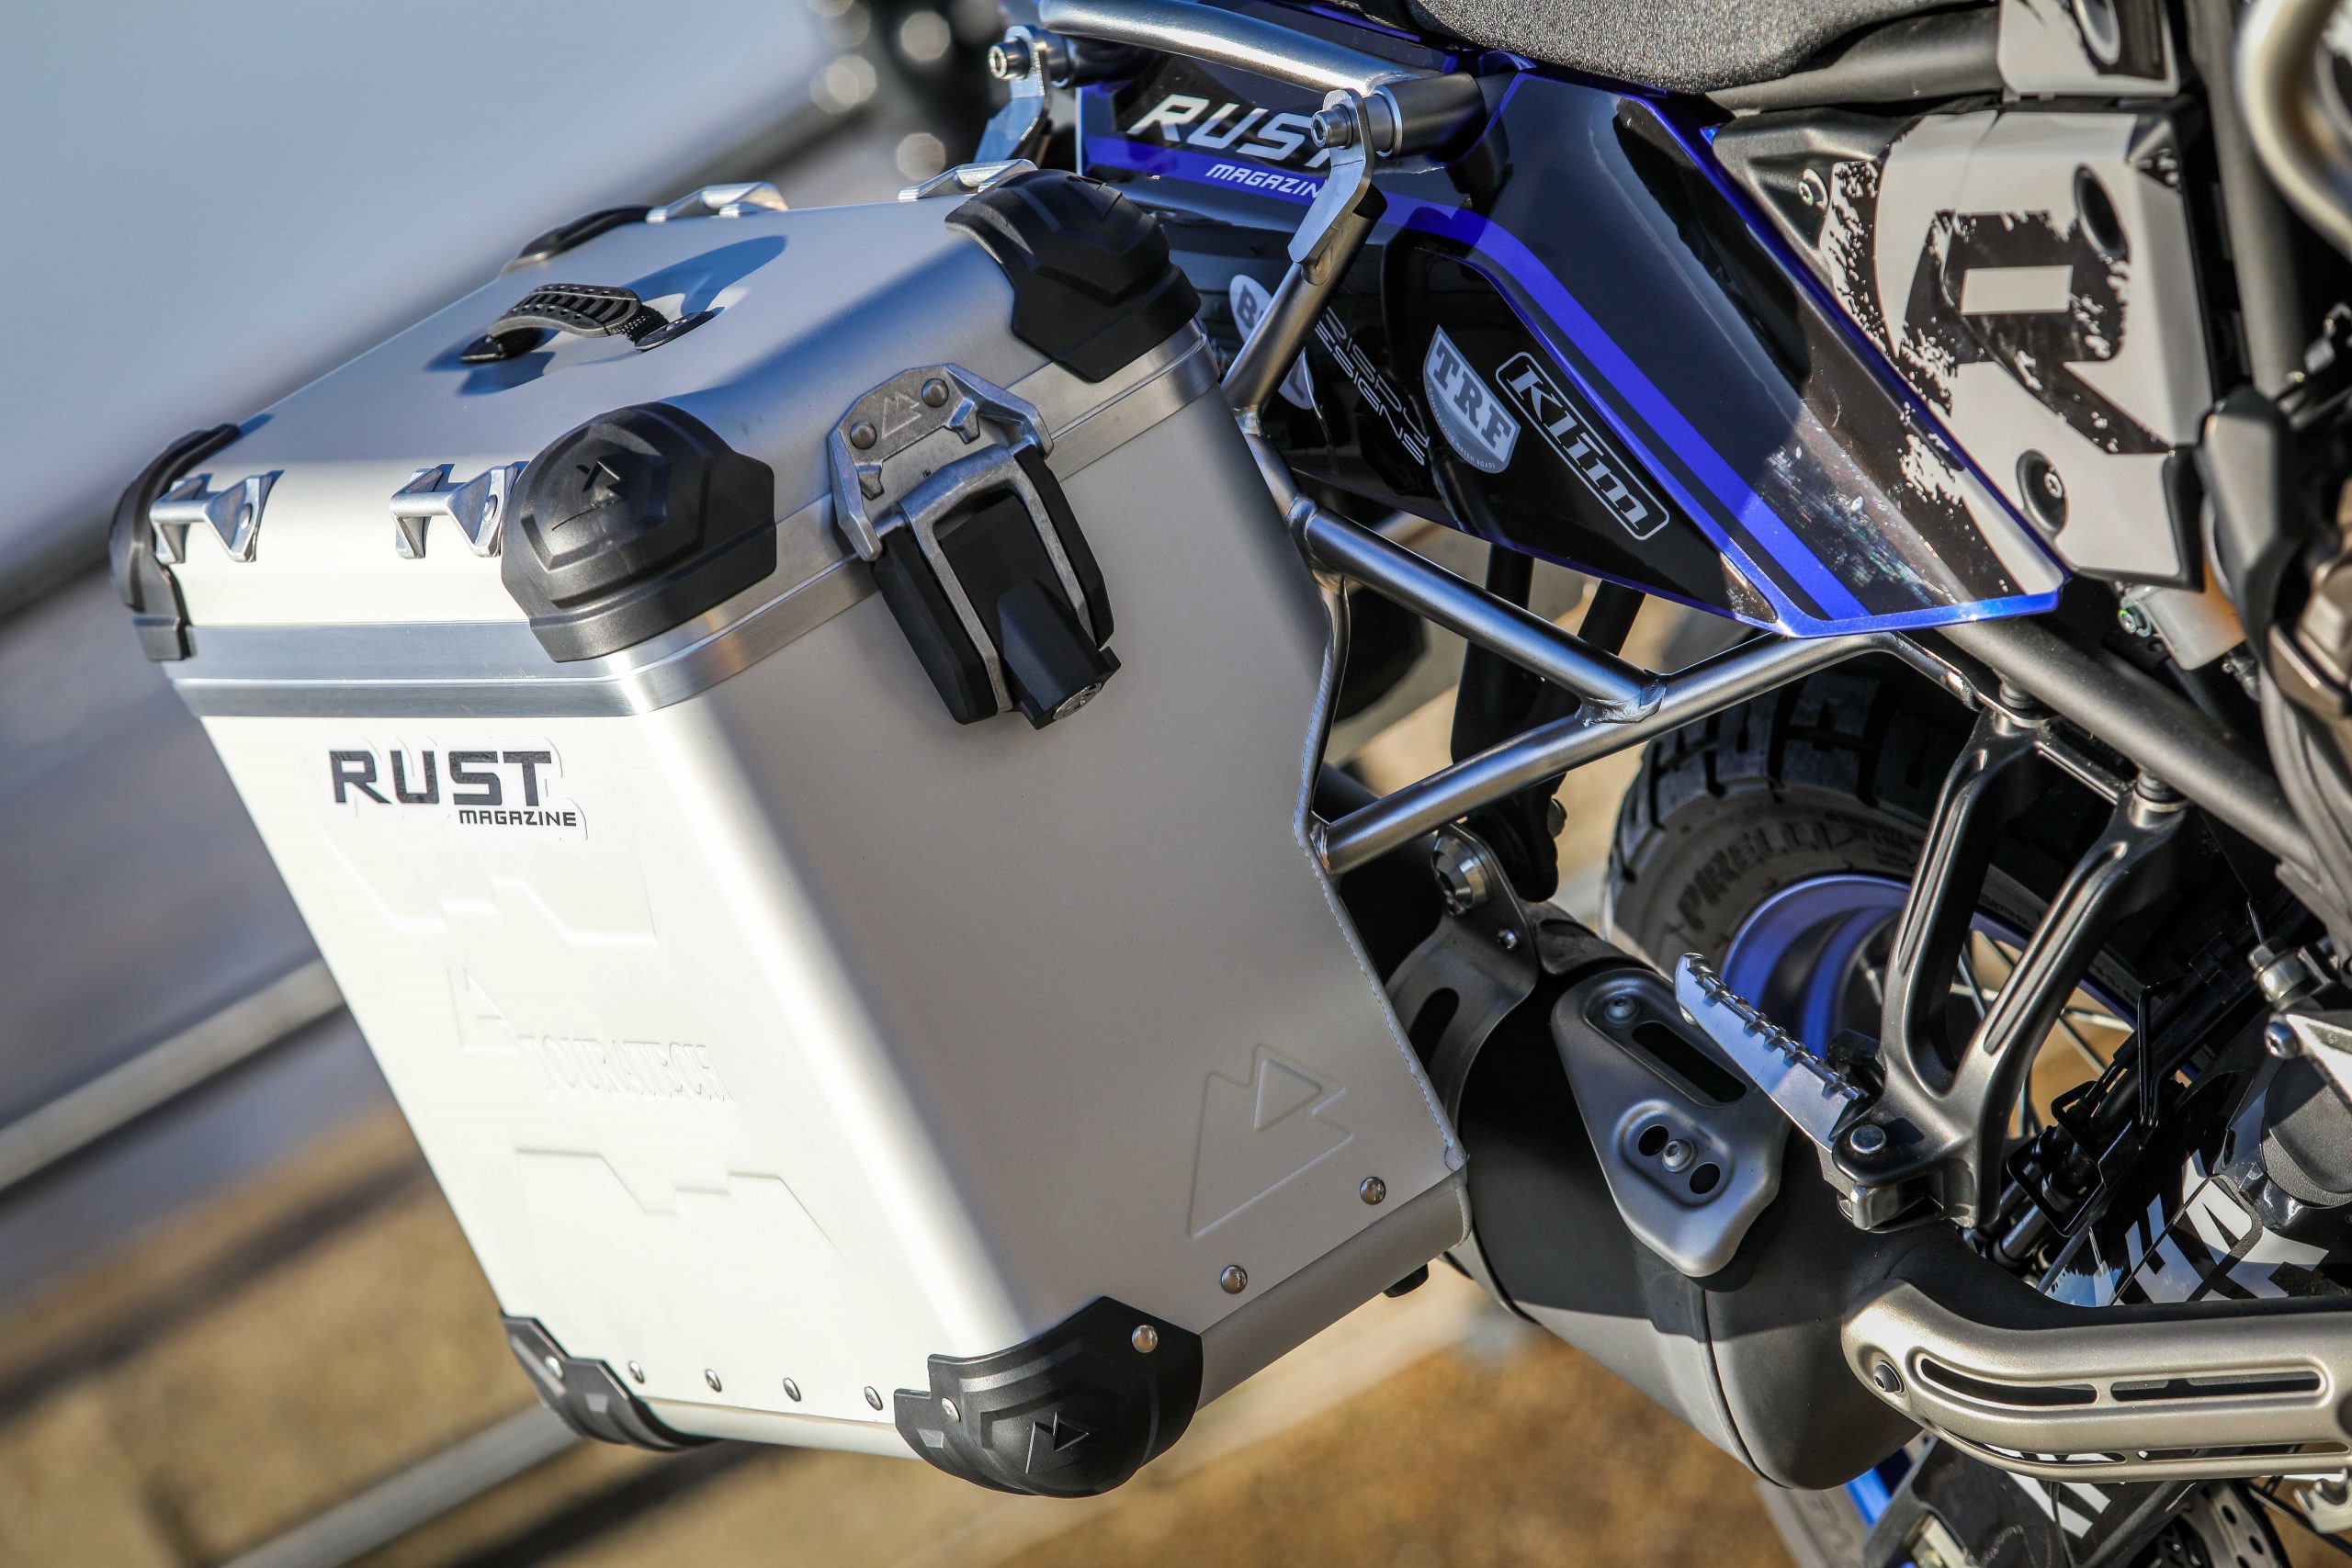
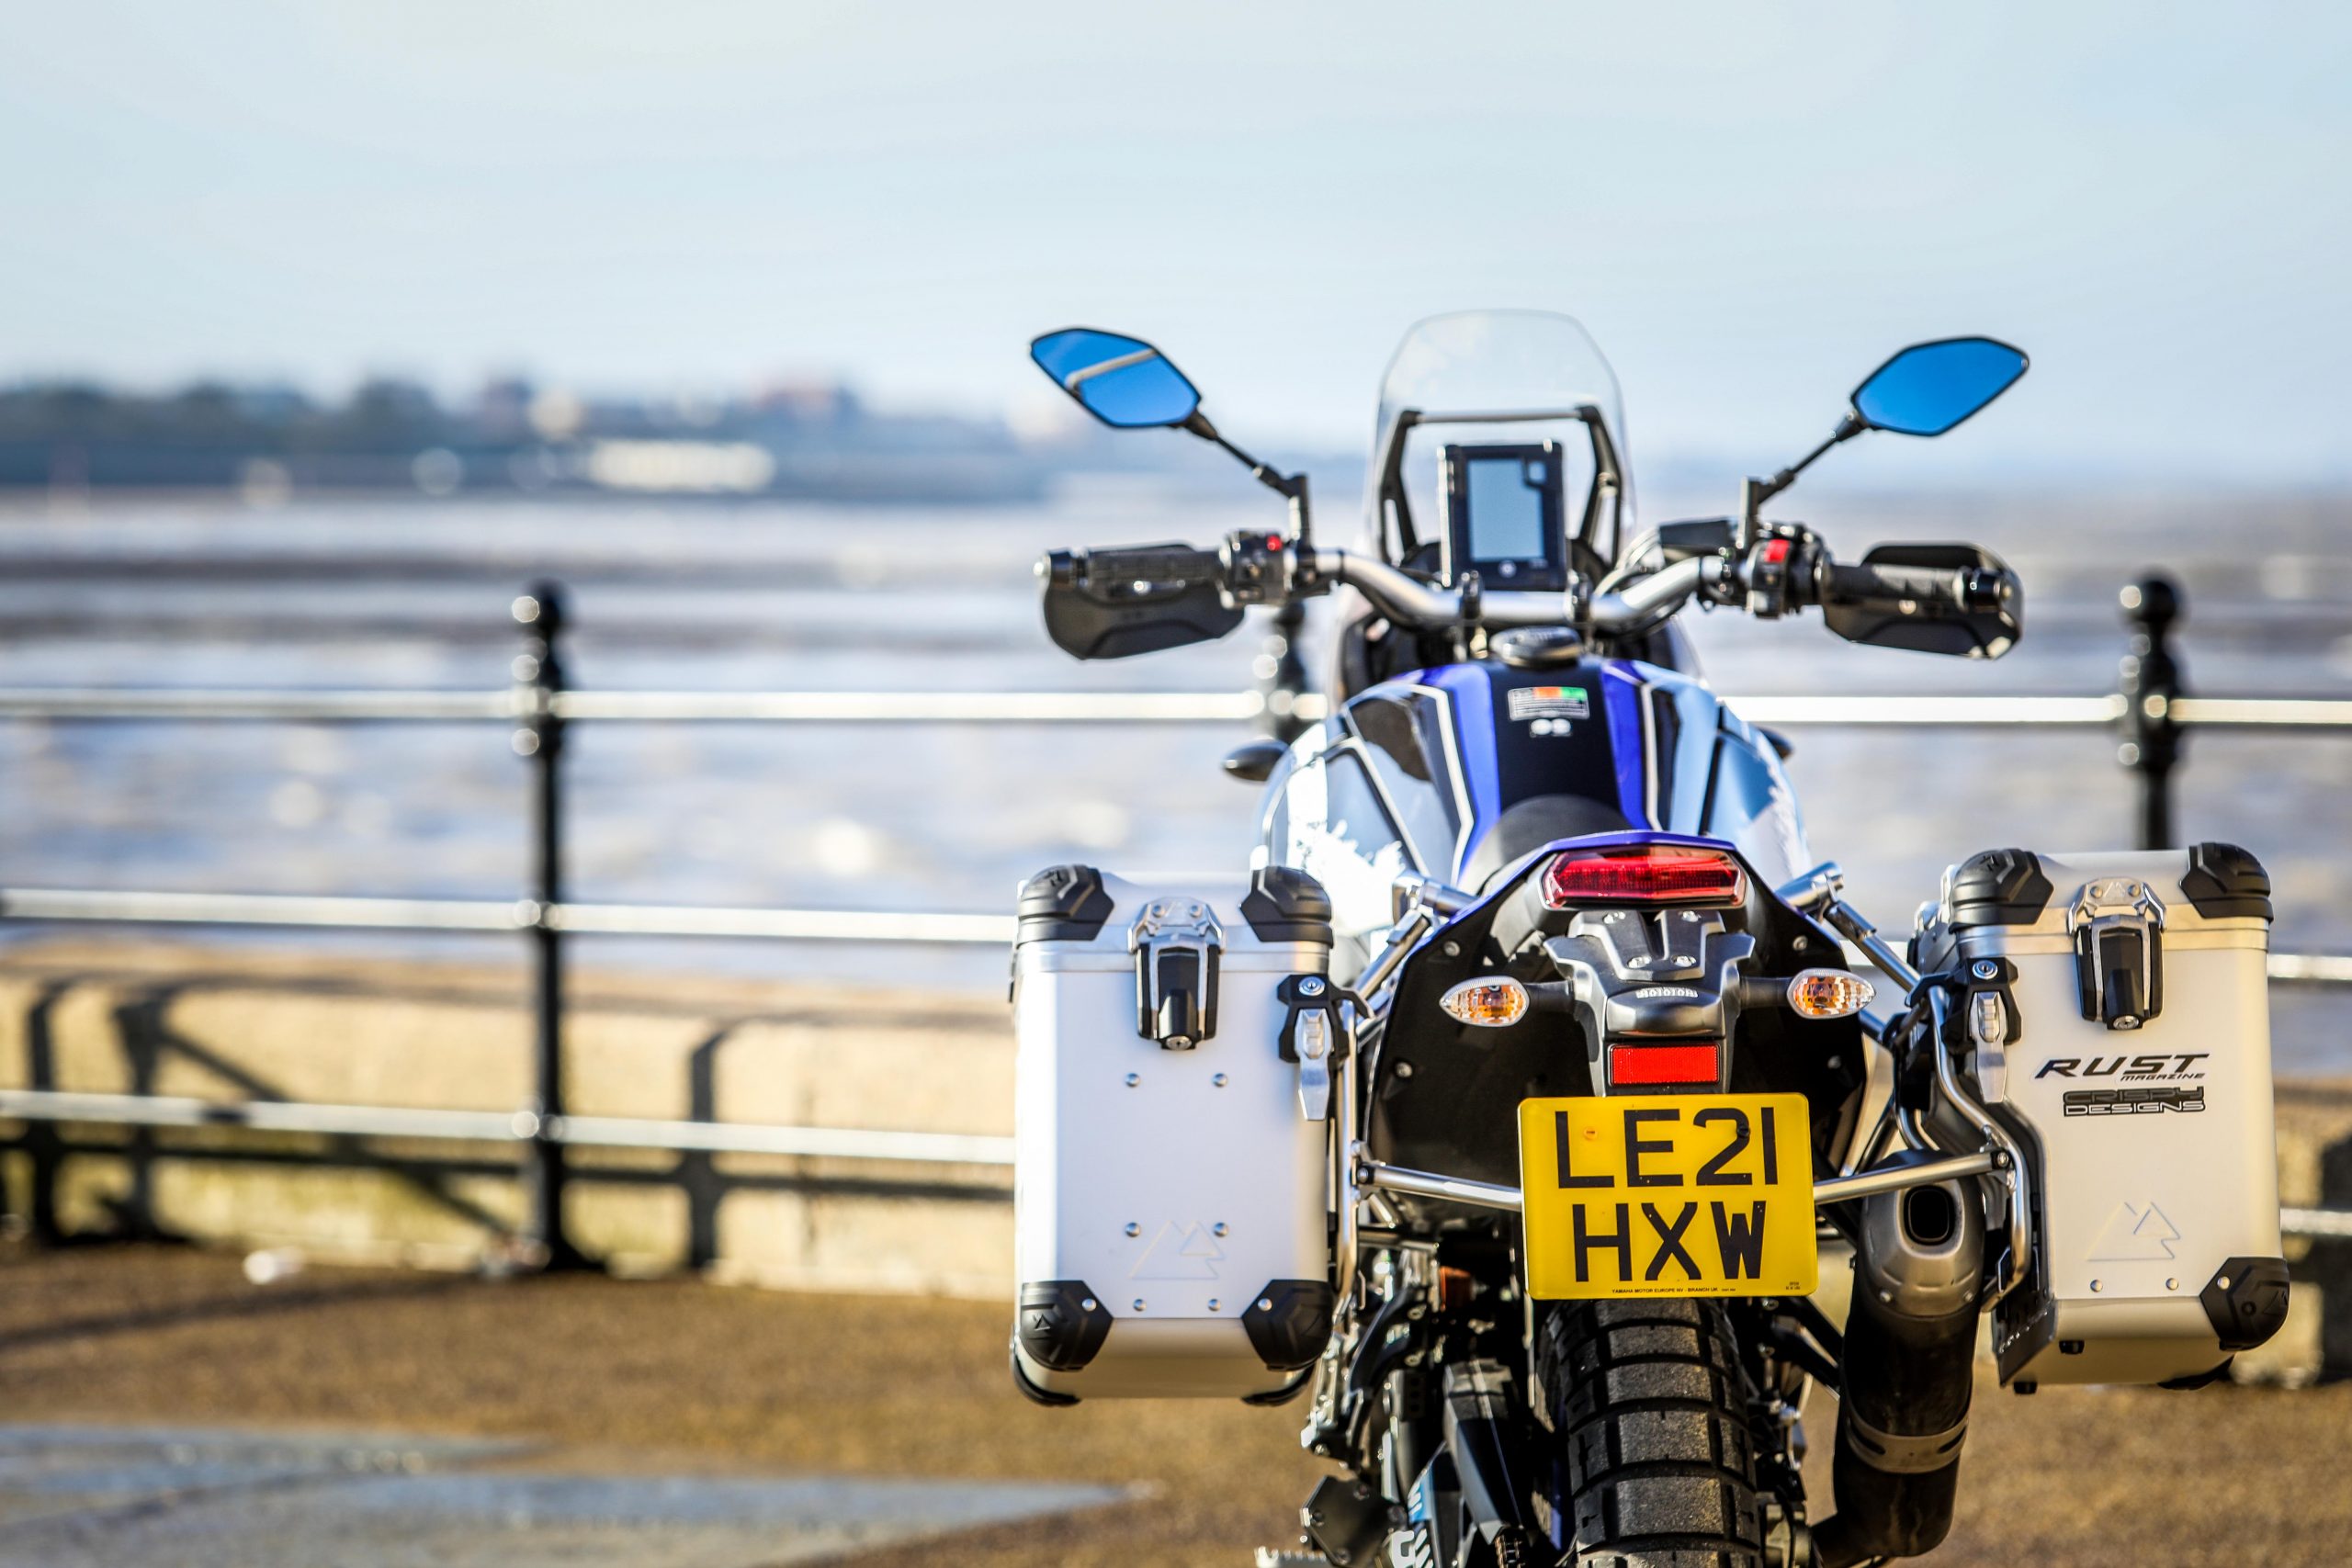
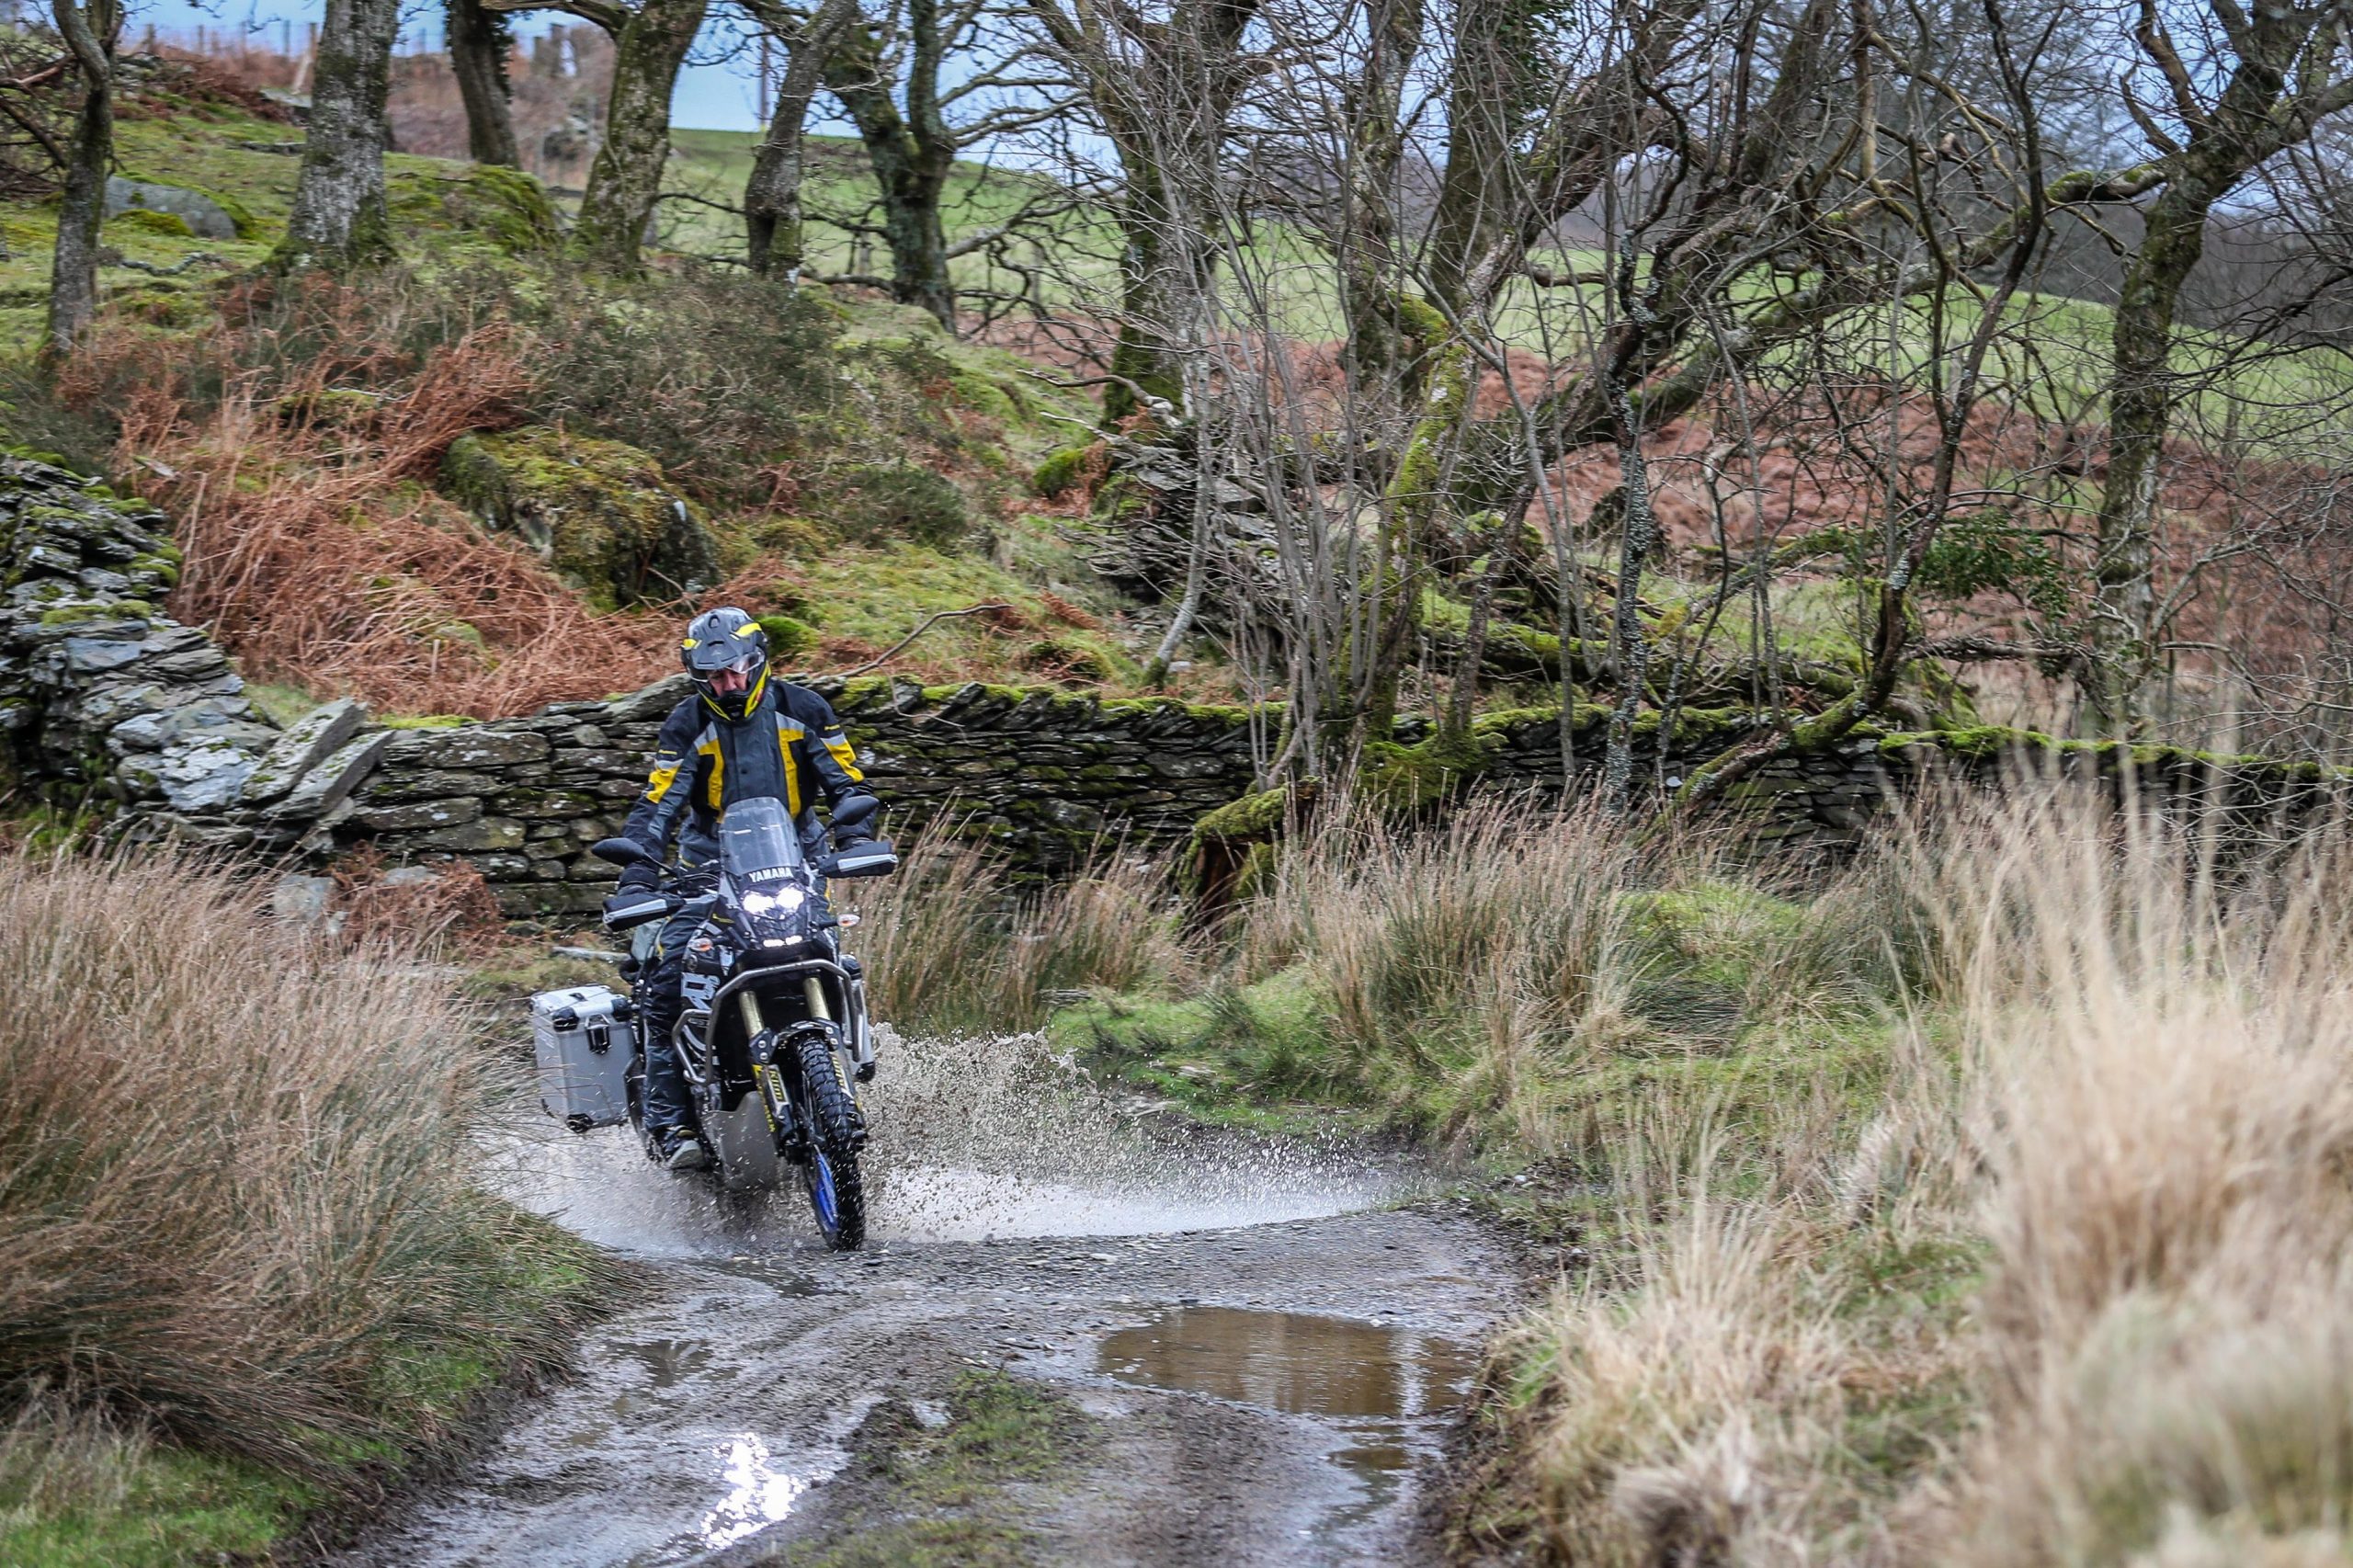
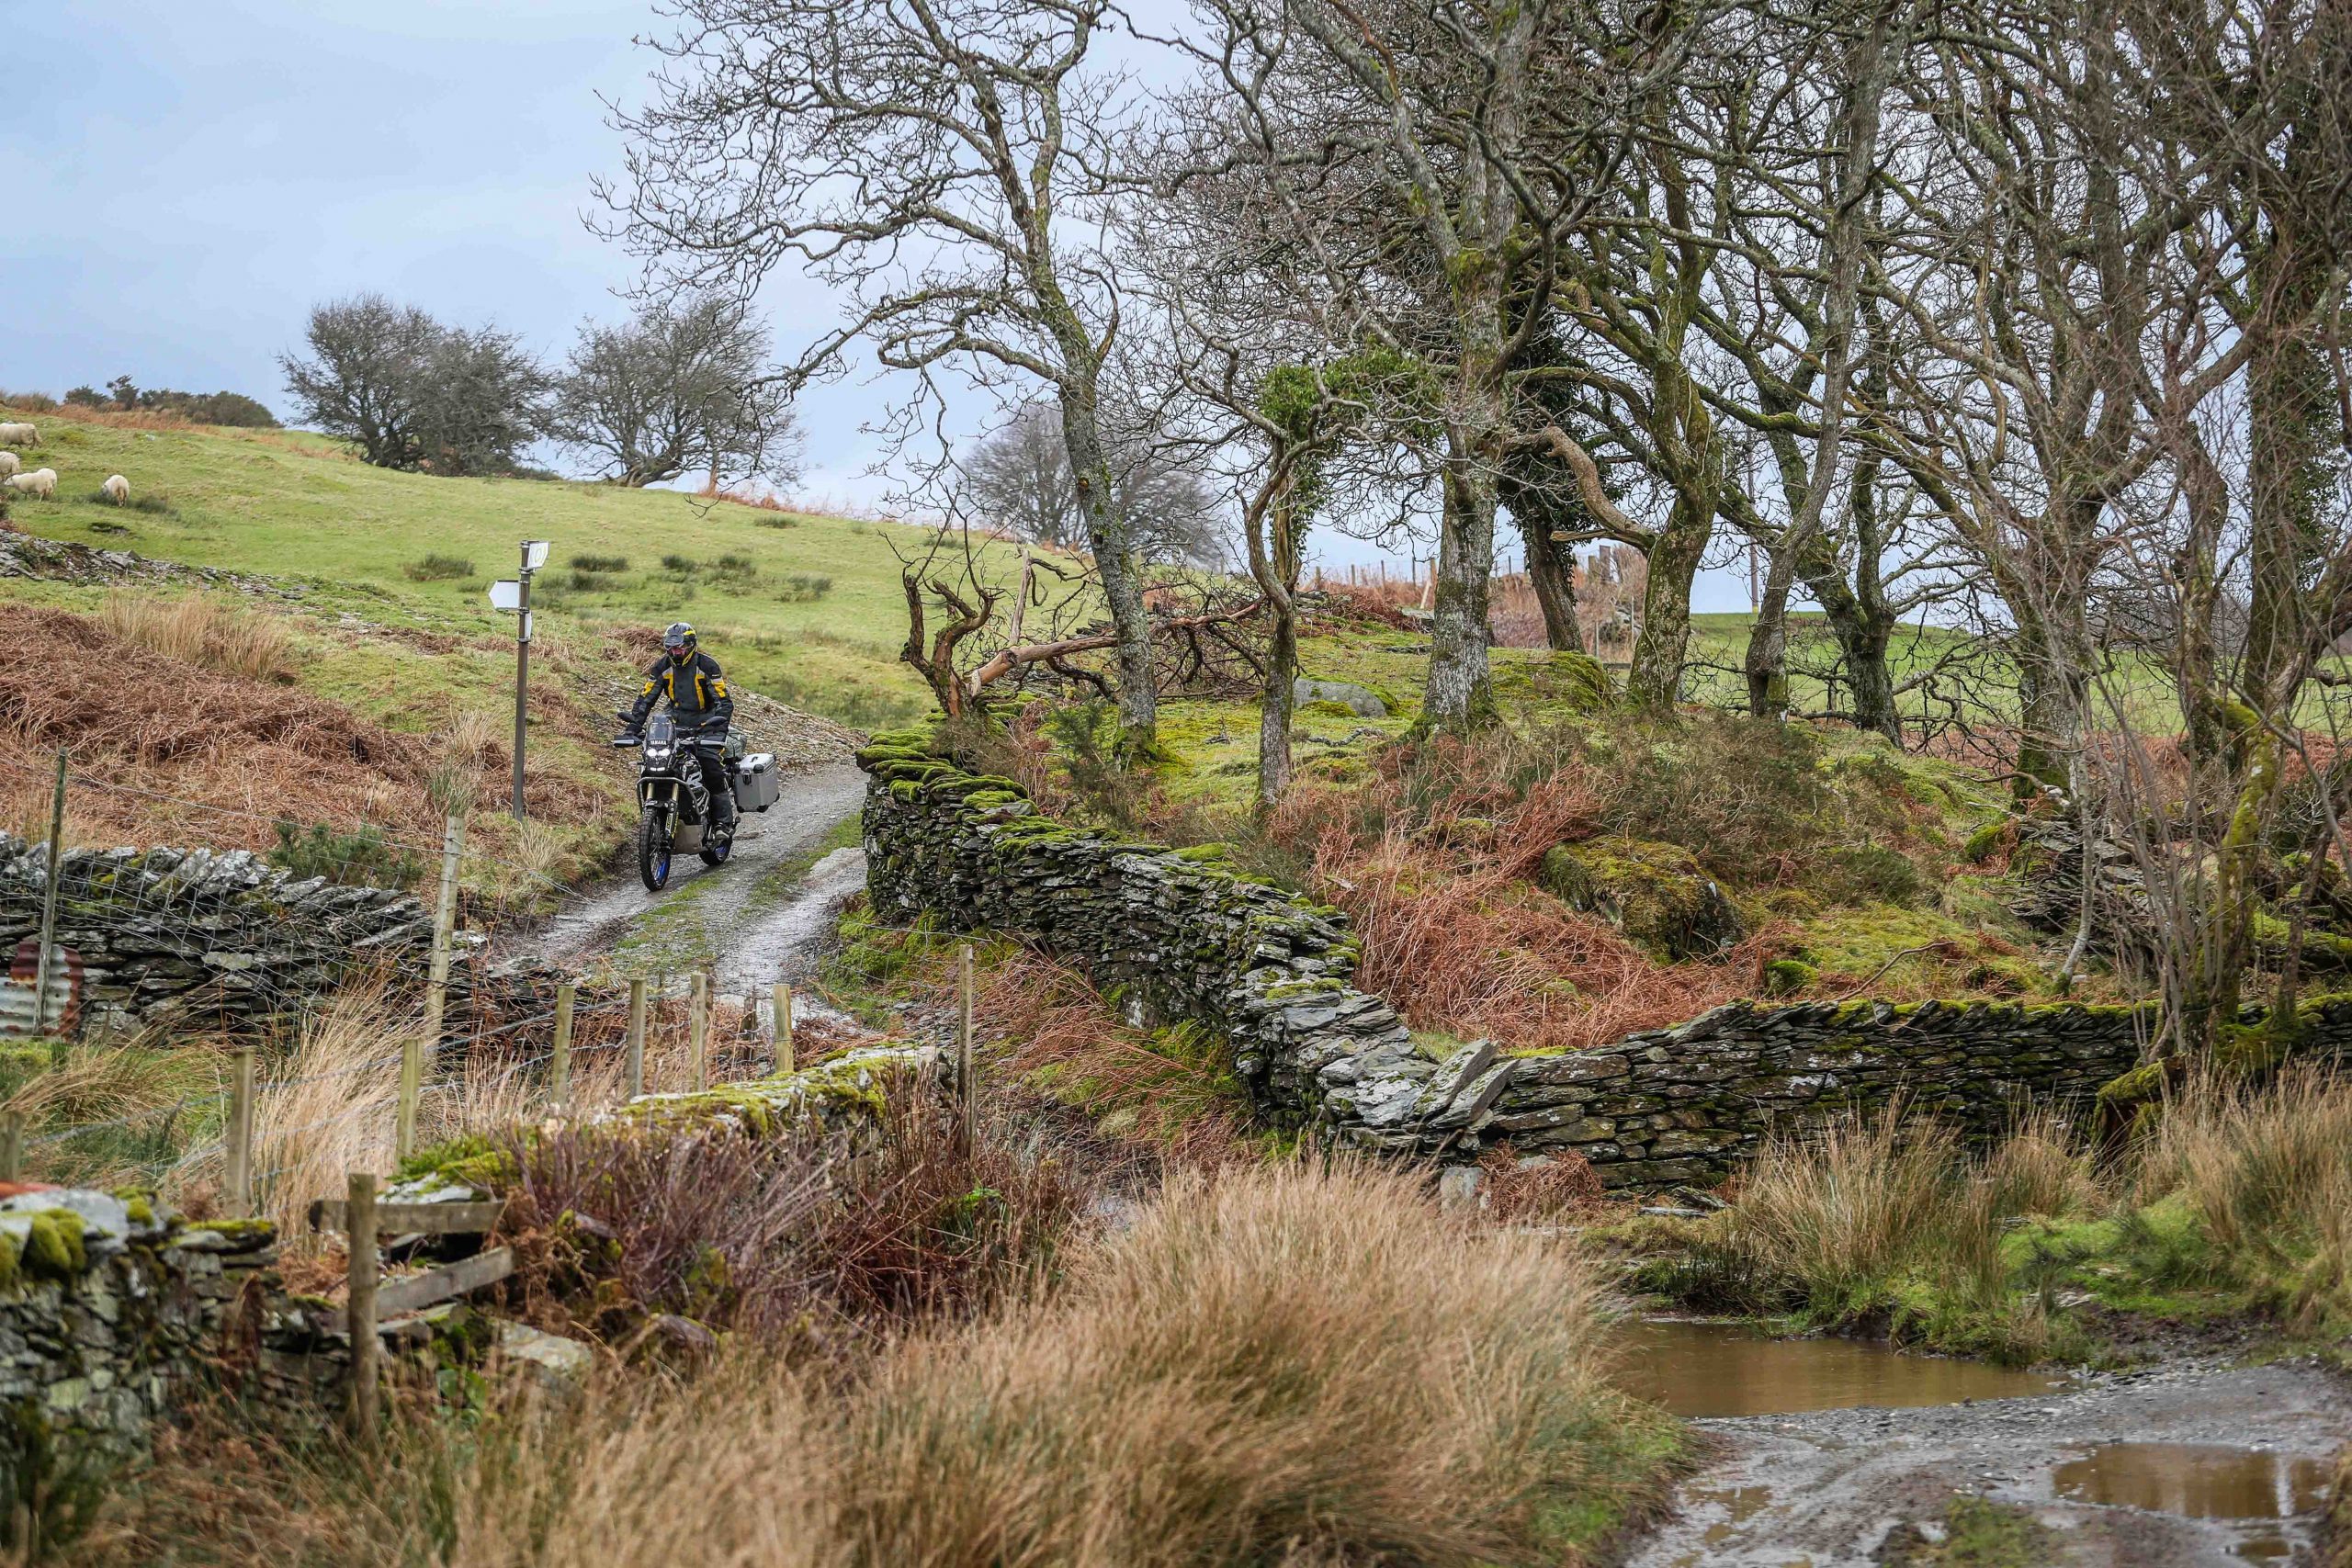
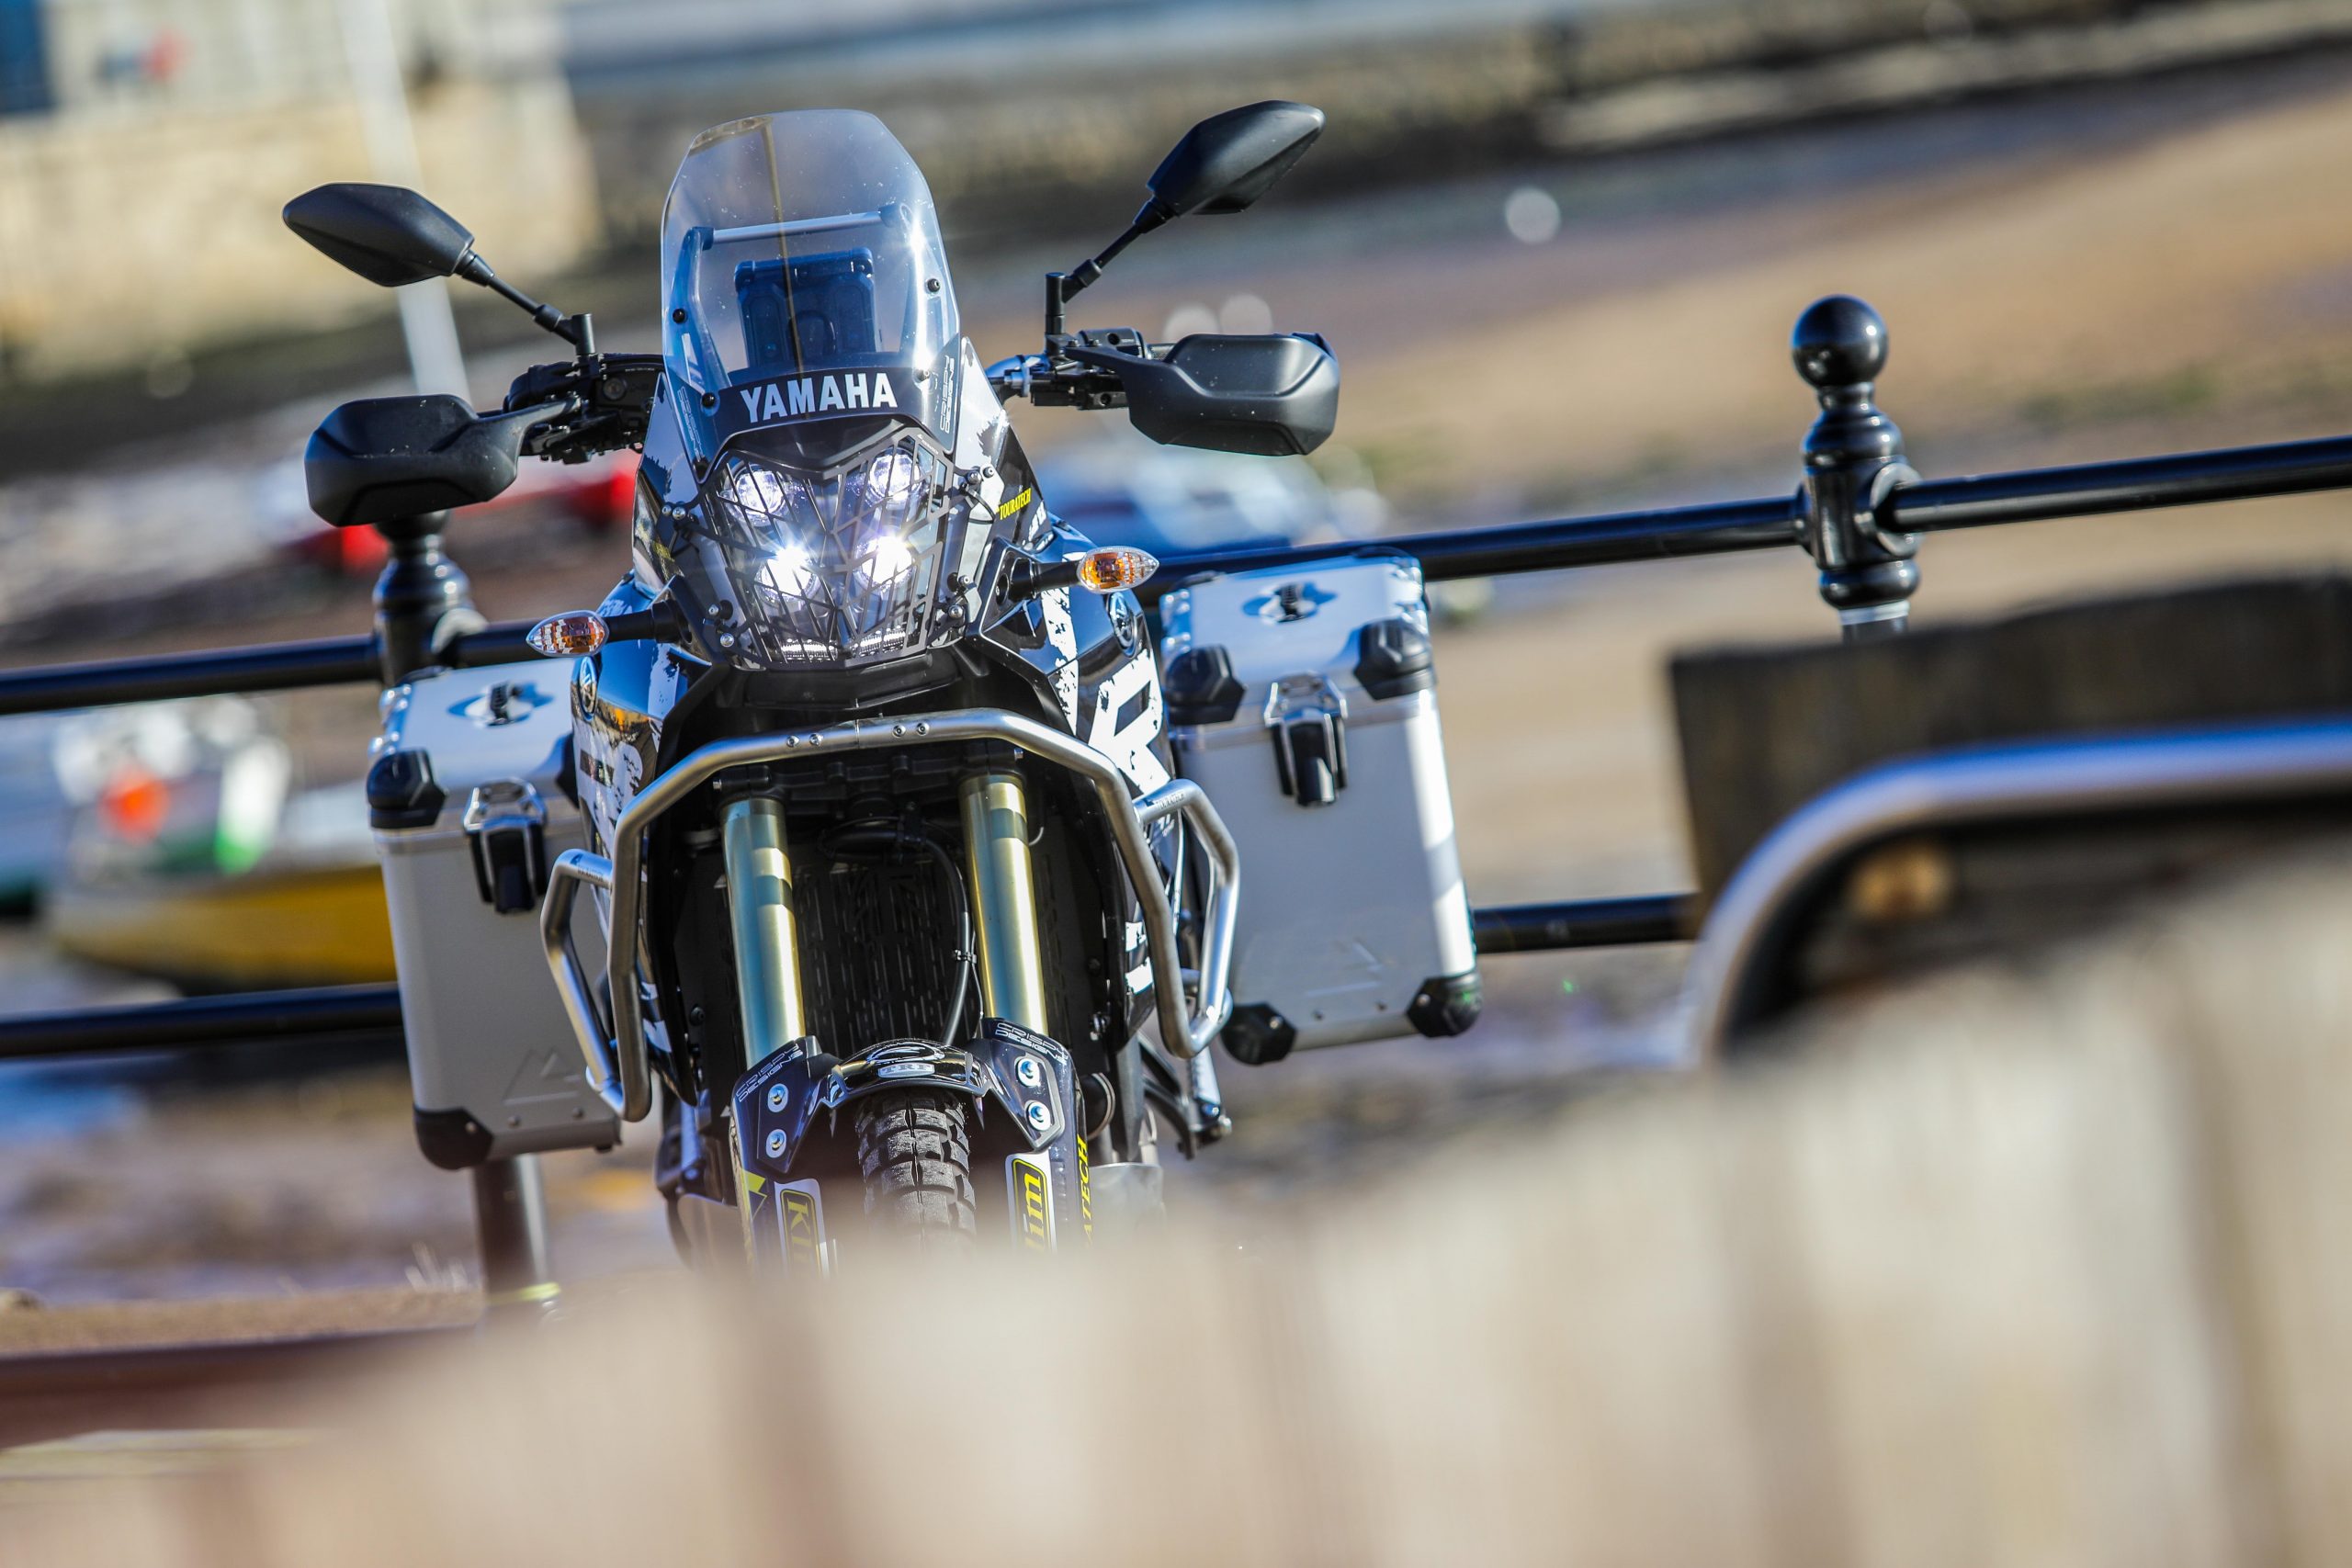
So, in this case I’ve selected the Touratech Zega Evo X aluminium panniers setup for now. I’ve got the 38-litre versions – there are bigger 45-litre ones too. What I like with the Evo X is Touratech have worked especially hard at closing the gap between the panniers and the bike, so the extra width is kept to a minimum, meaning they just about approximate with the width of the handlebars. The right pannier consequently has a kind of cut-out for the exhaust so it’s narrower at the bottom, but as said, it now hugs the bike that much better. The Evo Xs also come with Touratech’s newest fastening and locking systems which are quicker in use, and solidly reliable. And, of course, on account I’d like to travel with a pillion from time to time, the panniers leave the pillion seat clear. And to that extent I’ve also added pillion handles – which double as both extra luggage tie-points as well as useful grab handles if we need to ever pull the rear out of a hole or such like (a two-man job at 200-kilos).  

One thing I have to say. The panniers and racks were the easiest fit of the whole job so far, with the three bolting points (on each side) lining up perfectly, then just the cross-bar to add across the rear, so it was super quick and easy. And one more thing – with aluminium panniers it pays to use inner bags, for easy organising and it means you’ll only be taking the clean inner bag into the hotel / B&B / tent at your destination, but also aluminium will mark your clothes if they’re left in the case rubbing away while you ride (been there, wore that T-shirt).

TOURATECH ZEGA PRO
Pannier racks are a doddle to fit
Added pillion handles double as lifting handles and tie points for more clobber
TOURATECH ZEGA PRO
The Zega Evo Xs are designed to fit tight to the bike, you sacrifice a little capacity but far better than sitting way out wide
TOURATECH ZEGA PRO
Inner bags keep things neat

TANK BAG

I chose Giant Loop’s Fandango 8-litre tank bag to go with this setup. It’s the same one I used on a GSA when riding in the US in 2018. It’s a lovely little design, perfect in so many ways – not least waterproofing – and ideal for adventure as it allows full movement when riding off-road. I’ve got a full report on the bag here.

The Giant Loop Fandango bag is a great design
'Dripping with Touratech kit' as Craig K. called it. Indeed, but comfortable, dry and well-sorted

NAVIGATION

Navigation is my big goal for self-improvement in 2022. I’m not shy of nav equipment, nor its use. There’s a Tom Tom sat nav in the car. I’ve used BMW’s Navigator GPSs on a fair few of the International GS Trophies. I’ve even followed a bit of TET using a free phone app. And I’ve done a fair few road book rallies, too. But this year I want to – to some degree – master plotting and following my own routes/tracks. So I’ve got Garmin’s latest GPS, the Montana 750i, and between using Garmin’s own Basecamp and Explore apps, plus an OS Maps online subscription and the TRF’s own excellent Green Roads Map, I’m working on being much more proficient in route planning and navigation.

This of course means the Ténéré had to be properly wired up. I got Garmin’s Motorcycle/ATV mount and charge cable for the job but noted this only came with a U-clamp for the handlebars which, while fine for a dirt bike, didn’t really work within the clutter of the Ténéré’s cockpit. However, Rally Raid Products (flying the flag for British design and manufacturing excellence) had two options for a GPS mount. One replaces the existing top handlebar clamps, the other you bolt to the nav bar above the speedo unit. I liked both. For an enduro bike setup I’d definitely be using the handlebar clamp unit as here the GPS would be quite safe in a spill, and on a clutter-free enduro handlebar is easy seen. But on the Ténéré, with the tank bag and possibly a phone mount to come, it made more sense to go with the higher nav bar mount. Both mounts, incidentally, come with multiple thread-tapped holes suitable for the range of nav devices.

My Rally Raid Products mount screwed into place, I found I needed to place the GPS’s cradle upside down for the charge cable to clear the speedo block (not an issue as the Montana screen automatically renders the correct way up). I then ran the charging cable down the fairing frame and after removing the multiple side fairing panels – so I could lift the fuel tank – I ran the cable under the tank to the battery. Or tried to. That wasn’t entirely possible as there’s a wee black box (possible some kind of voltage transformer?) mid length on the cable, and this wasn’t fitting under the tank. However, there was just enough length for this to pop out from under the tank so the black box could be cable tied alongside the left throttle body, before the tail of the cable was carefully fed into the battery box and so to the battery terminals. There’s a split in the tail of the cable with a socket for audio output but as I’m happy with just the screen for directions, I tied this off.

On a dirt bike that’s probably a 30-minute installation, but with an adventure bike, and with so many panels to remove and replace it was a full evening. Worthwhile though, having the GPS directly wired it left the Ténéré’s power socket in the dash for charging phone and GoPro batteries which I carry in the tank bag.

rally raid products nav mount
RRP's GPS mount is beautifully made and a perfect fit
GARMIN MOTORCYCLE MOUNT
It's upside down, but honestly that doesn't matter
There's an overlap on the speedo – I added a draft excluder foam strip just to minimise any chance of damage
RRP's handlebar clamp mount
The little black box that wouldn't fit under the tank
There are a few extra redundant wires and a socket for audio
GARMIN MONTANA 750i
The Garmin Montana 750i in place – it'll not find satellites in the garage
Garmin Montana 750i
But it did in Wales. Might be looking for some more detailed maps to install though

LASTLY, CAMERA BAG

Last little thing. I have had my camera bag now on the pillion for quite a few rides. I did previously use a dedicated tank bag for the camera – and that is by far the most convenient place for the cameras. But a recent rugged off-road ride put one of our (expensive) Canons into a sulk for over a month, and was very nearly a costly repair only to mysteriously sort itself out, just a day before it was due to be repaired… So now I’m cosseting the big old SLR with a padded pillion seat and all the padding of the Lowe Pro camera bag. More faff each time I reach for it, but better than it shaking itself to bits.

FOR NOW…

For now, that’s the setup. Tested over three days and 900 miles, riding to Wales, riding a whole bunch of trails, all in the worst of winter conditions, it’s all working out okay. The Zega Evos raised a few eyebrows among the enduro bike riding guys we met on one of the trails, but I’m happy with them and they don’t rattle around – they really fit snug. And first run at following my own gpx tracks worked out too (more on that soon).

Onwards and upwards then…

Happy days

SUBSCRIBE TO OUR FREE MAGAZINE!

Keep up to date with the latest articles, receive our free magazine via email and get notified of special offers and discounts. Be part of the RUST community today…

One Response

  1. Hi there,

    Hope you’ve been well. I’m Dani and it’s nice to e-meet you. I’m writing you on behalf of Living This Bikelife, the brand, because we just launched our new and exclusive Pol Tarres “Artic” Replica Kit for the Yamaha Tenere 700.
    We want to share with you our content completely free, so that you can use it on your website/blog if it fits you. Just please remember to keep us linked and mentioned. This Replica Kit has been designed with Pol for his latest trip to the Aconcagua. 😉

    On the other hand let me please provide you with our store lins.
    Replica Kit: https://www.livingthisbikelife.com/products/full-kit-adhesivos-yamaha-tenere-700-pol-tarres-artic
    Main website: https://www.livingthisbikelife.com/

    I’ve also created this Google Drive where you can get some HD images and use them.

    https://drive.google.com/drive/folders/1lzEdGQxpCJNKsJBplS6wrOvKidjih-SX?usp=sharing

    Just keep in mind to mention us. 🙂
    @livingthisbiklife also on Instagram

    For further questions, please don’t hesitate to ask.

    Thanks a lot.

    Best Regards.

    Dani

Leave a Reply