Generic selectors
Exact matches only
Search in title
Search in content
Post Type Selectors
Generic selectors
Exact matches only
Search in title
Search in content
Post Type Selectors
Generic selectors
Exact matches only
Search in title
Search in content
Post Type Selectors

ENDURO SUSPENSION SET-UP GUIDE PART 2

Proper bike set-up will transform your ride. You don’t need any fancy parts and very little technical knowledge. Just apply a little time and patience and work through a simple schedule of adjustments and you can create the most amazing improvements. Honestly, the difference can be mind-blowing...
In part one of our suspension setup guide (for dummies) we looked at setting up the bike to suit you. That invoved installing the right spring rates into the suspension, setting the handlebars, sorting the appropriate seat height – and only then setting the sag (usually the one and only job done by 95% of the paddock – including us!). Now we move on to a nice easy guide to adjusting your bike’s suspension – and engine – to you and your local terrain…

STAGE TWO:

OPTIMISING THE BIKE TO THE TERRAIN

Having got the bike to match the rider, we can now look at matching the two of them to the conditions. Of course terrain and conditions change, venue-to-venue, so we’re looking at how to manage the bike’s adjusters to make the best match each time, just as the pros do. And again, given the owner’s manual, we can do this far more easily than you might have thought.

1 THE POWER VALVE

We’re talking two-strokes here, but that’s quite a chunk of any paddock. The 250EXC we have here comes with three options on the spring that controls the speed the power valve opens.

‘Standard’ is a yellow-painted spring for ‘medium tuning’ and good rideability. You can alternatively opt for a green-painted spring for softer performance and a red-painted spring for a more aggressive performance. Changing the spring takes about three minutes. Just lay the bike on its side, remove the two bolts that hold the cover over the springs, remove the spring set and swap to the spring of choice, then re-assemble. Easy!

First we changed from standard to the red (aggressive) spring and yes, the performance was noticeably more peaky, the engine feeling that much more willing to rev, like a keen over-sized 125! It was actually – on our test track – really agreeable, it made going faster that much easier and for riding the likes of deep sand you’d pick this.

Placing the green spring in we found a much mellower power delivery as you might want for riding in tight technical going, like thick forest or extreme. To ride fast it took a lot more effort, needing a bit of clutch slipping to urge the revs up quicker.

The springs make a huge difference then and are well worth having in your spares box, ready to make that on-the-day adjustment to suit that wet, snotty enduro (green) or blisteringly dry deep-sand cross-country (red). Standard is just right for probably 75% of occasions.

Step one: remove the exhaust valve spring
Careful as you remove the assembly, noting the order of the parts
You can just about see the colours on the springs here, red on the left, yellow in the centre
The parts ready to reassemble, note clean working environment
2 ECU MAPS

We had fitted to the test bike the optional handlebar switch that allows you to swap between the standard and a soft map that are pre-programmed into the stock ECU. It’s another very useful device and when we combined the soft map with the green spring this made for a super-mellow ride. As a racer you’d want this switch, it will make a difference. In fact it was an education just how far you could vary the engine characteristics, from super-snappy to super-torquey given a so-quick and simple play with the springs and maps.

3 SUSPENSION SETTINGS

Let’s all admit to this: the physics of compression and rebound suspension adjustments confuse us. Even world class racers can easily get confused, that’s why they have suspension specialists working full-time in the top teams. KTM know this, and to their credit in their manuals they offer three homegrown recommendations to achieve ‘comfort’, ‘standard’ and ‘sport’ set-ups. Now these aren’t based on guesswork, these are settings they’ve put a lot of work into deriving and so, honestly, they have to be the go-to solution for 95% of us amateur riders. But using them – do they make a difference? Let’s find out.

To start with, swapping the compression and rebound settings from standard to sport – hand-on-heart – it wasn’t that easy to determine a difference. There’s a reason for this. You see, having tested a fair few works bikes over the years, we’ve found that what works for the world’s fastest riders often works just as well for us regular guys too. There is in effect quite a narrow range in which suspension works optimally, whether at high speed or moderate speed – and so the difference between the standard and sport settings really isn’t so great.

However,stepping down to the ‘comfort’ setting we found a massive difference. And around our test course this felt plain awful! The bike flattening itself off the jumps, riding low in the suspension stroke – honestly, nothing we could like. We think KTM should instead call this their ‘extreme’ setting for if this was to work well anywhere we’d say it was for riding a seriously technical wet forest with lots of roots and rocks, and even then only if the speed was slow.

So its definitely worth working with these settings to see how well they match your riding style and local terrain. You may well come up with intermediate settings, but having these fixed points you can at least venture toward those from solid points of reference.

4 JETTING

Your importer/dealer should have set the jetting to the correct settings for your locality, but you can check this by referencing the matrix of carb settings KTM have in the owner’s manual. The over-riding logic that applies here is to set the jet sizes according to altitude and then either change the needle, or the position of the clip on the needle, according to the temperature.

Jetting has been the traditional route to performance tuning, and if you wanted a zingy lively racer you would jet lean, for a blubbery trialsy type performance you’d go rich. But given the developments in power valve and CDI technology we can argue quite persuasively that this no longer applies. It’s better these days to jet to KTM’s recommendations for altitude and atmospherics then use the map and powervalve springs to arrive at the desired engine characteristics.

CONCLUSION:
YEAH, IT WORKS!

Our test so very clearly shows the benefits in taking the time to follow these few very simple steps to set-up. After literally years, decades, of riding bikes with suspension that was too light, with a cockpit that didn’t fit, it was a revelation for our test rider as to just how much better you could make a standard bike given just a few basic adjustments.

This is, in fact, exactly the process the pros go through when they get a new bike, and it really isn’t rocket science. Okay, at the end of the day they’ll fit A-kit suspension and they’ll get some trick stuff to pep up their engines, but 75%, maybe more, of making a good bike great is exactly as spelled out here. Do this and you’ll find new love for your bike and for riding. As we said, if you’ve never tried this before, try it now. Happiness awaits.

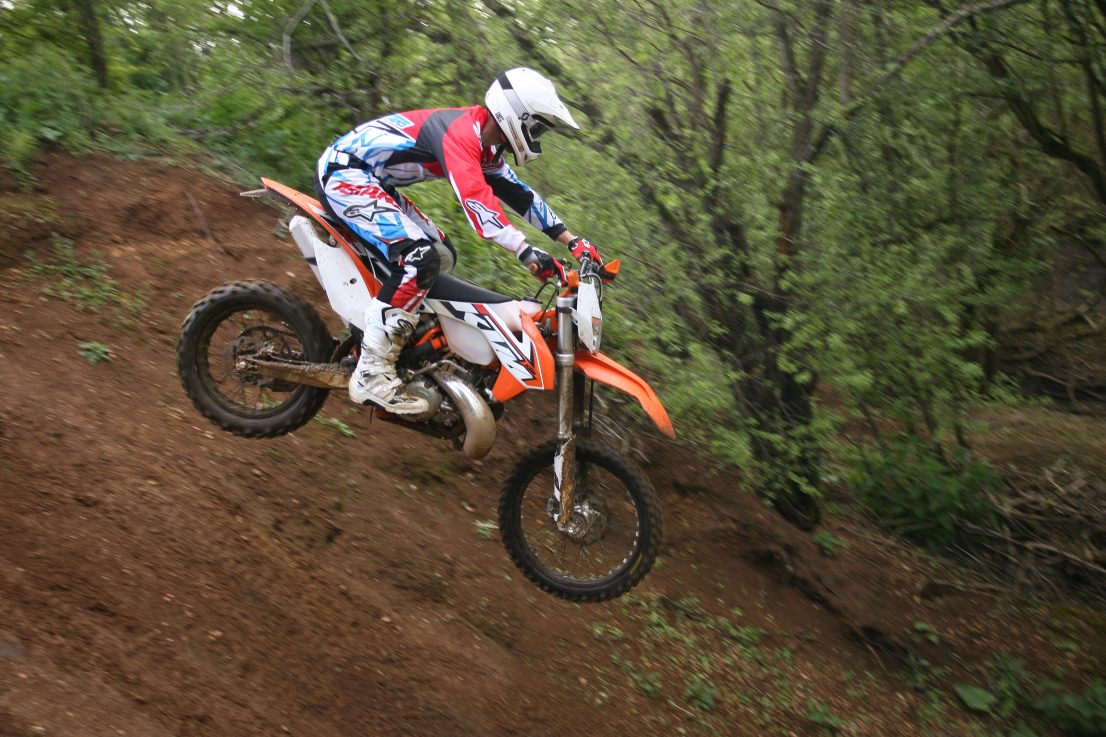
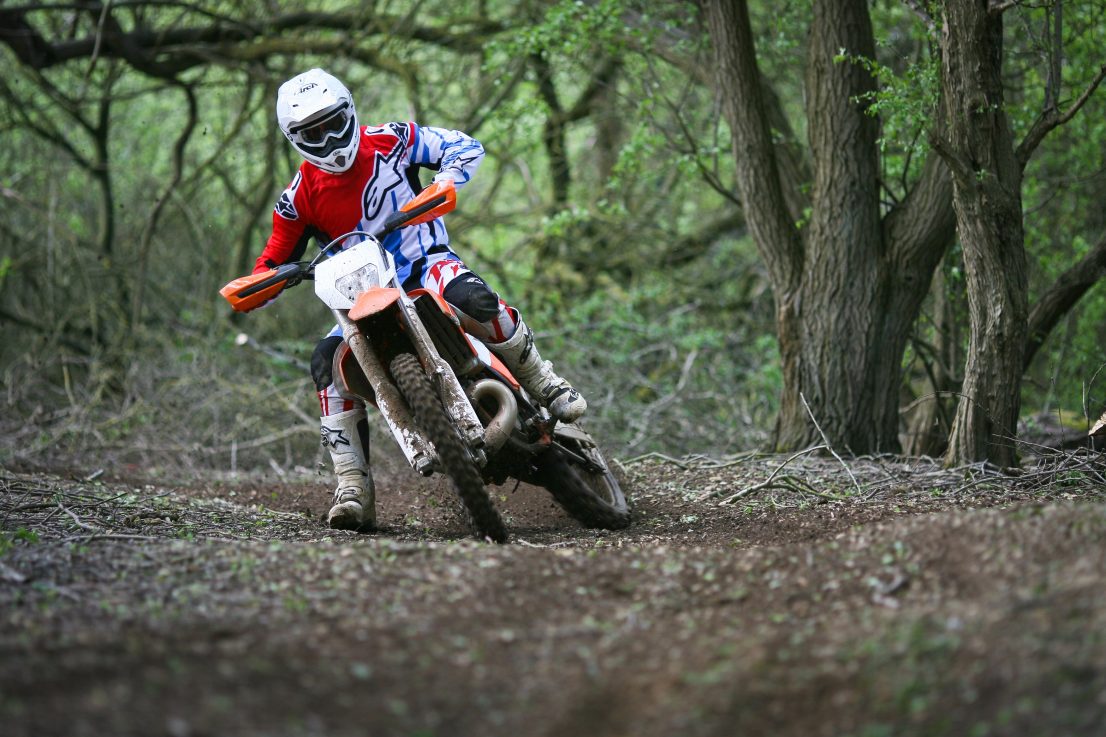
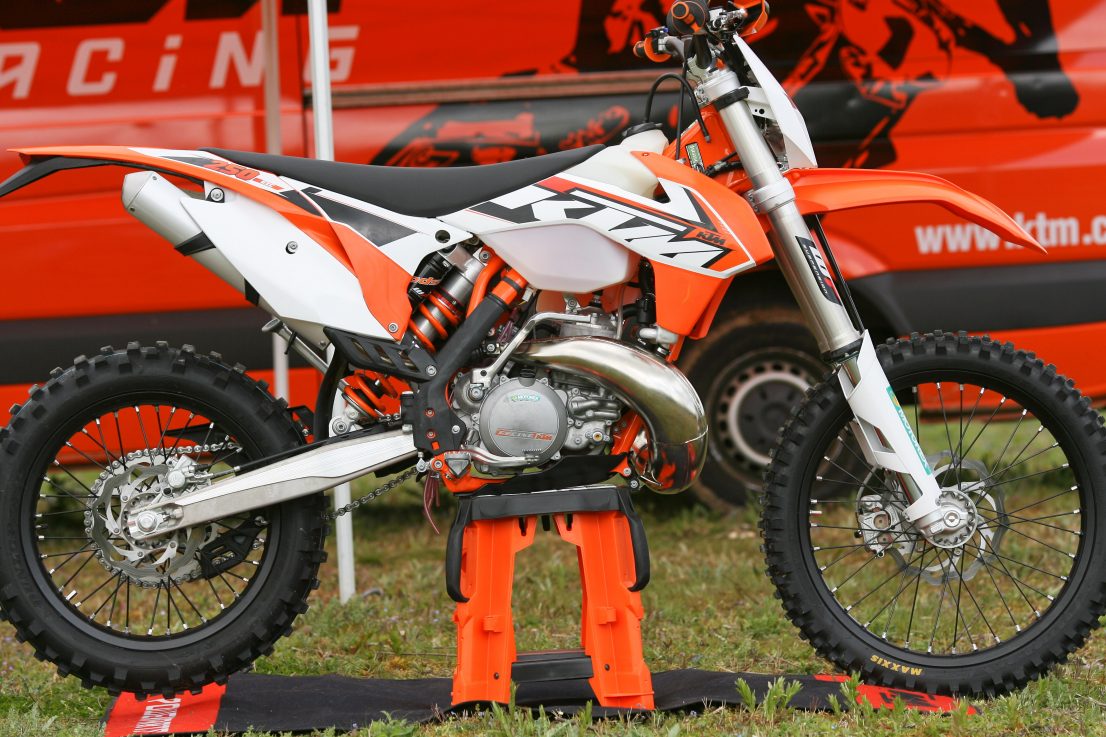
The RUST set-up in a nutshell

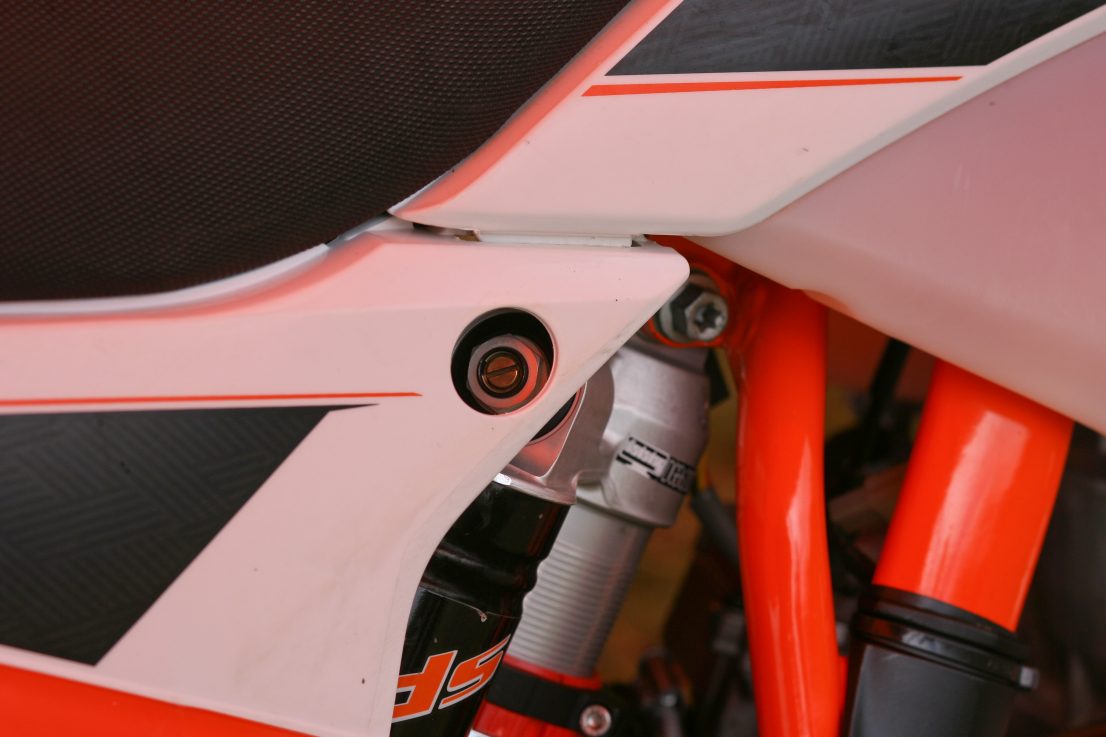
Suspension: 97kg rider meant heavier springs require

Standard fork springs are 4.2N/mm, we needed 4.4N/mm

Standard shock spring is 69N/mm, we needed 72N/mm

Standard damping settings worked best for mixed terrain of woods and open field test:

Fork: preload: 2 turns, compression: 20 clicks, rebound 18 clicks

Shock: low-speed compression: 20 clicks, high speed compression: 1.5 turns, rebound: 24 clicks

Shock: Static sag: 34mm, rider sag: 110mm

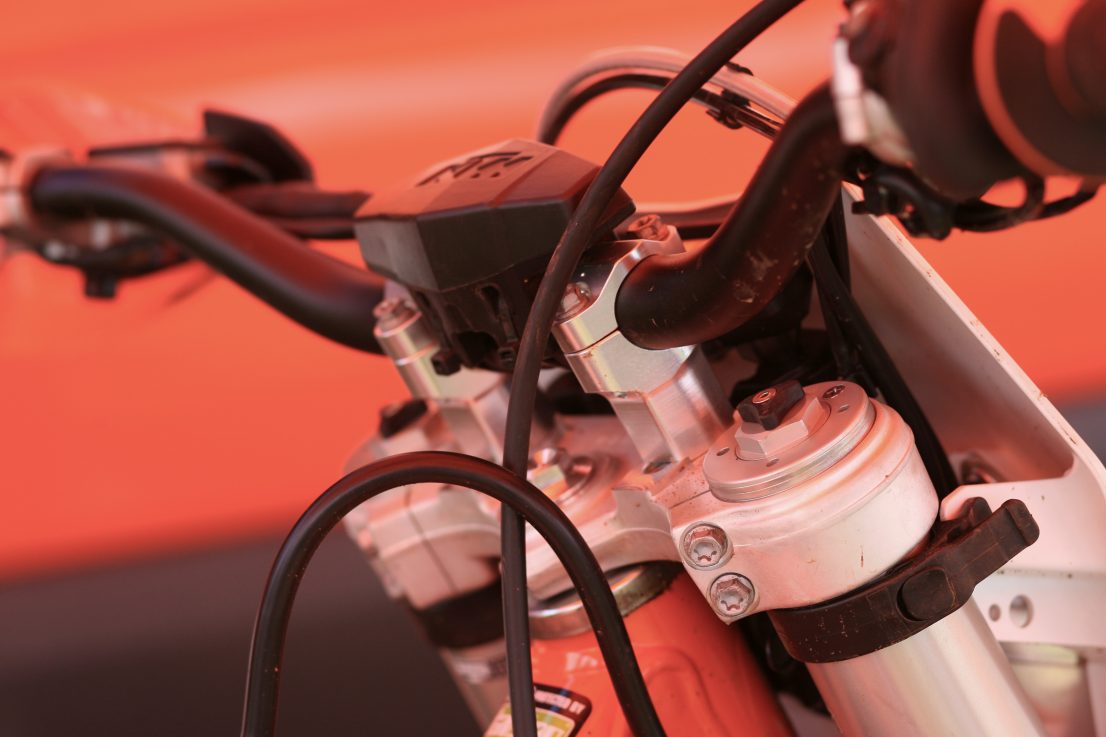
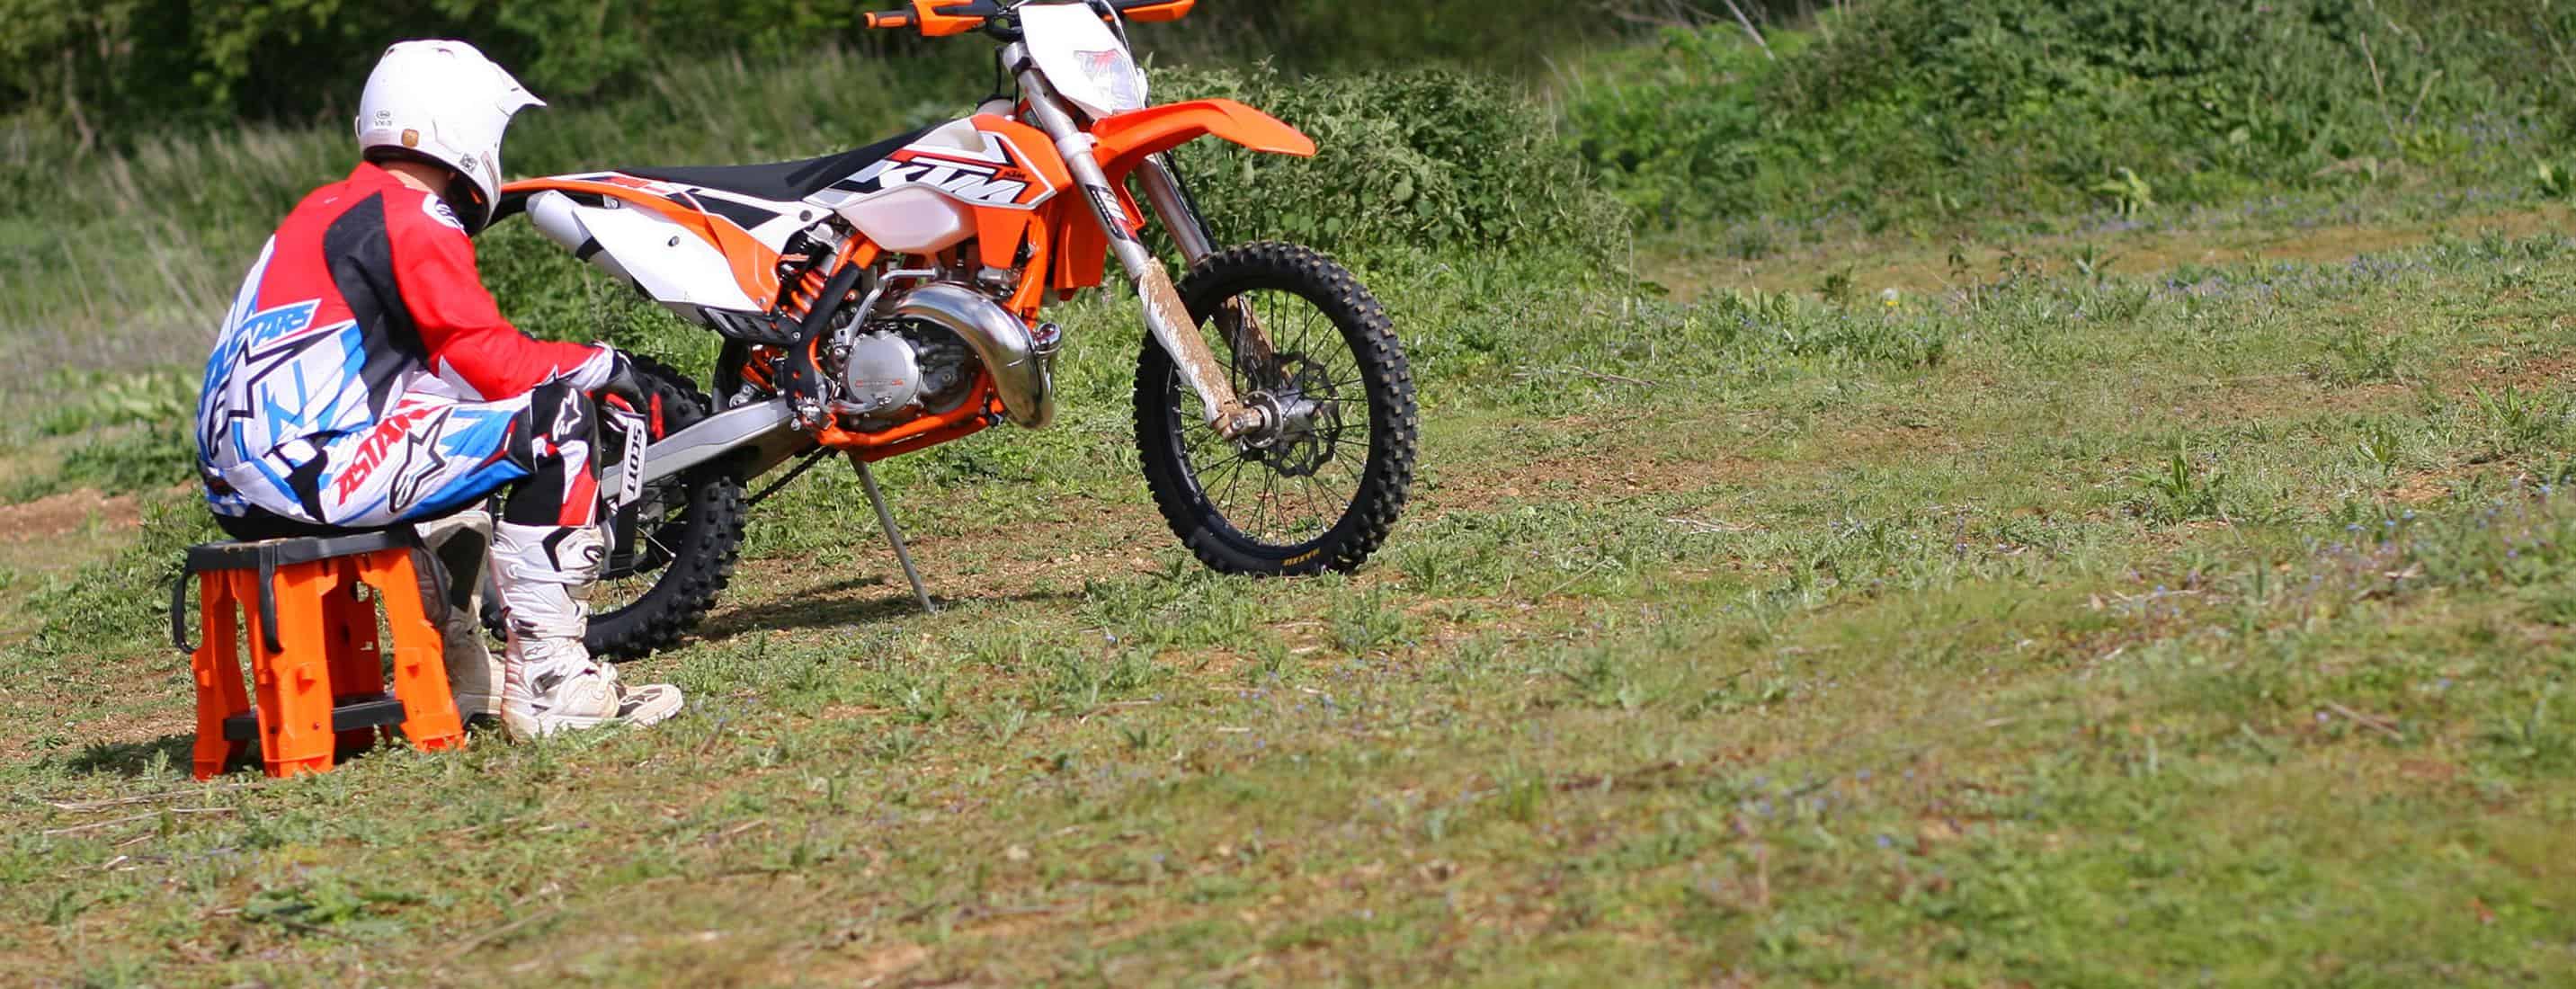
Handlebars: Forward mounting position, clamp rotated to forward bias to suit 1.82m rider

Seat: KTM Powerparts High Seat (+20mm, for riders over 1.80m, part no. 77207940400)

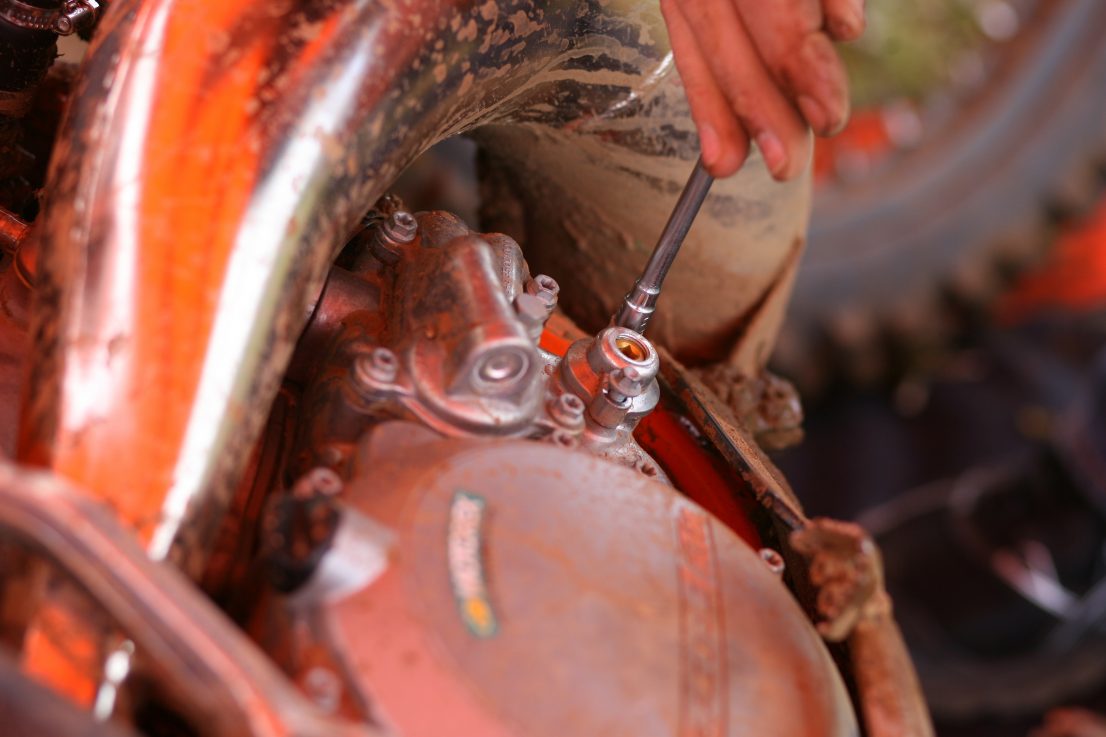
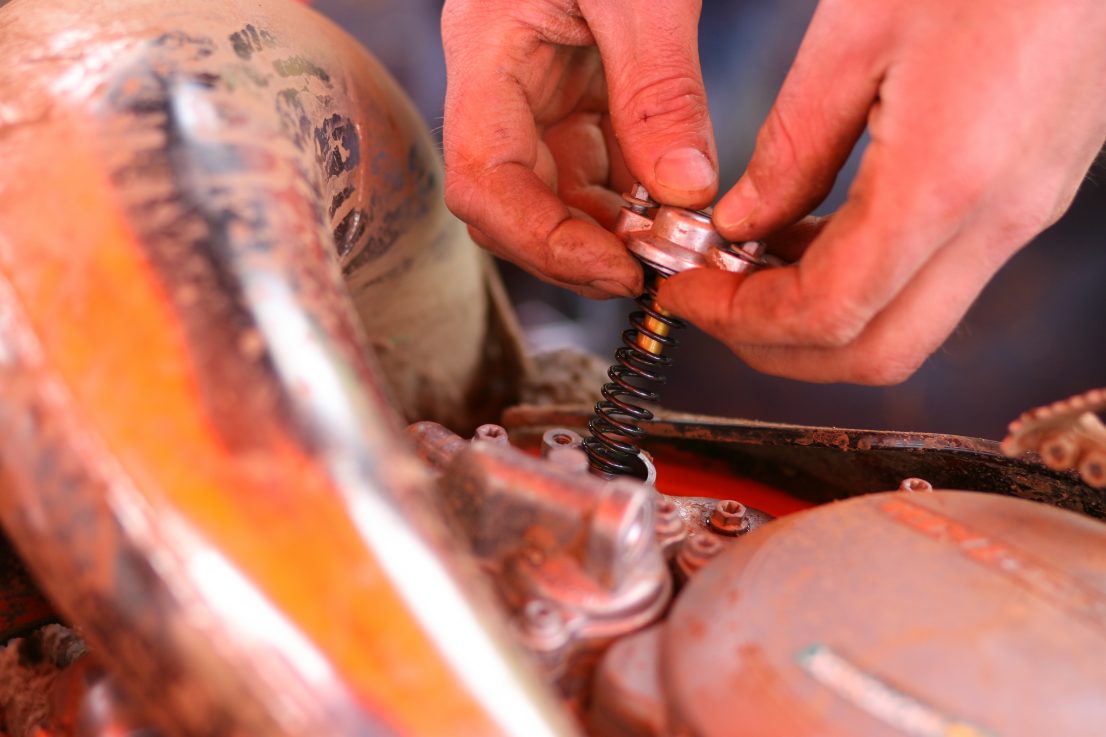
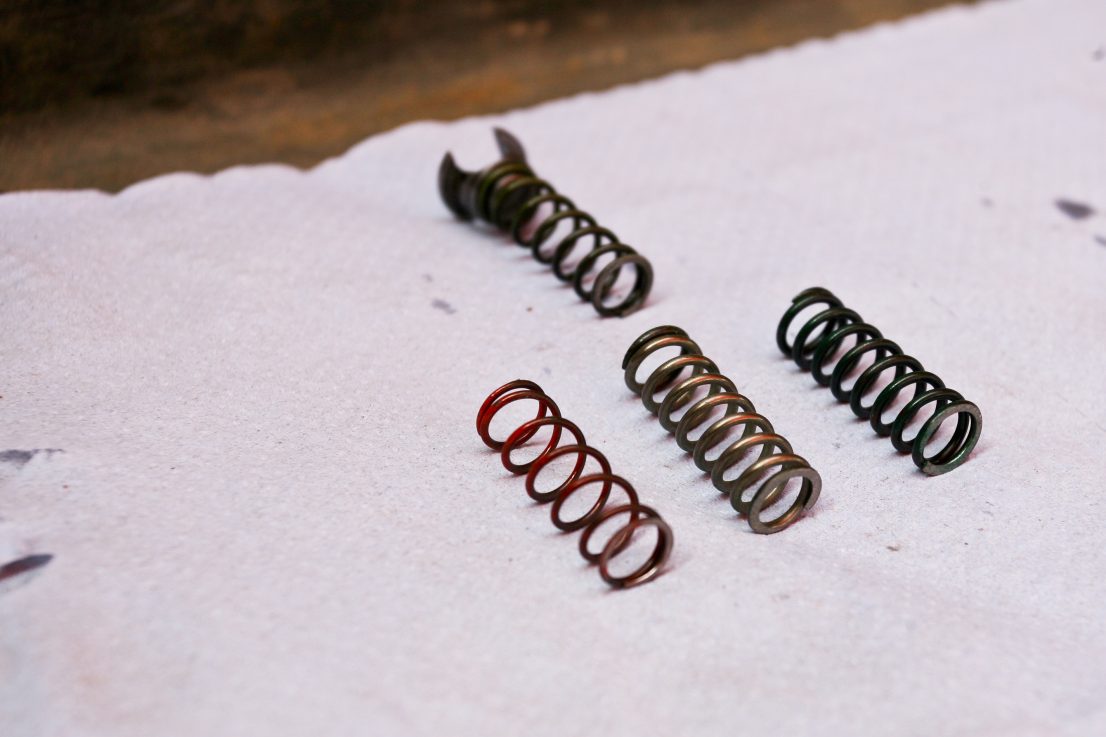
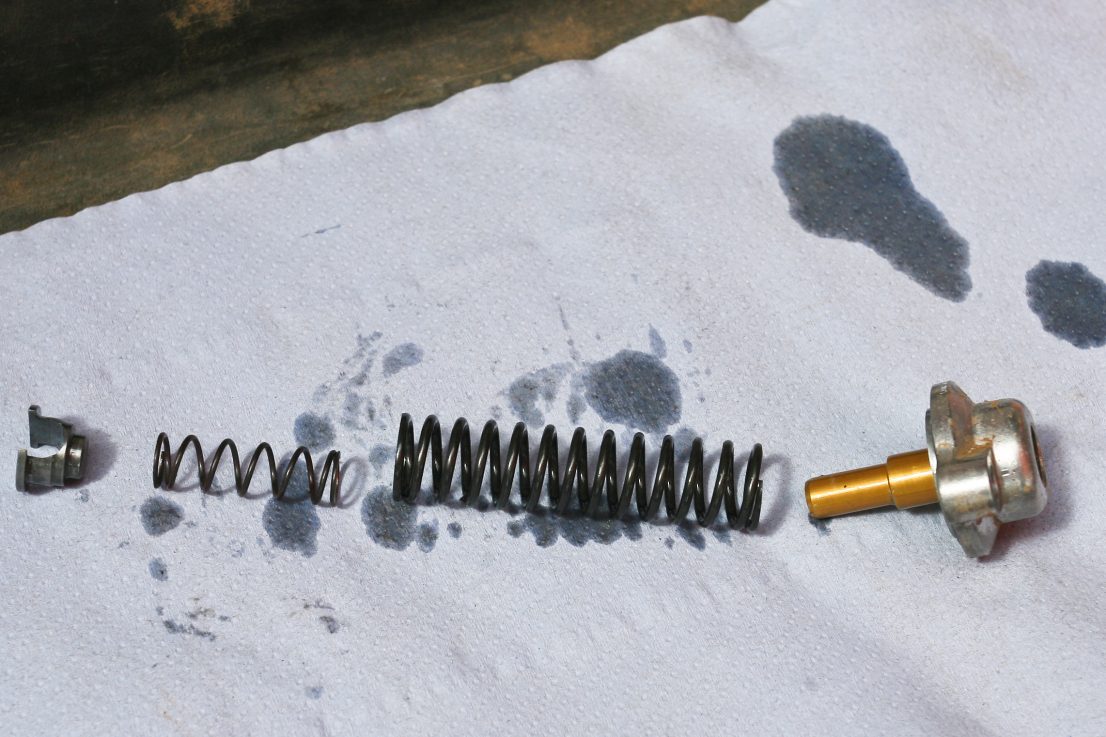
Powervalve: Standard spring (yellow)

ECU mapping: KTM Powerpart (handlebar-mounted) ignition curve switch (part no. 51539974100) set to standard (1)

Jetting: Standard: pilot 38, main 175, needle N27H, clip position 3

Tyres: OEM Maxxis 80/100-21, 140/80-18 set at 13psi

OUR GUIDE
Gareth Edmunds, KTM UK

Gareth is a top technician. He’s spent years working on bikes at world championships, first with motocrosser Tommy Searle and then with enduro racer David Knight (winning a world championship together). After that he spent years prepping top race cars in the world of GT, rally and endurance racing. These days, with a young family, he’s working with KTM and WP based in the UK.

“Riders really shouldn’t be afraid of making adjustments to their bikes, and they should understand that they make a real difference. One size does not fit all!”

RELATED POSTS

SUBSCRIBE TO OUR FREE MAGAZINE!

Keep up to date with the latest articles, receive our free magazine via email and get notified of special offers and discounts. Be part of the RUST community today…

Leave a Reply