Having committed to a complete rebuild of my 2017 Husqvarna FE350, Its strip down time. At first not down to a complete nut and bolt level, but separating assemblies. Even then, you need to take care…
THE STRIP
The first step was obviously to strip the bike down completely – and I mean completely.
The question is always – How far do you go? Well, since I’d decided it was going to be a total rebuild I’d take the plunge and leave nothing untouched. Looking back now I know I could have been (and should have been) more precise in my note taking during the strip, especially in my labelling. At the time I thought I was on top of that and was quite proud of myself for the effort I was taking but after months your memory combined with fading ink on my masking taped labels leaves you a little high and dry frankly. This was my first lesson. I was going nut and bolt at a time, labelling them with masking tape and wrapping the related nuts and bolts together for future reference.
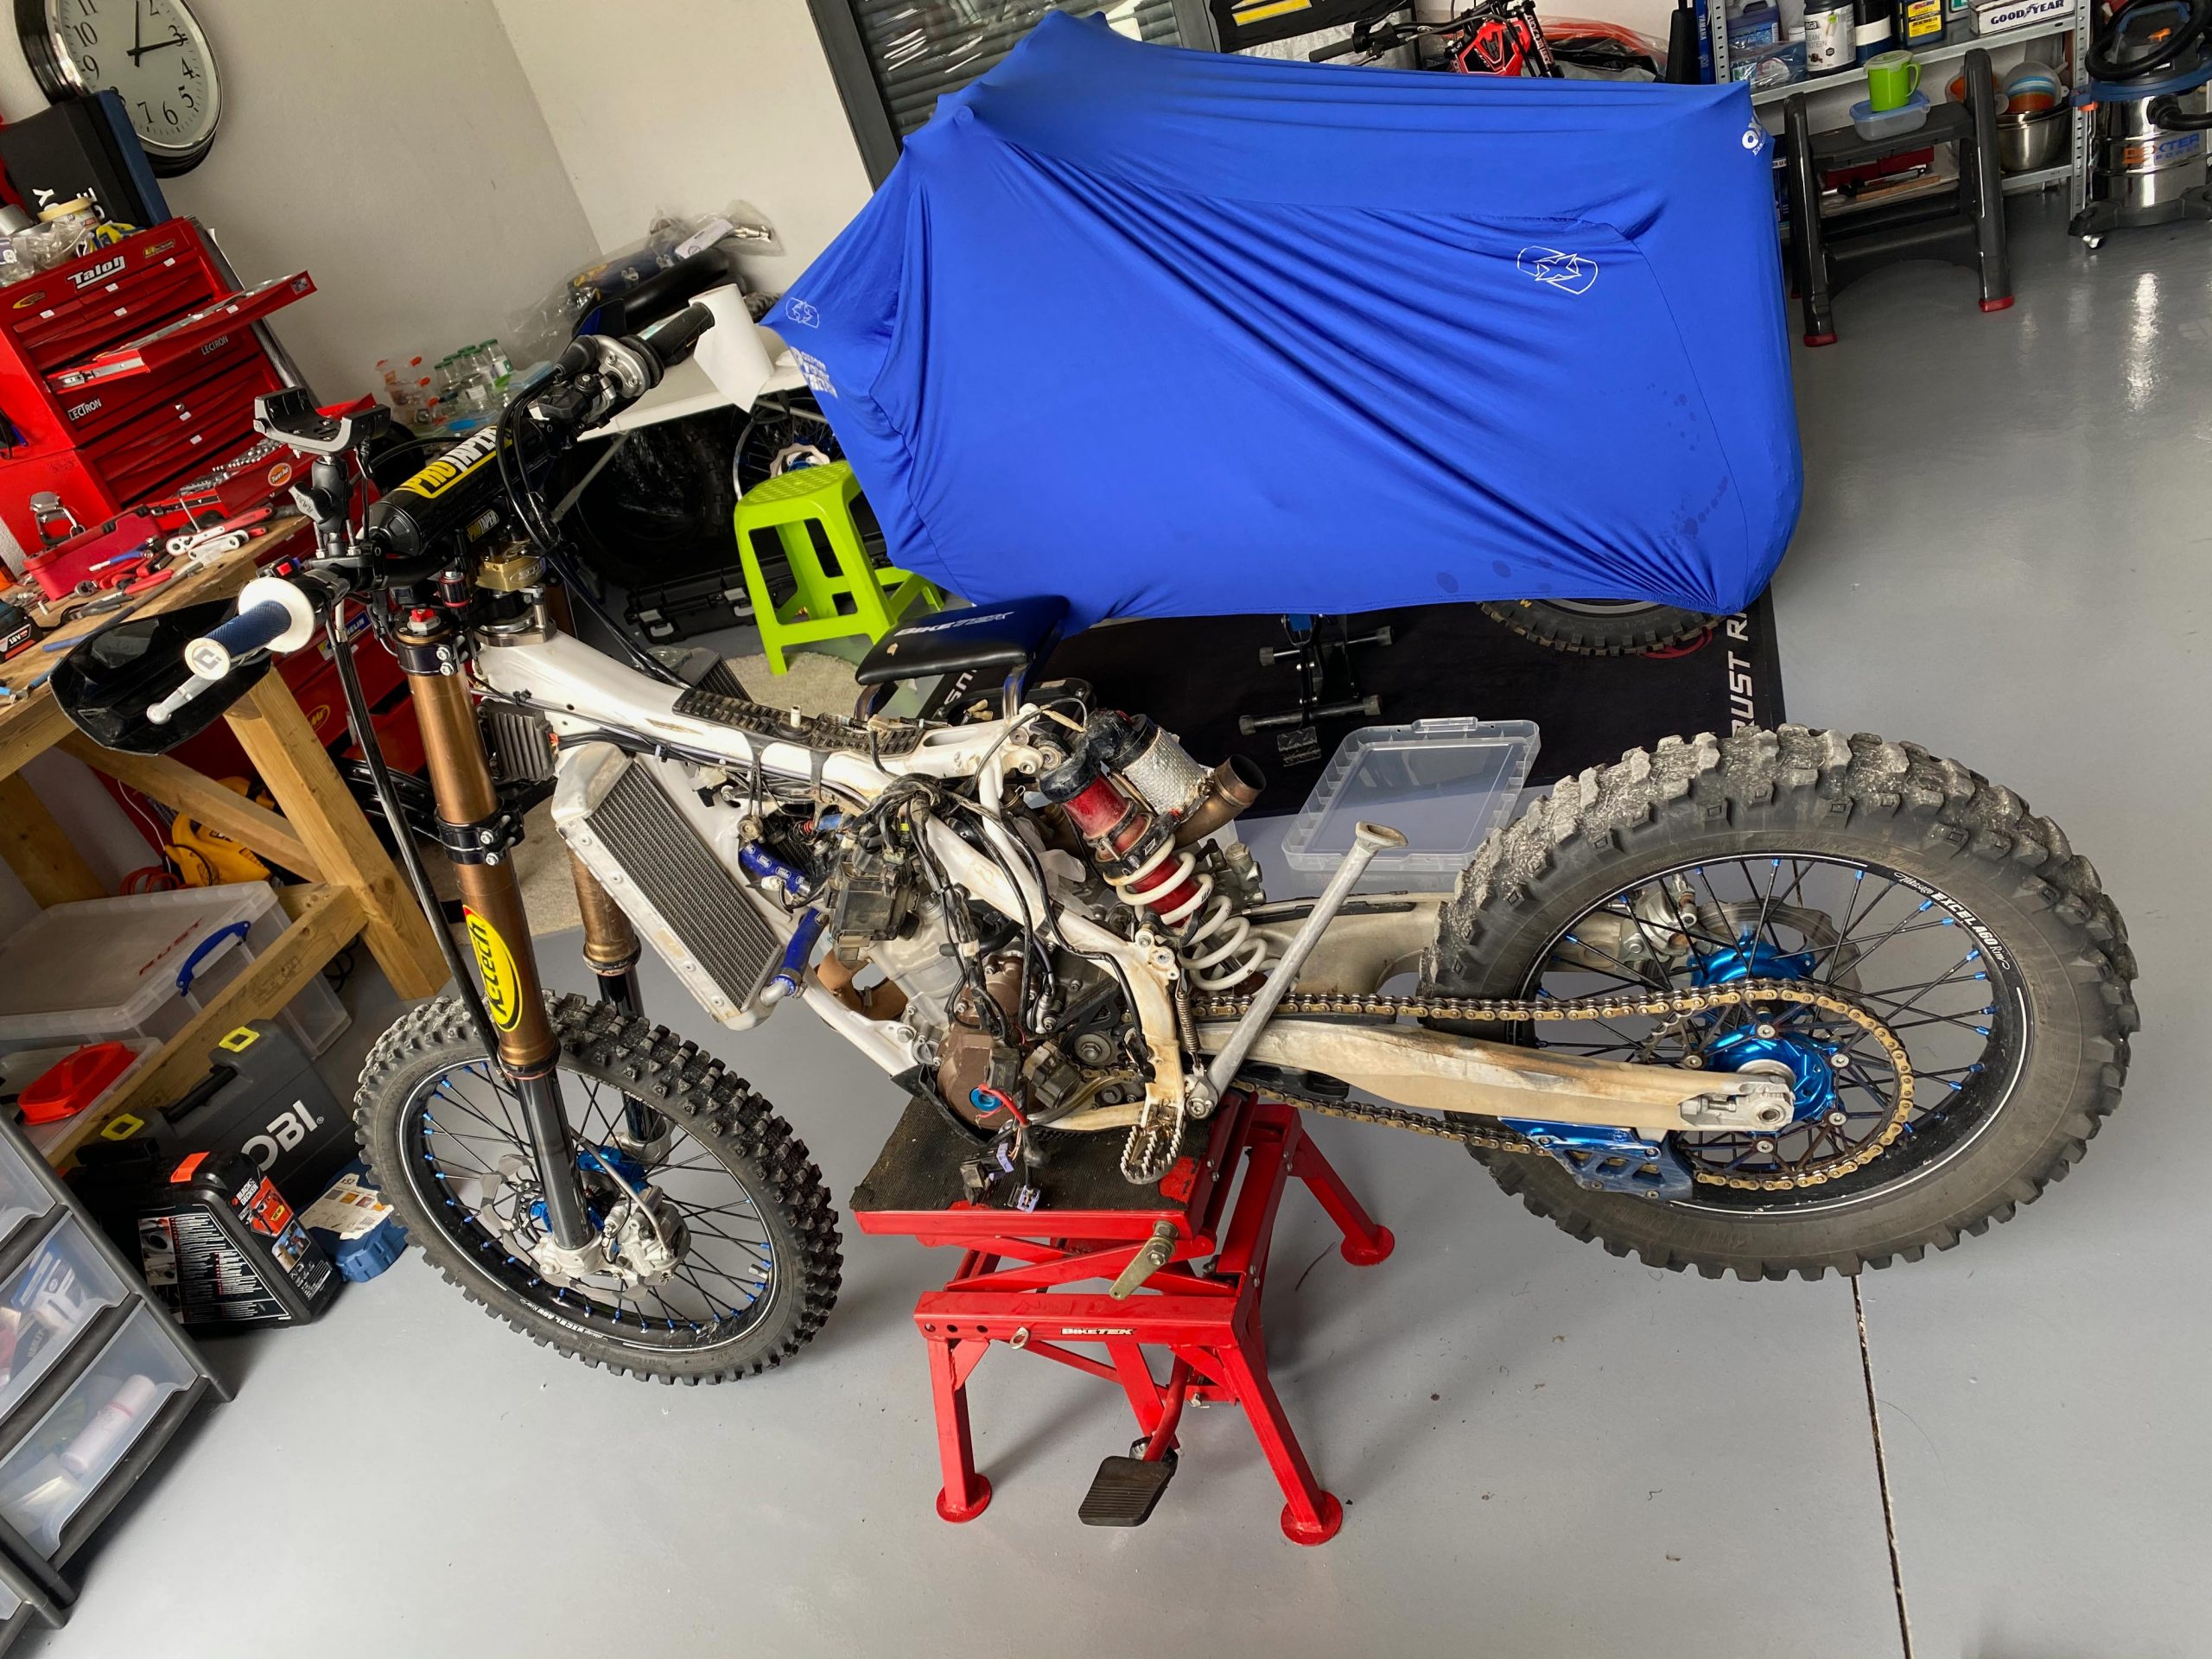
Obviously, the removal of the bodywork was a breeze, I’d done that many times before and frankly they all just went in the bin. Except for the Acerbis X-Seat (soft) I wasn’t letting go of that. My backside has become accustomed to that seat and it’s so comfortable. I’d look to replacing it but was keeping this one just in case. Next came the subframe, wheels, suspension, footpegs, steering head and bars do all I was left with was an engine in the frame.
I removed the brakes from the fork tubes, bled and plugged them and put them to one side. I removed all the bearings top to bottom from the frame and wheels and along the way I listed each bolt and nut and bearing that would need replacing so I had a growing replacement parts list that I would need to order.
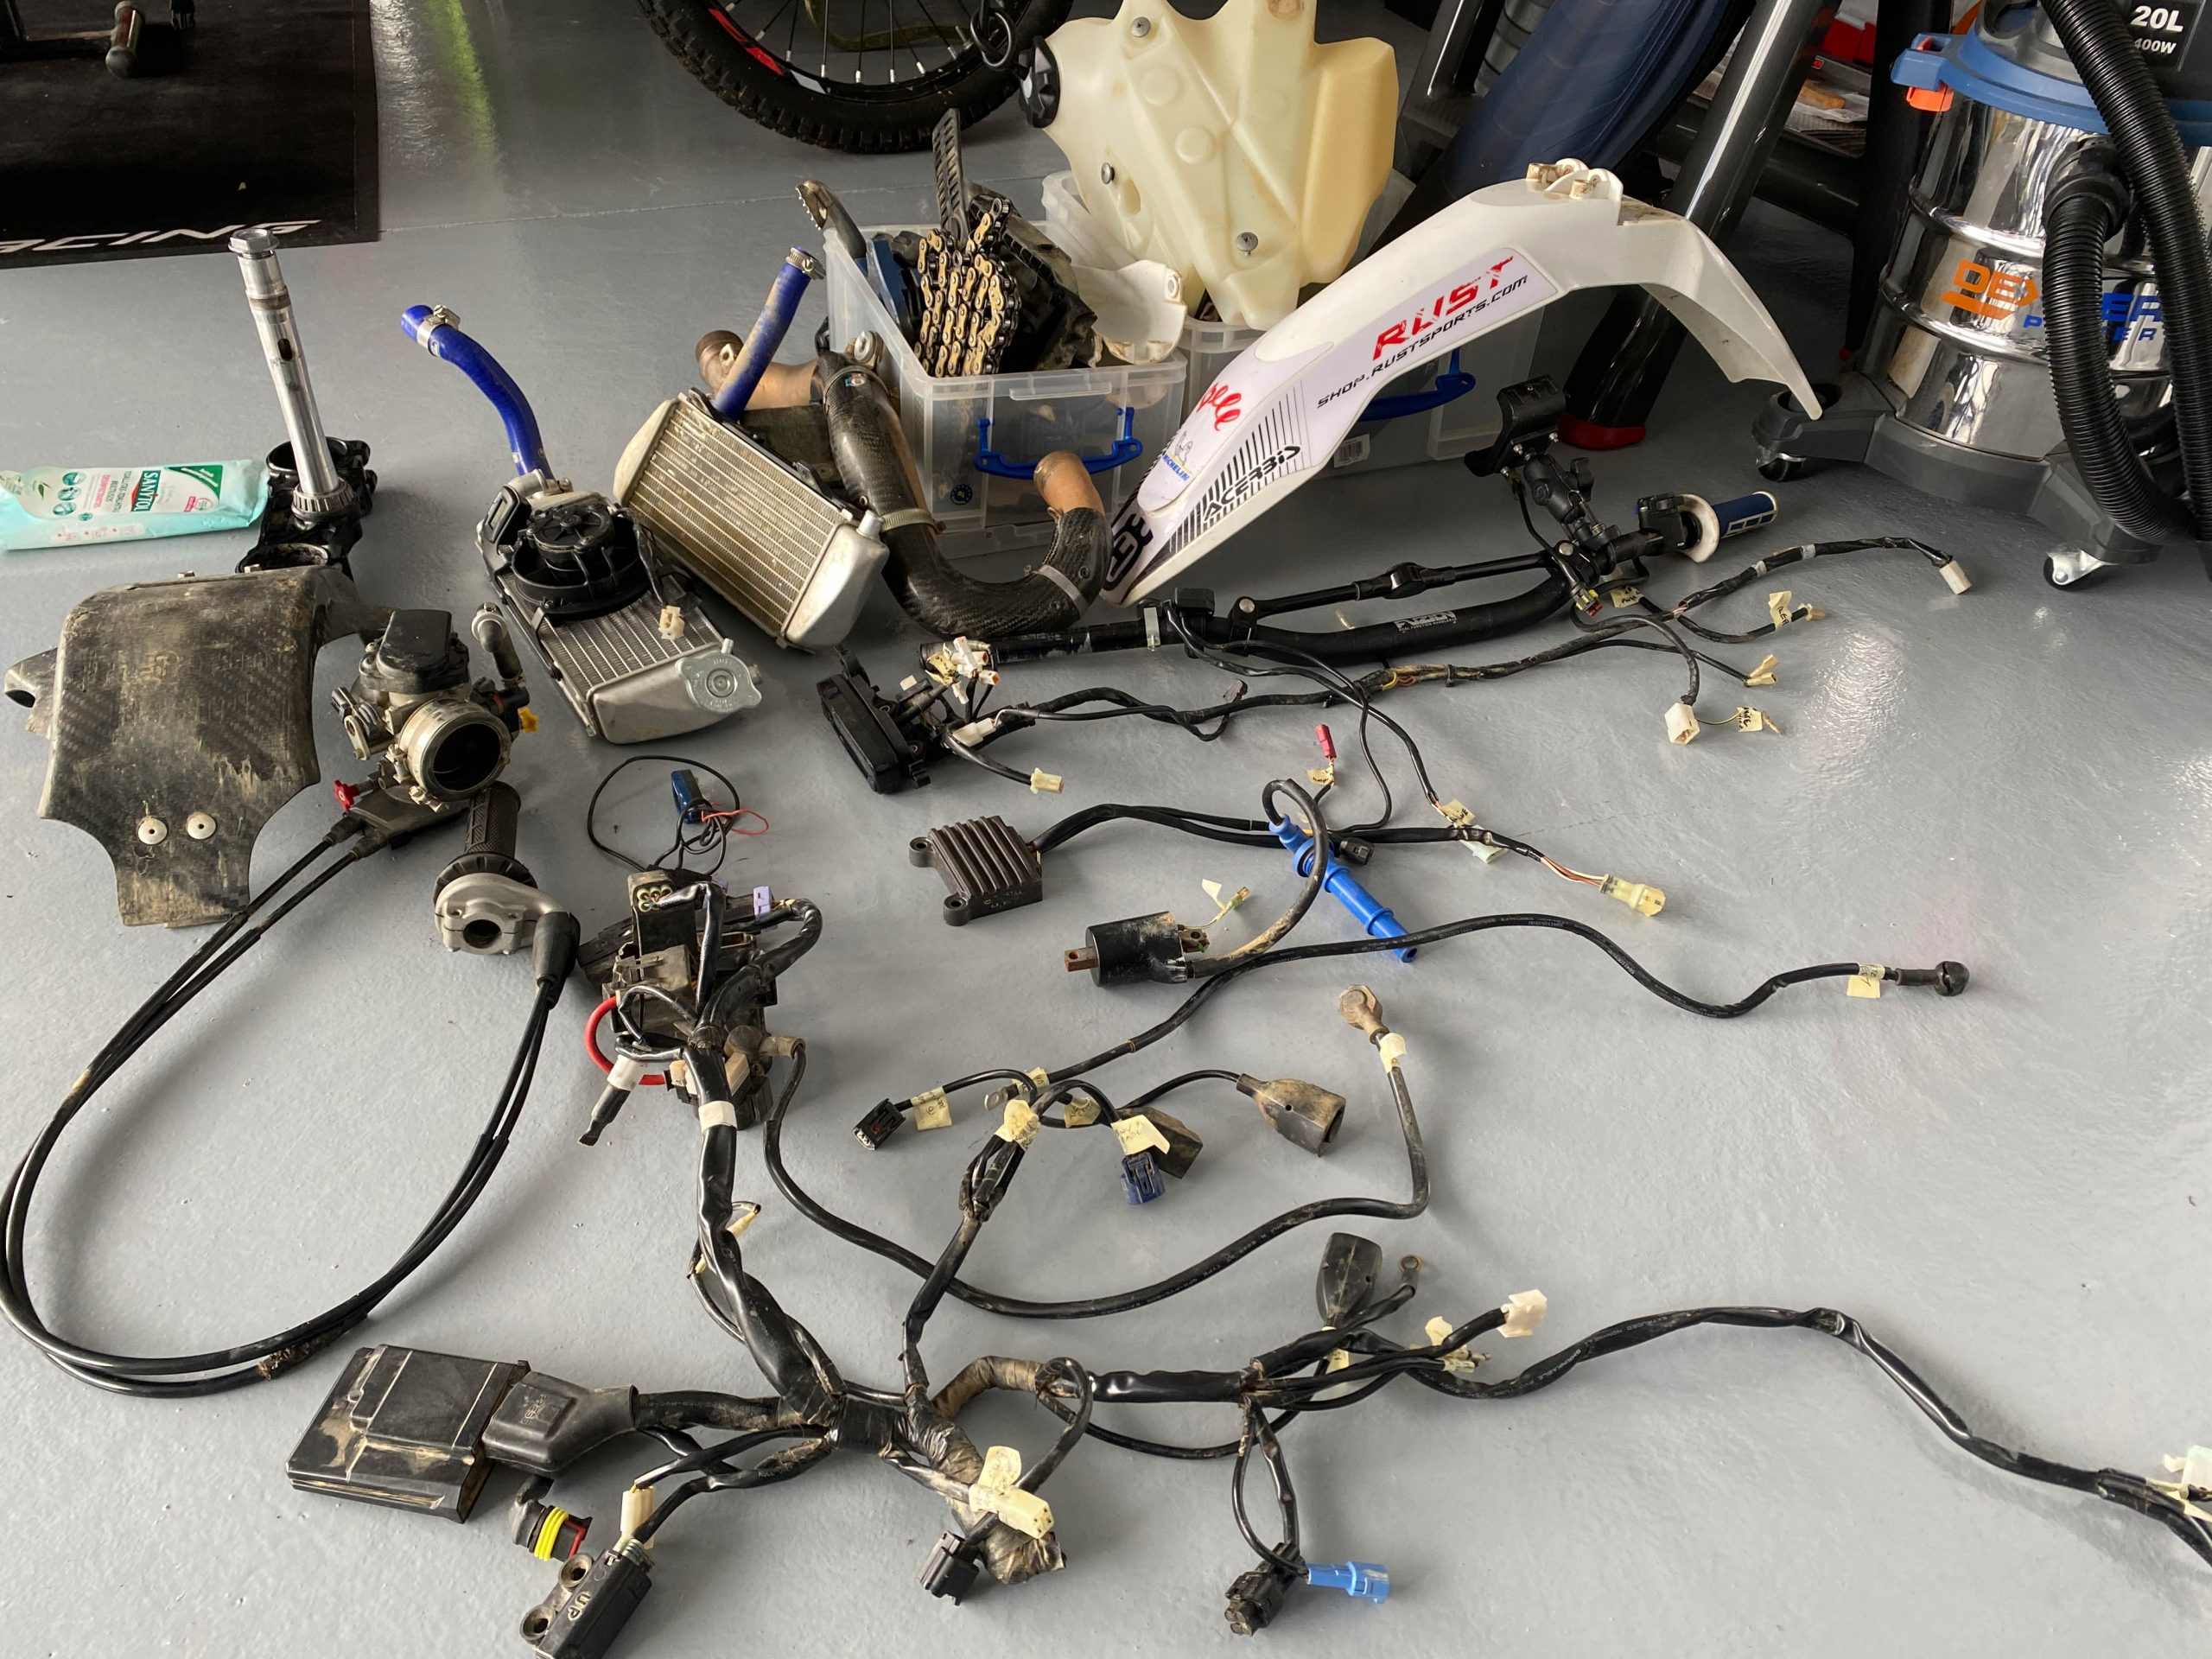
The trickiest part of the strip was the wiring loom. I took my time and photographed the routing and connection points, relays, fuse boxes and labelled them all. With hindsight I would not follow the same procedure again – I could have done such a better job.
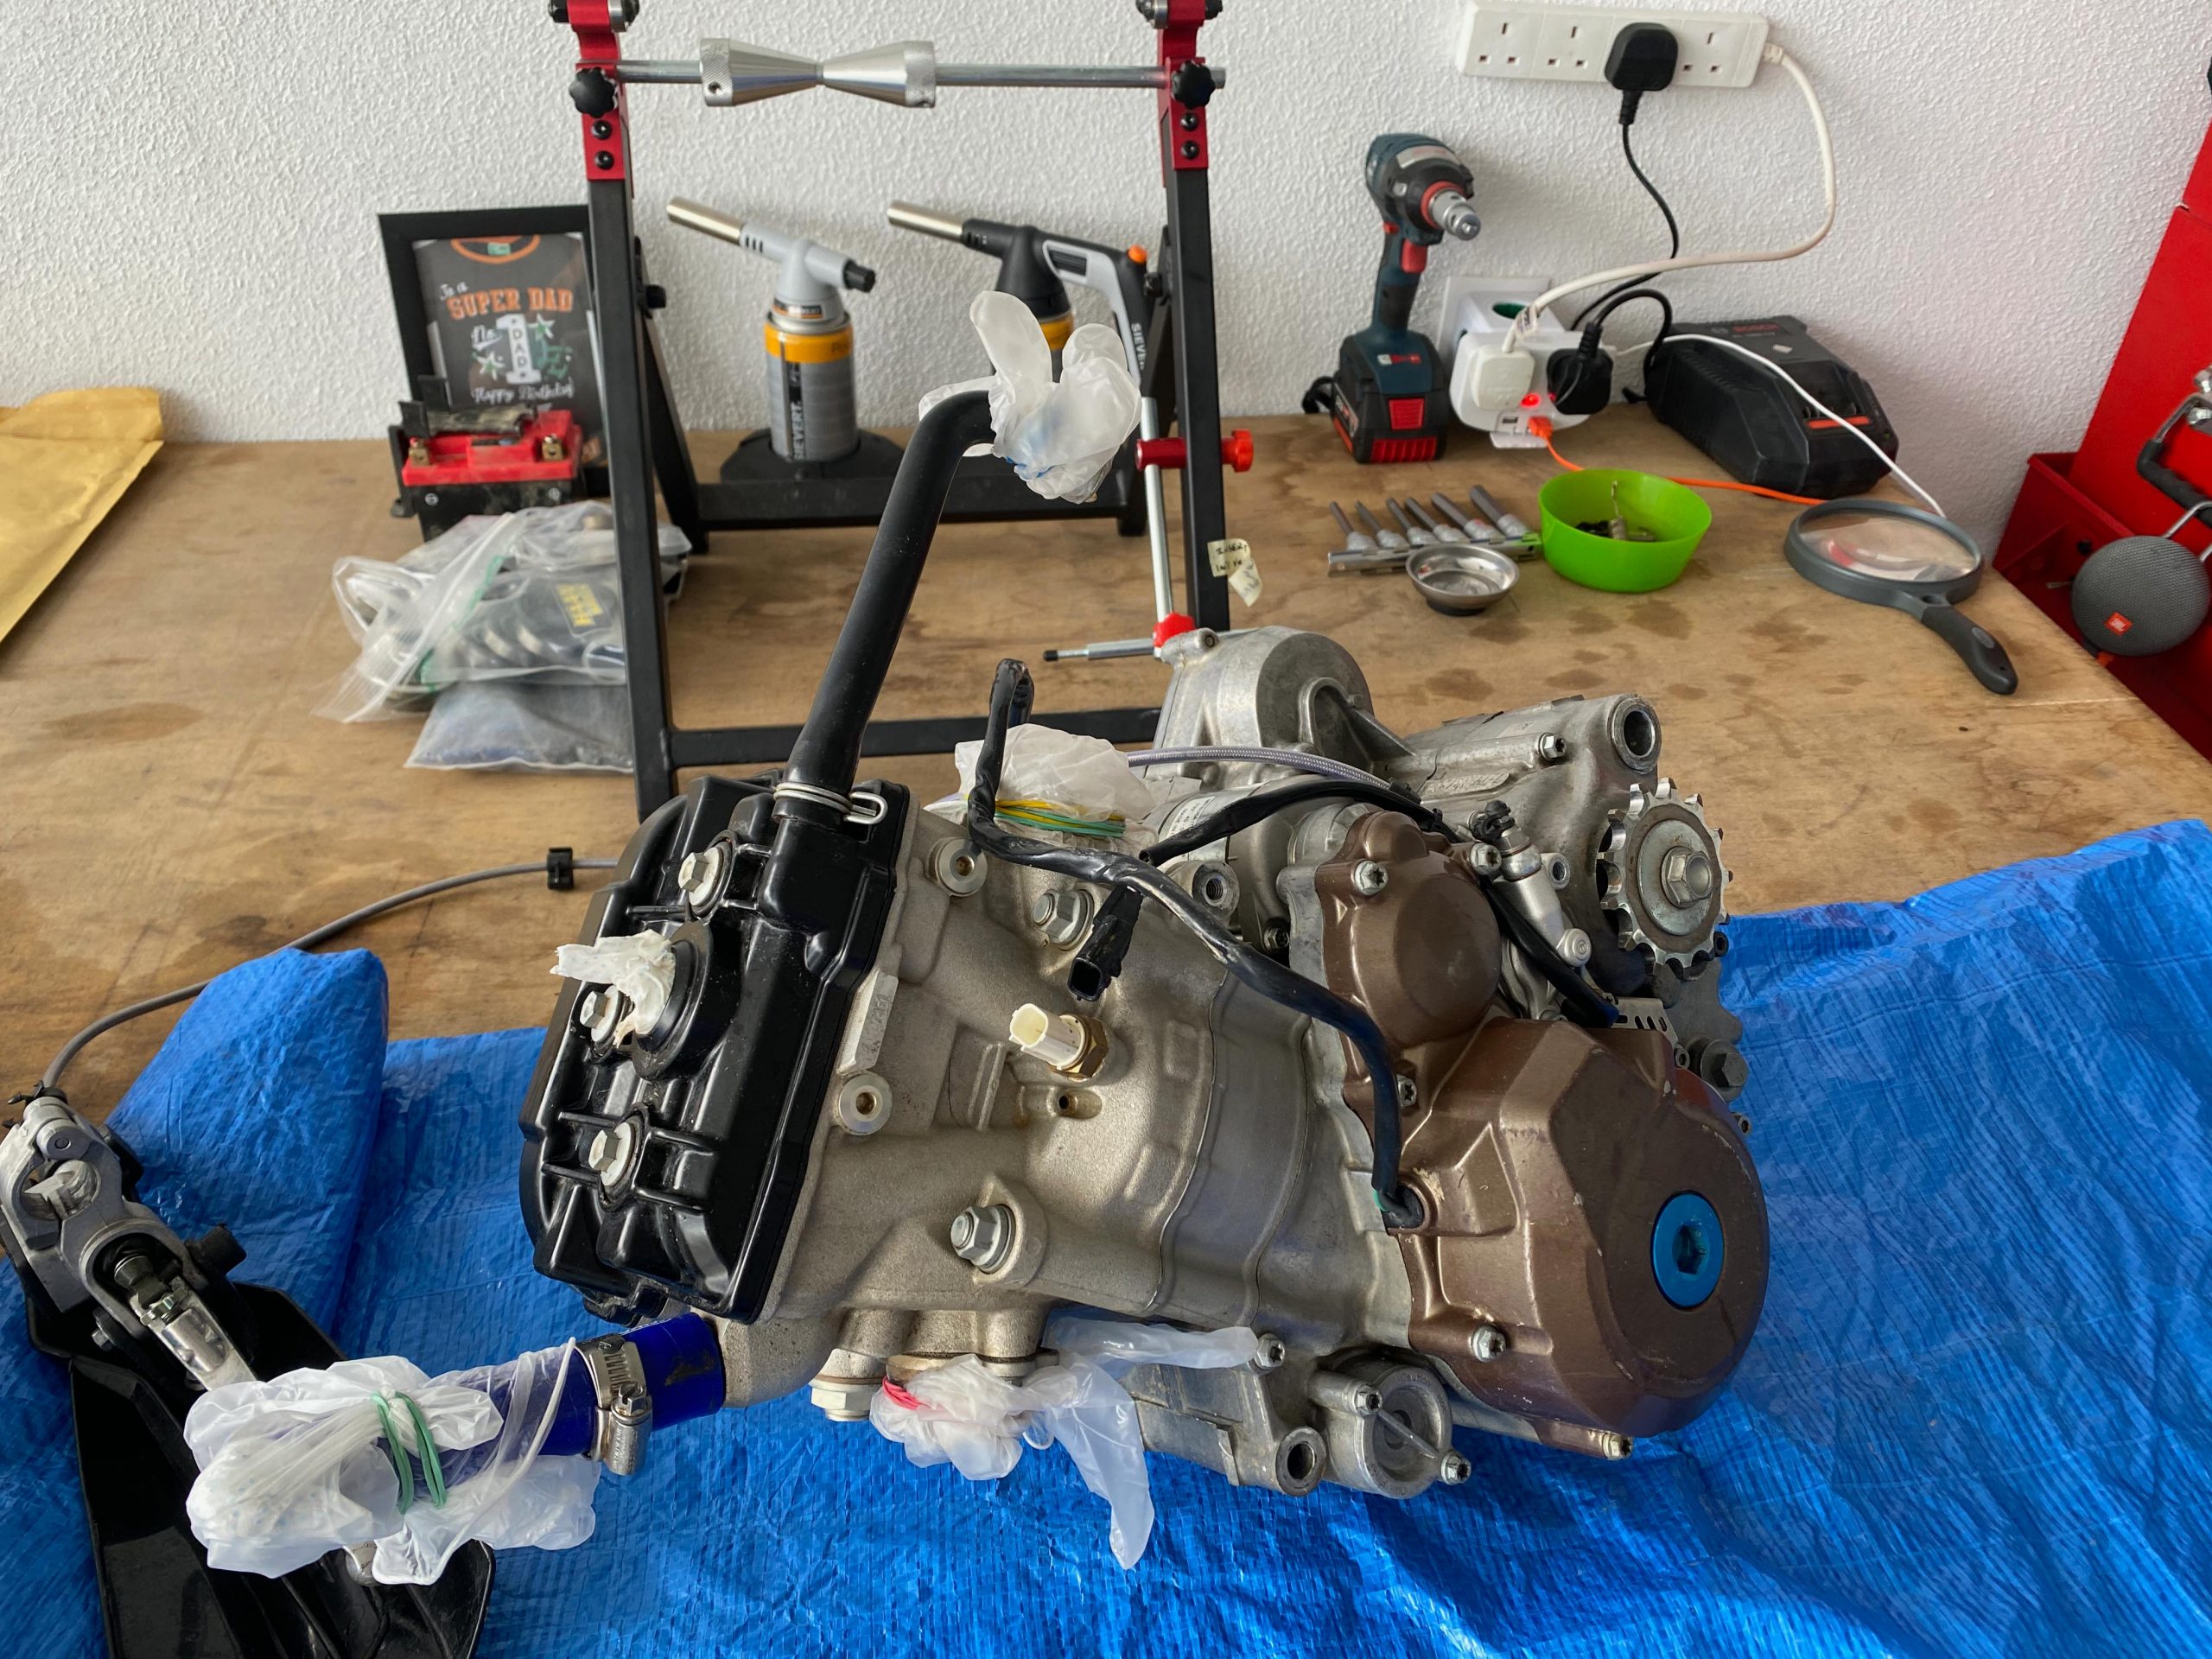
Once I had the motor out of the frame I could set about the clean.
One little tip from me here. I should have completed my frame, bearing, nut and bolt and non-internal engine parts list and placed the order for the parts at this stage – this mistake would come back to bite me hard.
The strip begins – at this stage not too scary
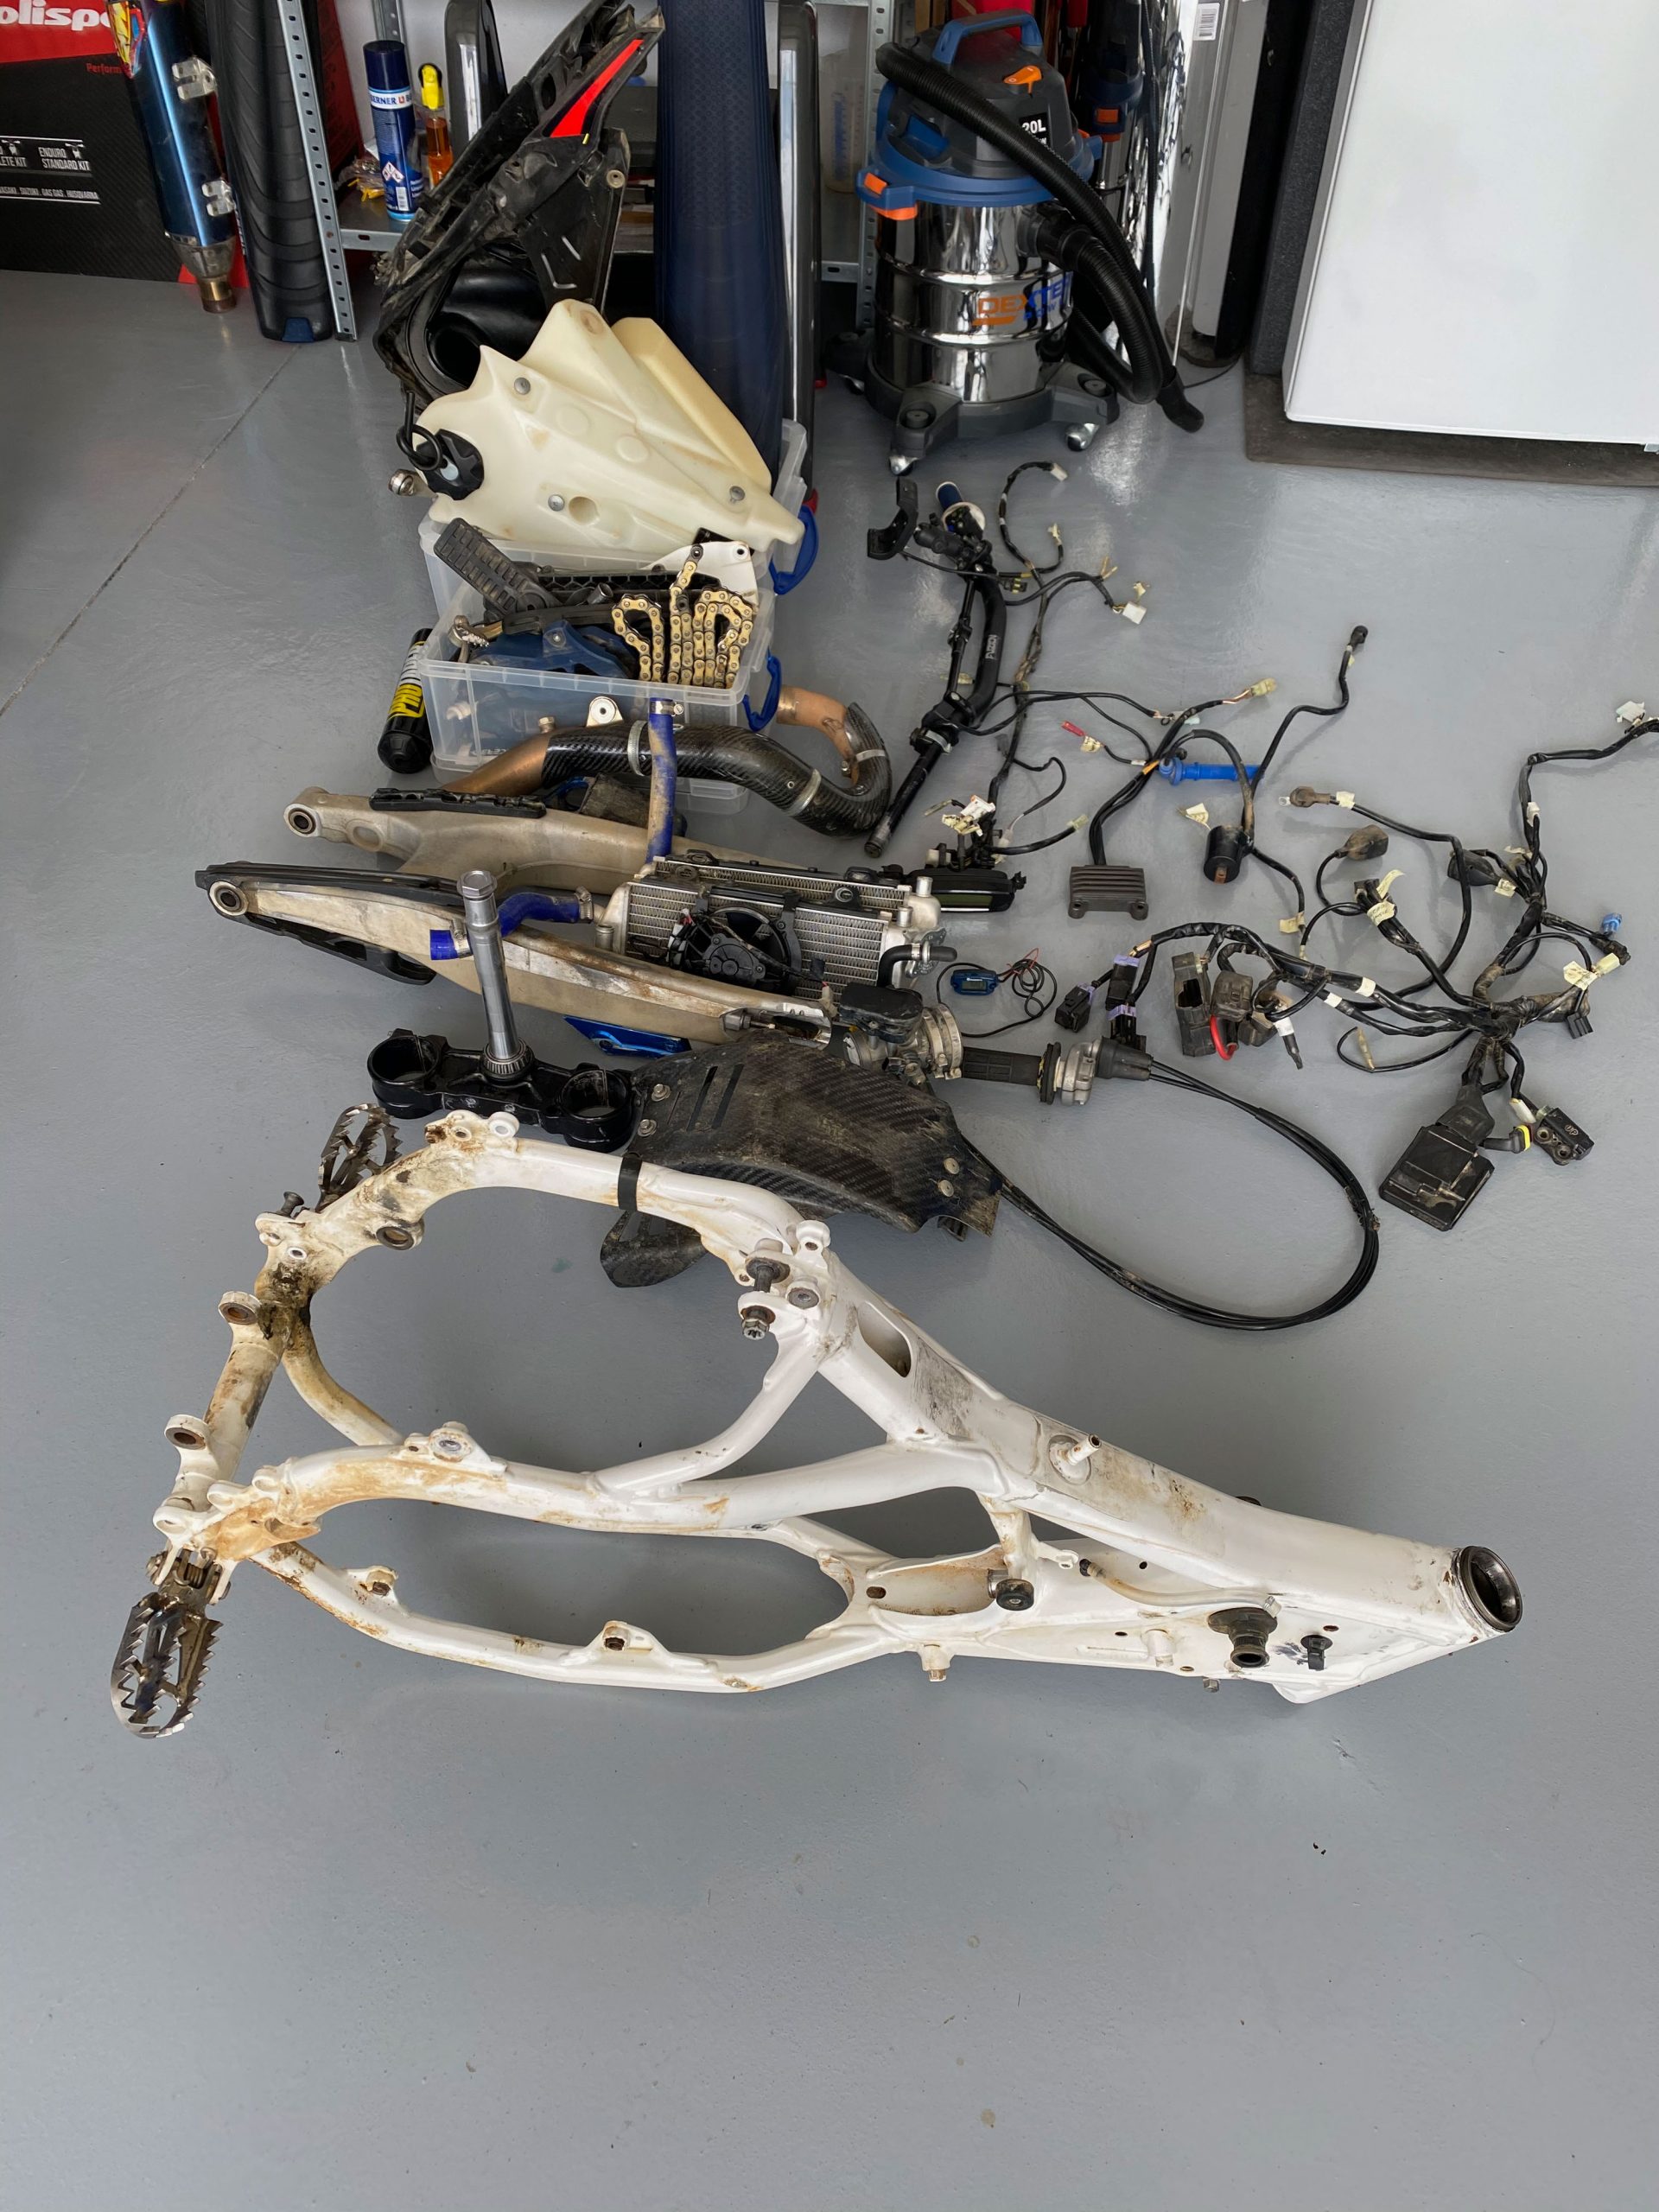
This stage is scary as the bike becomes just a jumble of bits
There's more wiring than you'd imagine. For a race bike – too much!
Engine out. For now left as a complete unit
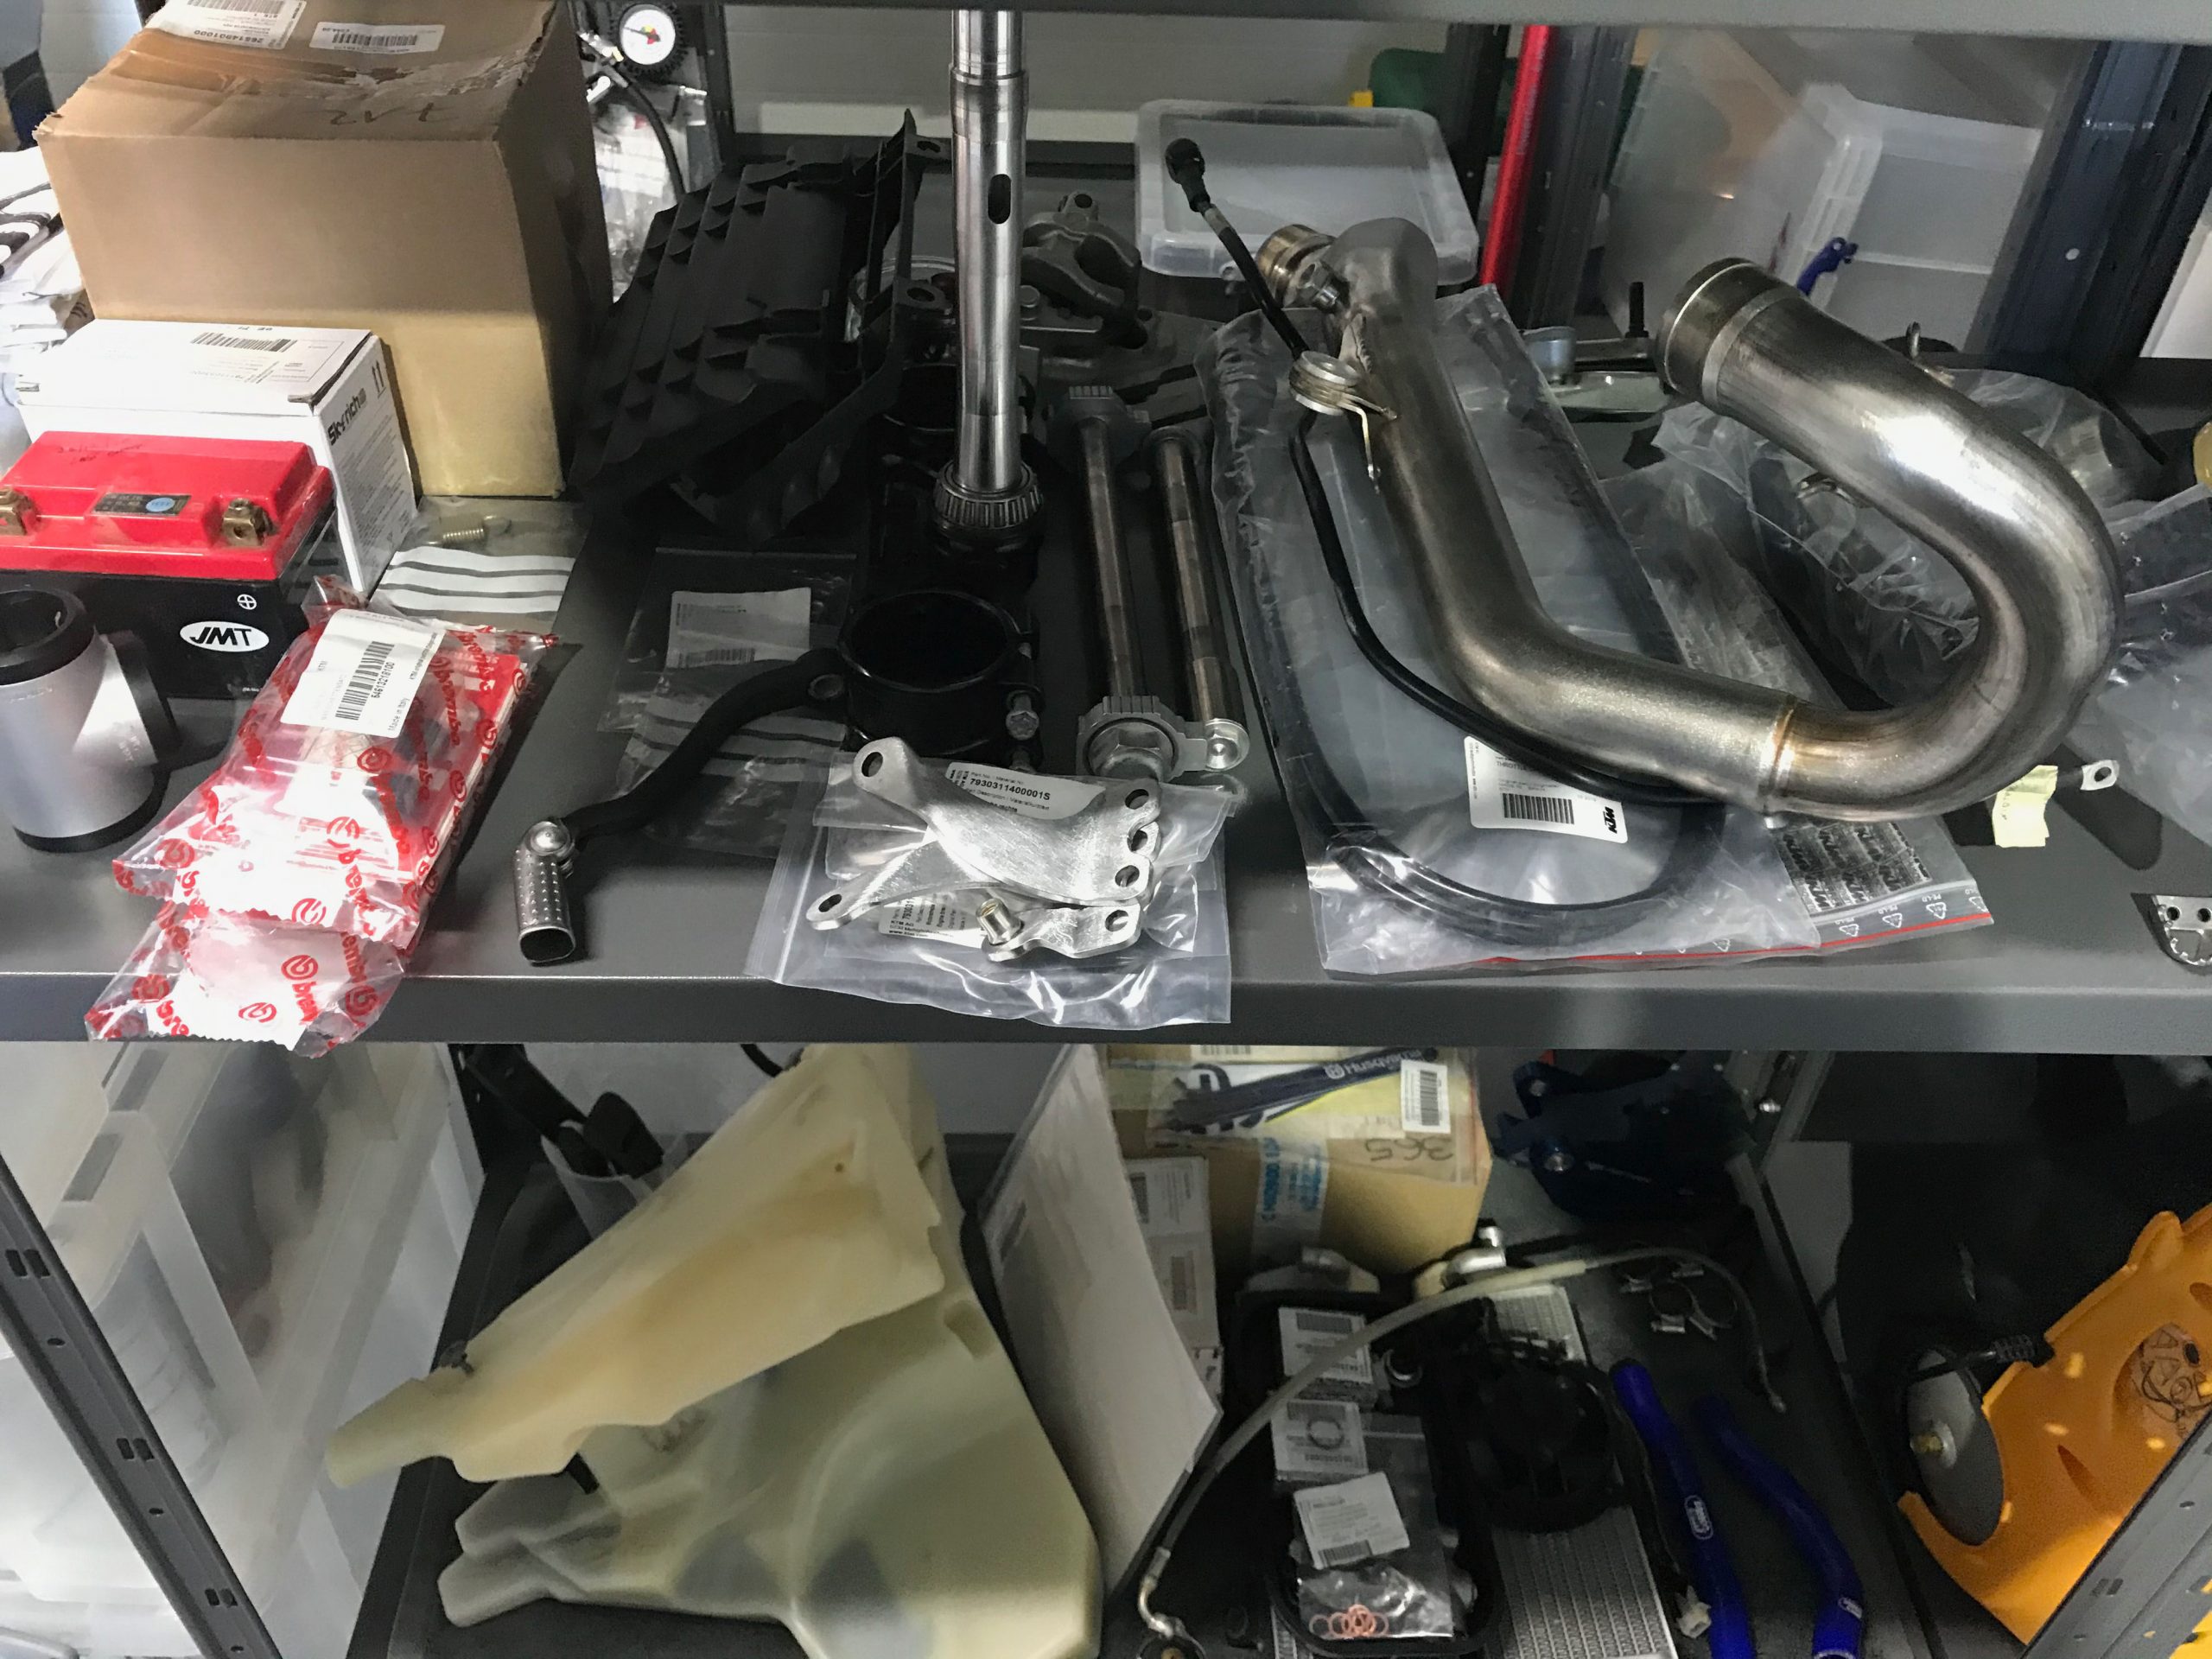
Storing stuff in some kind of an order is a challenge (I could have done a lot better)
Labelling with masking tape seemed a good idea, but after nearly two years the labels had faded badly
Keep up to date with the latest articles, receive our free magazine via email and get notified of special offers and discounts. Be part of the RUST community today…